So I’ve been working on dressing up the Outdoors around here lately! I would like to spend a LOT more time outside this summer!
But let’s face it – I don’t want to if it’s all drab and boring.
I was sent a really fun new paint product – Ink Effects by DecoArt – and I knew it would be perfect for my new Outdoor Pillows!
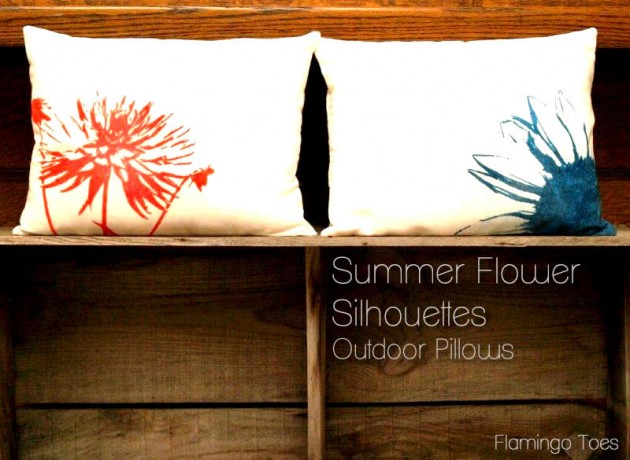
I had converted some flower photographs to silhouettes a few years ago – I knew they’d be perfect for my bright outdoor pillows!
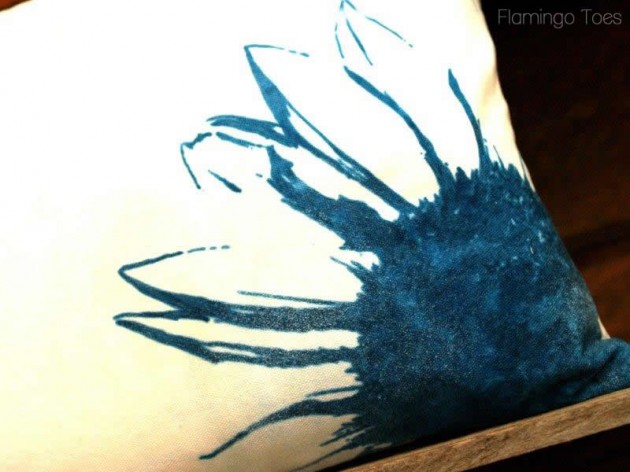
And guess what? I have the silhouette images for you too – so you can make your own!
So are you ready for a fun tutorial? Me too. :)
I started with all the Ink Effects that they sent, along with the Basecoat. Look at all these cool colors!
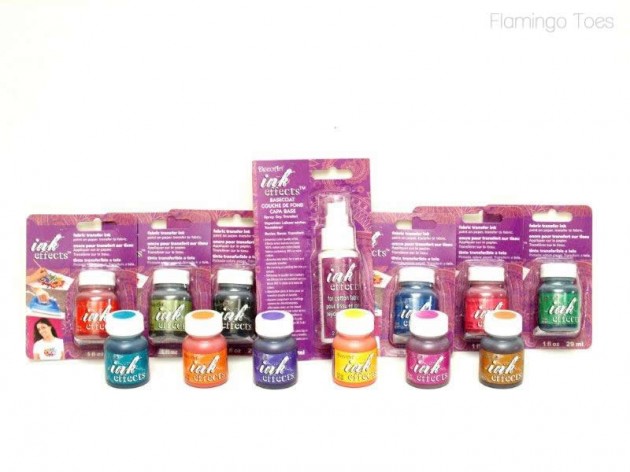
Update: Here are the colors in the photo:
Violet
Pink (It’s a darker pink)
Black
Yellow
Orange
Green (kelly)
Blue (royal)
Brown (kind of a camel color)
Light Green (close to an olive color)
Purple
Red
Turquoise
Even though the bottles are small – the paint goes a long way! I did a test project, plus the pillows, and I still have most of the bottle left.
They have super helpful dots on top so you can see the colors – those dots are closer to the final transfer colors than the way the paint looks in the bottle.
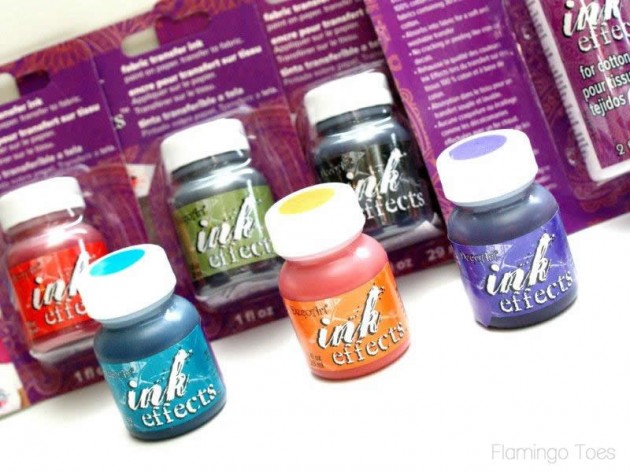
Ink Effects is just the coolest. All you have to do is paint it onto regular paper – you can use a printed design, a coloring book page, whatever!
Then you iron it onto fabric!
Here’s what you’ll need besides the Ink Effects –
Fabric for pillow front
Fabric for pillow back
Pillow form – mine were 12″ x 16″
Flower Silhouette PDF’s – Sunflower & Three Flowers
So to make the cute pillows, start by printing out the flower designs – you can use your regular printer and paper.
Note: The first time I tried this, I printed out the designs all in black. Not so good.
I started to paint the designs and it was too dark – I couldn’t see where I’d painted. So don’t do that. :)
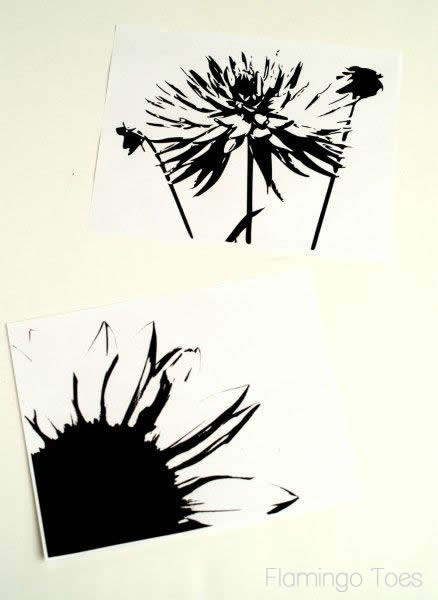
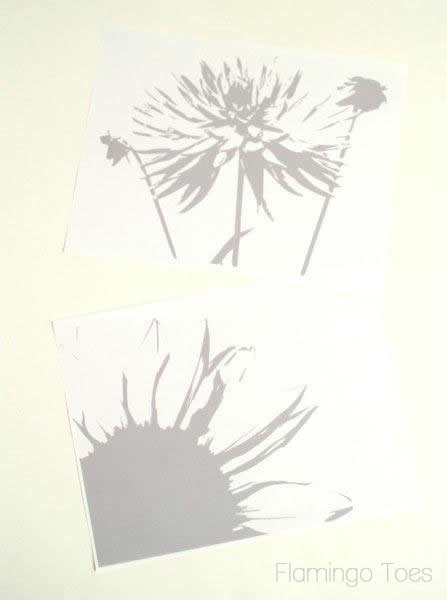
Here are the designs the way I saved them for you – in gray. Much better.
Also, keep in mind that if your designs have a direction, you’ll want to print them out reversed before you paint them.
Paint over all the areas you want covered with the Ink Effects. The thicker the paint, the darker the transferred image will be.
I painted two coats on for mine.
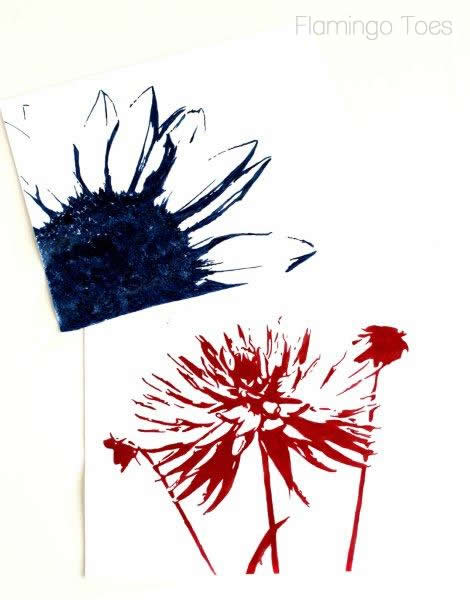
You want your paint to be completely dry before you transfer it, so while you’re waiting you can get your fabric ready.
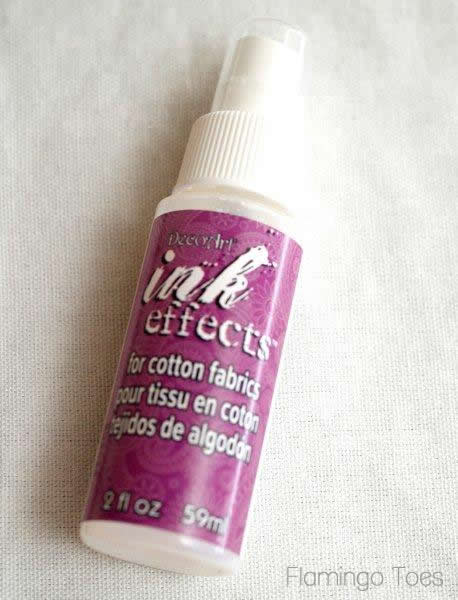
If the fabric you are applying the transfer to is more than 30% cotton, you’ll need to apply the Ink Effect Basecoat to it.
Just shake up the bottle and spray the fabric with an even, medium coat.
I recommend putting some old fabric or paper under your fabric to protect your surface.
Once your transfer and basecoat are completely dry, it’s time to iron on your design!
Place your image face down on your fabric and cover it with a larger piece of paper.
Iron on your transfer, without steam, by keeping the iron on the transfer for about 30 seconds – or up to 60 seconds for a darker transfer.
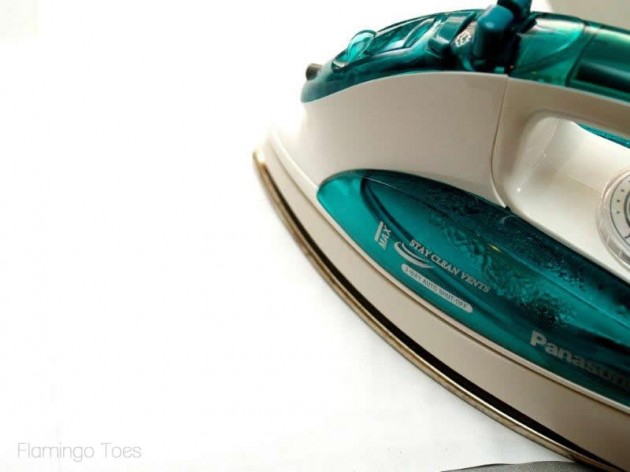
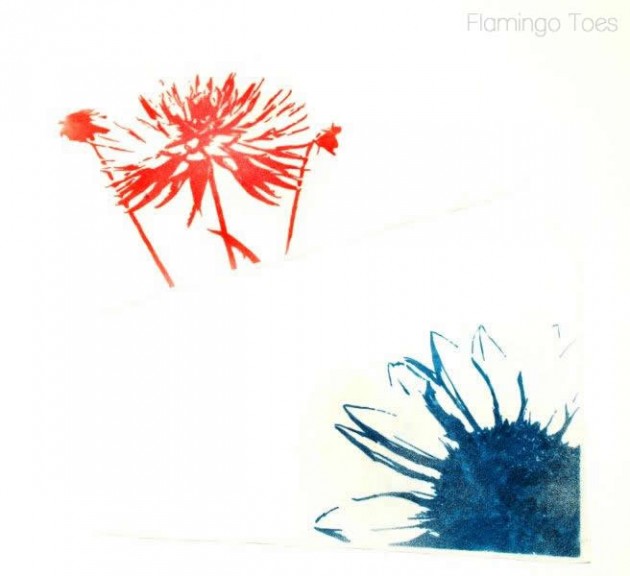
Peel up a little corner of the transfer and make sure it’s dark enough. If not, iron it a bit more.
I love how the designs look painted on!
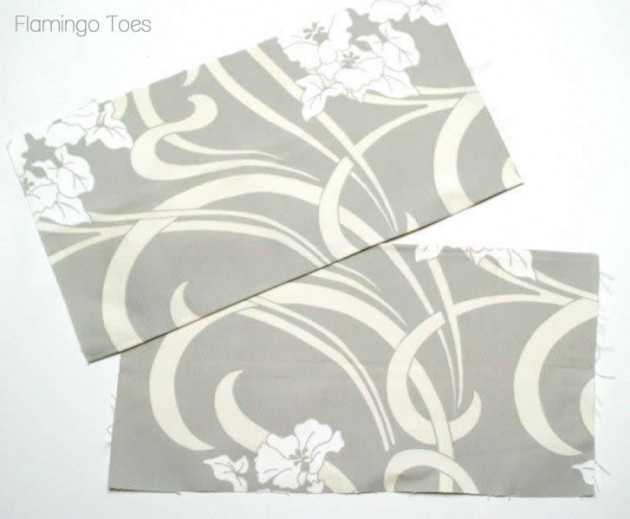
To finish off the pillows, cut out the fabric for the backs. Since my pillow forms were 12″ x 16″ I cut out two 9″ x 16″ pieces for each pillow.
Hem the bottom of one piece and the top of the other piece. These will overlap to form the back of the pillow.
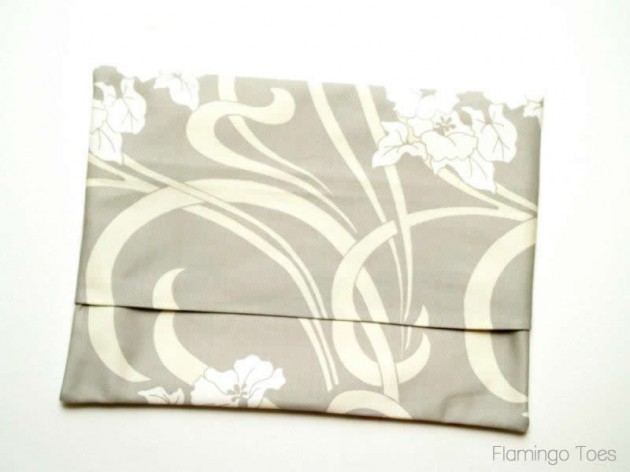
Place the rectangles on top of each other, with the right sides facing up, to make a 12″ x 16″ rectangle. The piece with the hem on the bottom should be on top.
Sew the pillow front to the back pieces around all four sides (right sides together) and clip the corners.
Turn right side out and press.
Put your pillow forms in and admire your new cutie pillows!
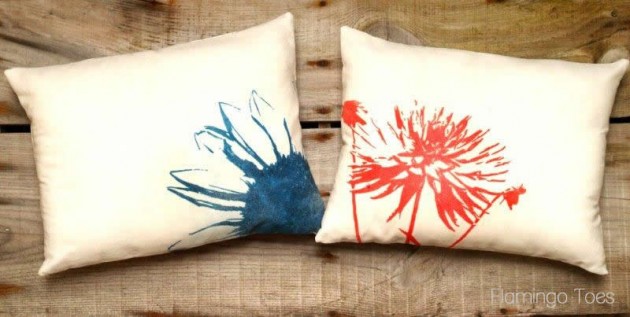
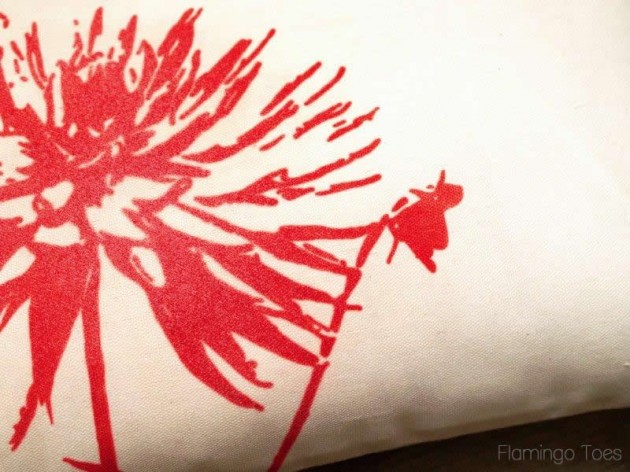
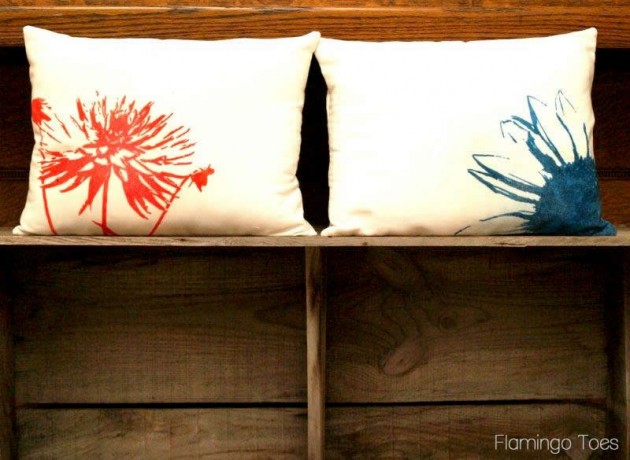
I love them!! I will be using these a ton this summer!
The Ink Effects are super new – and they will be in Joann’s really soon! I’ll update this post as soon as I know exactly when!
You can also find DecoArt here:
- Facebook: http://www.facebook.com/DecoArtAcrylicPaints
- Pinterest: http://pinterest.com/decoart/
- YouTube: http://www.youtube.com/user/DecoArtPainter
Disclosure: I wrote this post as part of a paid campaign with DecoArt and Blueprint Social. The opinions in this post are my own. :)
Here are more fun ideas using Ink Effects – to give you some more inspiration!
What do you think? Aren’t they fun?


These look very interesting. I plan to do a few projects and if they work out well, I am a thinking about using the paint instead of using computer inkjet T-shirt transfer paper.
Producing “true” colors are very important and frustrating to me, because sometimes the colors I see on my computer monitor do not match what is printed. The printed inkjet color varies depending on the monitor setting and the ink levels. Because of this, I may have to do many print examples before I print the design on the actual transfer paper. I use a lot of black and that inkjet cartridge is always being replaced and the price of this paint is very inexpensive compared to the price of one black inkjet cartridge.
As I skipped to the information on their other products, I thought “”Why not pop some of these paint projects, by first using the paint transfer and the adding a touch of their metallic paints.?”
Any how, this product may have opened up another level of my craft imagination. Thanks for the project and the product information. This is just another example why I have signed up for e-mails to Flamingo Toes!
I have seen a couple of these Ink Effects projects on Pinterest. I am intrigued. I ADORE your silhouette design. I need to get some of this stuff asap!
Those pillows are so beautiful … the images are gorgeous. What a great project!
What colours were in the kit you were sent from DecoArts?
I’m thinking of ordering on-line.
I’ve got so many pictures I could do this with.
Thx for sharing!!
I am starting to see this Ink Effects around. It is cool stuff. Loving the pillow project. They are so whimsical =)
Those are gorgeous!! I would definitely buy those, in fact, they’d be perfect for my sunroom!! Great job!
This stuff looks SO cool!!! I am just imagining all of the stuff I could make with it. So fun!! And I love your pillows, Bev! Just gorgeous in the simplicity of the flower silhouettes. :)
lovely bev! i think you should make more and sell them!
These are just beautiful! Thanks for sharing the silhouetted flower files. I need to find some of this stuff ASAP!
Super cute! What a fun project. I think I might have to try these
Bev, these turned out beautifully! So stylish, as always!
Stunning! They certainly don’t look homemade! Thanks for sharing this new project–I would have completely overlooked these paints otherwise.
Very nice! Can’t wait until paint comes to JoAnne’s.
Janet
Beautiful! What lovely accents for your home! :) Great tutorial too. :)
these are freaking awesome!! of course everythign you do is awesome! ;)
Jen
I’ve been seeing so many posts lately about these paints/inks. I can hardly wait to be able to try them, so many projects to be made with them. really excited. I was in the Jo-Ann’s in Grand Junction, CO today but they didn’t know what I was talking about. DUH! I’ll be waiting to find out when they’ll be available without having to pay s/h. Will need to use coupons to buy them but that’s ok. Will most likely have to buy one or two at a time til I can have the whole set.
Thanks so much for the patterns to make those pillows, something I seem to love making alot of. Can you ever have too many pillows?
Wow! These are stunning. LOVE the flowers you used and the colors. Wow!
I really like it.. wanna try those paints!
-Tanya
http://tanyaanurag.blogspot.in/