This post is a partnership with Thermoweb. All opinions are my own. ;)
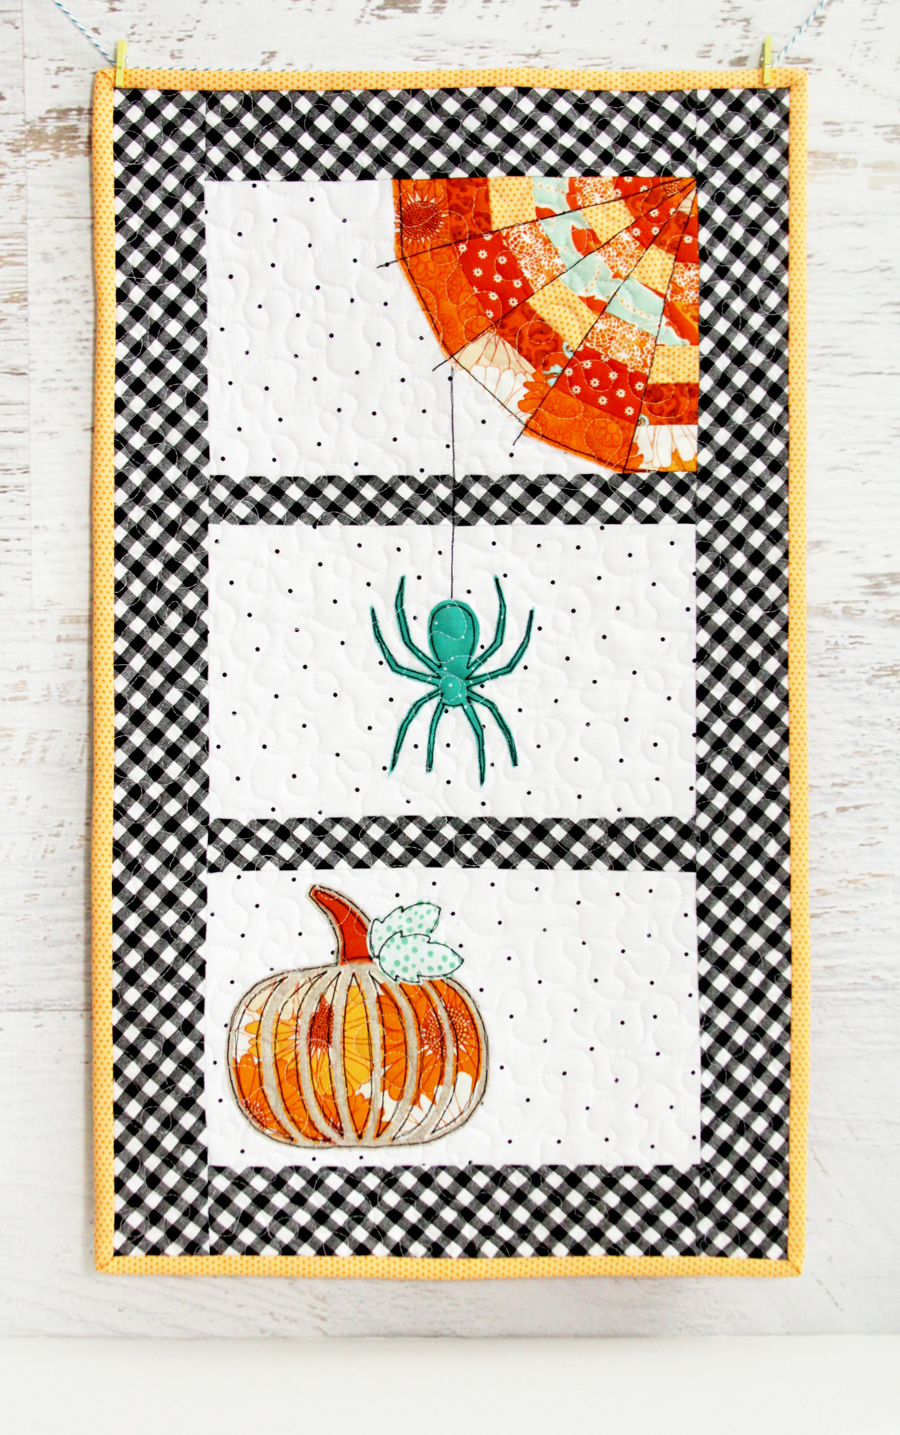
We’re diving into October with a fun new mini quilt! This cute Spinning Spiderwebs Mini Quilt is the perfect little wall quilt or table topper Halloween decoration.
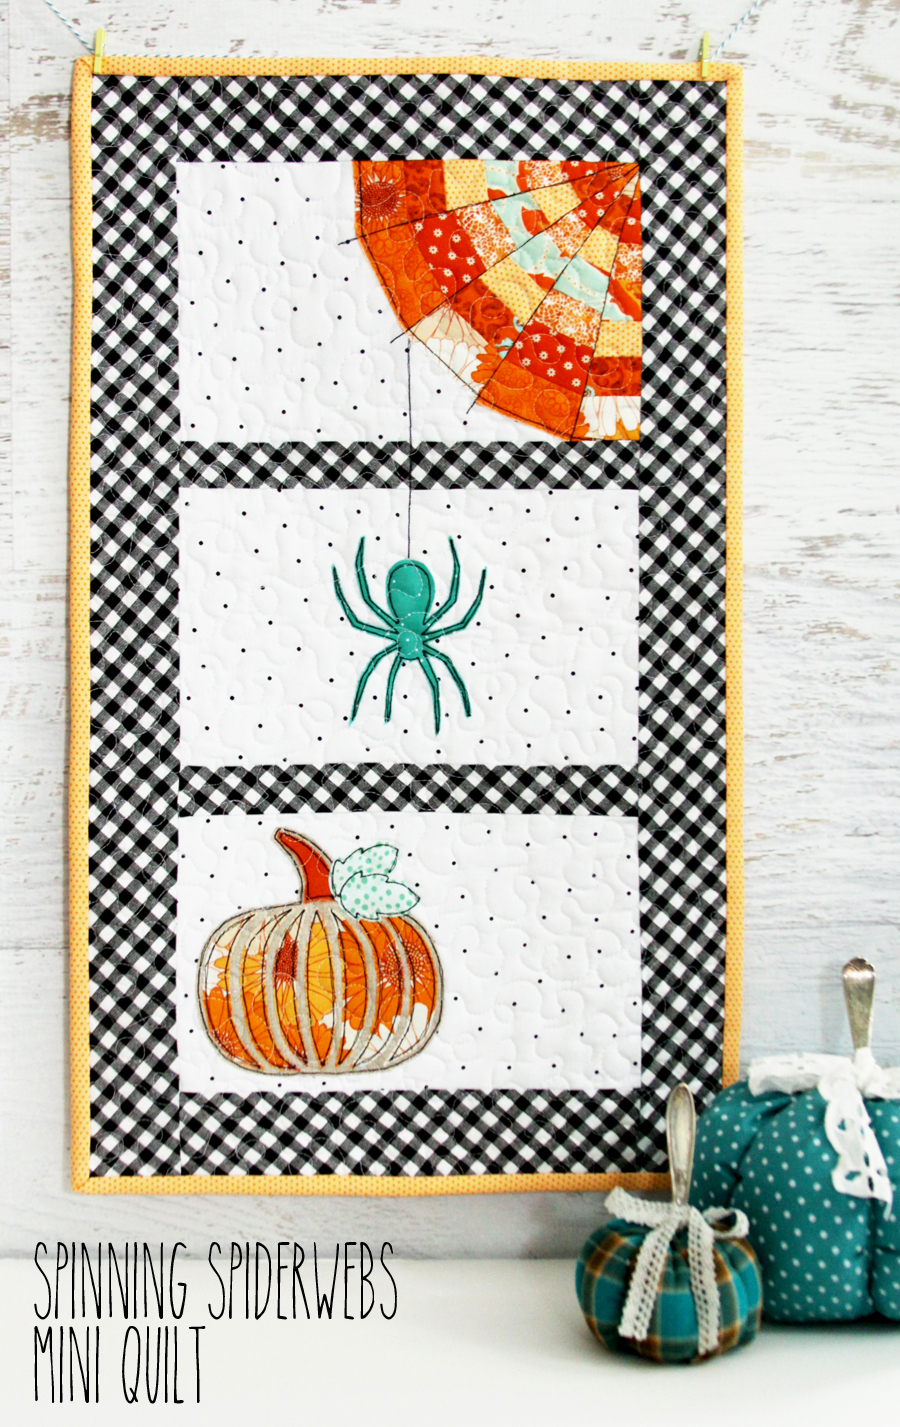
I had so much fun putting this little quilt together! It’s super easy to do and I love the combination of the teal and orange. Kind of different for Halloween but so fun. You could definitely do traditional Halloween colors though too!
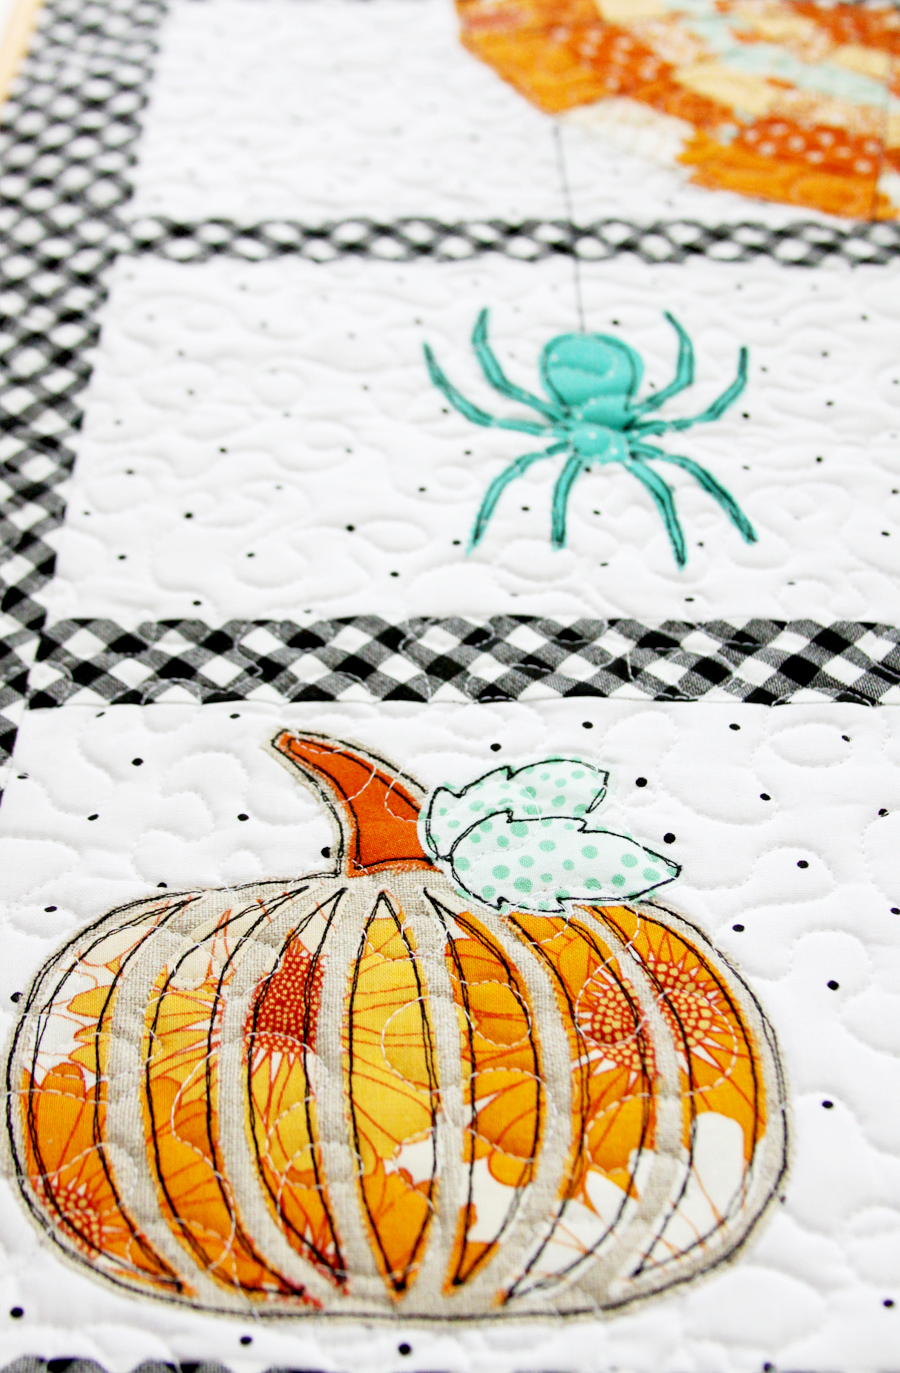
It’s a great scrappy project too. Mix and match your oranges for the spiderweb or go with a cool black and white color scheme.
Let’s get started!
Finished Mini Quilt Size: 14″ x 25″
Materials: (List contains affiliate links.)
- 1/4 yard background fabric (the polkadot print on my quilt) – Cut out 3 rectangles 10 1/2″ x 6 1/2″
- 1/4 yard border print – Cut 2 pieces 10 1/2″ x 1 1/2″, 2 pieces 10 1/2″ x 2 1/2″, 2 pieces 25″ x 2 1/2″
- 1/2 yard backing fabric – Cut 1 piece 27″ x 16″
- 1/4 yard binding fabric – Cut 2 pieces 2 1/2″ x 44″. (For straight binding – if you want to do bias binding you’ll need more fabric)
- Small amount of fabric scraps for spiderweb, pumpkin, pumpkin background and spider
- HeatnBond Soft Stretch Lite Fusible
- HeatnBond Fusible Fleece
- SpraynBond Basting Spray
Spinning Spiderwebs Mini Quilt Patterns
All seams allowances are 1/4″.
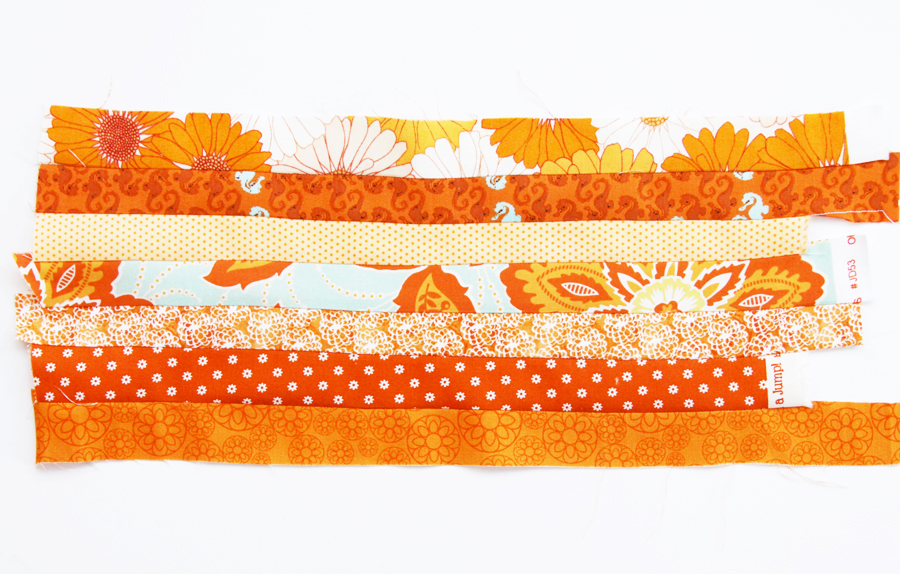
Begin by cutting out 7 strips that are about 1 1/4″ or 1 1/2″ by 14″ or so. This doesn’t have to be exact. Sew the strips together and press all the seams to one side.
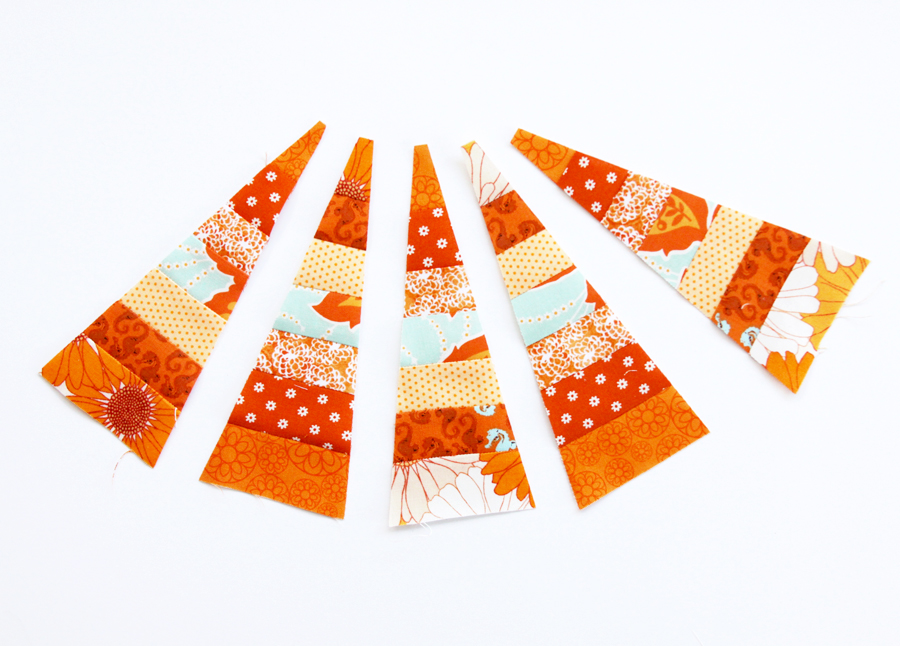
Cut out the triangle from the paper pattern and cut out 5 triangles from the orange fabrics, turning the triangle upside for every other piece.
Sew the triangles together with all the small points together. Don’t worry about matching up the seams. Press the seams away from the center.
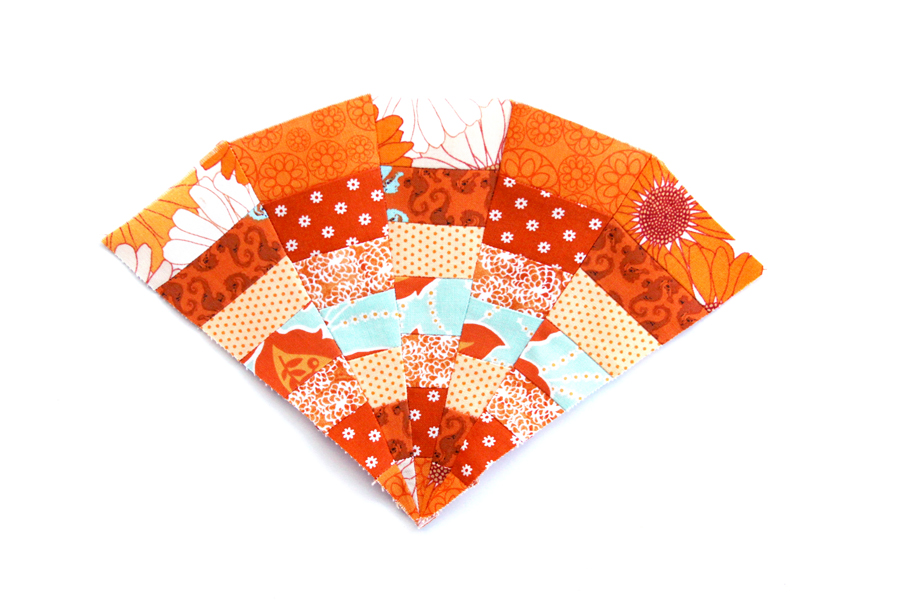
Iron a piece of fusible webbing to the wrong side of the pieced web. Remove the paper backing and iron the quilt piece to the top right corner of one of the background rectangles.

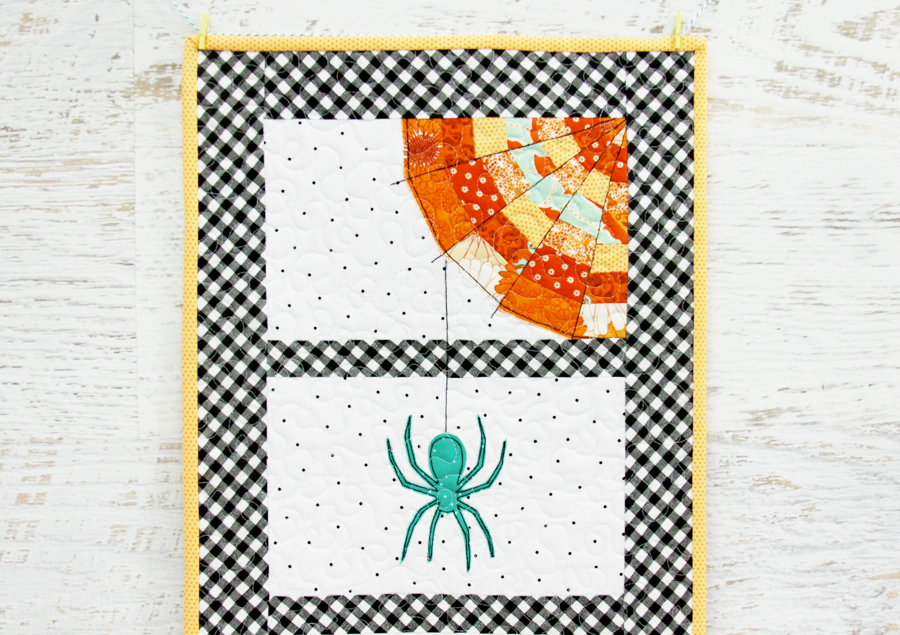
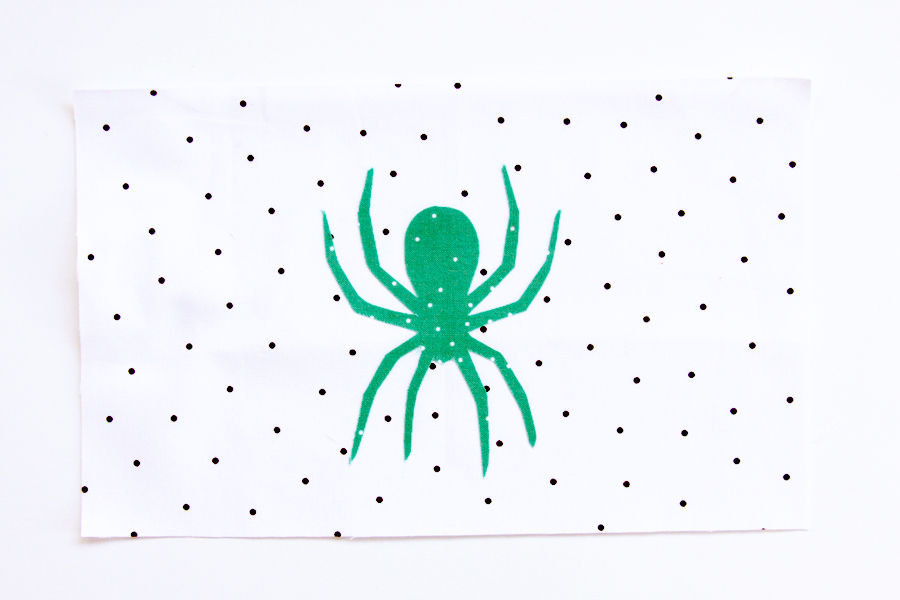
For the center square, cut out a piece of fabric larger than the spider. Iron a piece of fusible webbing to the wrong side of the fabric and cut out the spider. Take off the paper backing and iron the spider to the center of the background fabric.
Using the same method as above, cut out and iron the pieces for the pumpkin and stem to a piece of linen fabric.
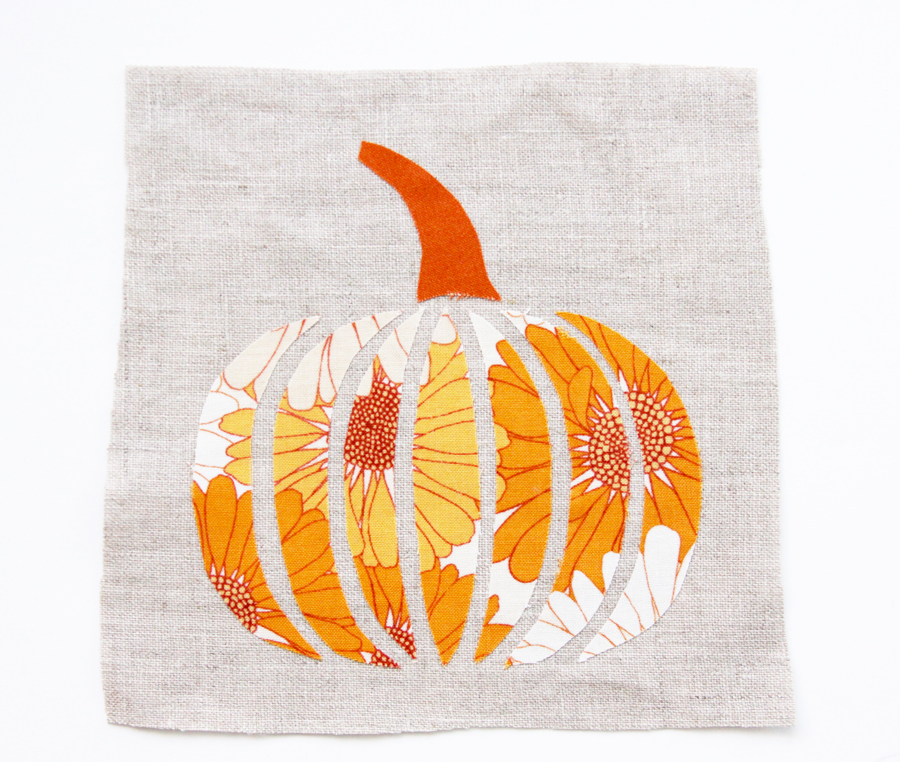
Cut out the pumpking shape about 1/4″ larger than the printed fabrics.
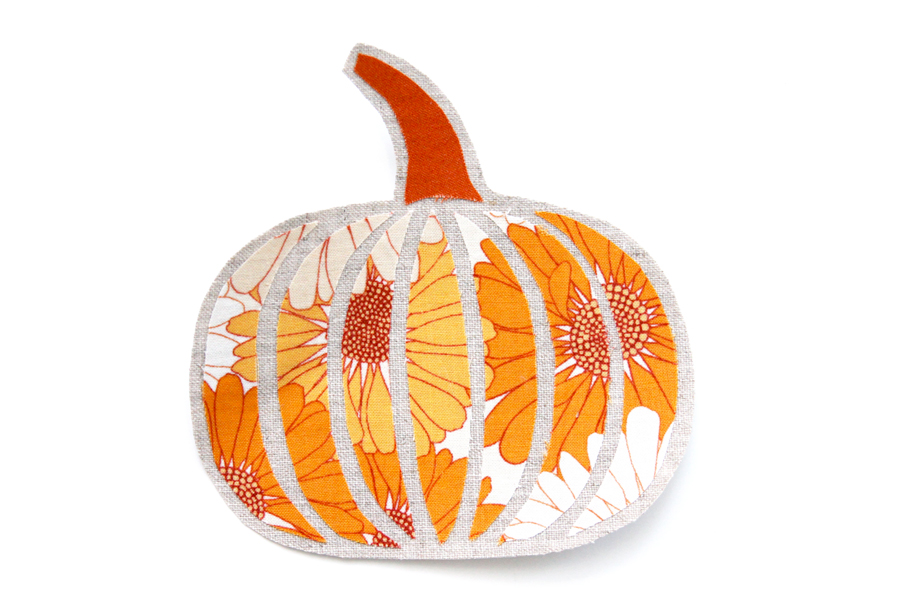
Iron the pumpkin and leaves to the left side of the remaining background fabric piece.
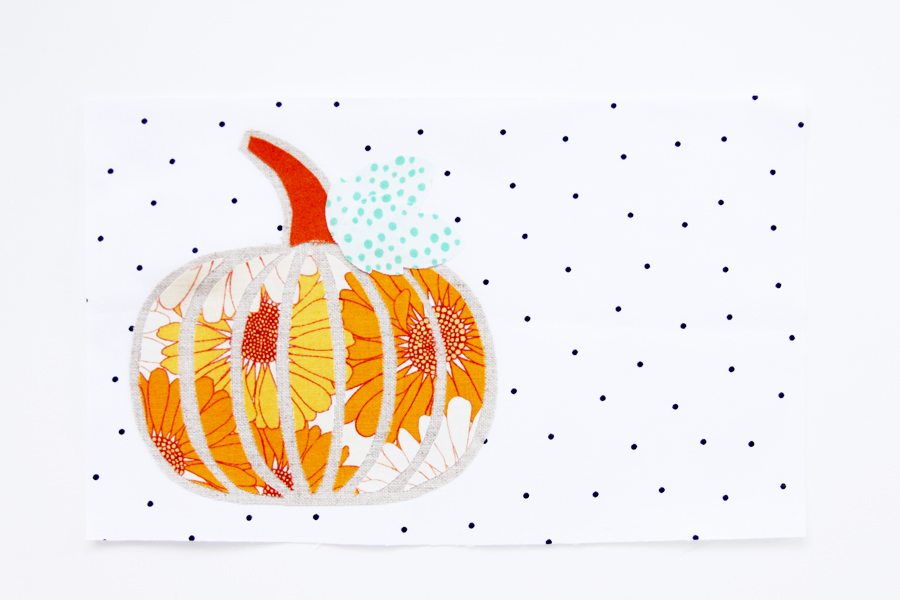
Stitch around the shapes. If you’re going to be using the mini as a table topper or plan on washing it, I recommend zigzagging around the shapes. If not, you can do a sketchy free motion stitch around each shape with a contrasting thread color.
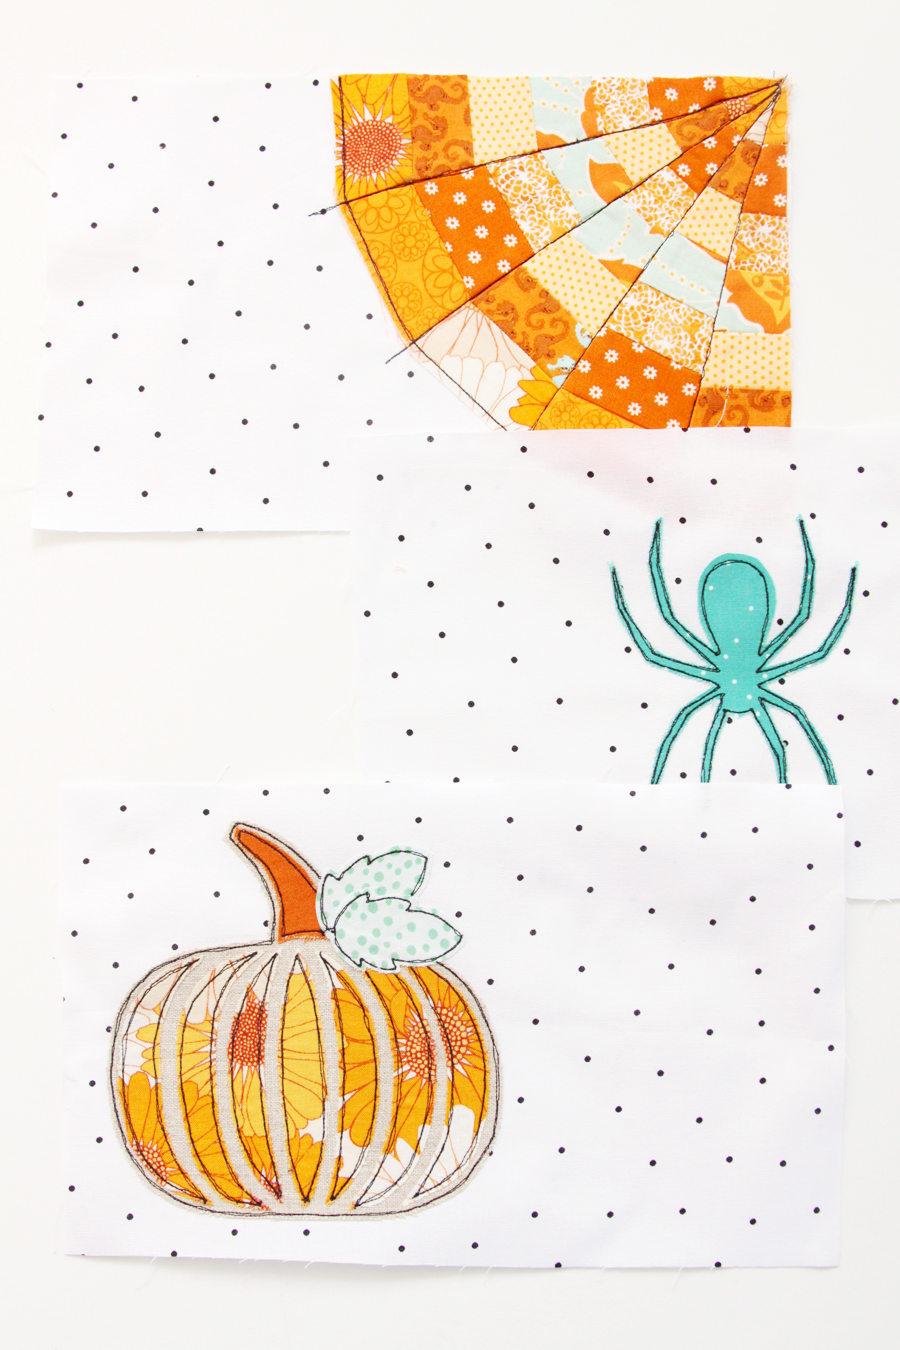
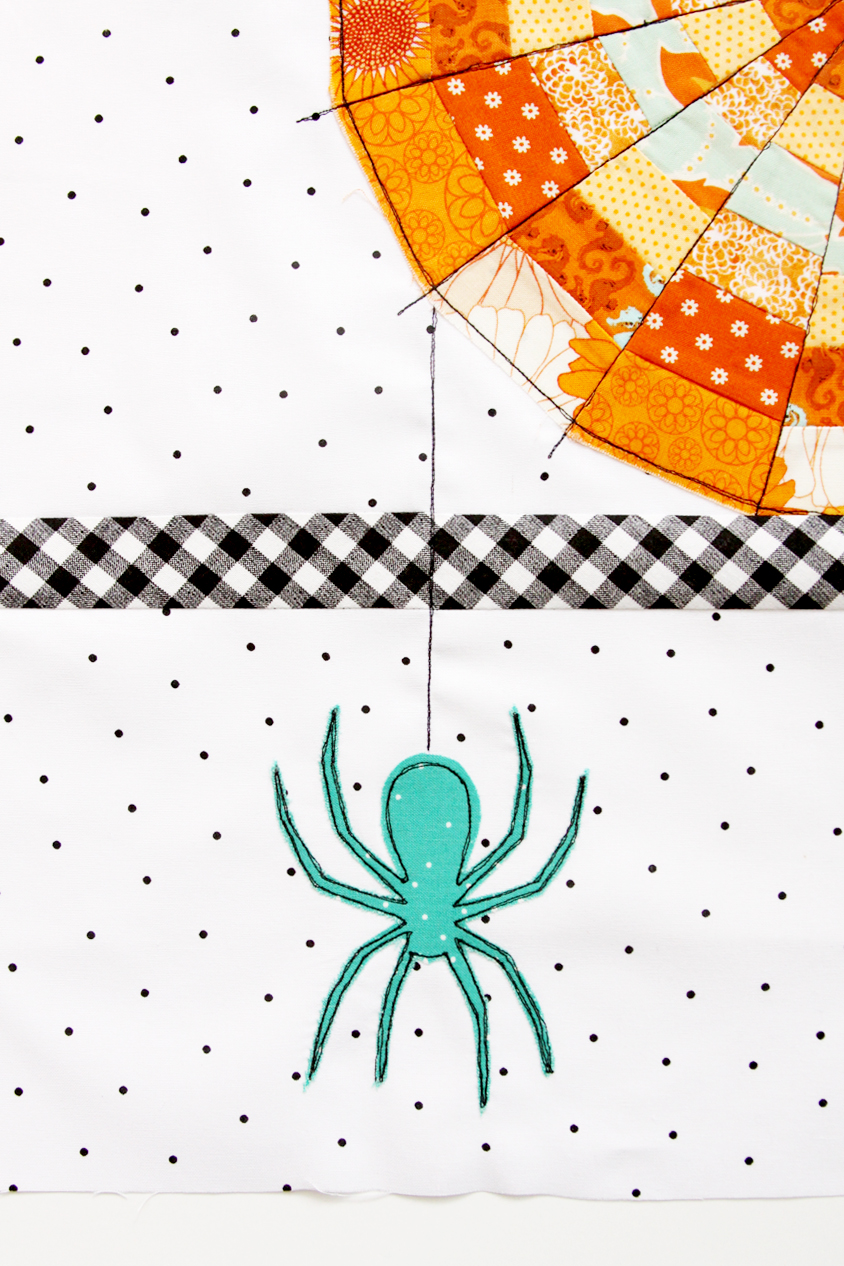
Sew one of the 1 1/2″ x 10 1/2″ border strips between the web piece and spider piece. Sew a connecting web line between the spider and the web.
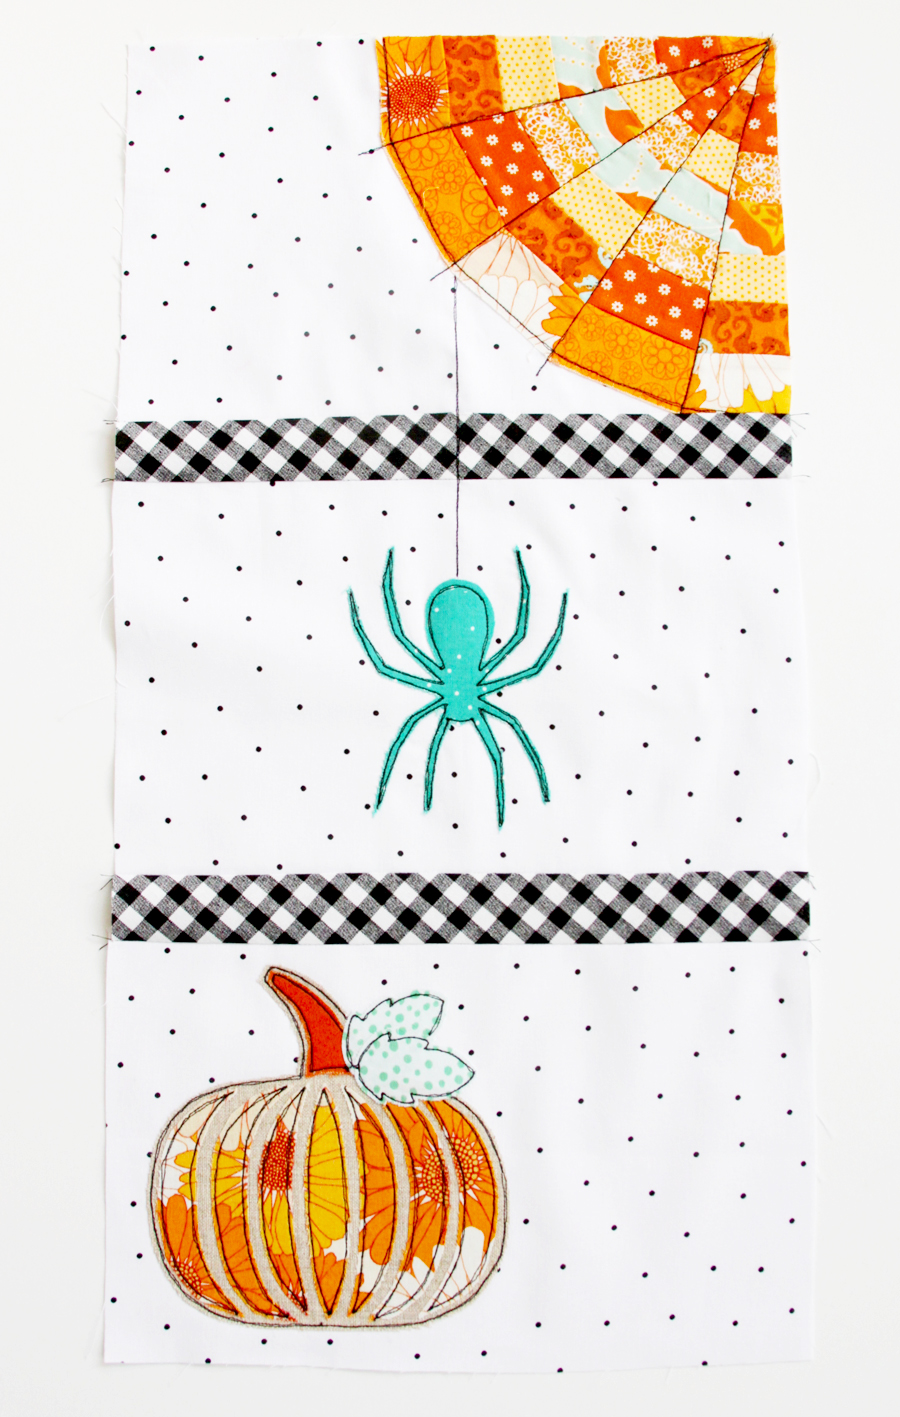
Sew the remaining 1 1/2″ wide border strip between the spider piece and the pumpkin piece.
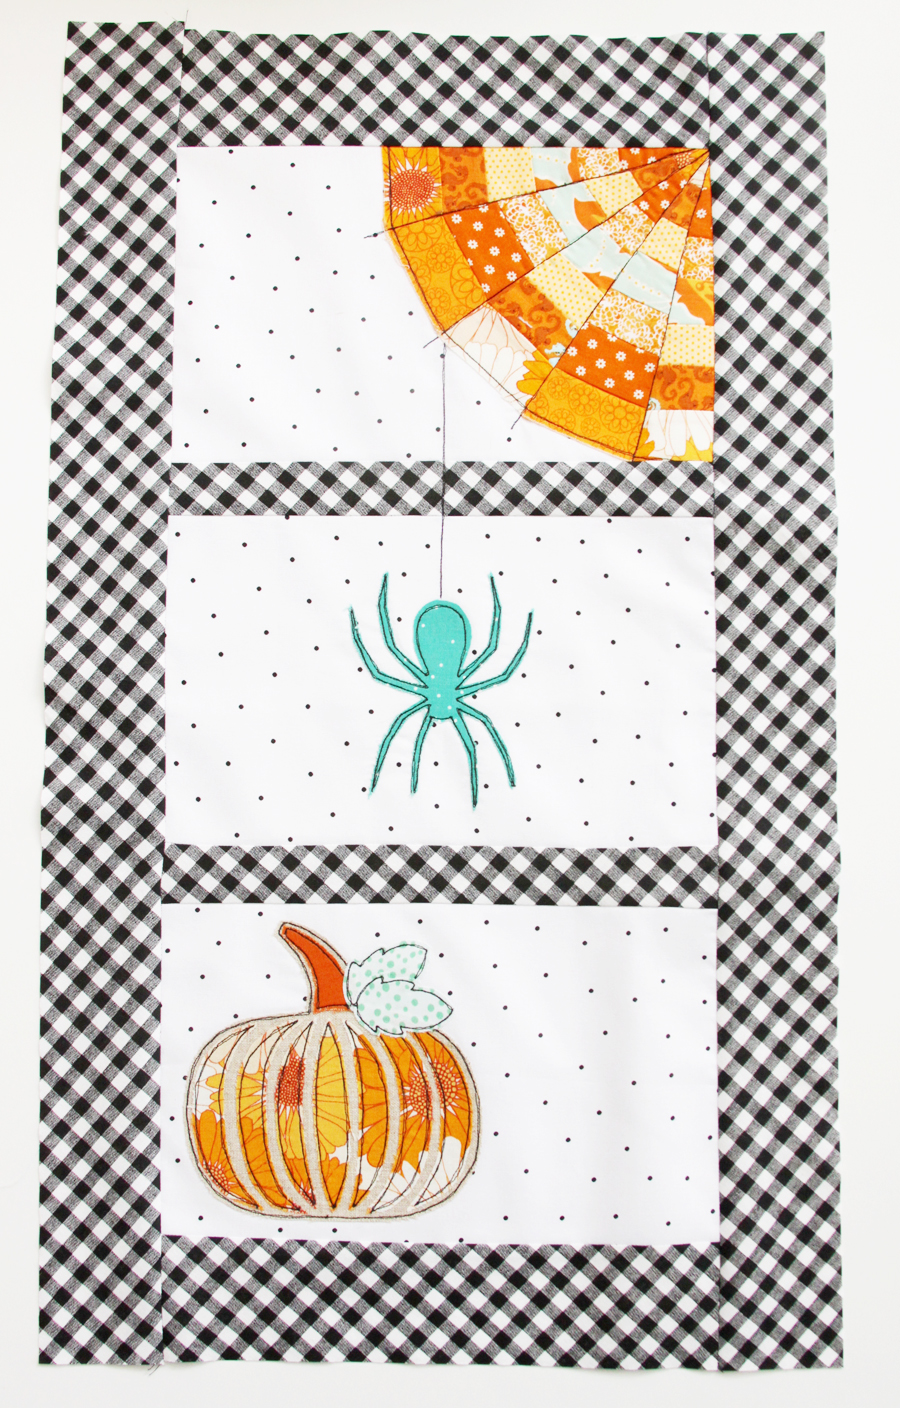
Sew the two shorter 2 1/2″ border pieces to the top and bottom of the mini quilt. Sew the long border pieces to the sides.
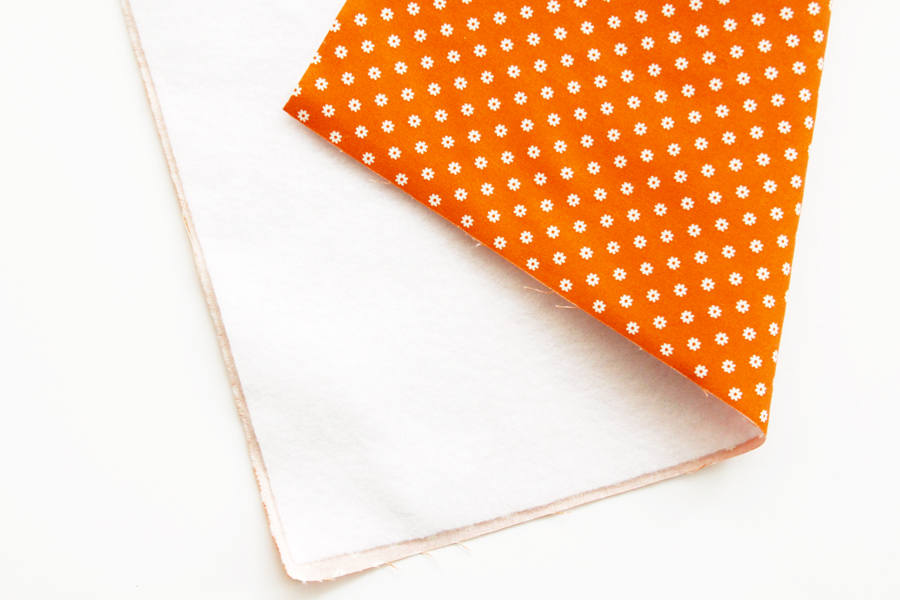
Cut a piece of fusible fleece the size of your backing piece. Iron the fleece to the wrong side of the backing fabric.
Spray the wrong side of the quilt front with the basting spray and press the quilt top to the fleece, making sure to smooth it out so there are no wrinkles. Quilt the mini as you wish. I used a small free motion meandering pattern all over the quilt. Bind the quilt to finish it off.

Hang up your mini quilt and show it off! This would be a fun little table topper too.

I hope you like it!
I’m partnering with Thermoweb for a giveaway too! Enter here to win a $40 credit! You could pick up fusible webbing, fleece, foil or so much more!


Thank you for the pattern & tutorial!
I love spiders and spider webs! That makes this perfect for me. Unfortunately all my sewing stuff is packed for a move but Hallowe’en comes around every year so I might just make it to christen my sewing room.
There is an awning at my side door; the space between the awning and railing is about 4 foot square. There is often a spider web there!
This design is very cute and is seriously tempting me to quilt. Thanks for the pattern and instructions.
That Thermoweb stuff sure seems handy for appliqueing, I love that it comes in a spray and printable versions too. Neat.
I love the pumpkin! I had not thought of that kind of application. The whole wall hanging is so cute. Thank you!
That is one of the cutest Halloween minis I’ve seen this season! Thank you so much for gifting it to us.
Linda
I would buy as much Thermoweb as I could if I win! 8-)
Love this project
I don’t sew. I followed your blog for the cute jewelry. Now I want to learn embroidery cause of the projects you post. Still don’t want to sew (flunked home ec on purpose- wanted to take shop and build a birdhouse) .But this is really cute.
I do love this little quilt. Halloween is such a good quilting holiday!
I made your flamingo quilt. It is still a top that needs to be quilted. I just love it. Ok, this little mini Halloween quilt is going on my ‘to do’ list as well. It is adorably cute.
hi Bev!!!
this is just an adorable mini!!! Going home to look for some orange fabrics!! Thanks for sharing!!!
This is sew spooktackular, Bev! I’m not sure I can do the spider, so I think I’ll just make mine round and stitch some legs {8} on! LOL I love the color of your spider, maybe if they were that color they’d be more appealing? Yeah, I didn’t think so either! ;) Thanks for sharing it!
So cute. Thank you so much for the tutorial. I love Halloween minis!
So cute, love the color combo and thank you for the pattern!
I need some Spray N Bond and also some inkjet sheets!
Really cute! Thank you for sharing.
What a fun Halloween project. I just finished a mini, but I may need to make something else to grace my walls!!
I love this mini! I would get basting spray and interfacing! Can never have enough of those items!
I would like to try HeatnBond EZ Print Lite to make a small quilt.
Love this mini! Gonna go through my fabric for this project. Thanks for sharing!
I would like to try SpraynBond. Thank you for the giveaway!
Absolutely awesome design and easy pattern. Thank you for sharing!!!
Cute Halloween quilt
I would choose batting for my prize
I really love this. I think the raw edge applique just set it off so well. crystalbluern at tds dot net
This is just too cute! I love it.
Thank you for the free pattern and the inspiration for a little fun
It’s so cool, love that the panels speak to each other / link up. So cool. Well done.
Beautiful quilt, I love your tutorial style, very clear. The colors make me smile.
This is really cute! The fabrics you used are so pretty, too! Thank you for sharing at Merry Monday. I’ll be including your mini quilt in my Party Features this week. We’d love to have you come by and link up with us again!
I love this! Thank you for joining the To Grandma’s House We Go DIY, Crafts, Recipes and More Link Party! Pinned this! Hope to see you again next week!
Such an adorable addition to fall and Halloween decorating. Love this project Bev!
Thank you for sharing this project at Create, Bake, Grow & Gather this week. I’m delighted to be featuring it at Friday’s party and pinning too.
Hugs,
Kerryanne
It’s so fun and I love the aqua pumpkins by it! Thanks for sharing with SYC.
hugs,
Jann
Gracias por compartir. Bello trabajo.
Here it is hanging, my kids loved helping hunt down a twig to serve as the hanger after watching me embroider it. You can make one of these in a weekend, only because you need to let the paint dry before you start stitching. It would be easy to switch up the style with different colors or fabric choices! What other words would you put on a pennant ornament?
Hello, The fabrics you used are so pretty, too! Thank you for sharing at Merry Monday. I’ll be including your mini quilt in my Party Features this week. We’d love to have you come by and link up with us again!
They really do light up when you start running the numbers for them. Most don’t think they’d ever be able to retire a millionaire. Start investing early enough and stay consistent with it and it’s certainly achievable.
Hello, I got some talented information here about swimming pool heat pump overseas and shipping. it seems to be good response just because of everybody like your shipping description.
I followed your blog for the cute jewelry. Now I want to learn embroidery cause of the projects you post. Still don’t want to sew (flunked home ec on purpose- wanted to take shop and build a birdhouse) .But this is really cute.
I love this for Halloween.
This is so cute. I am going to make this tonight after dinner. Can’t wait to get started! Just happened on your live chat. Thanks for sharing this!
This is such an amazing share! I can’t wait to get started! I’d be picking up some Thermoweb!
Hi. Just found this gorgeous Halloween Pattern. The design and colours are Modern Halloween.
Would love to make this pattern. I tried to download the pattern but it didn’t work. Could you please give me the secret to download it. Thanks for your consideration.
Louise
What a great pattern, thank you!