So last week I showed off my new Night Stand/Jewelry Cabinet for my bedroom. Yay for getting some of the redo done in there!
Well since we’re on a roll, I thought it would be fun to make a cute new throw pillow for the bed!
I have been wanting a chevron pillow for a while (cause really, why wouldn’t you) but I couldn’t decide on a color or style.
Wishy Washy. That’s me.
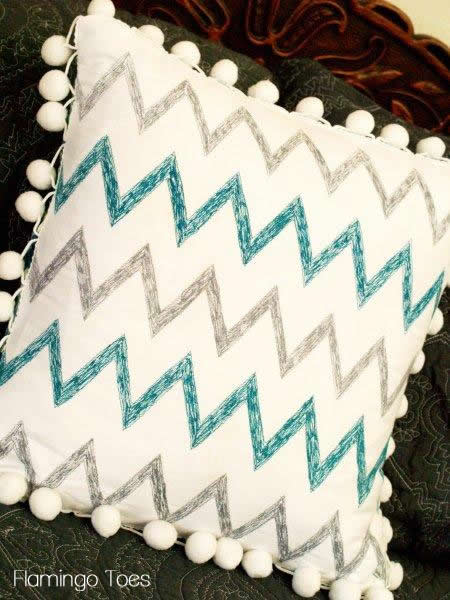
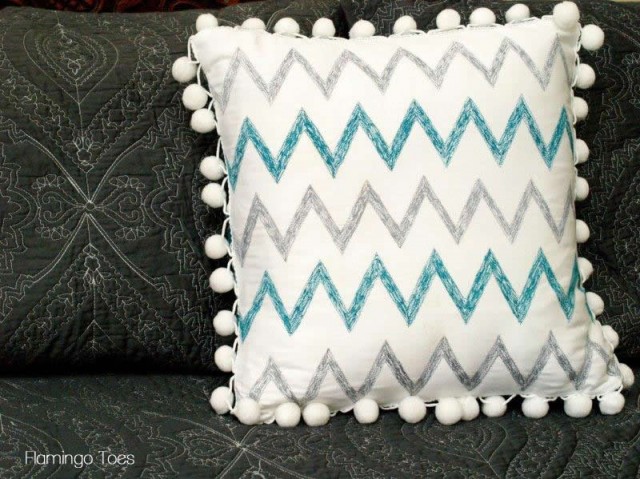
But then I had the idea – what if it was a “Sketchy” Chevron – with the chevron stitched on the pillow?!
Kinda different and fun right?
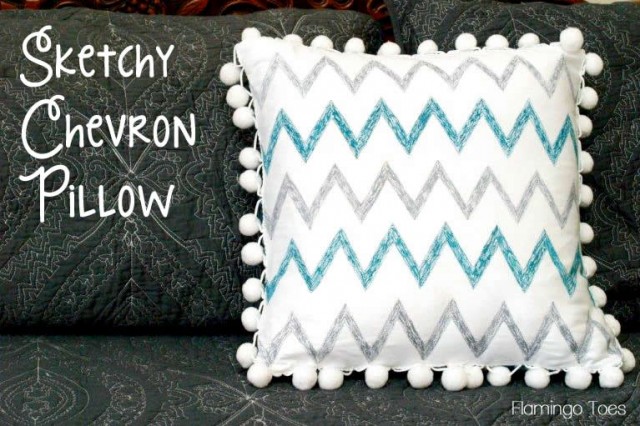
The new colors in my room are gray and dark red, with turquoise accents. I thought the gray and turquoise chevrons would look really fun.
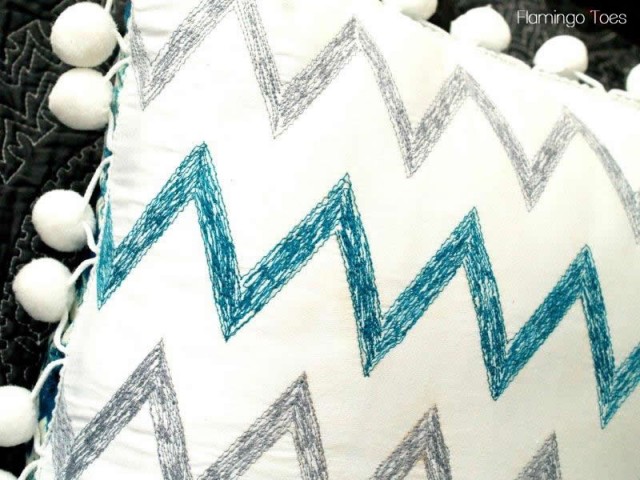
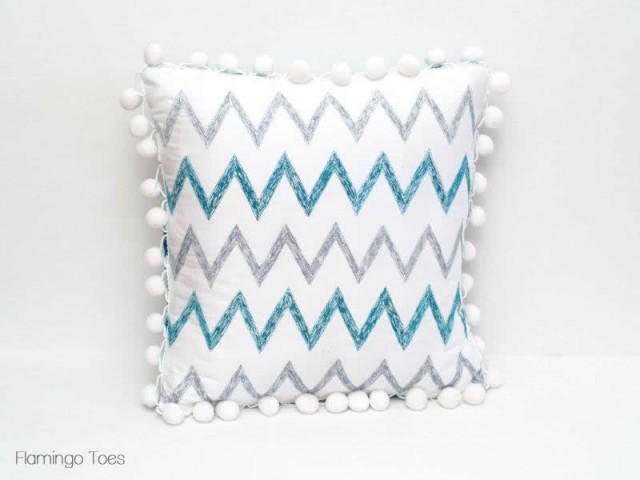
I just love how sketchy and pom-pommy it is. Yes yes. Pom-pommy is a word. Of course.
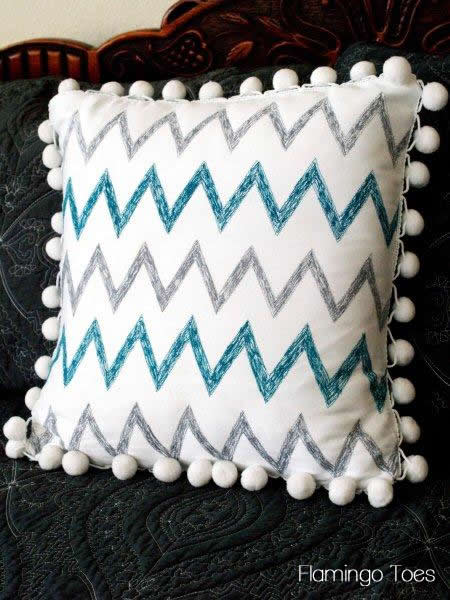
Eek!! It’s so fun. So are you ready for the tutorial??
If you have been wanting to try thread sketching this would be a perfect project to start with! It’s just straight lines, stitched over and over. Nothing to mess up. :)
Here’s what you’ll need to get started:
Pillow Form (I used the Pellon HomeGoods 16 x 16 form)
Fabric for front – at least 20″ x 20″ (I used Pellon 300 ct fabric)
Fabric for back – 2 pieces – one that is 16″ x 12″ and one that is 16″ x 8″
Leave-in Pellon Embroidery Stabilizer
Button and small piece of rick rack or trim
Pom Poms for edging – about 66″
Thread for sketching (make sure you have most of a spool for each color – it takes a lot)
Embroidery Hoop, Free Motion Embroidery Foot (optional)
Start by making your chevron pattern. Use a piece of posterboard or something heavyish and draw out your pattern. For this one you’ll mark 1″ in on the top , then every 2″. Then measure 2″ down and mark every 2″. Connect the dots by drawing diagonal lines between each dot. Here’s a handy dandy drawing.
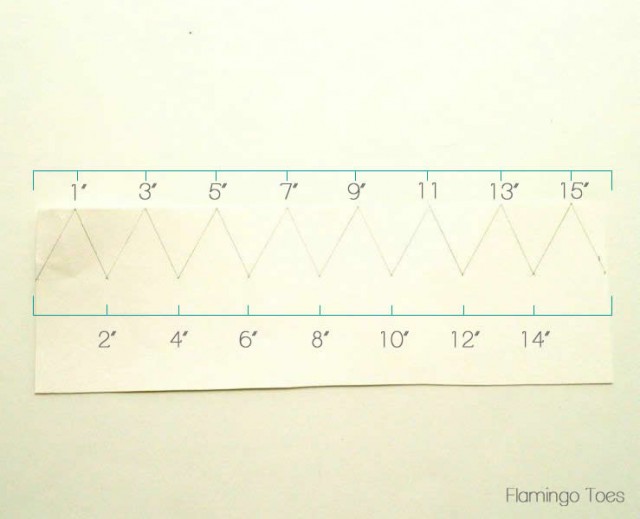
Cut the posterboard along the lines – and you have a Chevron pattern!
Iron or baste your embroidery stabilizer to the back of your fabric. This will keep the fabric from wrinkling up into a hot mess when you sketch on the lines.
Measure down where you’d like your chevron to start and trace the pattern with a disappearing ink pen.
Measure down another 1/2″ and draw another line.
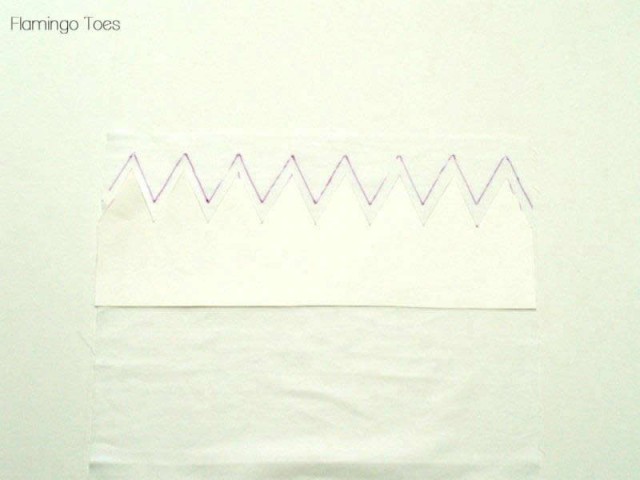
Measure down about 1 1/2″ and then mark the second two rows of lines. Keep marking down the fabric until all your rows are drawn.
(Here is a “do as I say, not as I do” moment. Cut your fabric larger than you need. I cut mine 16×16 and it was tough to stitch the ends. Cut your fabric more like 20″ x 20″ and draw your pattern in the middle.)

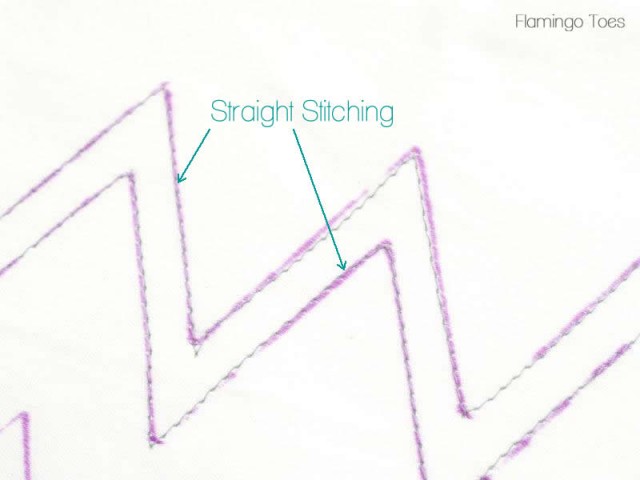
Start by using your regular presser foot. Outline the two rows of the first line of Chevron with straight stitches.
Place your fabric in an embroidery hoop so that it is reversed, you want the large circle of the hoop under the fabric and the small hoop on the top. This will make the fabric flat against the base of the sewing machine.
Put on your free motion embroidery foot – time to get sketching!! :)
Sew up and down between the rows of stitching, alternating short and long stitches. You’ll basically be pulling the hoop back and forth. Sew up to one corner, then turn the hoop and sew down the other direction.
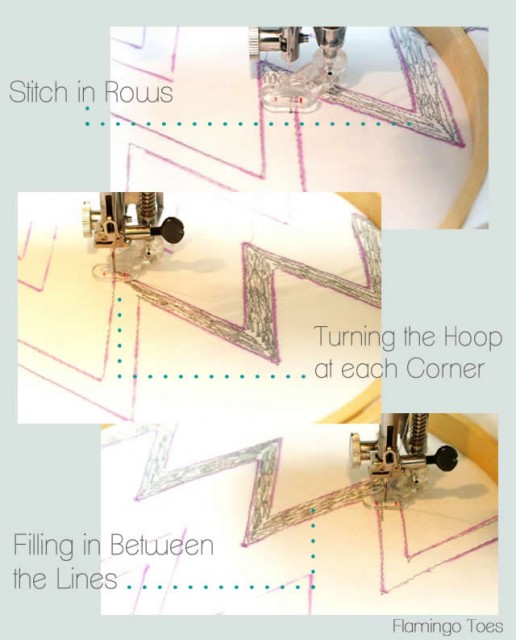
Continue until the entire top row is filled in. Update: Each row took me about 15 minutes to fill in. Not too bad right?
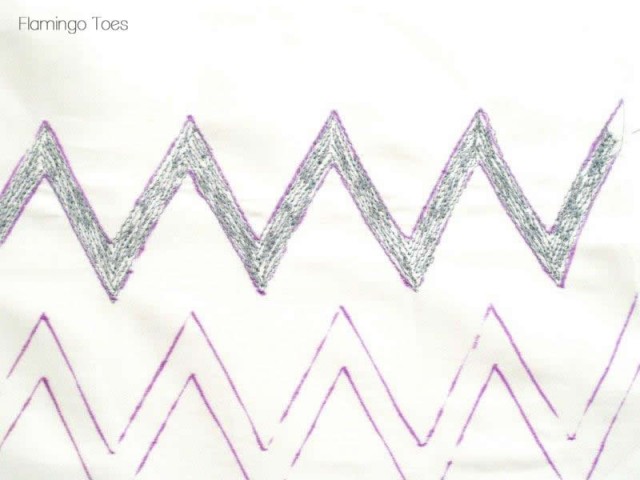
Move onto the next row – repeating the process with another color. (If you are changing colors)
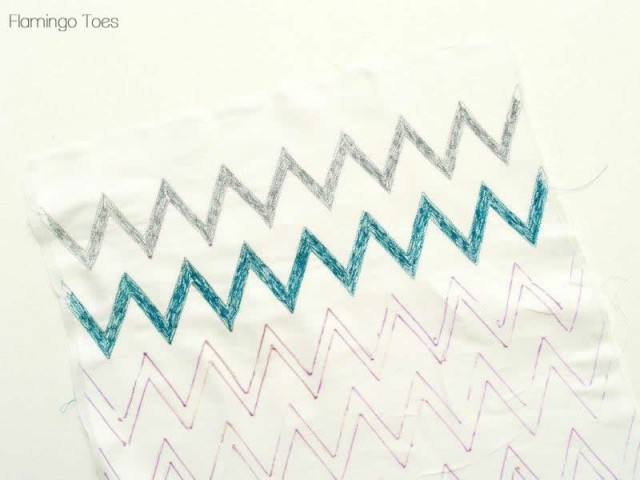
Continue with your other chevrons until your entire pillow top is sketched.
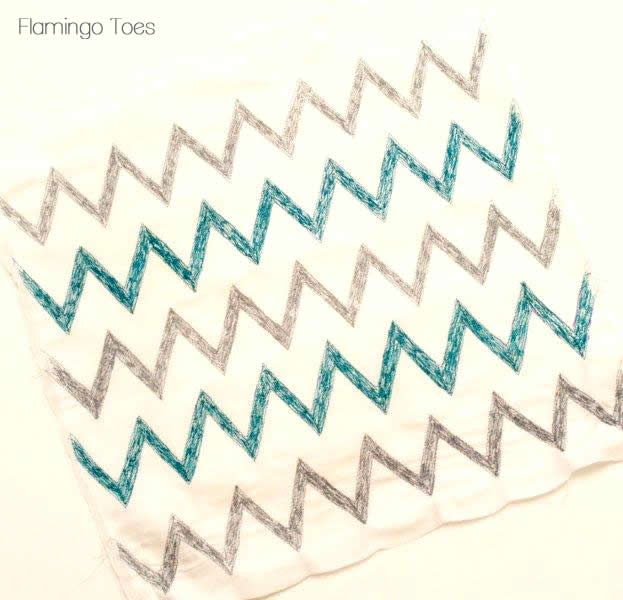
Now on to the back. Cut out the fabric for the backing. (measurements in materials list)
Hem the bottom of the large piece and the top of the bottom piece.
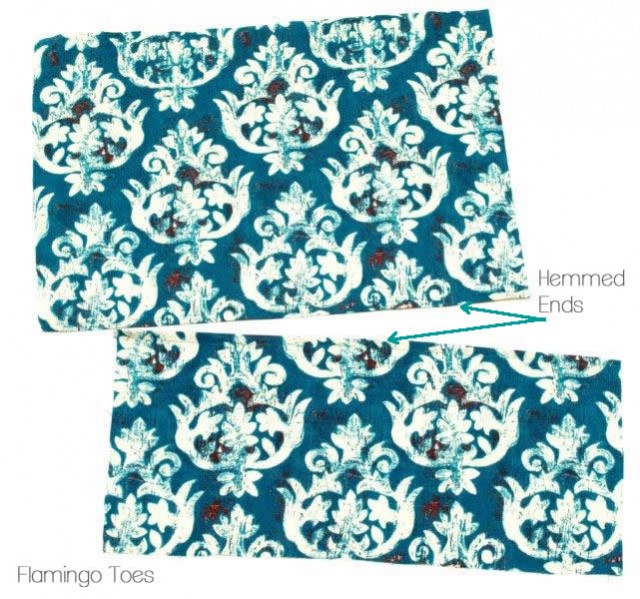
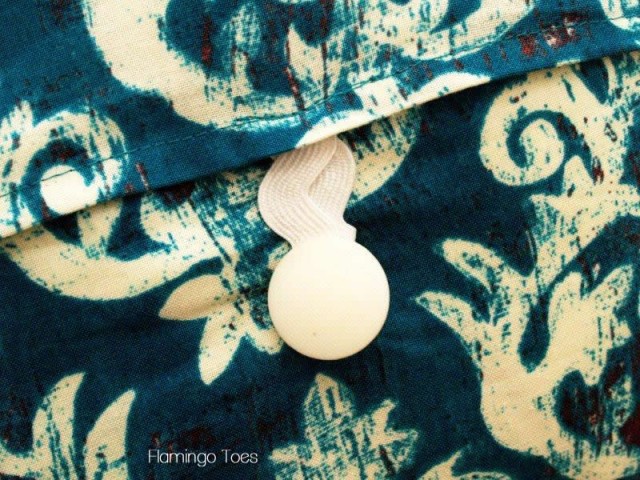
Cut a small piece of trim, about 3″ long. Fold the trim in half and overlap the ends. Place the ends under the hem on the top piece, in the center. Sew the trim to the back side of the piece.
Overlap the back pieces so the large one is on top and they measure a 16″ square. Pin the sides together.
If you are using pom pom trim, sew that around the front of your pillow, along all four sides.
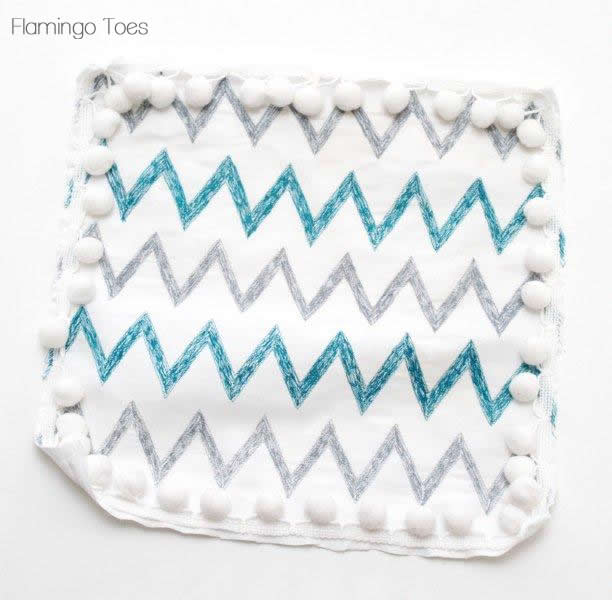
Lay your pillow front and back, right sides together. Sew around all four sides and clip your corners. Turn right side out and press.
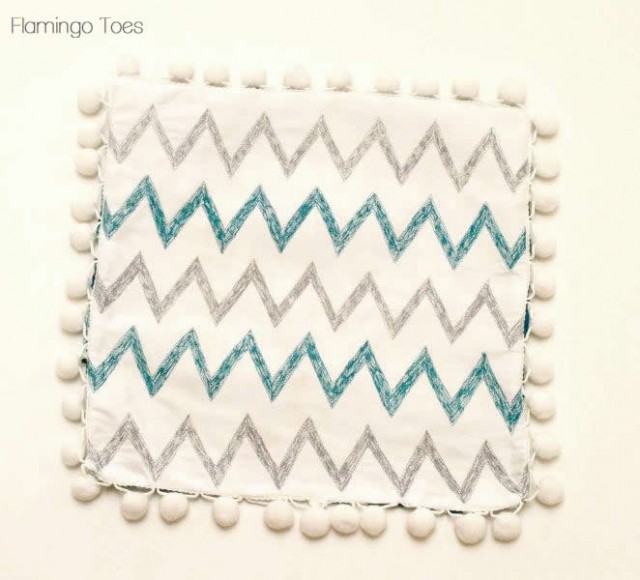
Place the pillow form inside the cover. Mark where the button on the back bottom piece should be, then sew on. Loop the trim around the button to hold the cover closed.
Sit back and fall in love with your cutie new pillow.
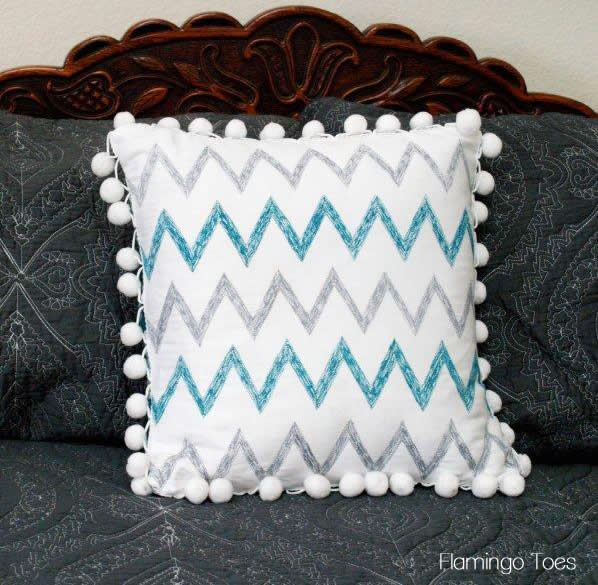
I love the contrast of the pillow with the new coverlet.
What do you think? I’d love to know!!
Linking up at Sunday Scoop, Today’s Creative Blog, Met Monday, Skip to my Lou, Tutorials & Tips Tuesday, Quilt Story, Shabby Creek Cottage, My Repurposed Life and the other fabulous parties on the party page – make sure you check them out!


So, so cute…and a great tutorial.
Now I love a good pillow…or 10…this is so lovely! Did it take long?
Wow! I love how this turned out. Looks like a bit of work but the look is fabulous!
Totally darling!! I love this!
Love it! I really like all the stitching (and the Pom pommyness :)
Super cute, Bev!! I love the turquoise and gray together. And the sketchy look is so fun! I can’t wait to see the entire room put together!! :)
Between this and the doodling on fabric tutorial over at No Big Dill, I am itching to try “drawing on fabric” with my machine. Now I just nee to find the perfect project to try it on…
This turned out so cute! I love the colors you chose. I am a new follower. I hope you’ll visit me over at Posed Perfection and maybe even follow me back.
Blessings,
Nici
Very cute! I love the free-motion embroidery! Did the stitching take a long time?
I’ve updated the post – but to answer here too, each row took my about 15 minutes to fill in. And it was fun so it went by pretty fast. :)
Oh WOW Bev. That is even more intricate then I first thought. It’s so fun!! Love the pencil-sketch vibe. It’s fabulous!!
Oh wow, super cute and fun!!!! Chevrons and pom pom combination is like a marriage made in heaven!!! And this looks like something I could manage with my crazy sewing machine skill :D
this is so cool, thanks for sharing!
This is a really cute pillow, love the stitching done on sewing machine. I will definitely try this! Thanks for sharing.
Once again – you are fabulous! I love it – the colors, the pom poms, the sketchiness!
Thanks for linking to Take-A-Look Tuesday over at Sugar Bee Crafts. You were featured today – twice!
–Mandy, http://www.SugarBeeCrafts.com
I think you’re amazing!! Oh my gosh, I can’t believe all those zig-zags are made entirely of stitches!! I’ve seen a lot of chevron tutorials but never anything like this. I love it!!! And the pom-poms are the perfect finishing touch- adorable!!
That is AB-SO-LUTE-LY the coolest pom-pommy pillow ever!
so cute!
love it! the sketchy part looks especially novel!
I absolutely adore this, Bev!!
Ooooh this is super cute! Chevron and pom pom trim together, swoon :)
xoxo, Tanya
Too cool! I just love it, Bev. The pom pom trim is fun. :)
This is fabulous!! I am seriously in love with this pillow! Thanks for the tutorial : )
Ashley {Cherished Bliss}
VERY cute idea! love it!
How cool is that!!! I love it
Congratulations Beverly on being featured on allfreesewing! Love your pillow – what a great introduction to thread sketching as well as another way to use it. An idea I most likely will “borrow”. Thanks for sharing :D