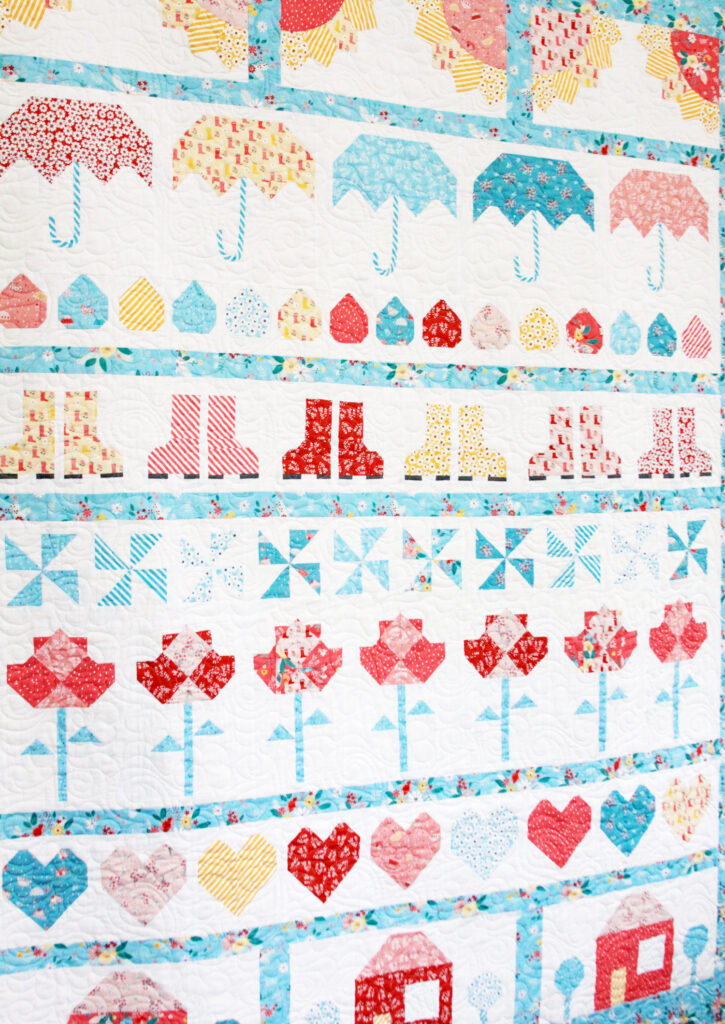
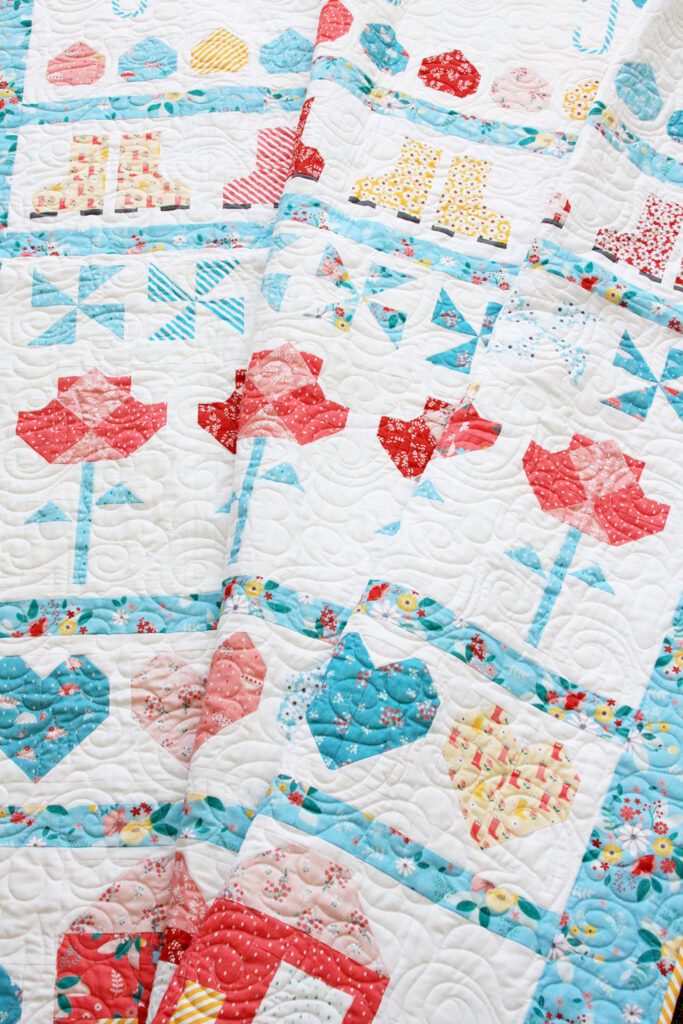
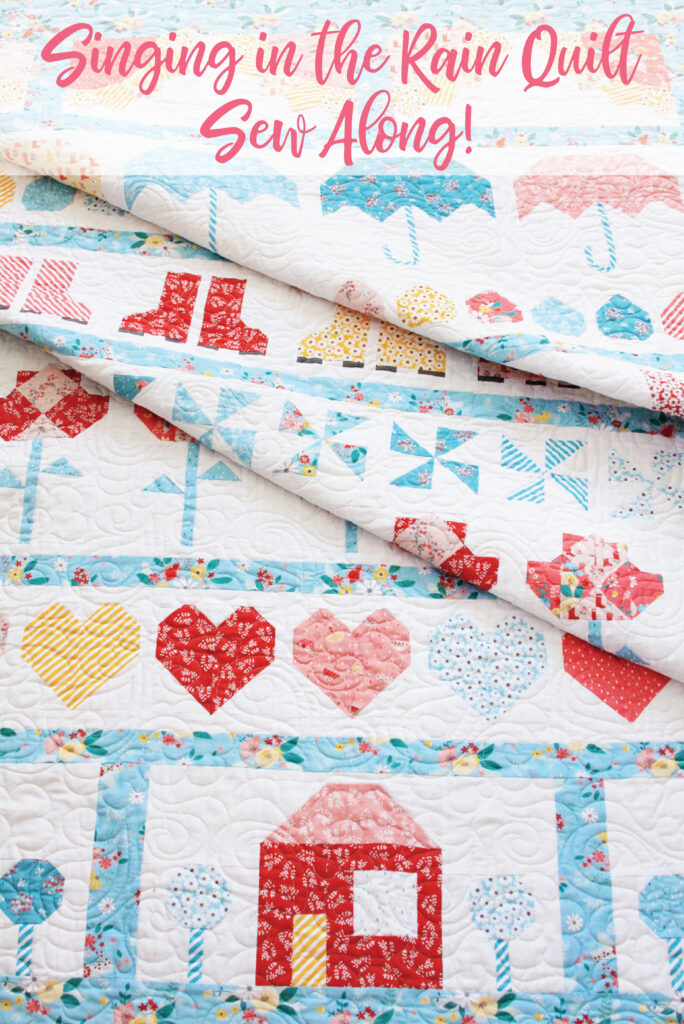
I can’t believe we’re at the last section of this fun sew along! This week we’re diving into the Singing in the Rain Quilt Sashing and Borders to finish up our quilt top.

Once you have the rows all finished, the sashing and borders tie it all together pretty quickly. And I only have a couple of tips for you this week!
I have had so much fun with this sew along – I hope you have too! It’s been so fun in our group as well, to see everyone’s progress and to get to know so many new friends in the weekly Sew Along videos.
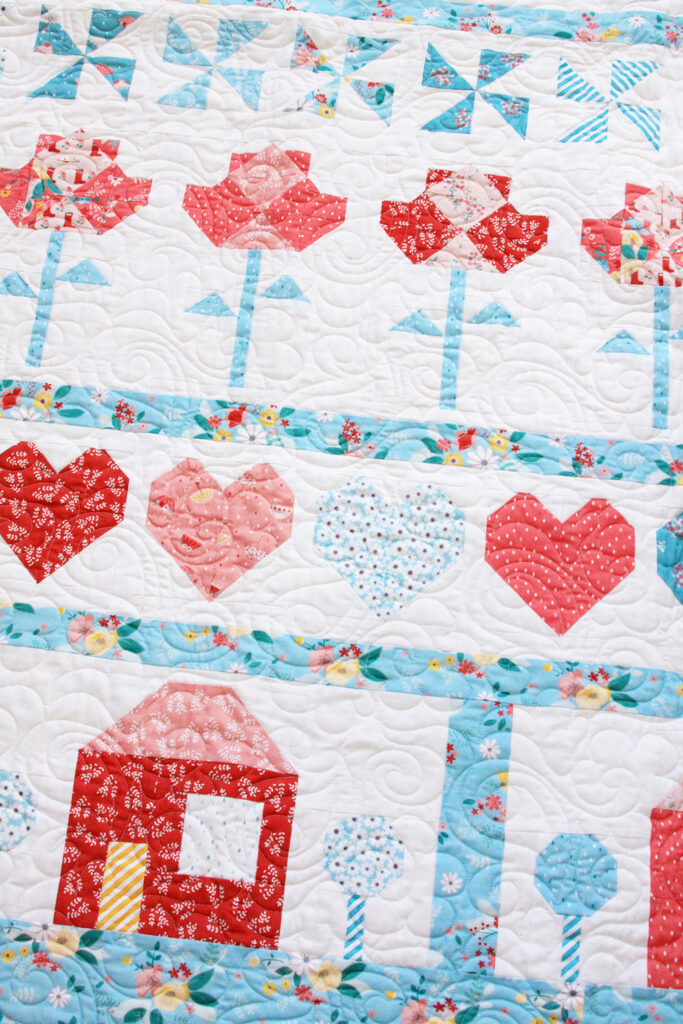
Singing in the Rain Quilt Sashing and Borders
Tips for sewing the sashing and borders:
- In the instructions I have the approximate measurement for the rows, but don’t be too stressed if yours aren’t all the same size! I’ve built some flexibility into most of the rows so I recommend that you measure the sun and house rows, then trim your rows to this measurement and cut your sashing this same amount.
- Use this same principle for your border lengths. Measure the length of your quilt top and cut the side borders to this length. To get the most accurate measurement, measure down the center length of the quilt, not the sides. Repeat this for the top and bottom borders.
We have one more week to enter to win the Singing in the Rain giveaway! To enter to win, share a photo on Facebook or Instagram with the hashtags #singingintherainsal and #singingintherainquilt. You can also share in the Facebook group! Every photo you share is an entry to win!

Thanks so much for sewing along! And if you’re just starting the quilt or saving it for later – that’s awesome too! These posts and the videos in the Facebook Group will stay around for you to access anytime. You can still find Singing in the Rain fabrics here and there is more on the way soon!


Leave a Reply