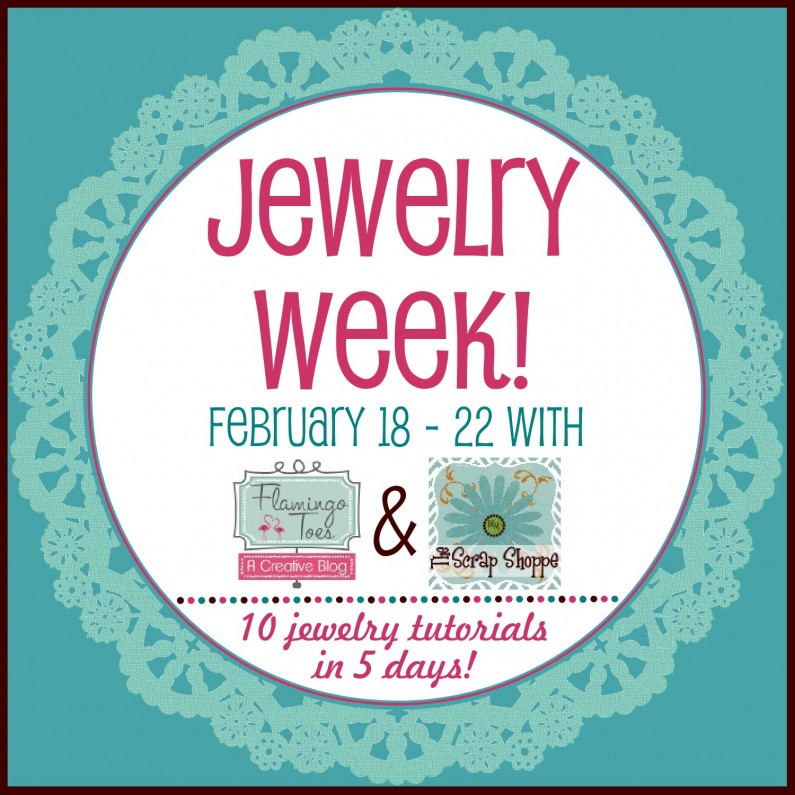
Welcome to Day 3 of Jewelry Week!
Michele from The Scrap Shoppe and I are bringing you 5 Jewelry tutorials each this week for a fun week of Jewelry Inspiration!
So I am all in love with today’s project!
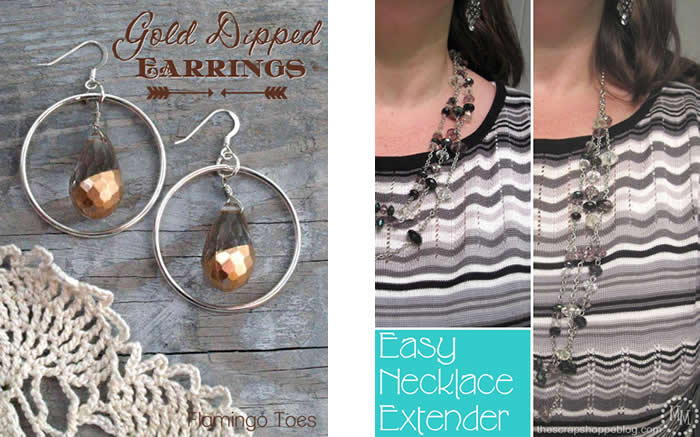
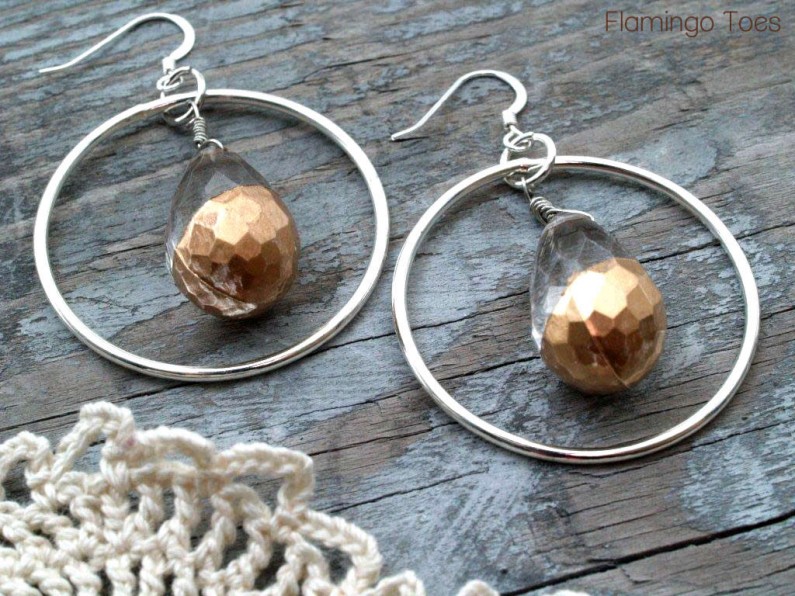
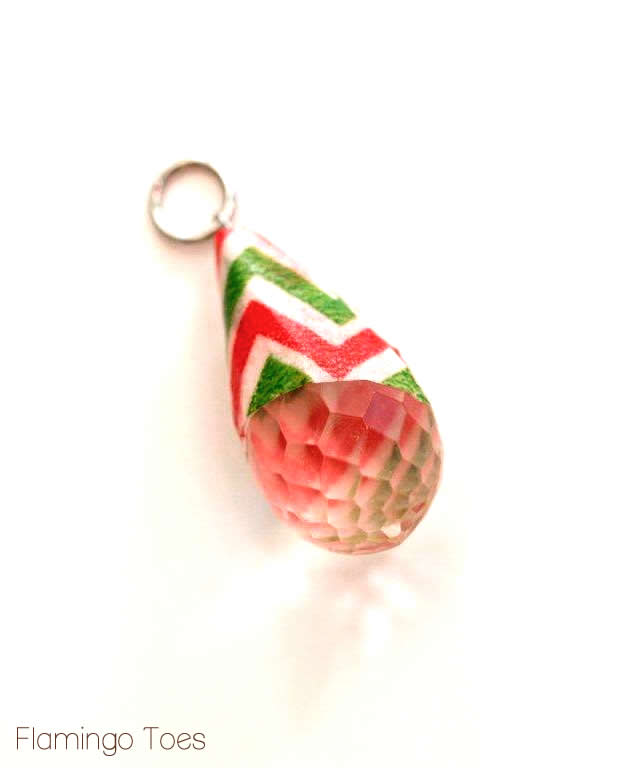
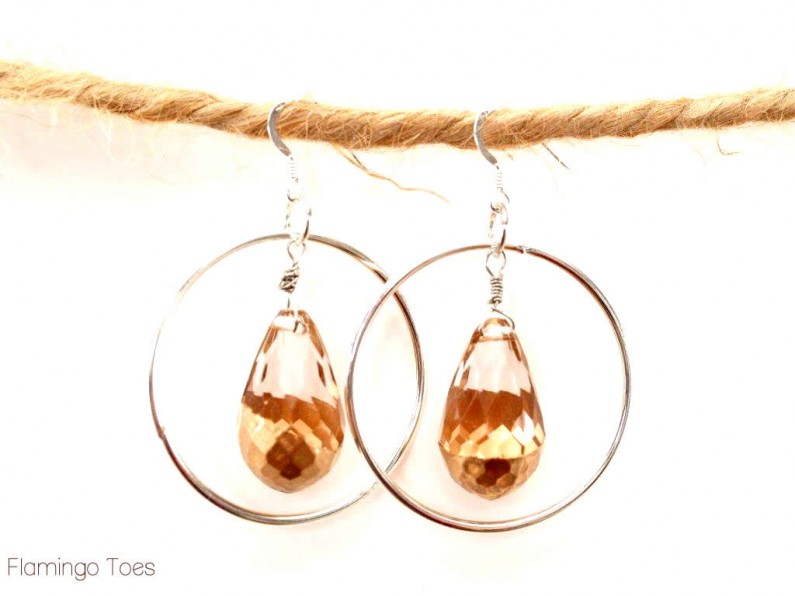
I’ve made these pretty Gold Dipped Earrings for you and I think they are super fun!

You will not believe how easy these are. After just a few steps you’ll have cute one-of-a-kind earrings!
To make your own you’ll need:
- Large Silver Hoops
- Crystal Drop Beads
- Paint (I used Martha Stewart’s Gold Gilding)
- 2 Jump Rings
- Thin wire for wrapping (24 gauge)
- Tools: Paintbrush, tape, jewelry tools
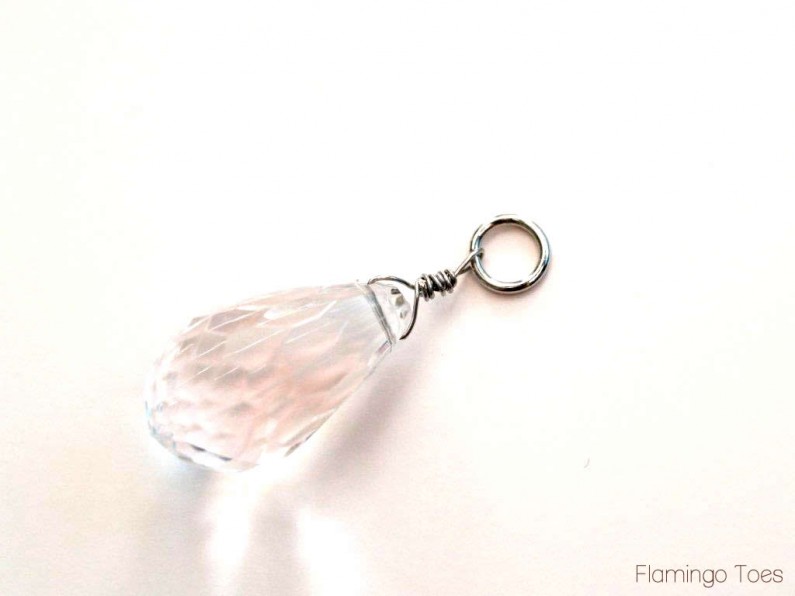
Start by wire wrapping your drop beads and adding the wire to a jump ring. There are instructions on the How to Do That Jewelry Page for wire wrapping.
Wrap tape around your bead at an angle. Using your Christmas chevron washi tape is completely optional.
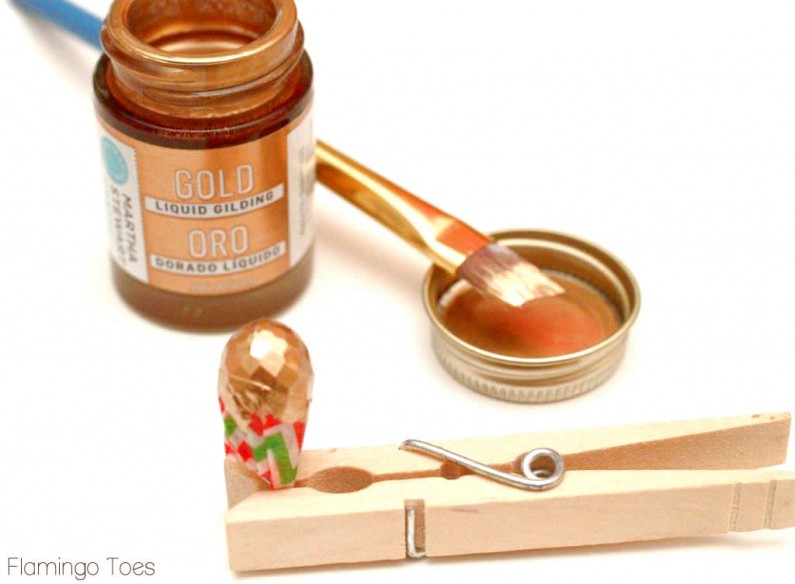
Paint the bottom half of the bead with your paint. Now, you can use any paint but I’ve been dying to try out this Gilding so I used that.
**NOTE: If you use the gilding you will want to work in a well ventilated area and have something on hand to clean up the brush with. This paint is not water based.
Do two coats of the gilding so it’s well covered. A clothespin makes a great bead holder so that the paint isn’t resting on your craft surface.
Plus you probably have them handy on the table from yesterday’s tutorial. Ahem.
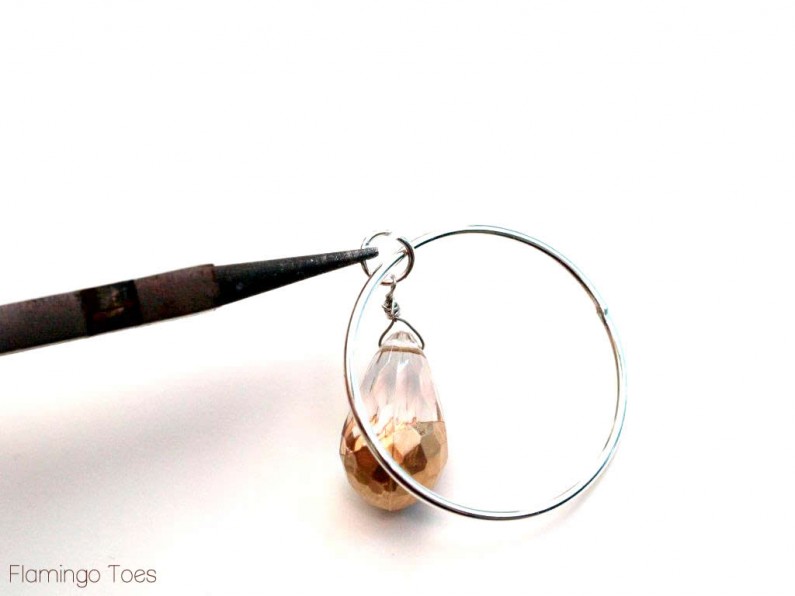
Wait for your paint to dry and don’t get over eager. Wait. For. It. Once it’s dry, add your jump ring to your large hoop.
Add an ear wire to the jump ring as well.
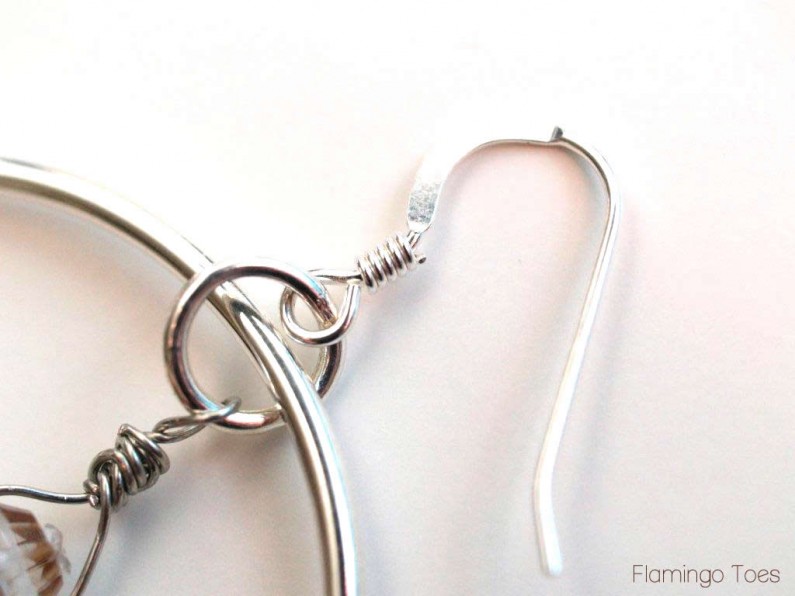
And you are done. Seriously. Isn’t that fast??
I’m kind of in love!! I think I’m going to make some more with colored beads. Can you see these with mint green drop beads for spring?? So cute!

Michele has a fabulous tutorial for you today too! Head over to her site to see how to make this easy Necklace Extender!! I know I need this one!

Linking up at Sunday Scoop, Today’s Creative Blog, Met Monday, Tutorials & Tips Tuesday, Shabby Creek Cottage, My Repurposed Life, 504 Main, and the other fabulous parties on the party page – make sure you check them out!


Love! This is my kind of project too. Nice and simple :)
These are so elegant Bev. Another great tutorial.
The first link you have for the Scrap Shoppe is not working. It sends you to some random website.
Love this idea. Fun way to dress up some cute ear rings!
I have nominated you for One Lovely Blog Award and The Very inspiring Blogger Award. http://marlaken.wordpress.com/2013/02/20/the-one-lovely-blog-awardthe-very-inspiring-blogger-award/
You have inspired me, Bev. Thanks for this tutorial!
LOVE!! I can definitely picture these in multiple colors, my friend. You could have entire set just for summer!! :)
Love it!! I’m so enjoying and loving jewelry week!!! I can definately see making different colors for these earrings. Thanks for the tutorial and awesome idea!!
So lovely!!! Love this project! Thanks so much for sharing the great tutorial!
Have a fabulous day!
Hugs from Portugal,
Ana Love Craft
http://www.lovecraft2012.blogspot.com
LOVING these!! What a great idea! So simple, too. I’ve loved everything you and Michele have been coming up with this week!
Is it just me who think the washi-tape wrapped crystal looks so cute, too?! I think I’ll give it a go with my nail polish (just because I have loads of colours already). Thanks for the tutorial :)
Lovely!!! I’ve checked out a couple other of your jewelry week posts and they are gorgeous!! I came over from TT & J. WOuld love for you to come and check out my blog. I host a tuesday link party that I would LOVE for you to join :o)
emily @ http://www.nap-timecreations.com
I am SO in love with these. they look totally fancy smancy
These could have been worn on the red carpet last night. I featured them as part of my link party wrap up.
Such a pretty design! I love the gold accent and playful hoop!
Such wonderful earrings! I love those lovely beads! Thanks for the tutorial!