It’s Day 4 of Jewelry Week!
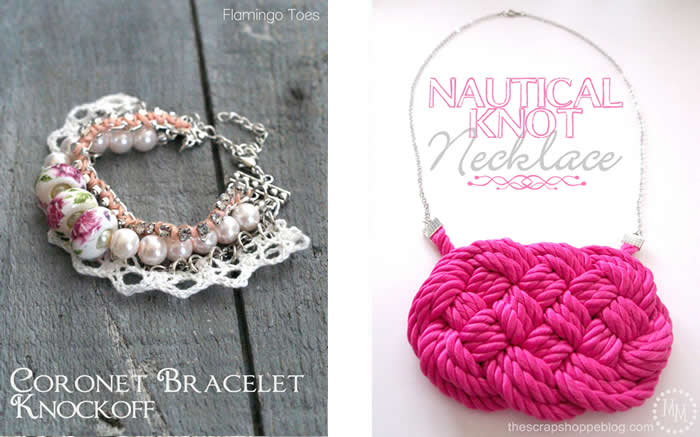
Michele from The Scrap Shoppe and I are having a blast with Jewelry Week! We have 5 Jewelry Tutorials each for you this week!
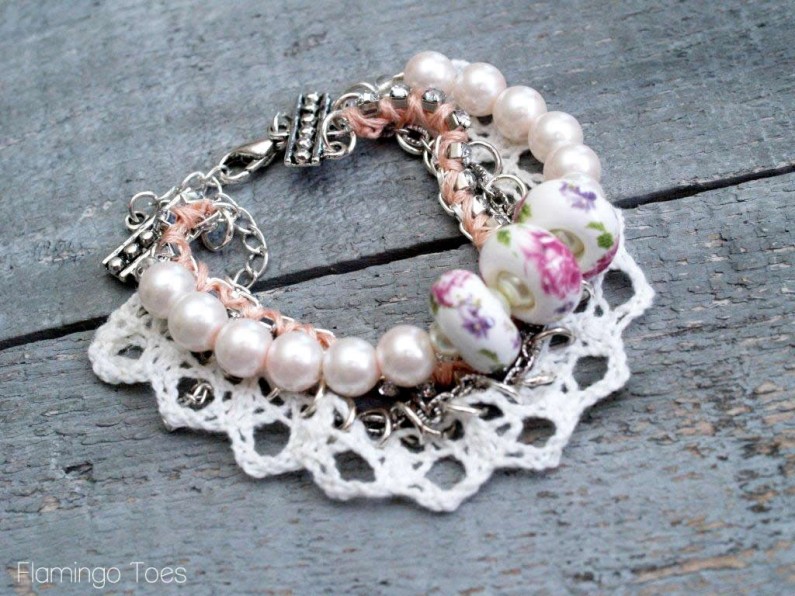
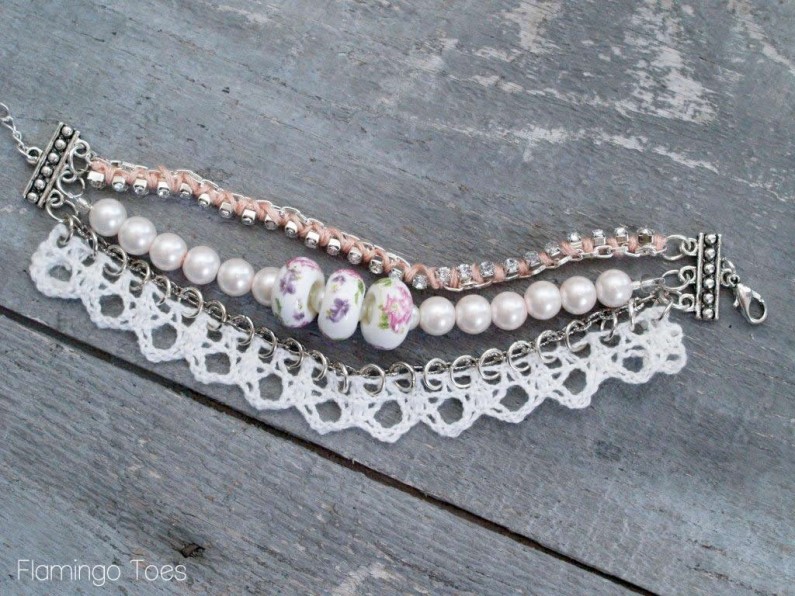
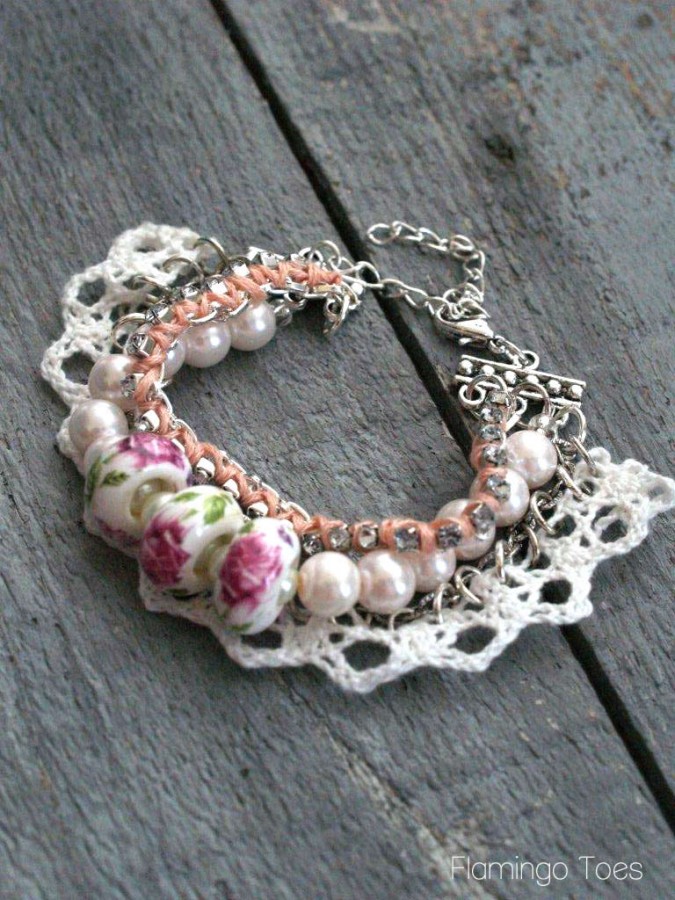
So today I have such a sweet bracelet for you! It’s a knockoff of the Anthro Coronet Bracelet!
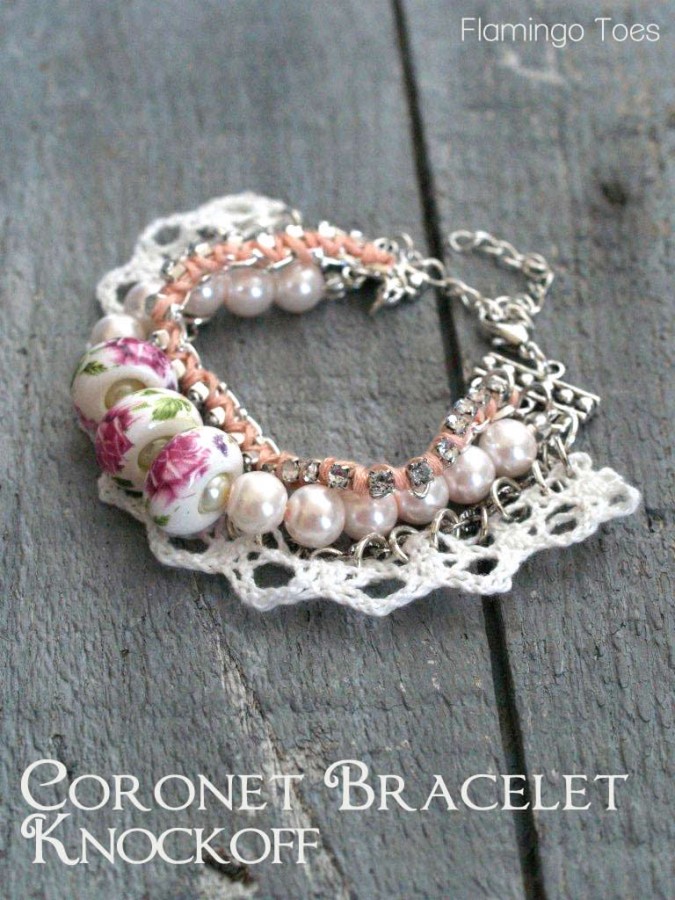
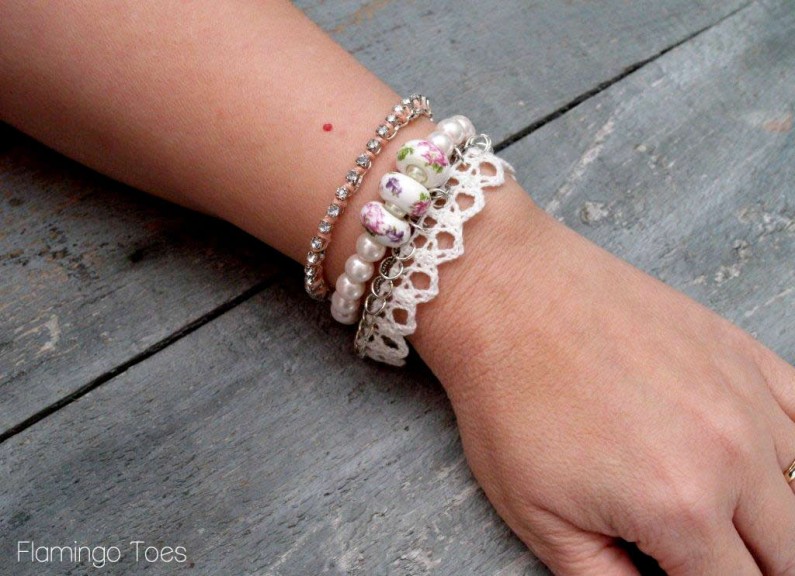
Isn’t it pretty and romantic? I love the combination of beads and lace and bling!
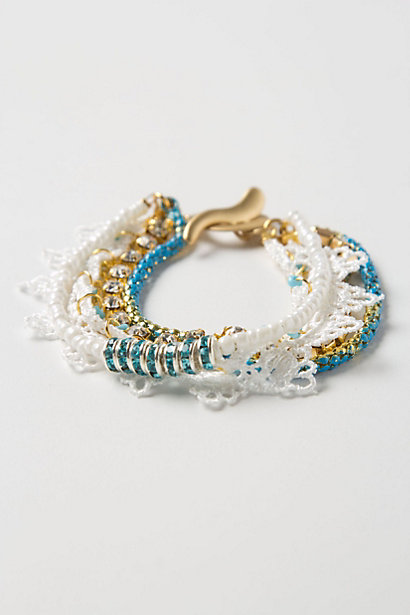
Here’s the Anthro Version:
Here’s what you’ll need to make your own!
- Two 3-ring connectors
- Jump Rings
- chain – 2 lengths about 6″ long
- lace – 7″
- pearls and beads with large holes in the middle
- cording/2 crimp beads
- rhinestone strand – 6″
- glue
- embroidery floss
- Tools – wire cutters, pliers
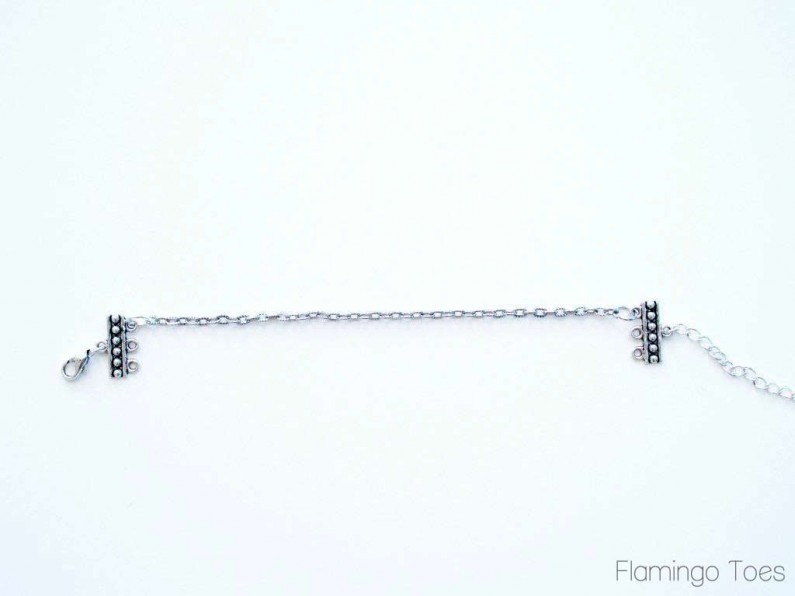
Start by deciding how big you want you bracelet. Measure the length of your connectors and subtract that from the measurement. Subtract out the length of two jump rings as well.
Cut the length of your first chain the amount left. So mine is 7 1/2″ – I cut my chain 6″.
Add the chain with a jump ring on each end to the connector pieces.
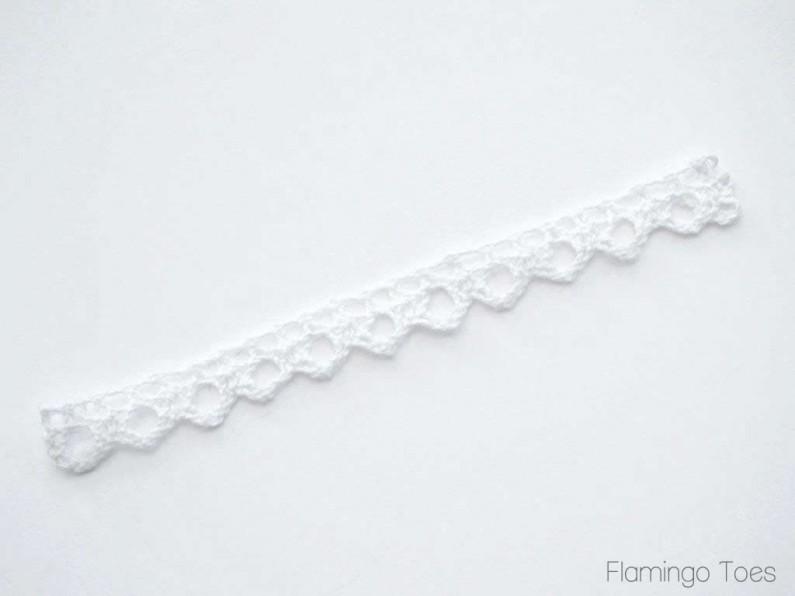
Cut your lace about 1″ longer than your chain. Glue the ends in.
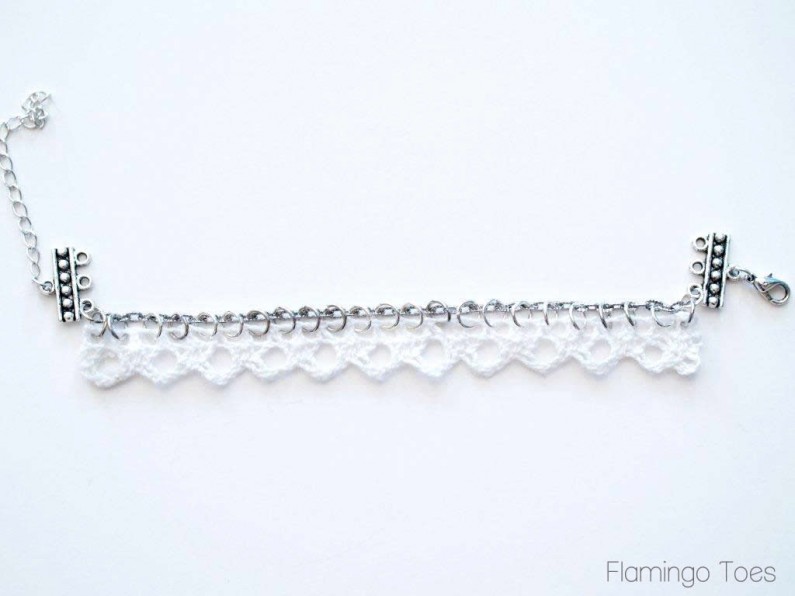
Line the lace up with the chain. Add a jump ring through the top of the lace and connect it with the jump ring at either end of the chain.
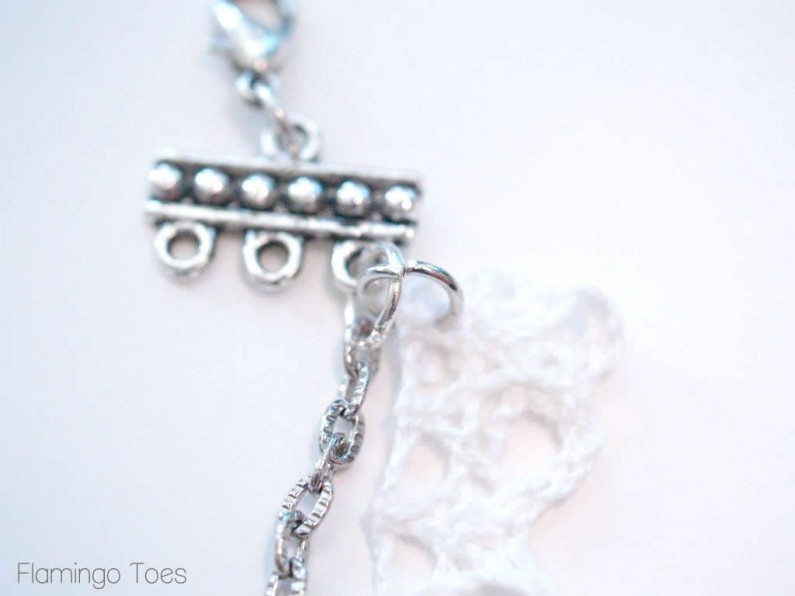
Continue connecting the lace to the chain with jump rings, all the way down.
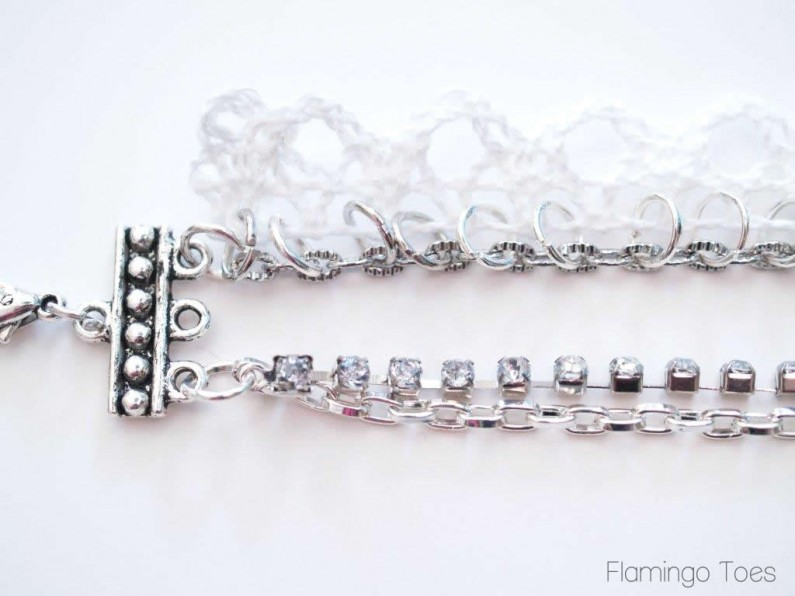
Cut another length of chain the same as the other. Cut a length of rhinestone just one stone shorter than the chain. Add rhinestone connectors to each end. Add the ends of both the rhinestone and the chain to jump rings and add them to the opposite ring on the connector.
Thread a long length of embroidery floss. Knot it around the jump ring for the rhinestone/chain. Hold the short end of the floss along the chain. Start wrapping the floss around the rhinestone and thread it through the chain. I wrapped the floss around the rhinestone twice between each stone.
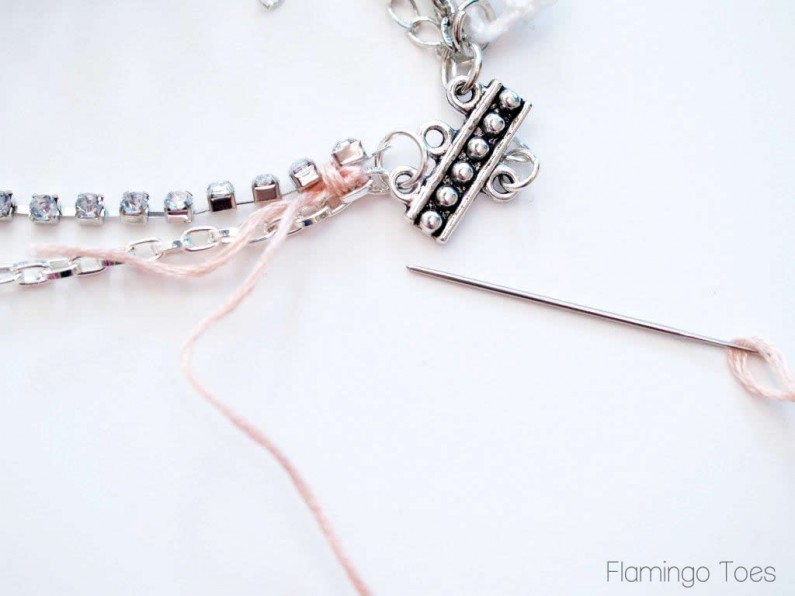
Continue wrapping until you reach the other side. Knot the floss in the other jump ring. Run the needle back through the floss for a couple of inches.
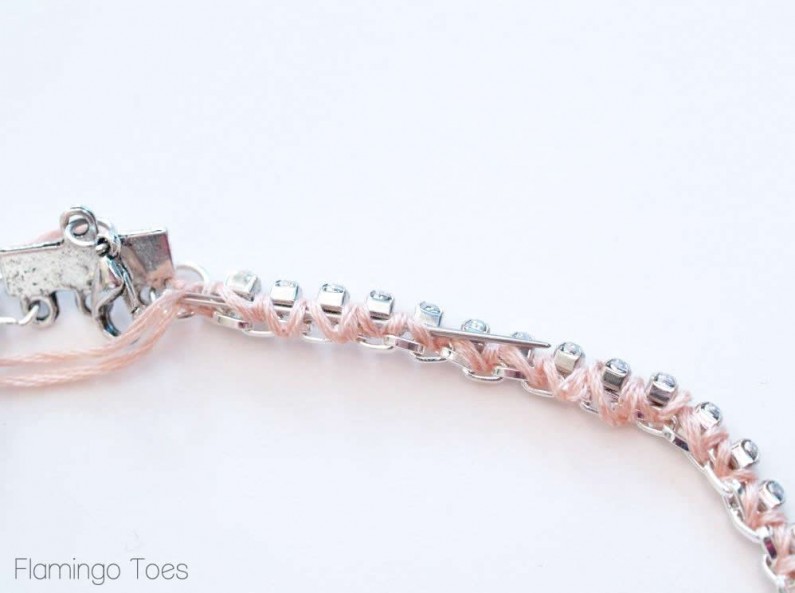
Trim the end of the floss.
Cut a length of bead cording – about 12″ long. Finish one end with a crimp bead and jump ring. Thread on a few pearls, making sure they go over both strands of the cording.
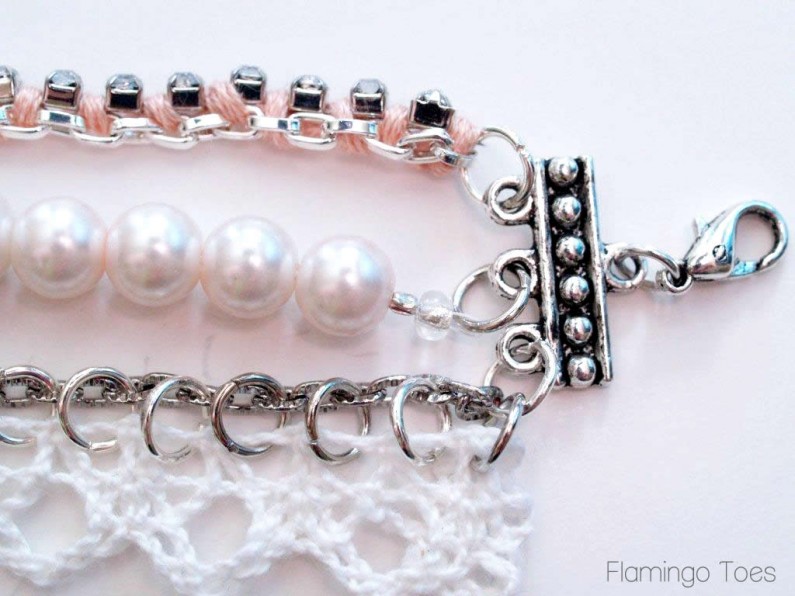
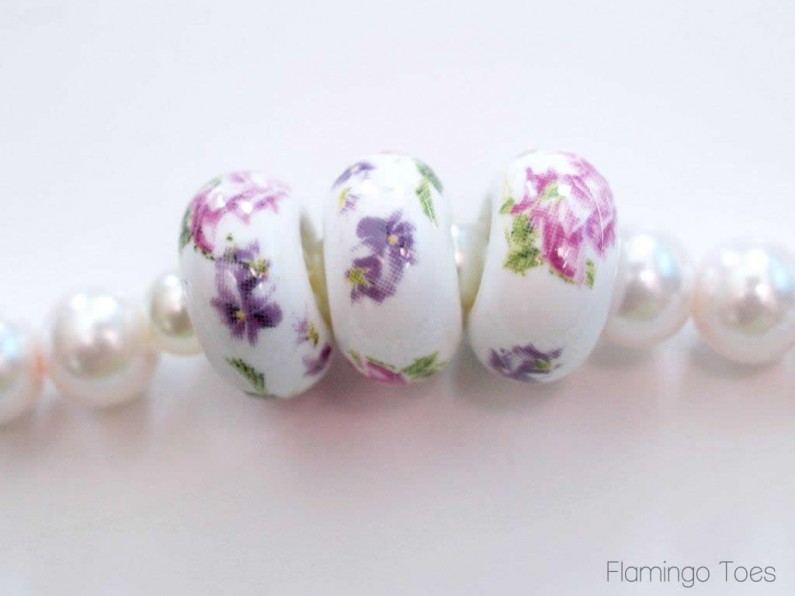
You will want an even amount of large pearls on each end, with small pearls in the middle that fit inside your beads with the large holes.
So I used 8mm for my large pearls. I had 6 on each end, with 4 small pearls in the middle.
Finish the other end of the pearl strand with a crimp bead and jump ring through the middle ring of the connector.
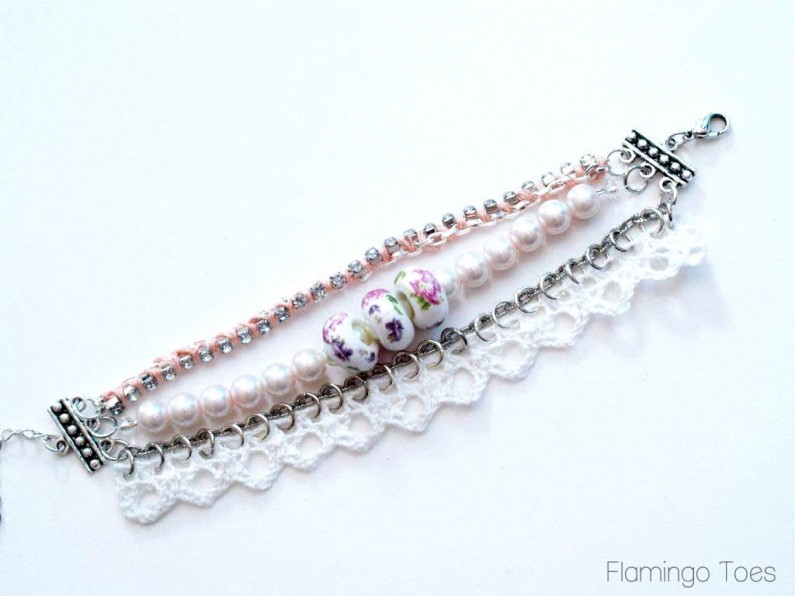
That’s it!! Isn’t it sweet! It gives you that multi bracelet look, all in one!
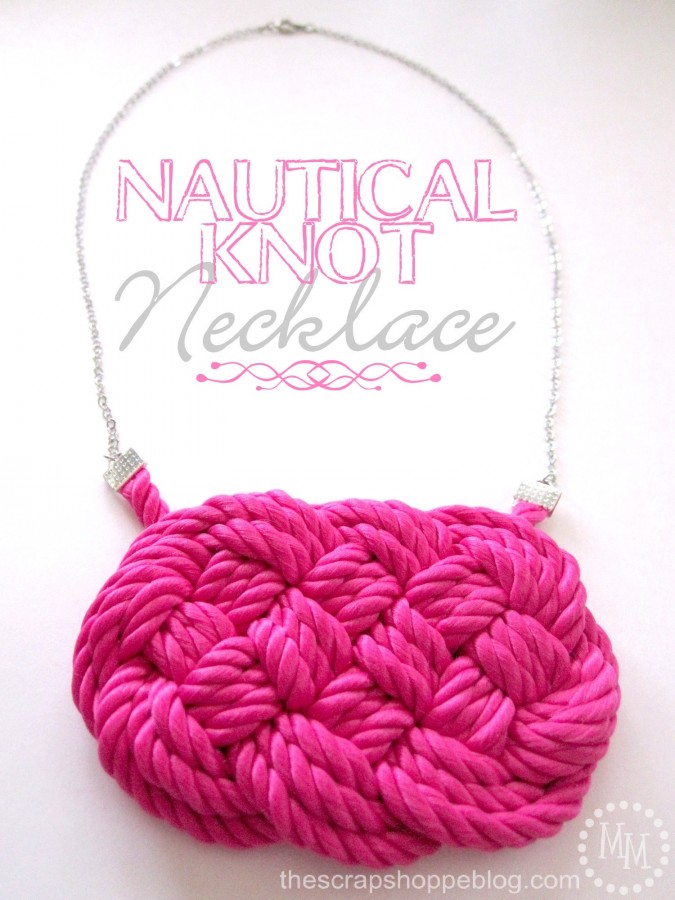
Michele has a super cute necklace for you today – this Nautical Knot Necklace!! I have been wanting to do one of these for ages! I love that hot pink too!
Linking up at Sunday Scoop, Today’s Creative Blog, Met Monday, Tutorials & Tips Tuesday, Shabby Creek Cottage, My Repurposed Life, 504 Main, and the other fabulous parties on the party page – make sure you check them out!


I *love* the lace, Bev! And all of the pieces really go well together. Those rose beads are fabulous!
Wow, you’ve got a lot going on here girl! So much creativity! I’ll be back often to see what you’re up to, that bracelet is soooo cute!
Beverly, I absolutely love this bracelet.
AS usual I love your version more than the original
Ok I am not a jewelry maker…bu this so inspired me I had to make two of them.. I just adore them. thanks so much.. new subscriber here.. :D
Love the lace on this bracelet, I may just have to attempt to make one. Thanks for the tutorial!
Oooh, I love it, so vintagey and cool!
I have a weekend Link party if you’d care to join:
http://www.bobijensen.com
I love those floral beads — where did you find them? The whole bracelet is just amazing!
Thanks for the tutorial! I will make perfect bracelet for her Christmas present.