I think I’ve mentioned I’m ready for Spring. A few times anyway.
So I’ve decided it’s time to decorate for Spring – whether Spring’s ready to show up or not!
The first place to start is my front door – the poor thing has been naked for several months.
I really loved my Fall Wreath – so I wanted to use some of the same elements like the pennant – just altered a bit for some fresh Spring flowers!
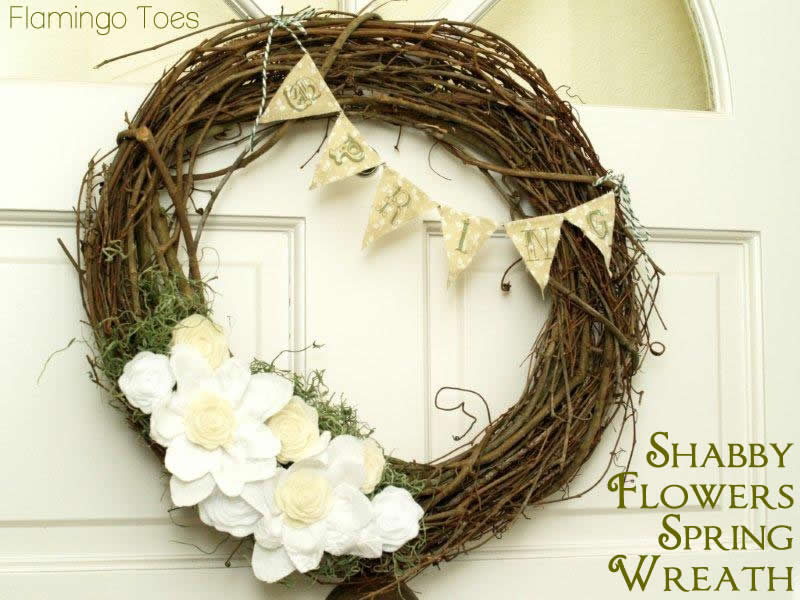
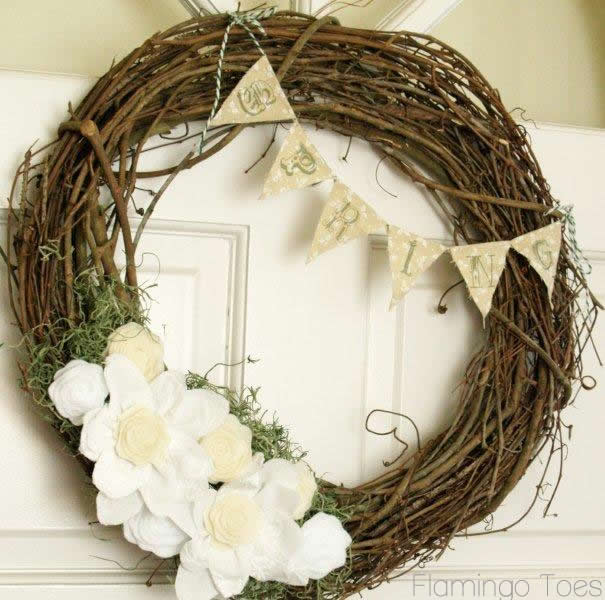
Here’s my Shabby Flowers Spring Wreath!
Pin It
It has some pretty green moss and some sweet little felt and eyelet flowers to get us ready for those real spring flowers.
(Actually this is probably the closest I’ll get to real spring flowers – since I seem to have a black thumb.)
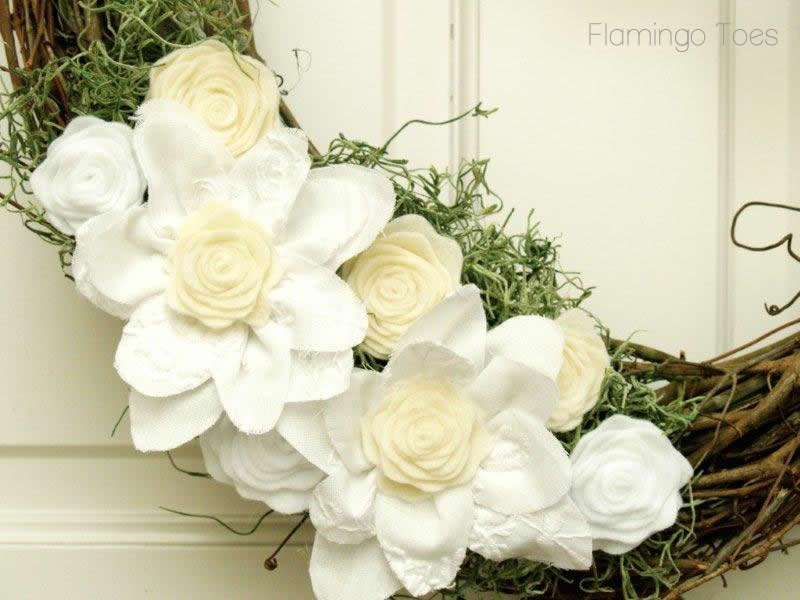
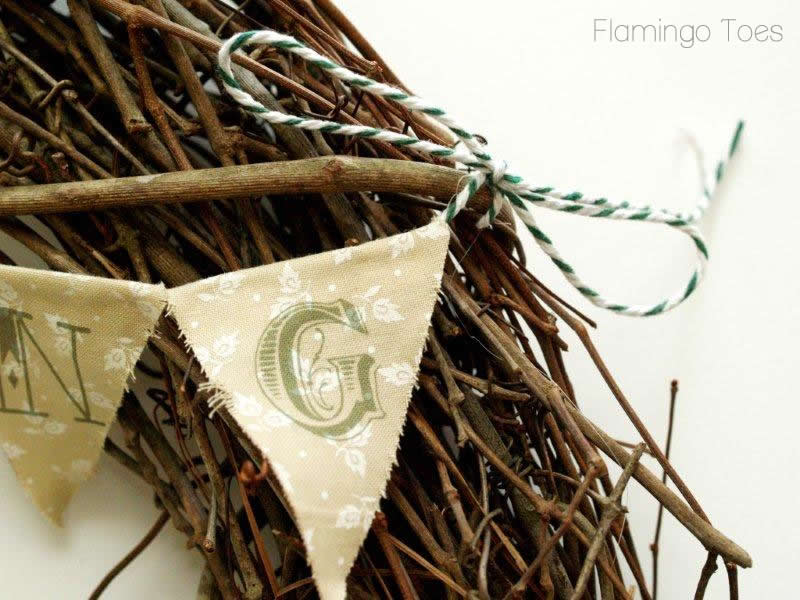
It also has a little pennant banner that shouts “SPRING”!!
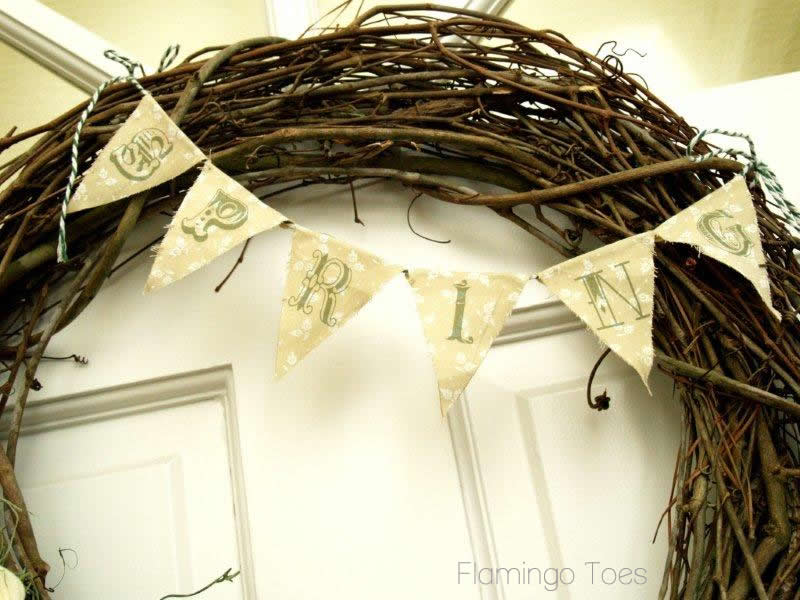
Isn’t it fun? And Spring-y?
Here’s what you’ll need to make your own!
• Grapevine Wreath
• Green Moss
• White eyelet fabric
• White & Cream felt
• Fabric for pennant – light colors so the printing will show up
• Freezer Paper
• Twine
• Hot glue
• Pennant Image Pattern
We’ll start with the felt flowers. To make these rolled felt flowers you’re going to cut out a spiral circle. To give them the little “petal” look – you want to cut out a wavy spiral like the one below.
If you want, you can draw out a spiral as a guide, or you can free hand it. It doesn’t have to be a perfect circle (obviously :). You just don’t want the spiral sections to be too wide – otherwise you’ll have really tall flowers.
You might want to have some “practice felt”. My first flowers were a little sad and chunky looking.
Once your spiral is cut, start rolling up the flower at the outside end. Roll it tightly into a spiral.
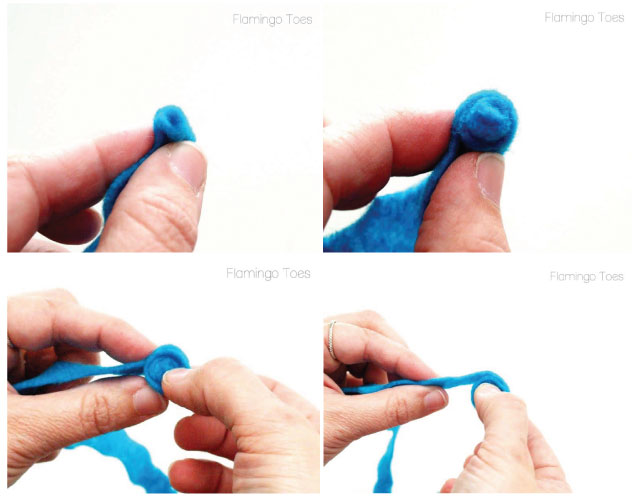
You want the center pretty tight – then you can start rolling it a little more loosely so the outer sections look more like open petals.
When you’ve rolled the whole flower, you’ll have the little center section left. Glue this down to the center of the flower, then cut a small felt circle to glue to the base. This will hold the flower in place.
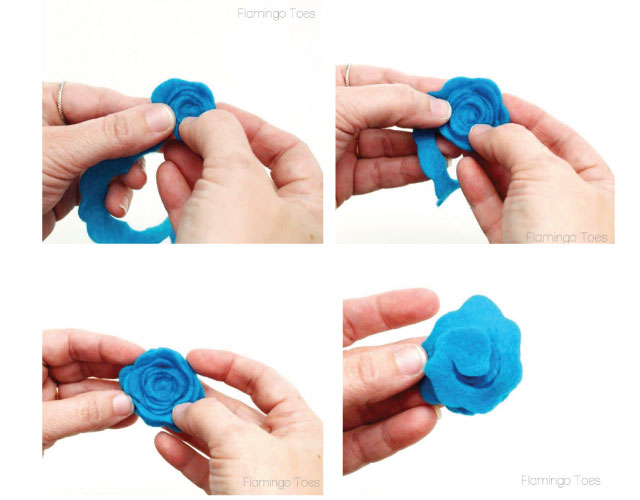
So for the wreath I made a few different sizes – to make larger versions of this flower you’ll make a larger spiral circle, but you want the spiral strips about the same size.
For my wreath I made three medium-sized cream, 2 small-sized cream and 3 medium-sized white felt flowers.
Now let’s do the big shabby fabric flowers.
Cut two petal shapes out of paper, one longer than the other by about a 1/2″.
Cut 5 of the larger petals out of fabric and 7 of the smaller petals out of fabric.
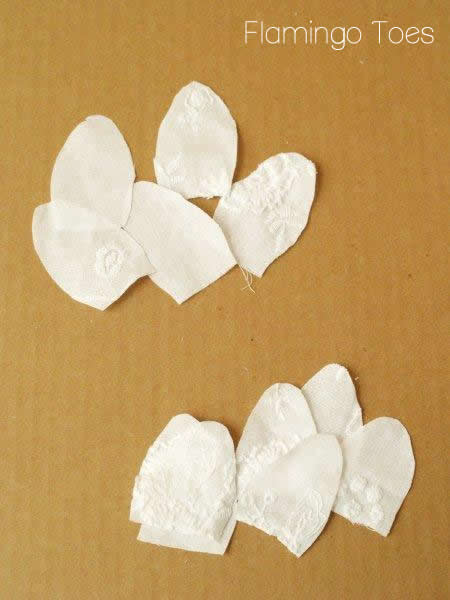
Sew a gathering stitch along the bottom of the large petals, about 1/4″ from the straight end.
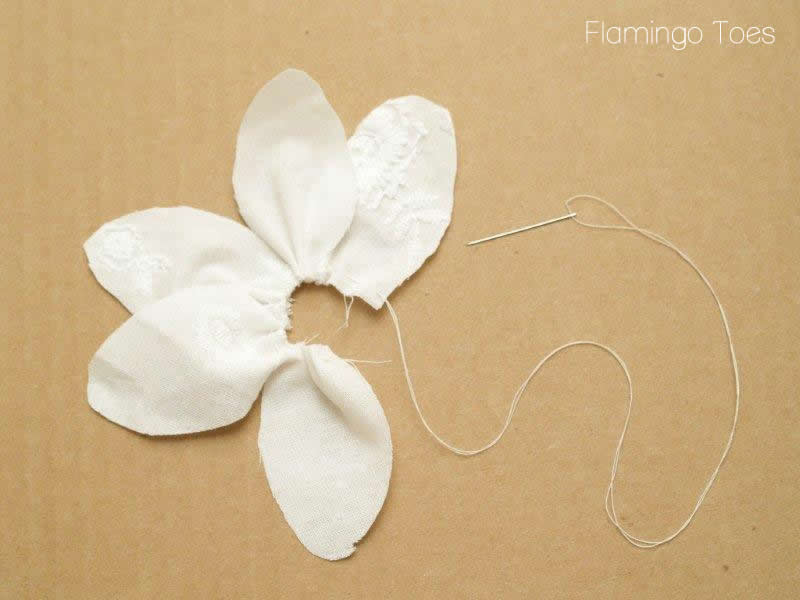
Sew the last petal to the first and pull up the gathering stitch. Knot the thread.
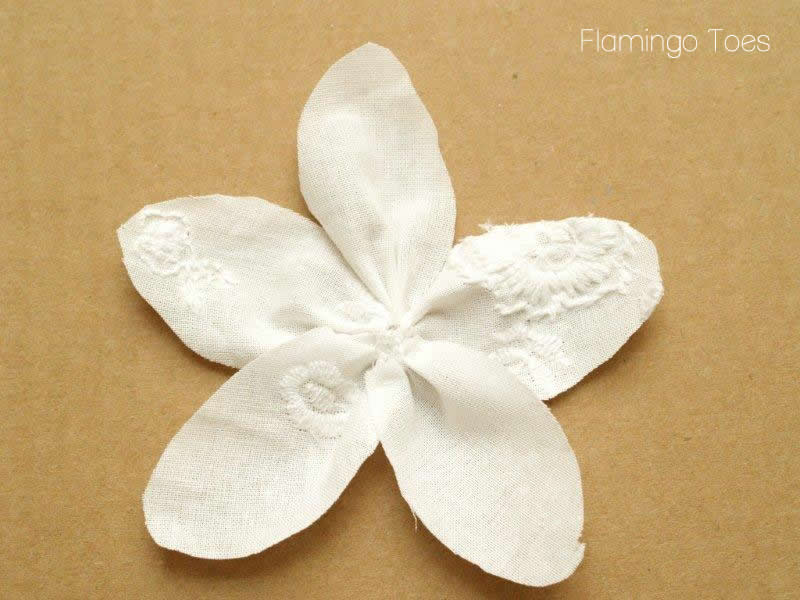
Repeat with the seven smaller petals.
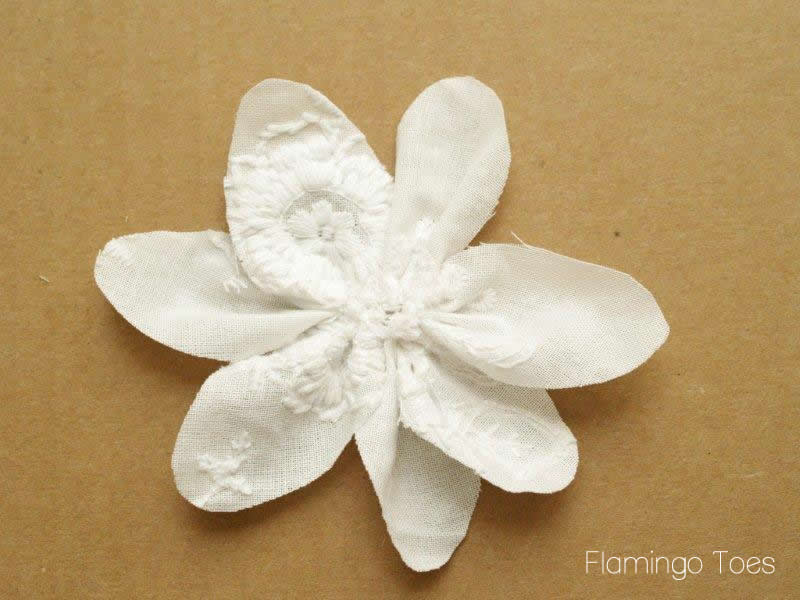
Layer the smaller flower on top of the larger and glue together.
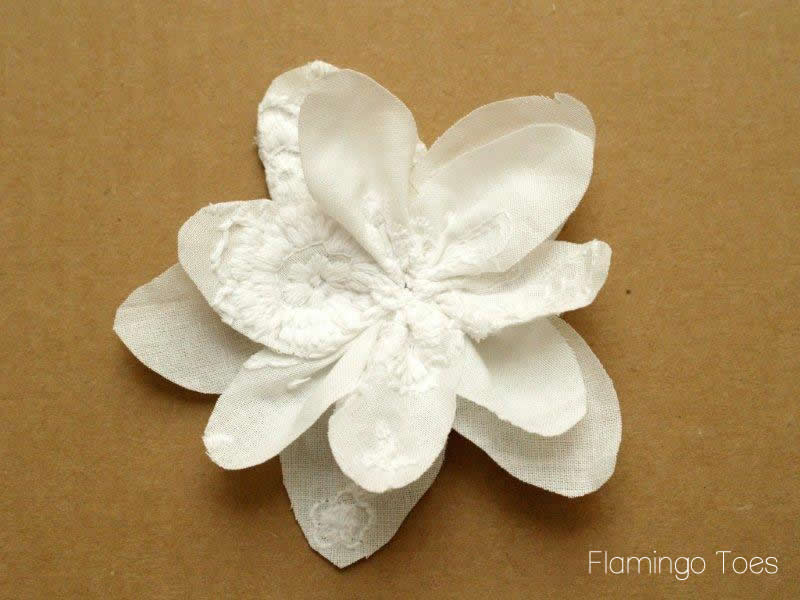
Glue a small felt circle to the back of the fabric flower and glue one of your small cream rolled flowers in the center.
You can also rough up the edges of the flower a bit to give it more of a frayed look.
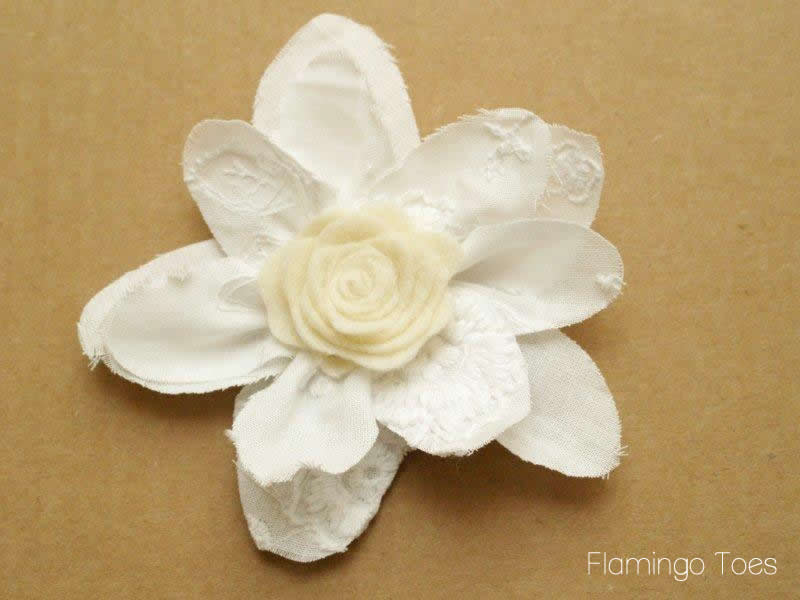
Make two of these fabric flowers.
Glue a section of green moss to your grapevine wreath.
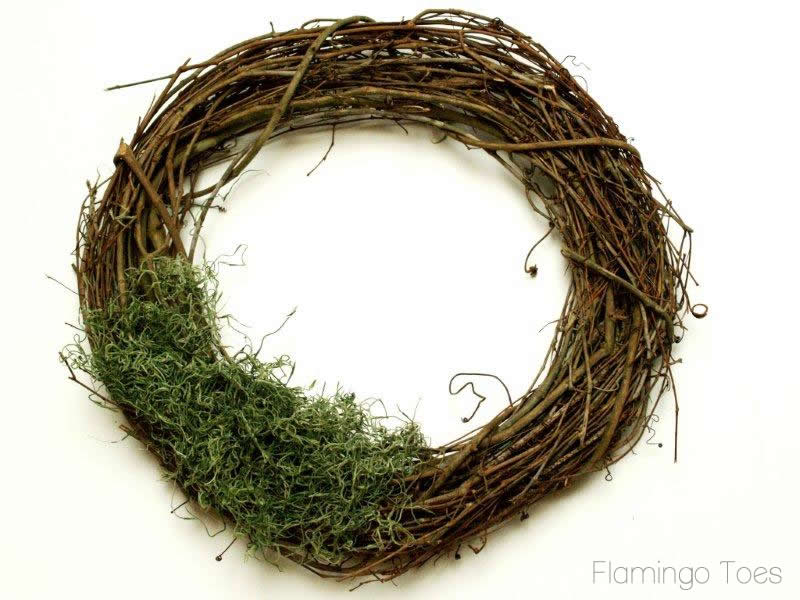
Glue your fabric and felt flowers onto the mossy section.
(Does the word “mossy” always make you think of the movie You’ve Got Mail? Me too.)
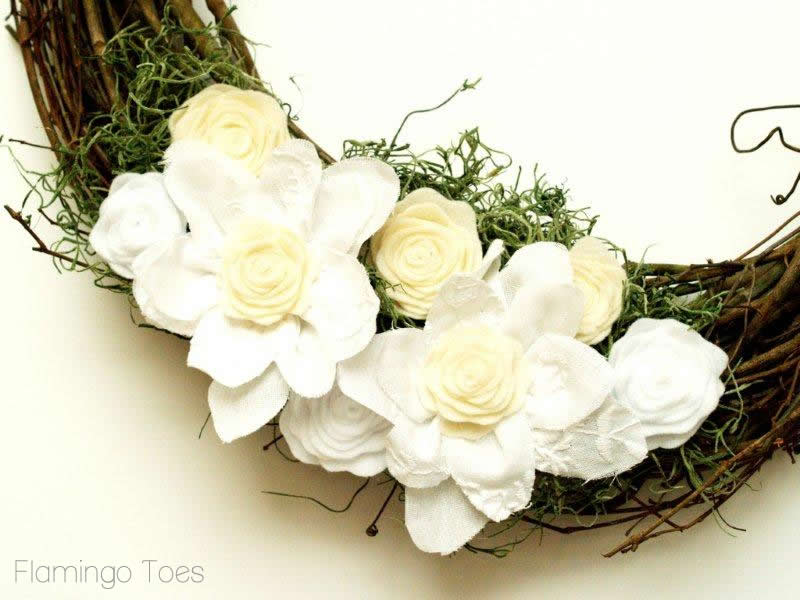
So cute!! Now we’re going to get the pennants ready. To get your fabric ready for printing, cut out a piece of fabric and a piece of freezer paper, a little larger than a sheet of paper.
Iron the shiny side of the freezer paper to the back of the fabric.
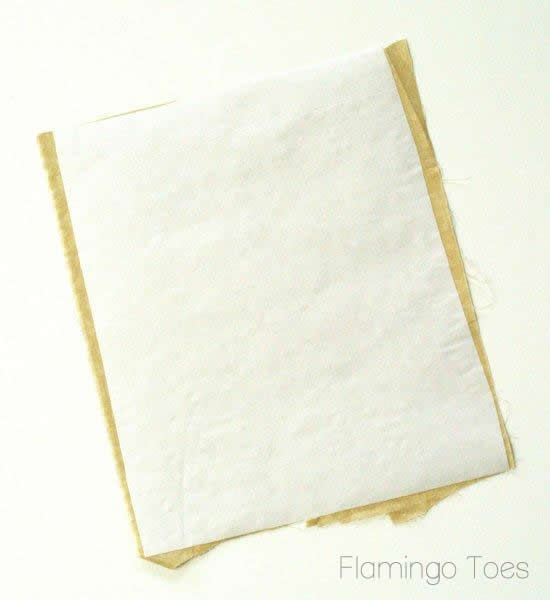
Trim the fabric/freezer paper to the size of a sheet of paper. This will even up all your edges and make everything nice and tidy. You don’t want to have frayed or uneven sides, it will be more likely to catch in your printer.
(Even so, I recommend you have enough fabric & freezer paper on hand in case you need to print it twice. Sometimes there are smudges from the ink.
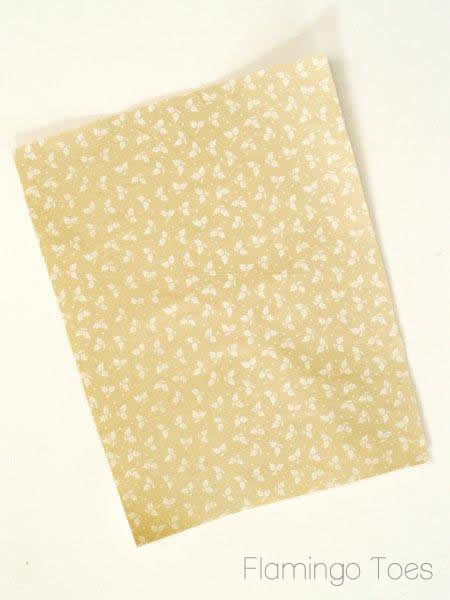
Put the fabric in your printer so that it will print on the right side of the fabric. Print out your pennant letters and trim them just inside the pennant lines.
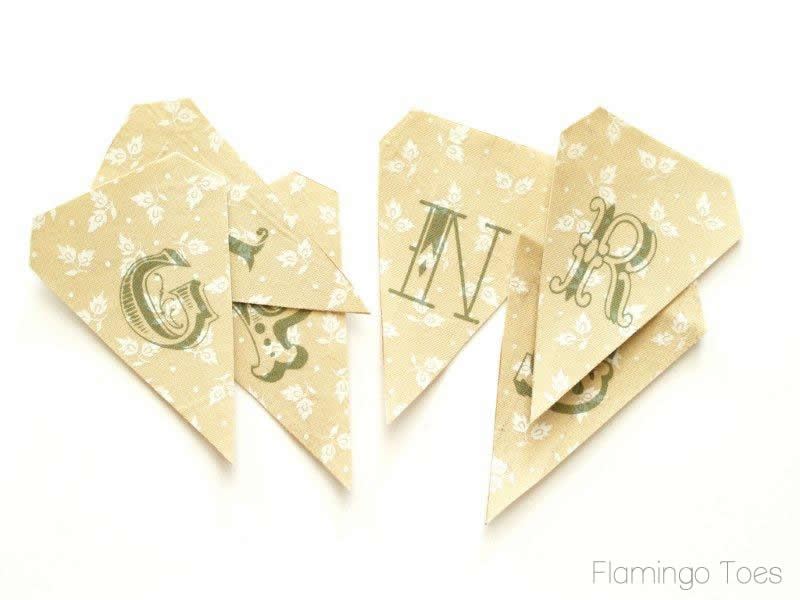
Peel off the freezer paper. Glue the pennants (check your spelling. . . ahem) to a long piece of twine.
Rough up the edges of your pennant pieces to give them a shabby look.
Tie the twine piece so the pennant is at an angle at the top of the wreath.
And your wreath is done!!
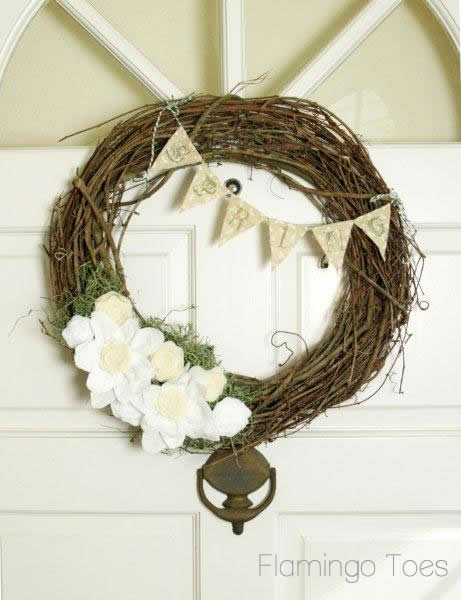
Hang it on your door – and hopefully Spring will get here soon!!

I’d love to hear what you think!
What about you? Have you started decorating for Spring??
I’m linking to Sunday Scoop, Today’s Creative Blog, Met Monday, Skip to my Lou, Tutorials & Tips Tuesday, Funky Junk Interiors, Shabby Creek Cottage, and the other fabulous parties on the sidebar – make sure you check them out!


Beautiful Bev! Your front door looks so happy!
LOVE LOVE LOVE — great work bev. love those pretty white flowers in that lovely fabric!!
I LOVE the big shabby flowers. I’ve never seen those before, and they remind me of daffodils, which I adore! Great job!
Those are just darling! I love your sweet tutorial! GREAT JOB and the wreath is just darling-xo Diana
What a great wreath! I am so impatient for spring to get here. We had a few nice days as a teaser and now the cold weather seems to have come back just to remind me it isn’t quite done with us yet.
Love this a lot. Mind if I change pennant to a Bow?? Light color for Easter/Mothers Day??? Moss is a nice touch maybe a small bird or 2.
I love the wreath, but let’s start with the flower tutorials. They are so amazing, they might just change my life. Thank you. Amazing.
bamboo longboard
http://www.blacklongboards.com
I like!
Your wreath is precious. thanks for the tutorial . I just may have to try a pennant in a wreath one day. Laura
Ah ha ha ha! I was going to mention You’ve Got Mail (“it makes my apartment smell mossy!). This is too cute-I lurve everything about it. Awesome job!
That is gorgeous, guess what I’m going to be doing today!
It is a great pleasure to read your posts. This wreath is so beautiful … I am going to “borrow” you the idea for my entry. Thank you very much also for the pennant, There is nothing to do only to print it !
Amitiés (from France)
Anne
So pretty! Love your wreath and your tutorial is very good. I was just curious what font you used. Thanks for the great craft idea!
How beautiful! I love it!
How adorable is that!! I’m really digging the shabby look. Those flowers are fabulous! And you know I’m all for some bunting. :) Great spring wreath, Bev!
this is absolutely beautiful!!! i’d love to have you link this up at our Sunday Best link party. http://griffithsrated.blogspot.com/2012/03/sunday-best-fashion-crafts.html
-marie
Oh.my!! I love that your printer can print on fabric. I am so jealous! I love those flowers, too. SO beautiful Bev!!
OH MY GOSH!!
What an AWESOME tutorial!!
I never knew the freezer paper trick for printing on fabric, I can see using this in many projects!!
THANK YOU so much for sharing and of course I pinned it!!
Bev, this is a beautiful project! Love the combination felt and eyelet flowers, totally cute. And I’ve used the freezer paper technique to print on muslin but never thought to print letters on printed fabric for projects. Doh! BTW, thanks so much for the shout out on being your most clicked post last week for my Craft Room Tour. Now I’m actually using my space and I love it. Pinned your wreath, yup.
Cheers!
What a darling wreath! Thanks for sharing!
This wreath is spectacular for spring. I love the flowers!! So sweet and perfect.
Ruth
I love this wreath! I can thing of a lot of uses for those flowers.
Really pretty and shabby chic looking. So fresh for Spring. I need to update my Springwreath now!
All of your elements are so very cute! Thanks for sharing with us how to make a darling wreath like yours. I saw your post over at “Frugal Friday”.
Great post. I learned so many new things I added it to my favorites in my Tutorials folder – Thanks for showing me the way!
Very Sweet!! Love the subtle colors!! the eyelet flowers are precious!!! Bonnie :)
This wreath is gorgeous and great tutorial on the flowers! Stopping by from Whipperberry.
Blythe
http://www.thedesperatecraftwives.blogspot.com
So pretty! Caught my eye right away at TT&J. I love the moss behind the flowers. Makes it just perfect. THanks for sharing your tutorial! :)
So cute … think I just found my Sunday Funday project!! Thanks so much for sharing … visiting from TT&J Weekend Wrap Up!!
~ Christy
This is absolutely gorgeous Bev! Seriously stunning. :)
This is so fun. I love the little patch of grass!
Visiting from TT&J…
Rhonda @ home.made.
Beautiful wreath! I would love for you to come by my Creative Inspirations party to link this up! I would love to have you!
Stacey of Embracing Change
http://staceyembracingchange.blogspot.com
This is so pretty! And what I really love…I already have all the supplies! Definitely have to give this one a try! Thanks for sharing! I would love for you to stop by and link to my Sew Crafty Saturday Party!
I love the overall simplicity and neutral scheme…the end result is gorgeous and the “grass” is too cute under the flowers. I have the same “black thumb” by the way. :)
How cute!!! I’d love if you’d link this up on our new link party going on now! I think our readers would love it!
http://classyclutter.blogspot.com/2012/03/saturday-spotlight-5.html
xoxo, Mallory @ Classy Clutter
SO pretty, Bev!! Thanks for linking up!
That’s very pretty. It’s so exciting that spring is just around the corner.
Cute and easy idea!! Love it!
One of the cutest wreaths I’ve seen this spring! Thanks got a great tutorial.
So darn pretty Bev! Love those sweet flowers and the pennant…too cute!
This is so fabu-spring-a-licious! I love all the flowers, thanks for the tutorial!
Such an elegant and springtime-sweet wreath, Bev!
Thank you for linking up at Rook No. 17! Your link-up was one of the most viewed this week (not at all surprising to me *smile*), so it’s one of tomorrow’s features!
Jenn
found you through Tater Tots and Jello! This is so pretty and soft looking. Very welcoming. If you’re interested I have a link party on my site today and I’d love you to join it. Maria at http://caribbeanmissionarywife.blogspot.com/2012/03/t-time-67-and-link-party.html
This wreath is soooooo pretty! Thanks heaps for the tute! :o)
This is just so cute and full of spring and life! Thank you very much for the tutorial. I especially love how you made the flowers :) very beautiful!