This Scaredy Cat Manor Halloween Mini Quilt is so fun to make and the perfect way to show off the Scaredy Cat fabric collection!
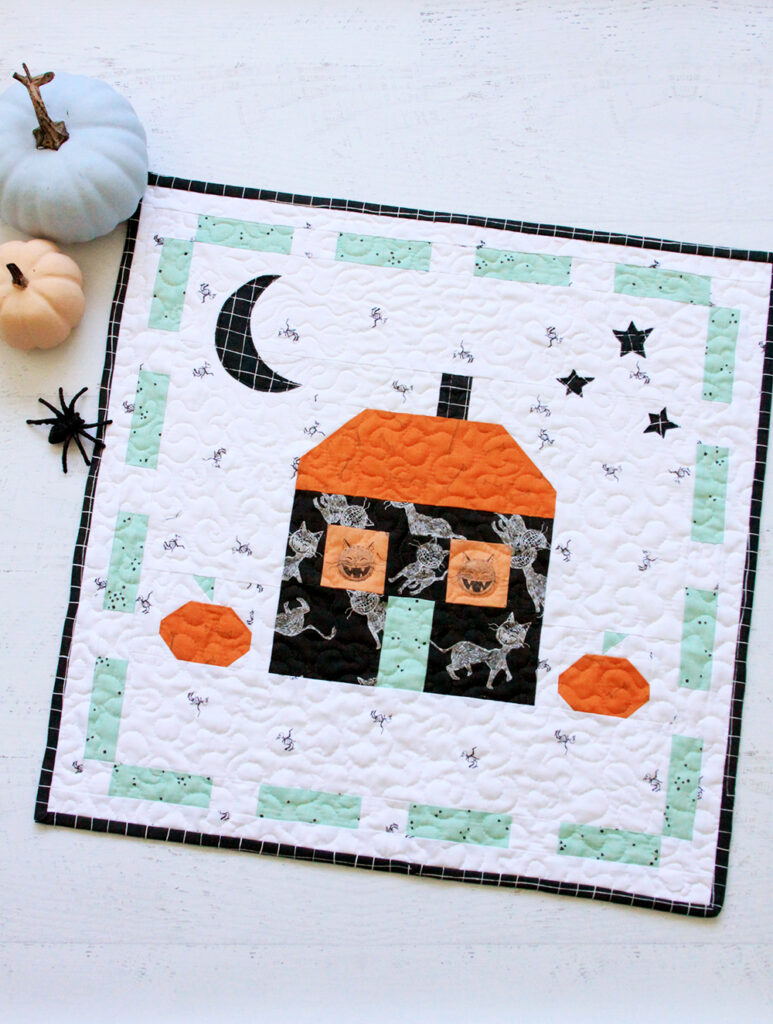
I am so in love with the new Halloween collection from Amanda from Jedi Craft Girl, Scaredy Cat! It’s full of the cutest little hand-drawn cats, little bird skeletons, and great supporting prints, all with a fabulous sketched look!
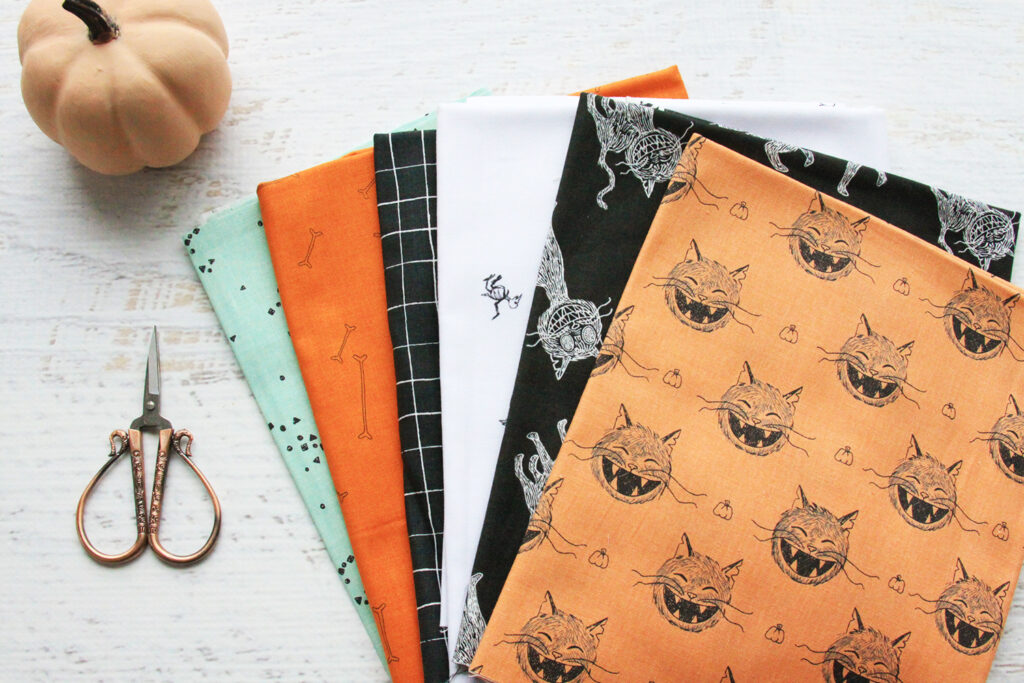
So when it came to using these fun fabrics, I thought that a little Haunted Manor would be perfect!
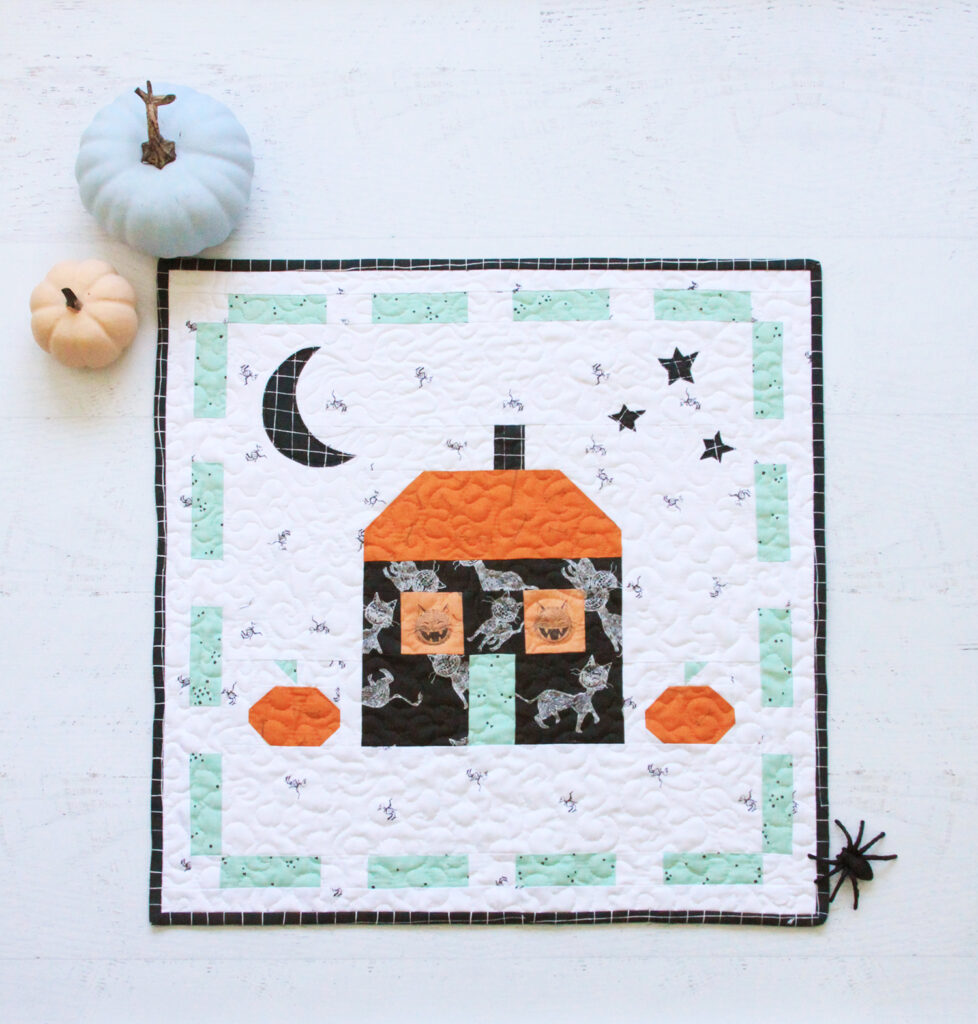
It’s a haunted house with little scaredy cats in the windows and pumpkins in the yard!
I also love the little birds in the background fabric! It’s such a subtle look and gives the background such a fun detail.
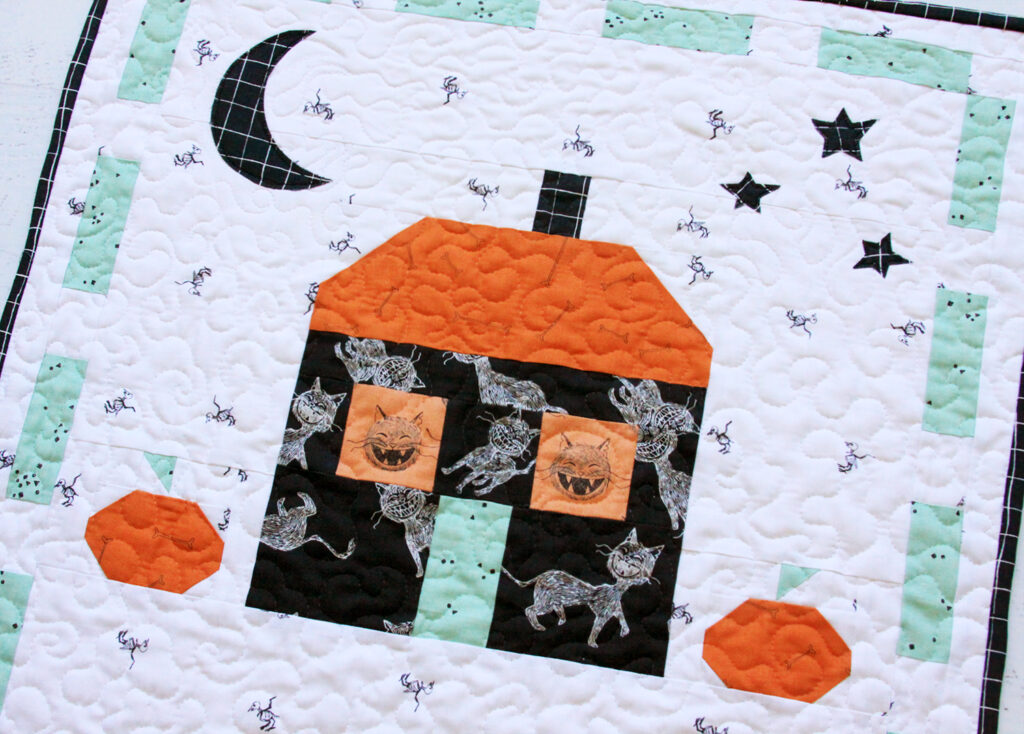
This is a quick and easy mini quilt – here’s the free tutorial!
Scaredy Cat Manor Halloween Mini Quilt
Materials:
- Scaredy Cat Fabrics
- Scaredy Cat Main Charcoal – fat quarter
- Scaredy Cat Heads Light Orange – fat quarter
- Scaredy Cat Bones Orange – fat quarter
- Scaredy Cat Bird Bones White – 1/2 yard
- Scaredy Cat Shapes Mint – fat quarter
- Scaredy Cat Grid Black – 1/2 yard (includes amount for binding)
- 10″ x 10″ piece of fusible webbing
- 24″ x 24″ piece of batting
- 24″ x 24″ piece of backing fabric
- Moon and Stars Pattern
Fabric Cutting:
- From Scaredy Cat Main Charcoal (for main part of house) cut:
- 2 pieces 4″ x 3 1/2″
- 1 piece 2 1/2″ x 2 1/2″
- 2 pieces 2 1/2″ x 1 3/4″
- 1 pieces 1 1/2″ x 9″
- From Scaredy Cat Heads Light Orange (for windows) cut:
- Fussy cut 2 pieces 2 1/2″ x 2 1/2″
- From Scaredy Cat Bones Orange (Roof and Pumpkins) cut:
- 1 piece 3 1/2″ x 9″
- 2 pieces 2 1/2″ x 3 1/2″
- From Scaredy Cat Bird Bones White (background) cut:
- 2 pieces 2 1/2″ x 2 1/2″ (for corners of roof)
- 1 piece 3 3/4″ x 2″ (for section around chimney)
- 1 piece 4 3/4″ x 2″ (for section around chimney)
- 8 pieces 1 1/4″ x 1 1/4″ (for corners of pumpkins)
- 4 pieces 1 1/4″ x 1 1/4″
- 2 pieces 1 1/4″ x 2″
- 2 pieces 1 1/4″ x 3 1/4″
- 2 pieces 1 1/2″ x 3 1/4″
- 2 pieces 5 1/4″ x 8 1/4″
- 2 pieces 4″ x 18″
- 3 pieces 2″ x 7″
- 4 pieces 1 1/2″ x 1 1/2″
- 3 strips 1 1/2″ x WOF
- From Scaredy Cat Mint Shapes (for door, leaves of pumpkins, stitched border)
- 1 piece 2″ x 3 1/2″
- 2 pieces 1 1/4″ x 1 1/4″
- 4 pieces 3 3/4″ x 7″
- From Scaredy Cat Grid Black (for chimney, moon, stars and binding)
- 1 piece 1 1/2″ x 2″
Instructions:
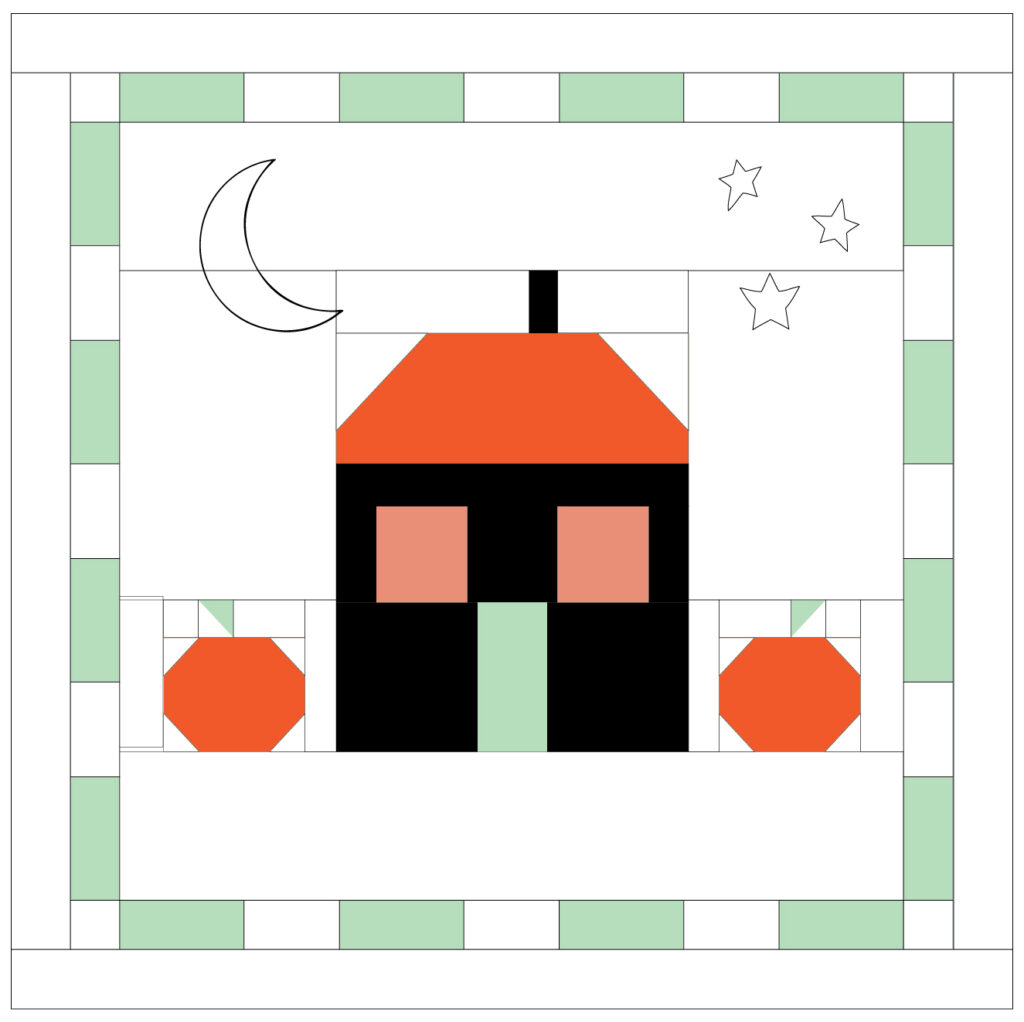
Assemble bottom row of house. Sew a 4″ x 3 1/2″ house piece on each side of the mint 2″ x 3 1/2″ door piece.

Assemble middle row of house. Sew a 2 1/2″ x 1 3/4″ house piece, a 2 1/2″ x 2 1/2″ window piece, a 2 1/2″ x 2 1/2″ house piece, a 2 1/2″ x 2 1/2″ window piece, and a 2 1/2″ x 1 3/4″ house piece.

Sew the bottom row of the house to the middle row of the house. Sew a house piece 1 1/2″ x 9″ to the top of the middle window piece.

Draw a diagonal line on two 2 1/2″ x 2 1/2″ background pieces. Place one on each top corner of the roof, right sides together, and sew on the marked line. Trim off corner 1/4″ away from the seam and press the white background piece away from the roof.

Sew Roof piece to the house piece.
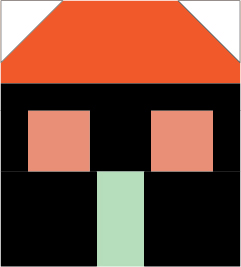
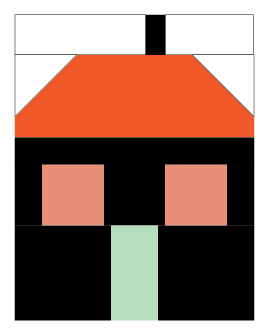
Sew a 4 3/4″ x 2″ background piece to the left side of the chimney piece. Sew a 3 3/4″ x 2″ background piece to the right side of the chimney piece. Sew this above the roof piece. Your house section is now finished! House section should measure 9″ x 11″
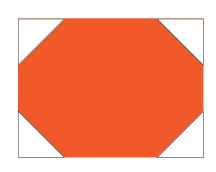
To create the pumpkins, draw a diagonal line on 8 of the 1 1/4″ x 1 1/4″ background pieces. Place a square at each corner of the pumpkin pieces and sew across the diagonal lines as shown. Trim corners to 1/4″ away from seam and press background fabric away from pumpkin. Do this for both pumpkins.
To create the leaves for the pumpkin tops, draw a diagonal line on two of the 1 1/4″ x 1 1/4″ background pieces. Place them right sides together with two mint 1 1/4″ x 1 1/4″ pieces and sew on the marked line. Trim off the corner 1/4″ away from the seam and open up square and press. Note the placement of the triangles – you will have one pointing left and one pointing right. For the leaf pointing right, sew a 1 1/4″ x 1 1/4″ background piece to the RIGHT side of the leaf piece and a 2″ x 1 1/4″ piece to the LEFT side of the leaf piece. Repeat for the other leaf but switch the background pieces. Trim this leaf section to 1 1/4″ x 3 1/2″.

Sew a leaf section to the top of each of the pumpkin sections.
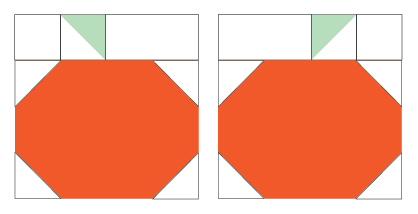
The pumpkins will go on each side of the house. On the side that will go against the house, sew a 1 1/4″ x 3 1/4″ background piece. On the outside of the pumpkin sew a 1 1/2″ x 3 1/4″. The pumpkin pieces should measure 3 1/4″ x 5 1/4″.

Sew a 5 1/4″ x 8 1/4″ background piece to the top of each pumpkin section.
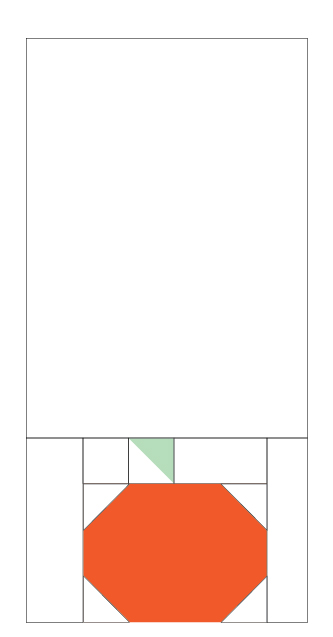
Sew a pumpkin piece on each side of the house section. Pieced house and pumpkin section is 11″ x 18″.
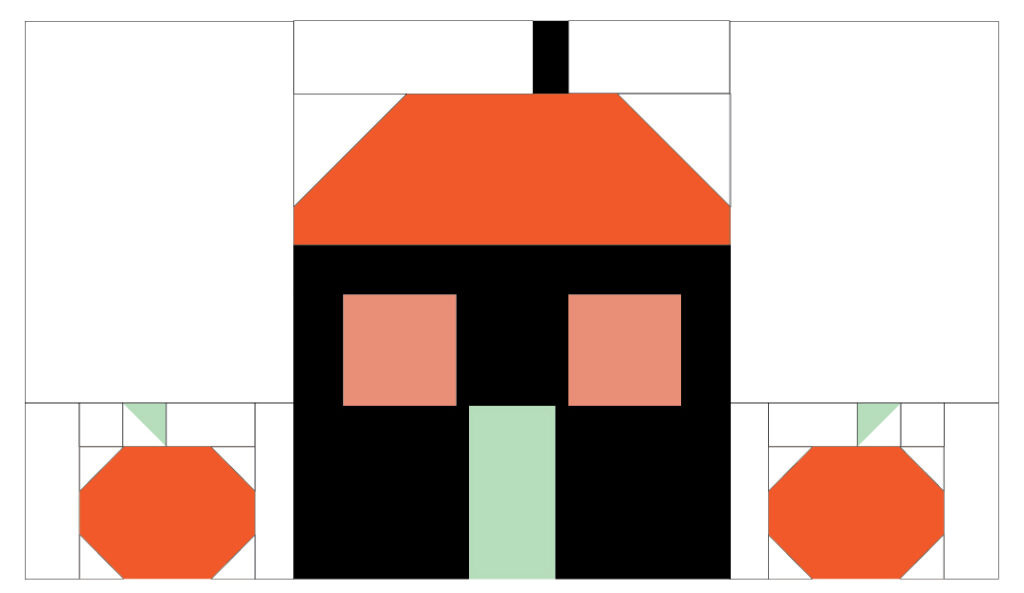
Sew a 4″ x 18″ background piece to the top and bottom of the house section.
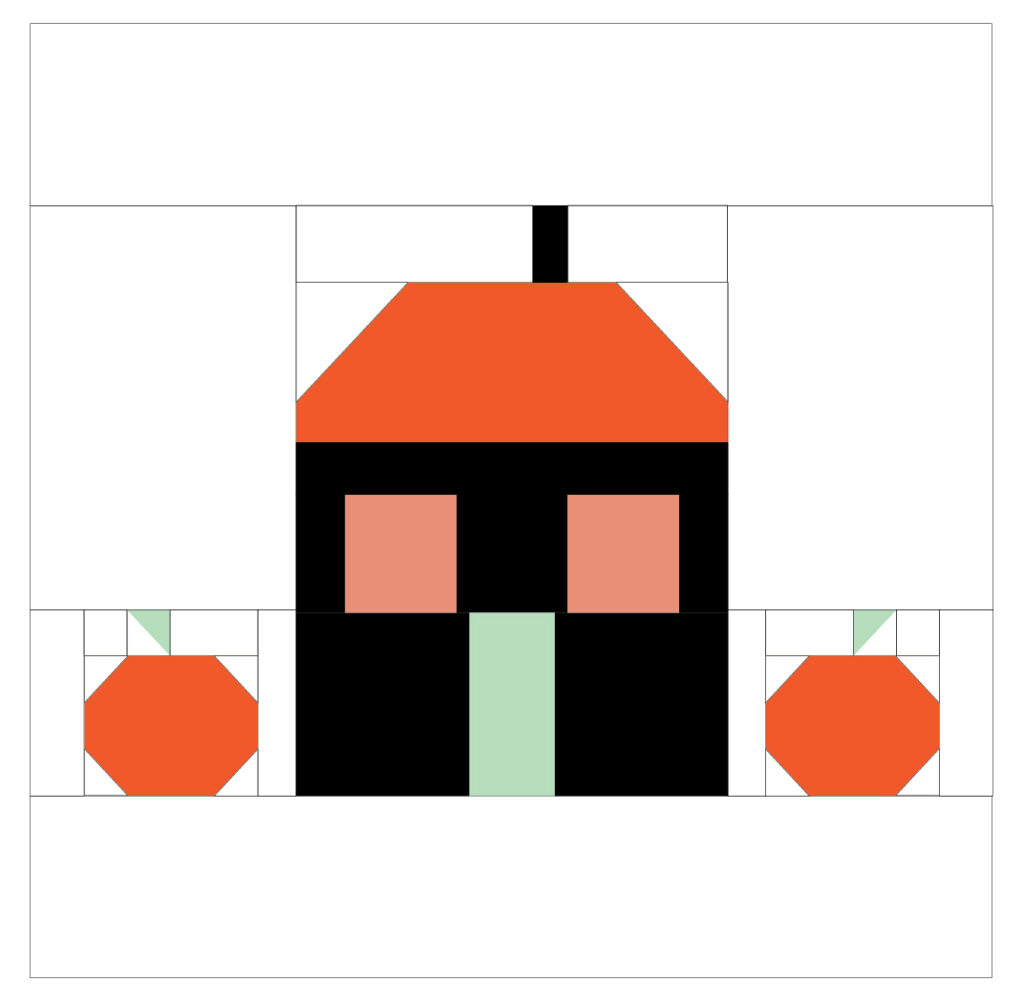
To create the dashed sashing, sew together a row of sashing with the mint 3 3/4″ x 7″ pieces and the 2″ x 7″ background pieces, in the layout below. The striped piece is 7″ x 18″
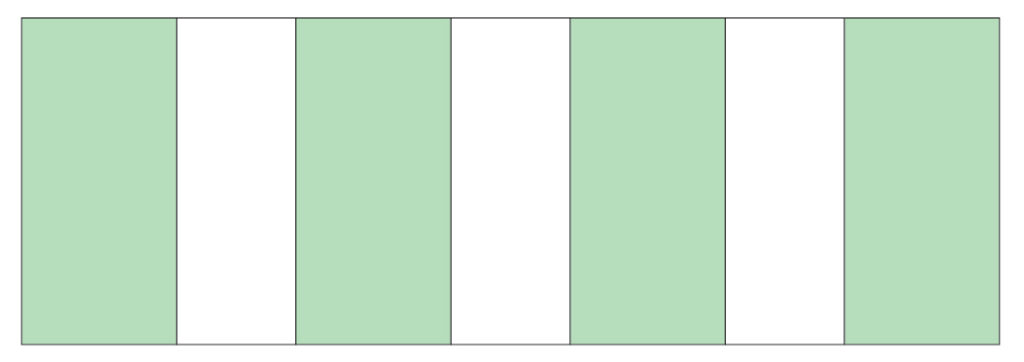
Cut the pieces into four long strips 1 1/2″ x 18″.

Sew a strip on the left and right side of the house section.
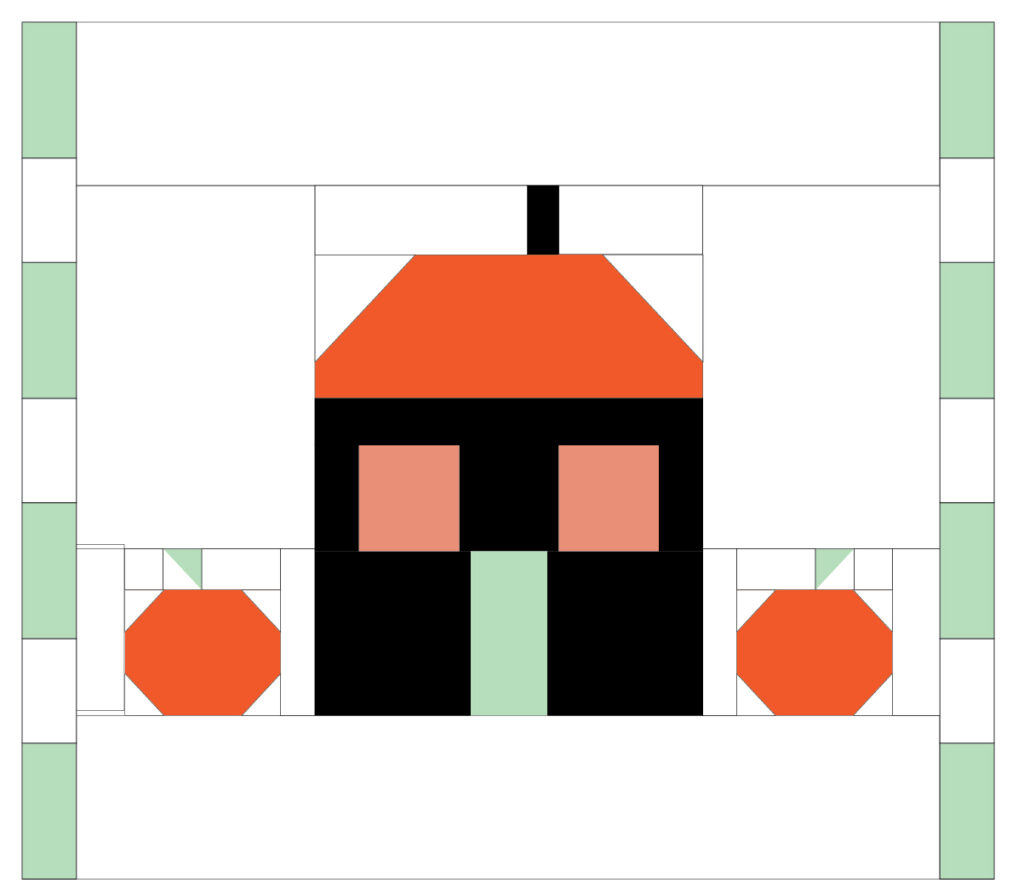
Sew a 1 1/2″ x 1 1/2″ background piece on each end of the remaining two dashed strips. Sew the strips to the top and bottom of the house section.
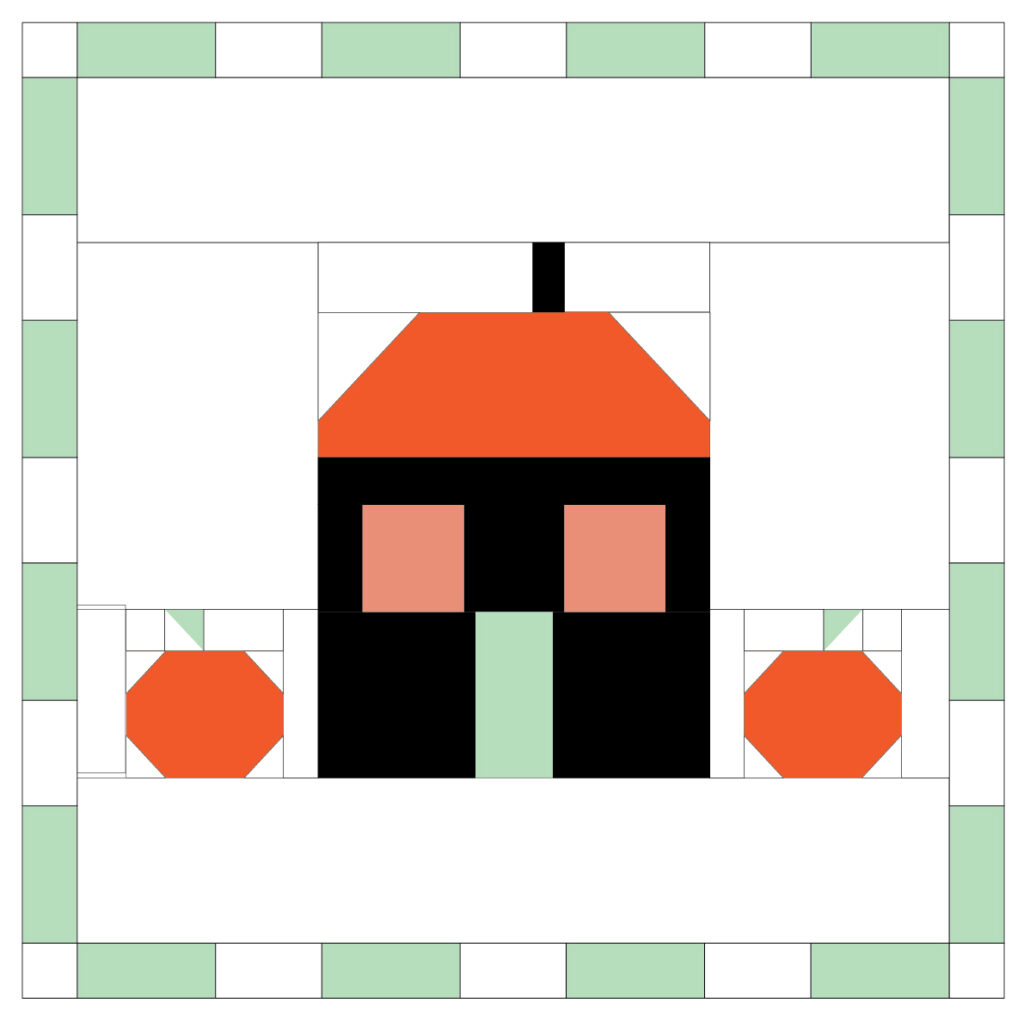
Cut the remaining 1 1/2″ x WOF strips into 2 strips 1 1/2″ x 19 1/2″ and 2 strips 1 1/2″ x 22″. Double check your mini quilt sizing first – if your measurements are different cut to those. It’s your mini quilt – it can be whatever size you want. ;) Sew the two 1 1/2″ x 19 1/2″ border pieces to the left and right sides, then the 1 1/2″ x 22″ pieces to the top and bottom.
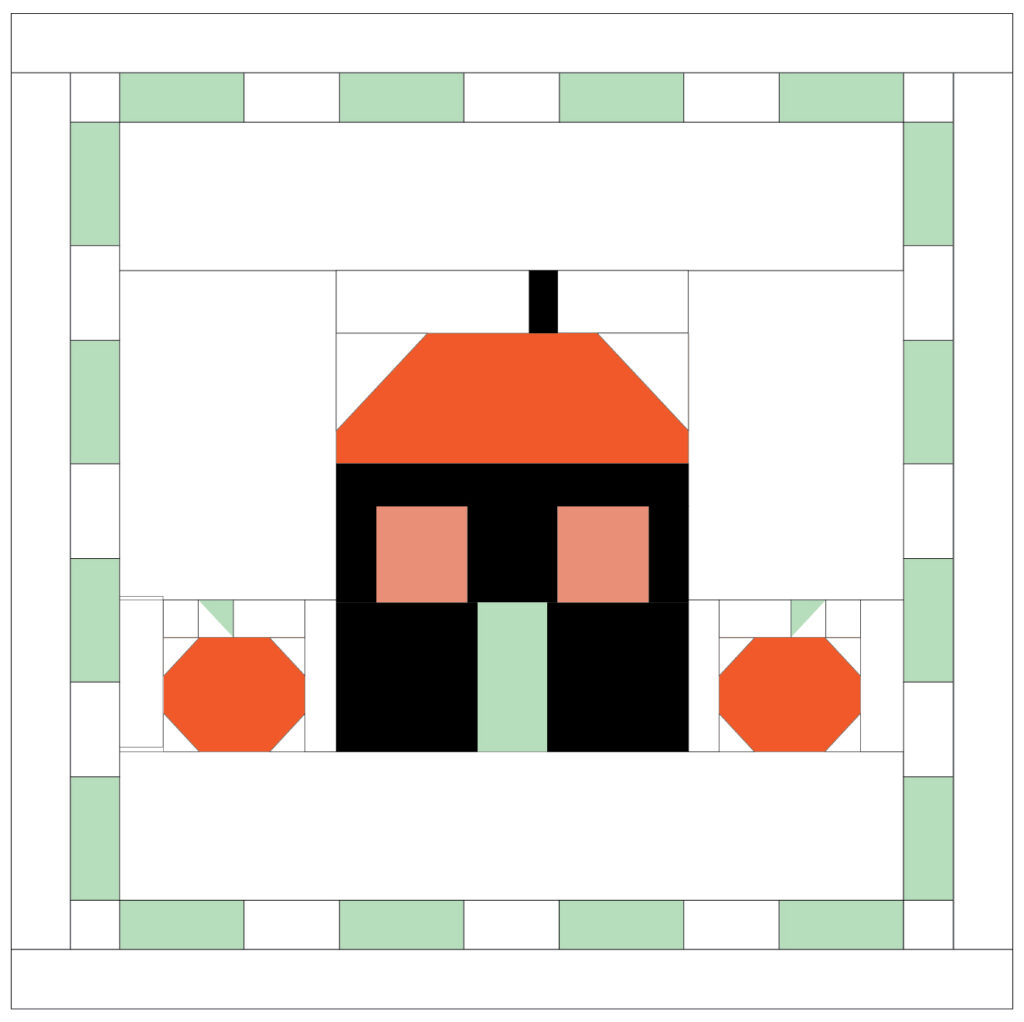
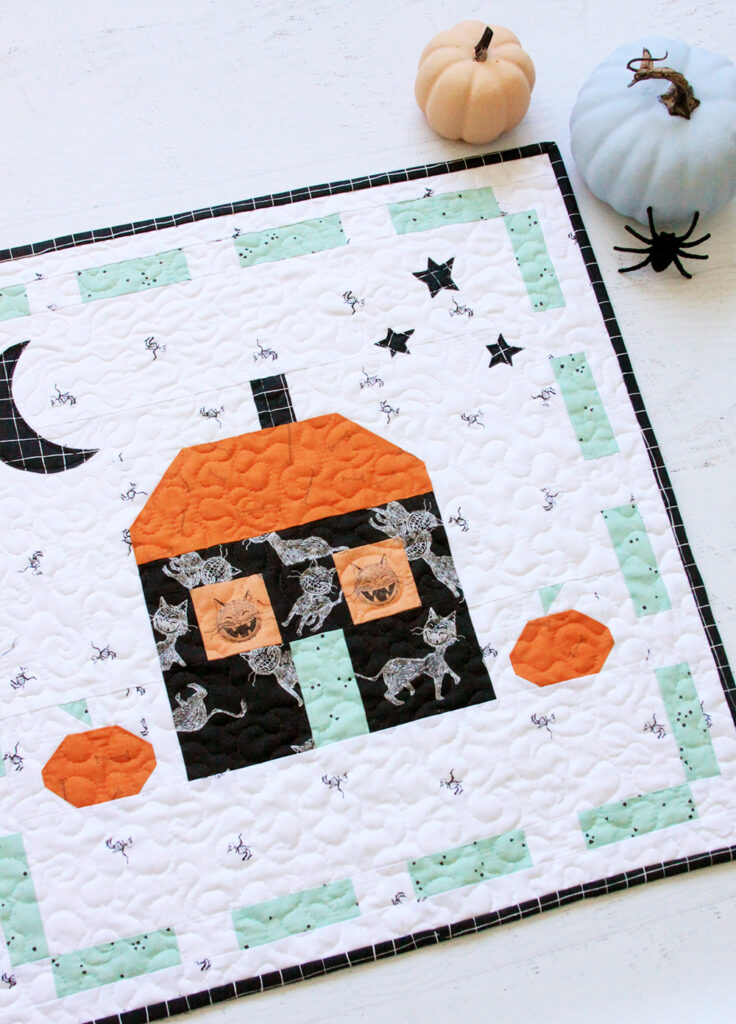
Now you can decide if you want to quilt your mini before appliqueing on the moon and stars, or if you want to do that first. I quilted the mini first because I wanted the stars and moon to really pop. I used a swirly free motion quilting with sharp little curves – I think it looks sort of like a spooky wind haha.
Once your are ready to applique, iron the fusible webbing onto the back of the grid fabric and cut out the moon and stars. Remove the paper backing and iron the shapes to the top section of the mini quilt. Stitch around the shapes as desired – I used a free motion stitching just inside the raw edge.
Bind the quilt and you’re all finished! I used 2 1/2″ double fold binding for mine. I love the sketched look of this grid fabric!
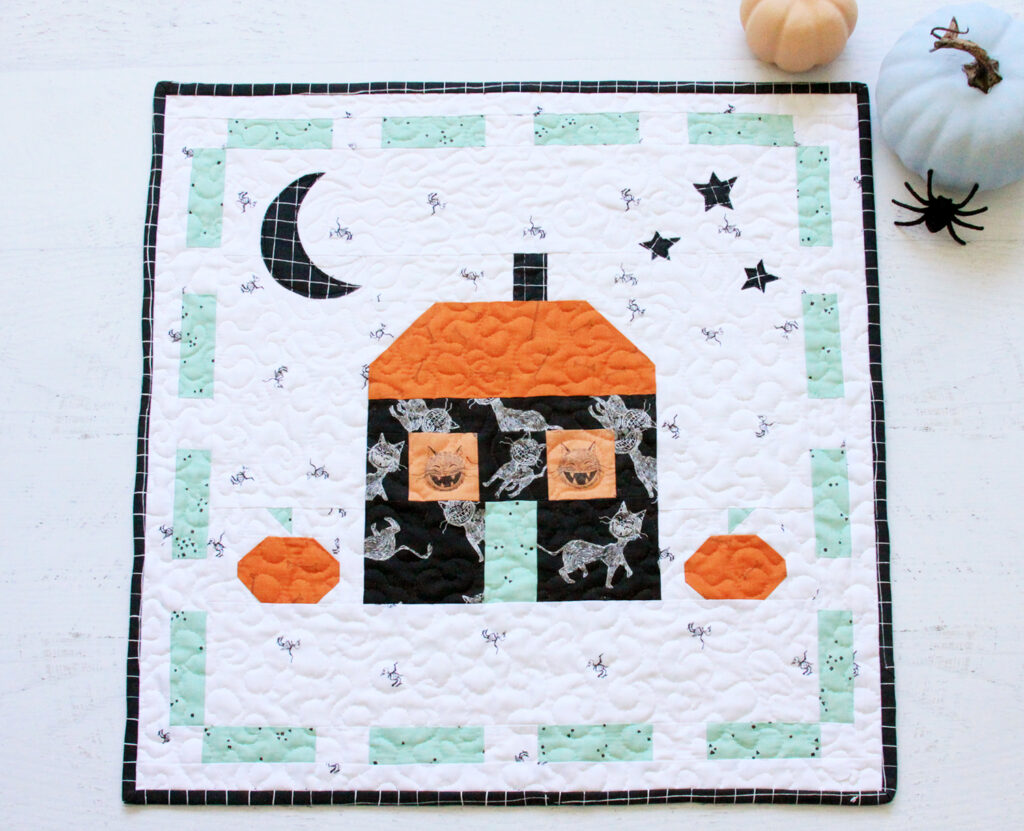
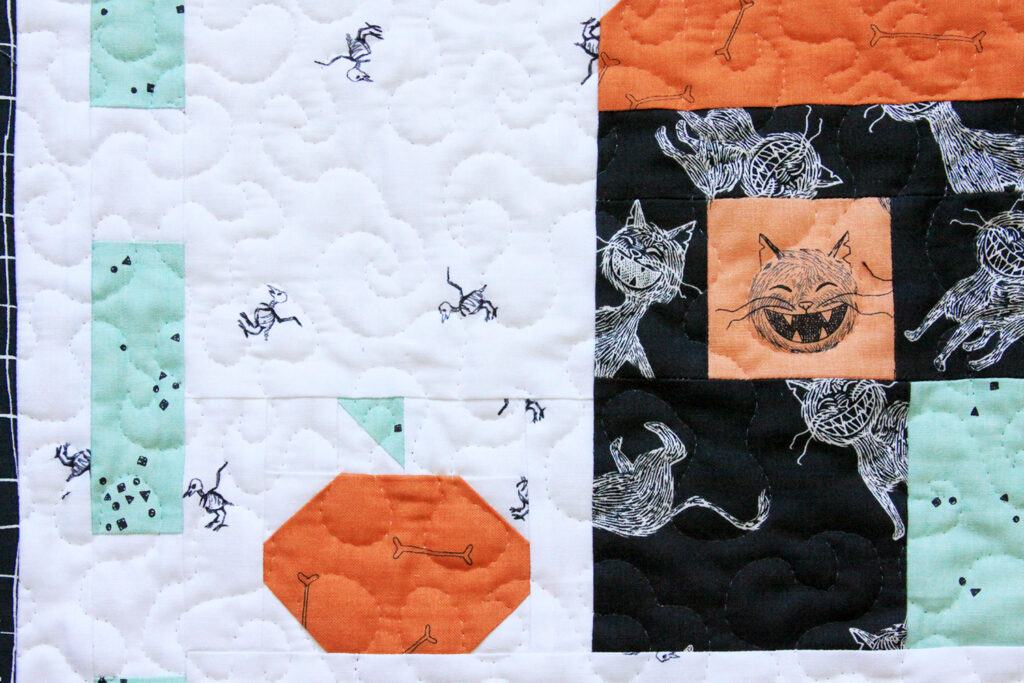
You can see the little curly quilting I did – it was so quick and fun!
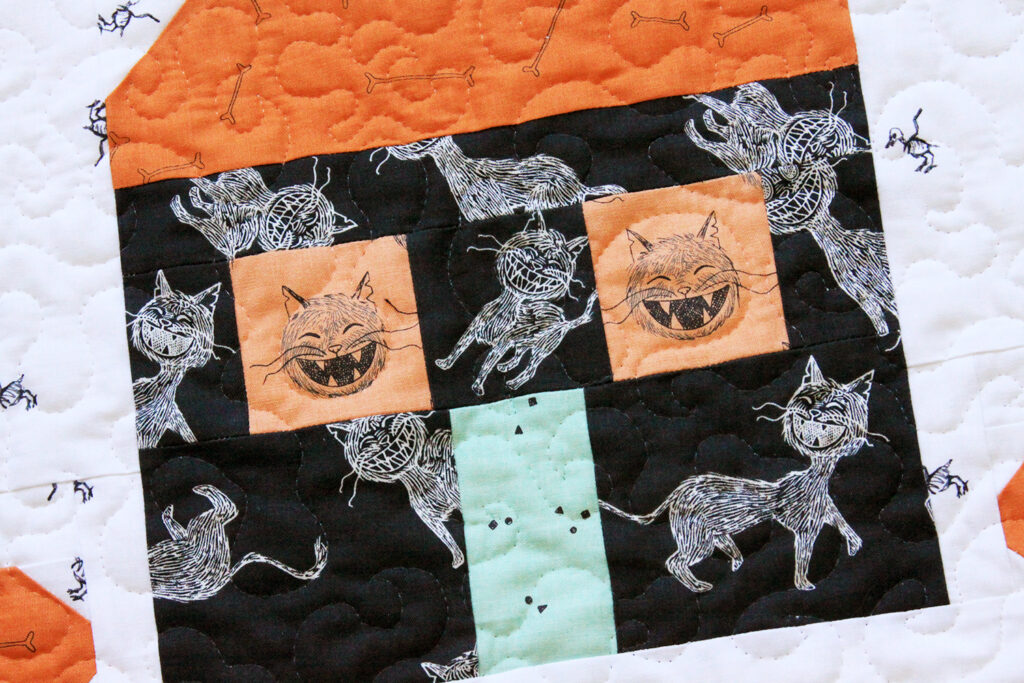
And those little scaredy cat windows are my faves!
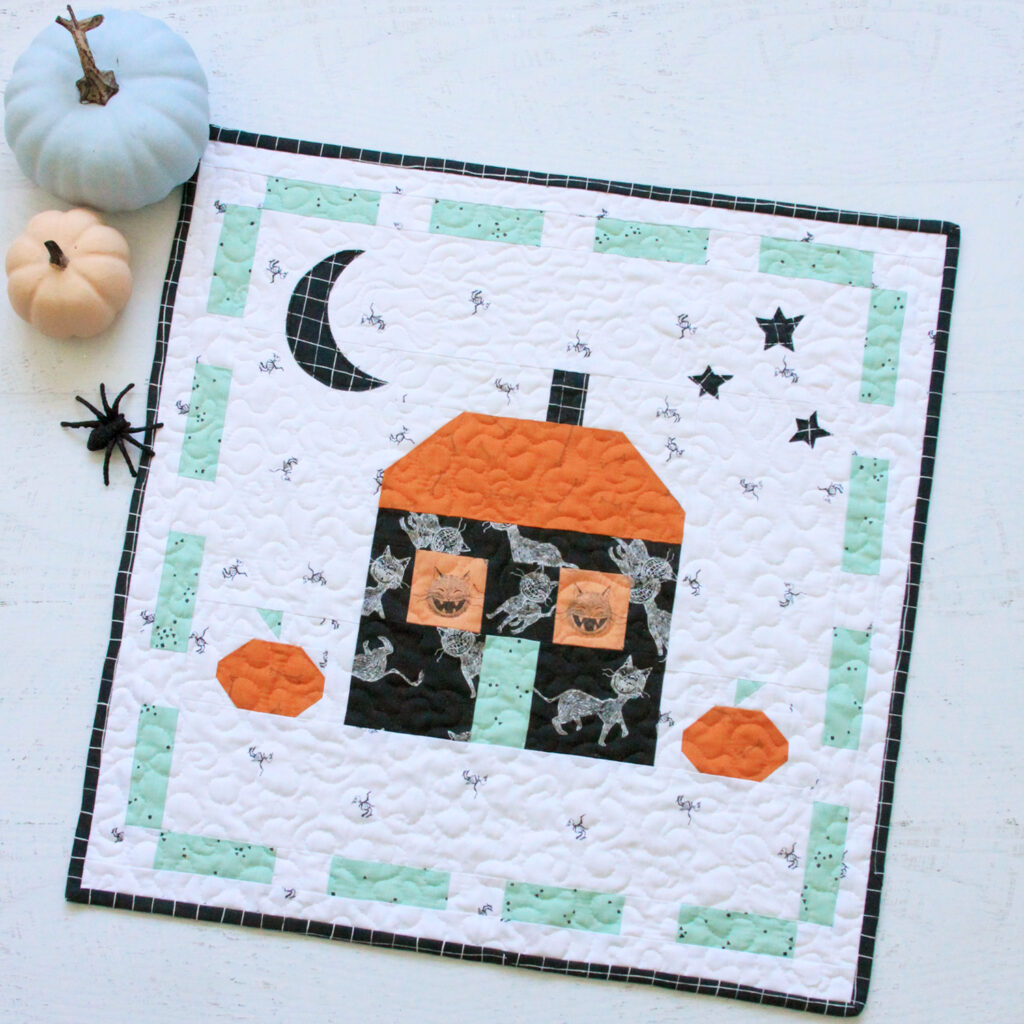
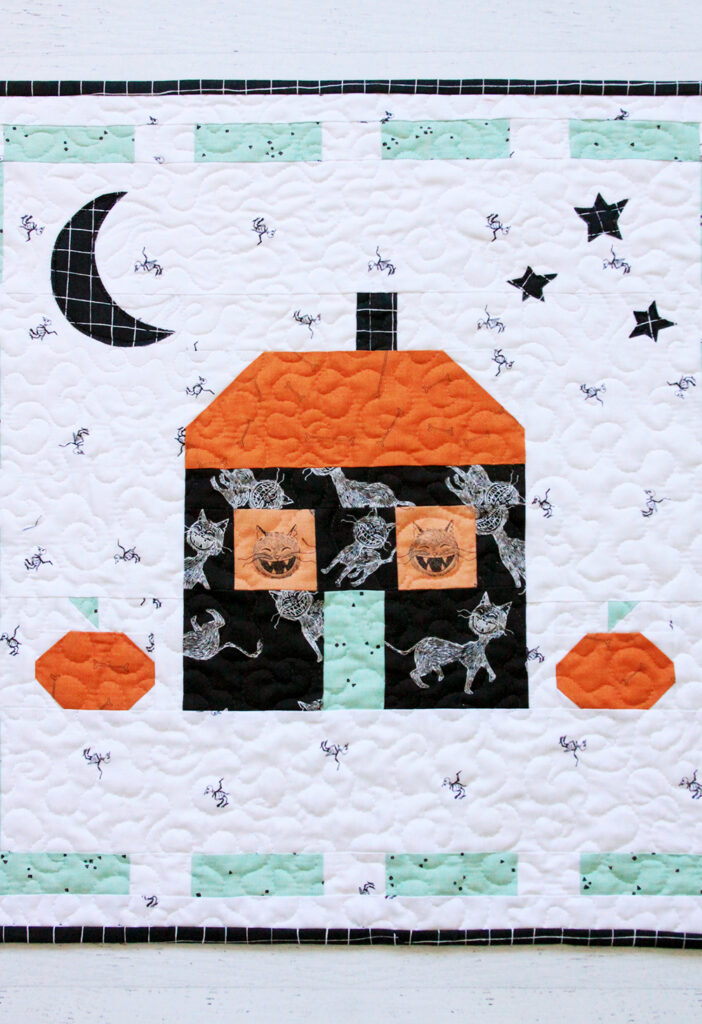
I can’t wait to hear what you think of this Scaredy Cat Manor Halloween Mini Quilt!
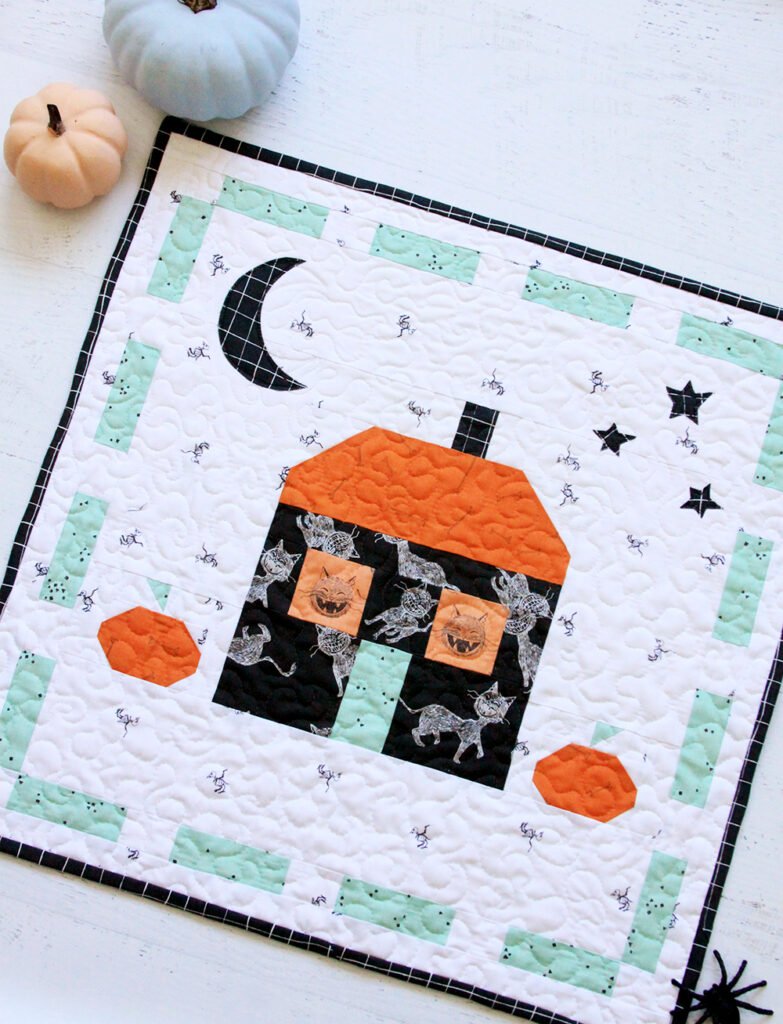
Scaredy Cat is shipping to stores now! It is a great time to pick some up for your Halloween projects!


Purrfectly spooktacular! Thank you sew much Bev! :)
I love that this is for Halloween yet is not all black and orange and you’ve even added teal!
This mini quilt is adorable! And the applique looks simple to do, too. Thank you for this pattern!
Beverly, Do you sell the fabrics for each of your patterns? I am also in Tennessee and new to quilting. It would be great to know where I can get the fabrics for your patterns especially since it is hard to go shopping because of the Covid-19 virus. Also it would be very helpful to know the difficulty level for each project.
LOVE YOUR PATTERNS
Me impresiona tanta belleza para a dornar mi mesa. Es una lastima no poder obtener sus telas son tan bellas ! vivo muy lejos pero sin embargo he hecho algunos de sus trabajos hermosos. este mantel l o are ……buscare telas en mi ciudad ojala encuentre algo parecido. muchas gracias por su generosidad. Desde Colombia un abrazo.
My dil’s are going to love these!
This project is so cute, I really love it. Thank you