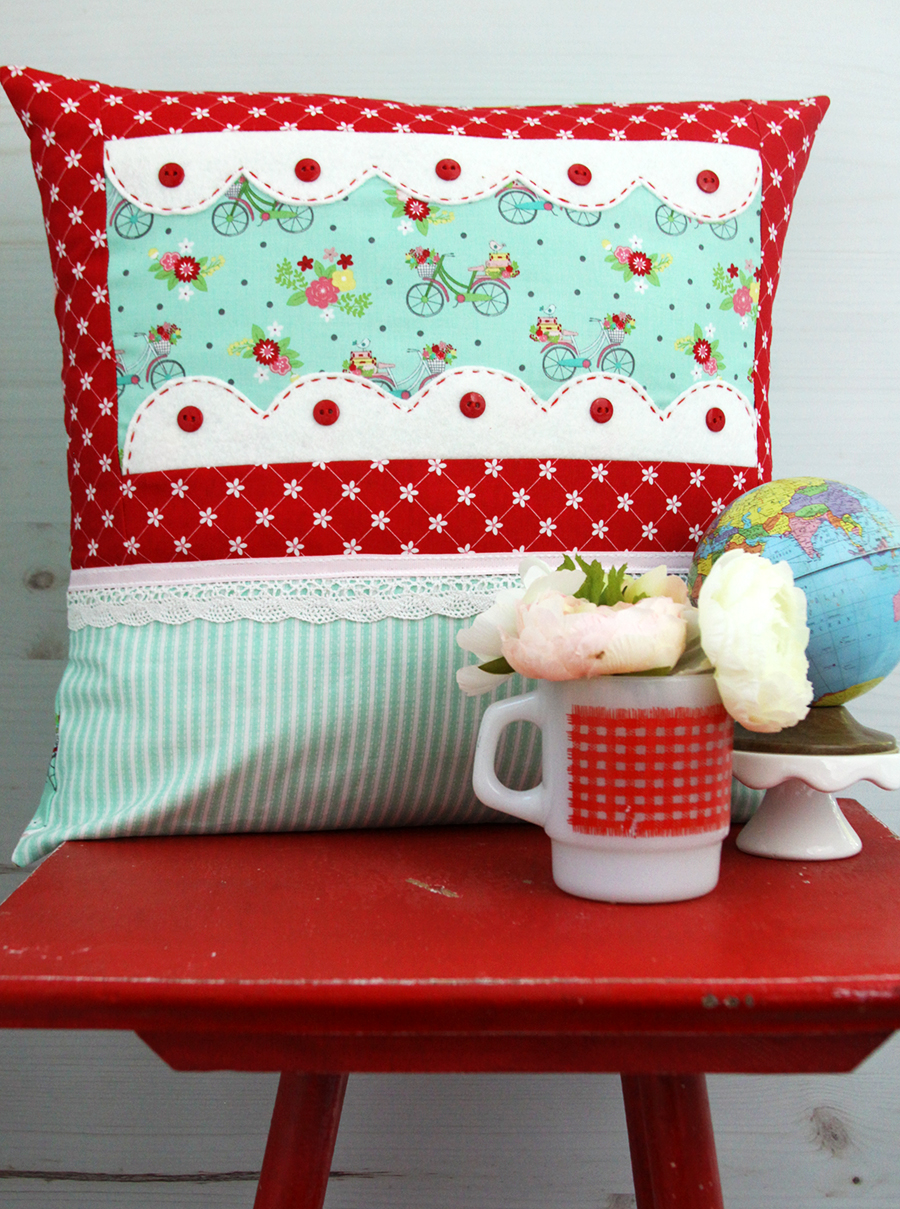
This Scalloped Window Pillow is so fun and easy to make – and it’s so cute for highlighting a fun fabric!
Have you ever done a quilt-a-long? I haven’t before but I’ve been having a blast following along with the Friendship Quilt-A-Long being put on by Amanda Herring. This quilt is so fun and it’s all dedicated to friendship!
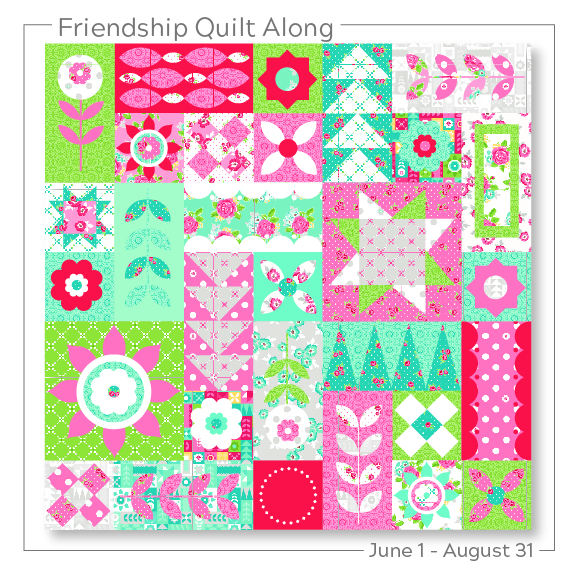
Isn’t it darling?! Every week they are highlighting a different block so you can sew along and make the whole quilt – or just try out one or several of the blocks for individual projects. You can find the info for all the blocks, quilt and projects over at Amanda’s Blog.
Each block is named after a characteristic of friendship and for this week, Week 8 – our block is Humorous!! Which I pretty much adore. The Humorous block is a rectangle with little scalloped sides and buttons! I made my block into a cute pillow with Vintage Adventure fabrics!

Here’s what I used to make my pillow:
- Vintage Adventure Fabrics – Aqua Bicycle – 1/4 yard, Red Trellis – 1/8 yard, Aqua Stripe – 1/4 yard – Aqua Main print – 1/2 yard
- Wool Felt – 12″ x 10″
- Embroidery Floss
- Buttons
- 1/2 yard lace
- 1/2 yard ribbon
- 16″ pillow form
- Friendship Quilt-A-Long
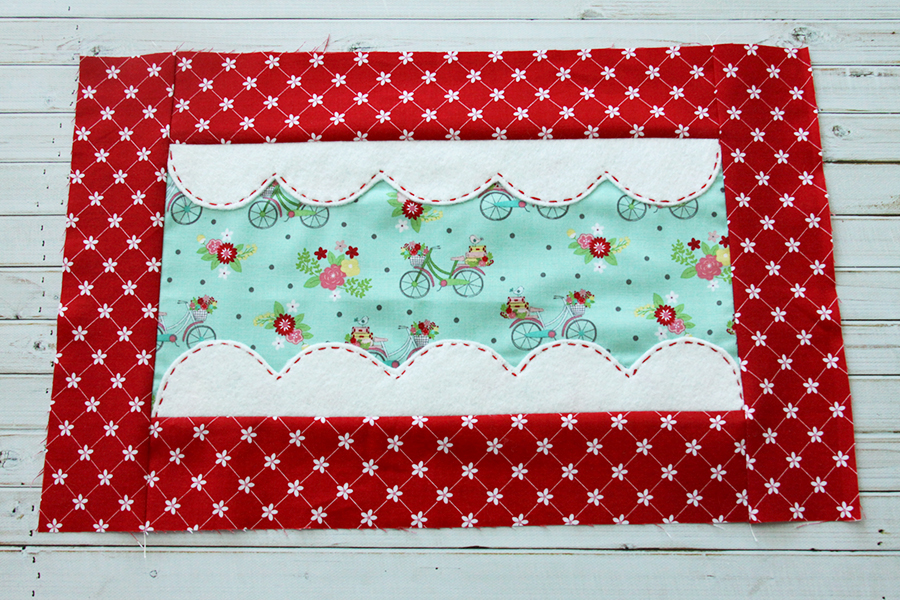
Follow the instructions in the pattern to make the Humorous Block. I used wool felt for the scalloped pieces and stitched them down just inside the edges. To add some embroidery I did a running stitch inside the scalloped edges with 3 strands of red floss.

Cut 2 pieces from the red trellis 2 1/2″ x 12 1/2″. Sew the pieces to the top and bottom of the quilt block and press the seams towards the trellis fabrics.
Cut 2 pieces from the red trellis 2 1/2″ x 10 1/2″. Sew them on the left and right sides of the block. Press the seams away from the center block.
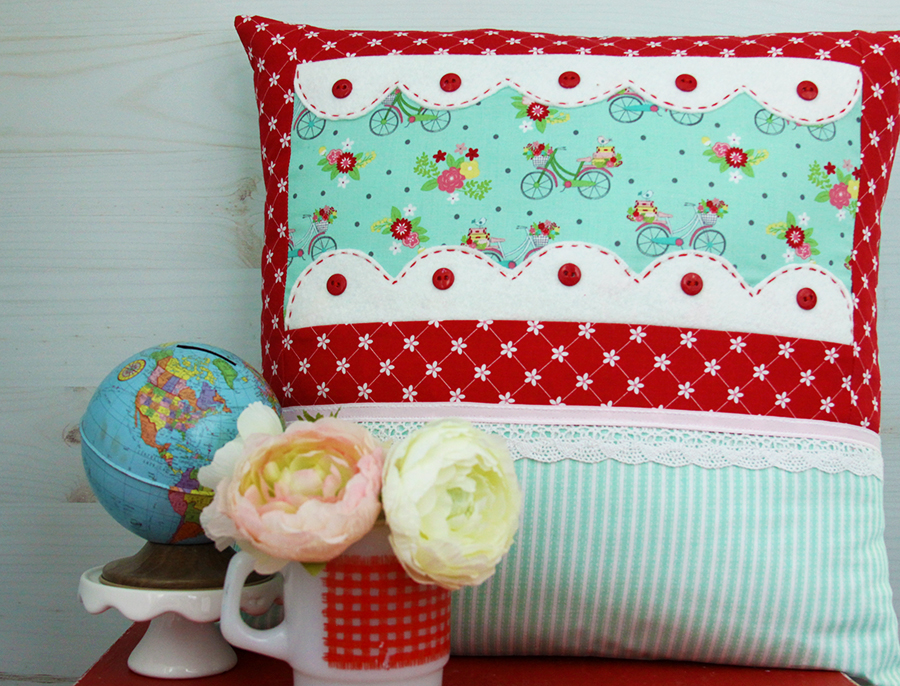
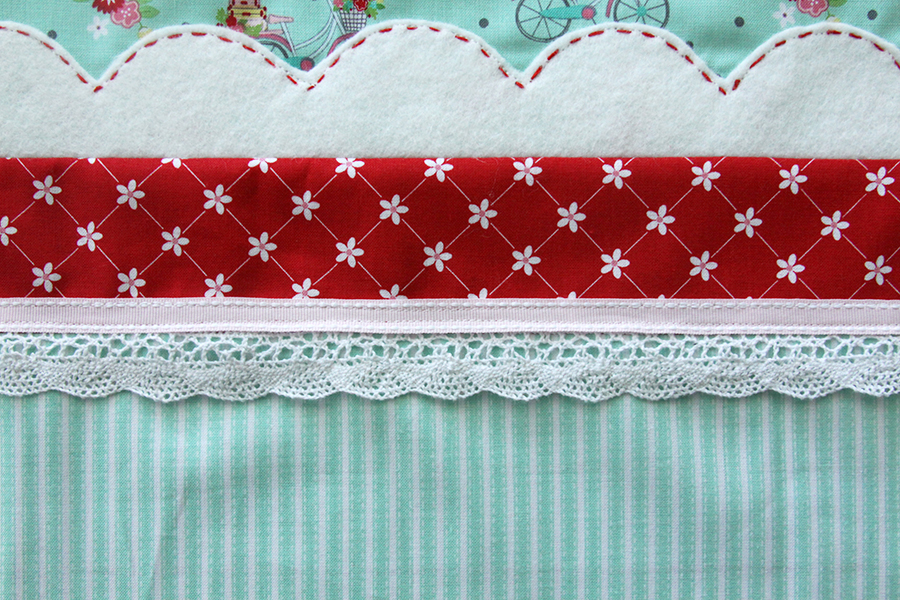
From the aqua stripe cut a piece 6″ x 16 1/2″, so the stripes are vertical. Sew the striped piece at the bottom of the quilt block section. Line the lace trim just over the top of the seam and sew in place, then sew the ribbon in place over the top edge of the lace.
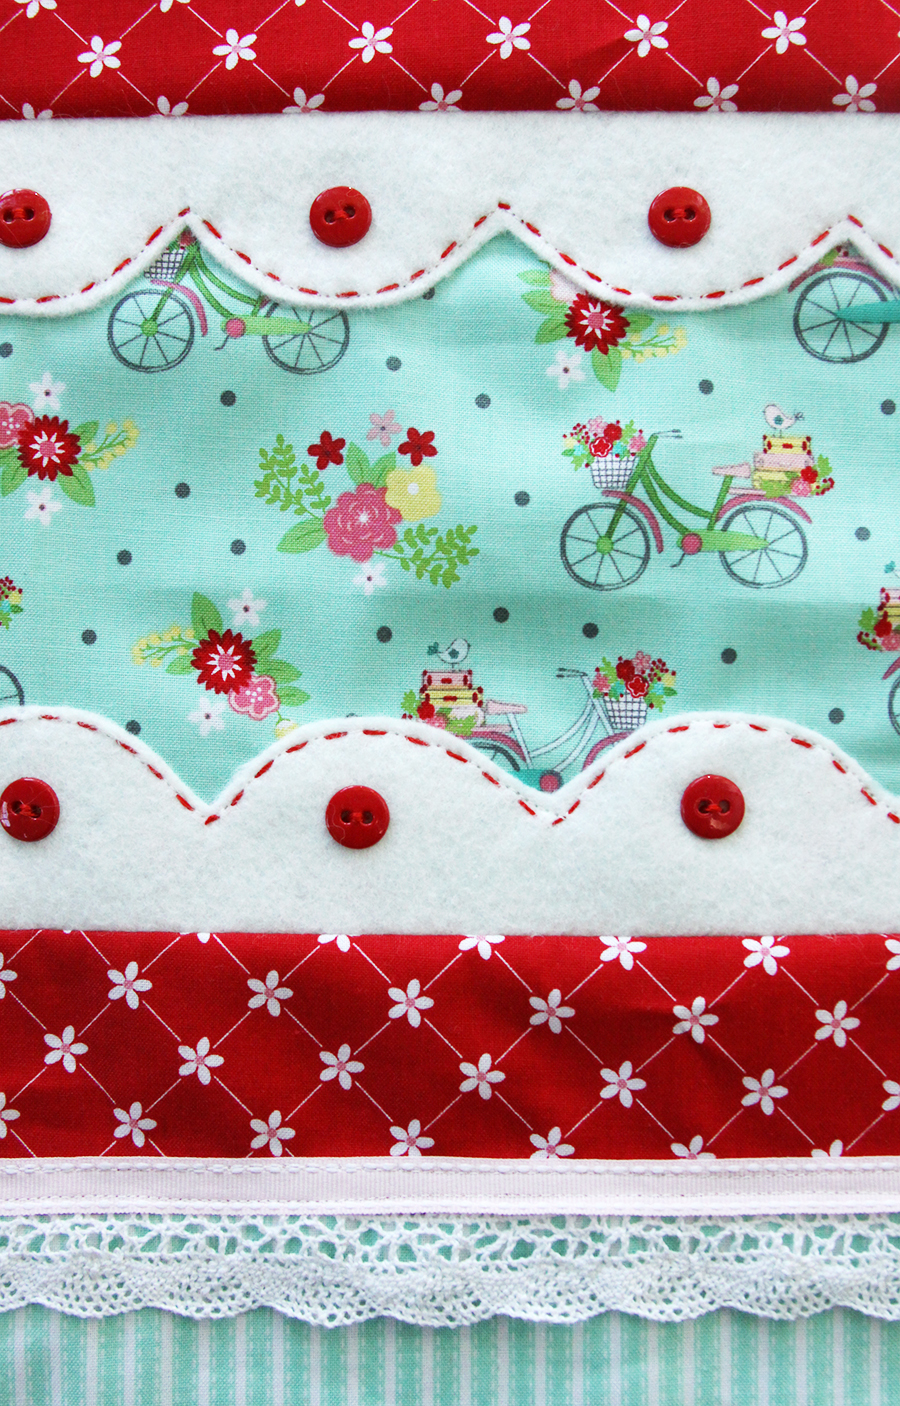
The block instructions call for the buttons to be sewn inside the points of the scallops on the background fabric but I didn’t want them to get lost in the print so I sewed the buttons on the felt side of the scallops.
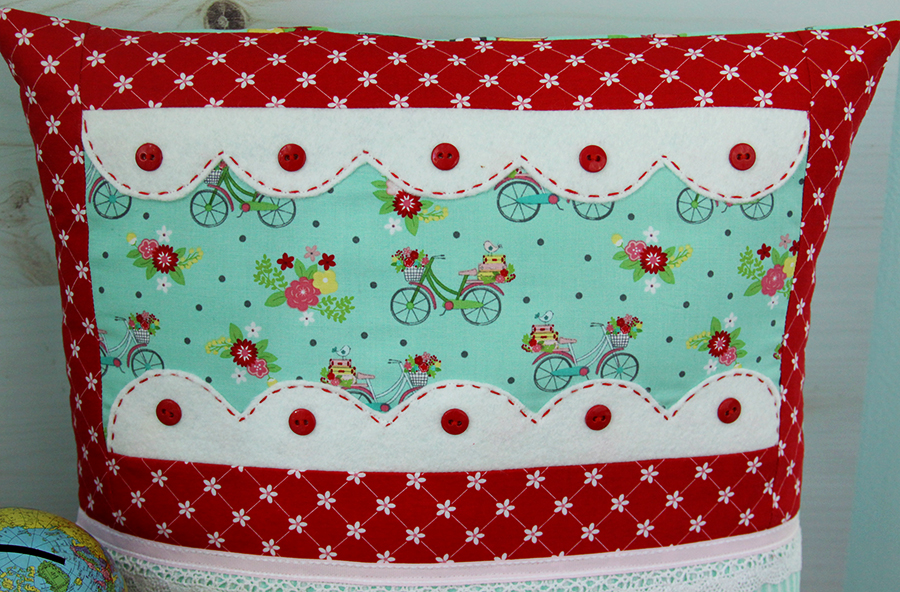
For the back, cut two pieces 16 1/2″ x 12″. Hem the bottom of one of them pieces and top edge of the other. Overlap them to create a 16 1/2″ square so the edge with the hem on the bottom is one top. Lay the front of the pillow right sides together with the back and sew around all four sides. Clip the corners, turn right side out and put the pillow form in the cover. Show off your cute new pillow!
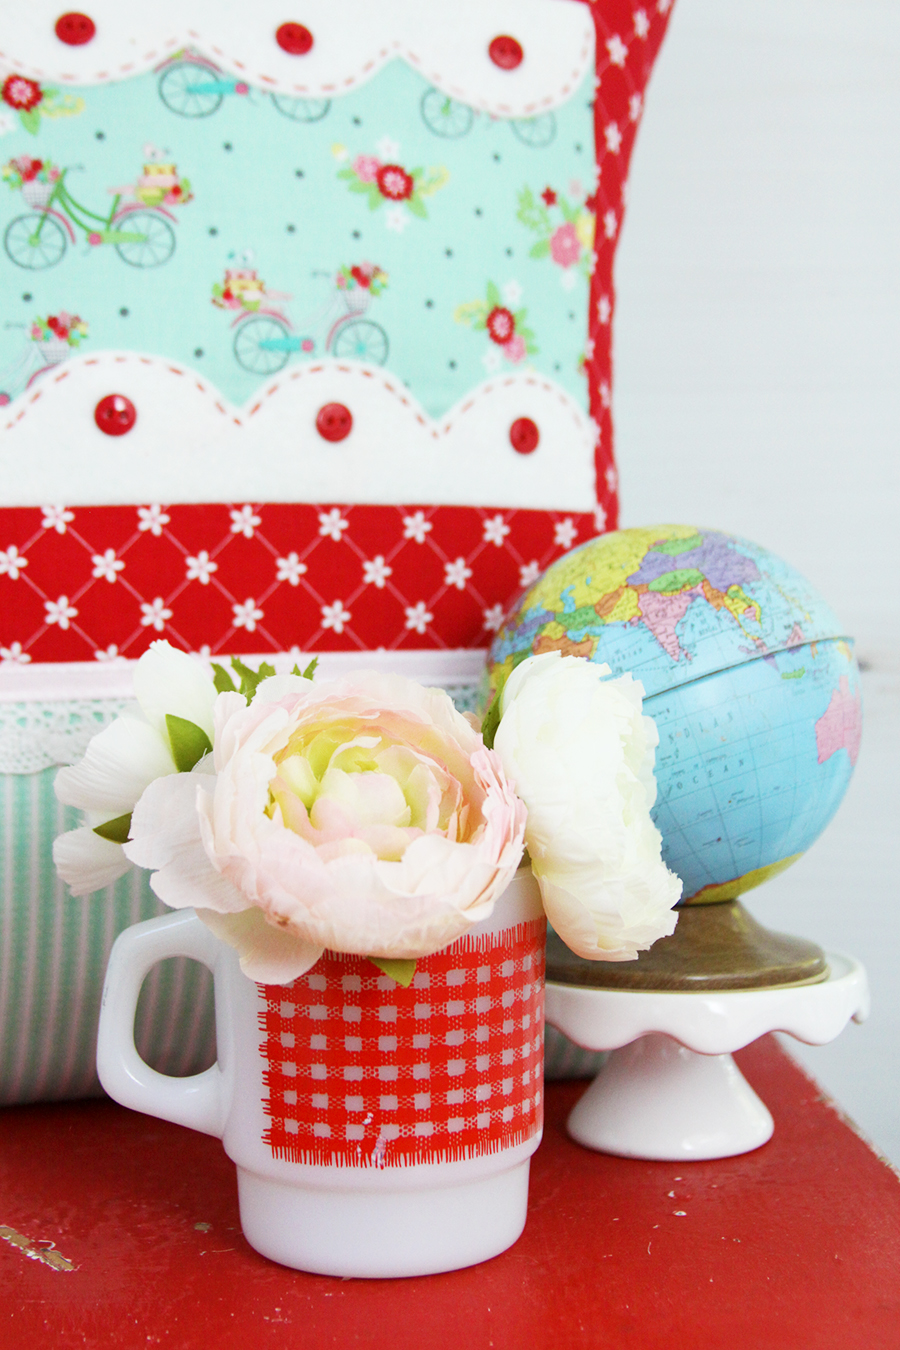
I love how the scallops really set off the fabric!
You can find all the information on the Friendship Quilt Along here and the pattern is here!


Bev, your pillow is adorable! You have such an eye for cuteness.
I love your attention to detail, Bev. The bicycle in the center of the fabric panel with the row of flowers on either side: perfection! Nice job.
This is adorable. I love the step-by-step instructions. In 2013 I had a stroke and sometimes (not always) my mind gets muddled and it’s difficult to place things in a specific order. This tut is wonderful!! Love it.
I love this so much it isn’t all perfectly aligned it’s very beautiful thank you
Thanks for sharing at To Grandma’s House We Go DIY, Crafts, Recipes and More Wednesday Link Party! Pinned it to Pinterest! Hope to have you join the party next week!
Adorable! My two favorite colors. I’ve got to go check out this quilt. Thanks for sharing with SYC.
hugs,
Jann
Cutest pillow! Great colors and design.
What a creative use of that block! I love it!