Today in our Scrap Busting Extravaganza I am excited to welcome Sarah from Bombshell Bling!
 Sarah is a super talented jewelry designer, craft, and cook – this girl does it all! She has a perfect scrap tutorial for us today – for the sweetest little rolled flowers!
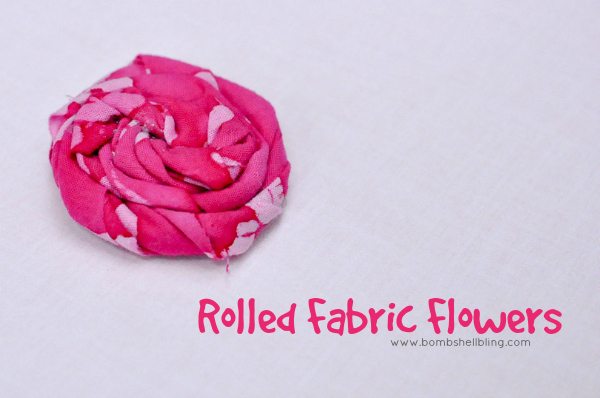
Good morning! I am so excited to be guest posting here today! Bev is one of my favorite bloggers EVER EVER EVER. Isn’t she just OUTRAGEOUSLY talented?! We taught a jewelry making class together last year at the SNAP blogging conference It was a blast.
Anyway, my name is Sarah Westover McKenna, and on my site, Bombshell Bling, I blog about all things colorful, holiday-related, sinfully delicious, kid-friendly, and, of course, BLINGY. I also have an obsession with making things for my two year old daughter. Since her birth she has been the recipient of many outfits, necklaces, bracelets, and, most especially, hair accessories! I have a bit of a baby headband obsession, which has gradually had to morph into a hair clip obsession since she has hair now and it’s usually in pigtails. For this reason, when Bev asked me to come up with a scrap-busting project, the thing that INSTANTLY popped into my mind was these rolled fabric flowers. I have used them in sooo many projects! Below are just three of the headbands that I have made using this simple flower making technique. If you want more just search “baby headbands” on my site. Seriously. I have problems. ;)
Flowers and Feathers Headbands, Minnie Mouse Headband (my favorite), Vintage Flair Headband
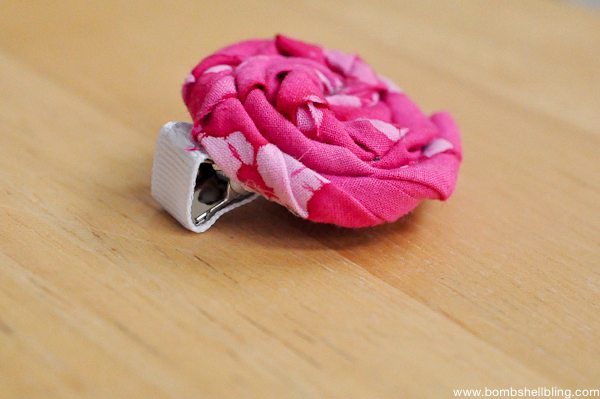
Would you like to see just how simple it is to make one of these rolled fabric flowers? Well then here we go!
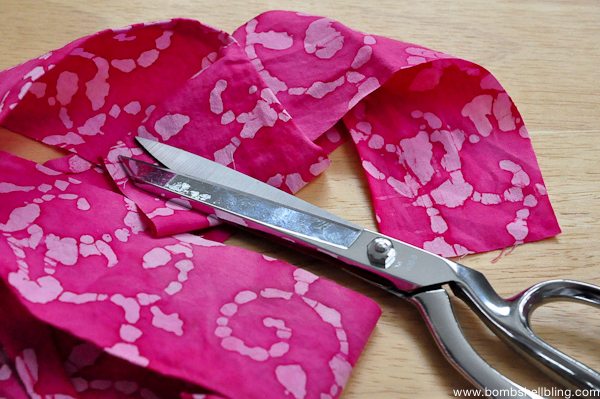
All you need to make one of these rolled fabric flowers is a scrap of fabric, scissors, and a hot glue gun.
Cut a strip of your fabric. The length and width of the strip will determine the size of the rosette. Obviously, wider and longer strips will be larger flowers.
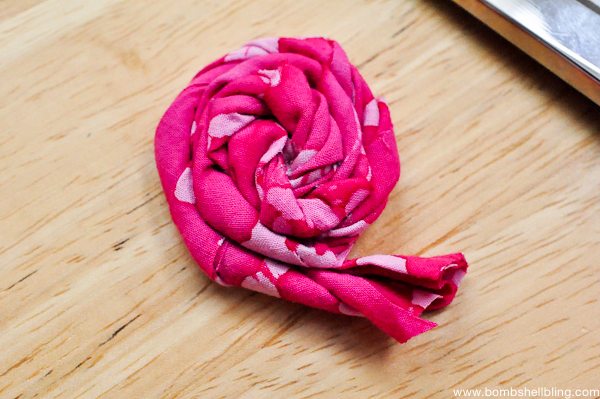
Twist the fabric with your fingers.
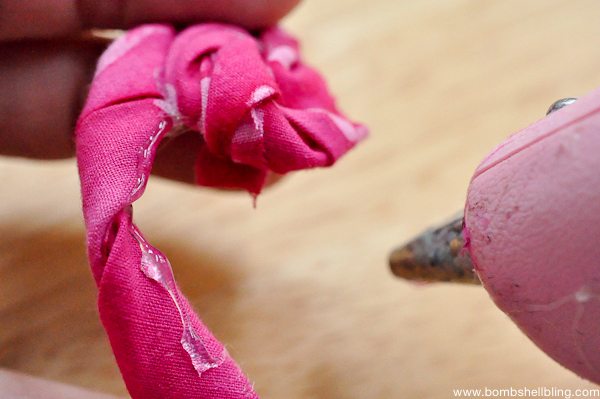
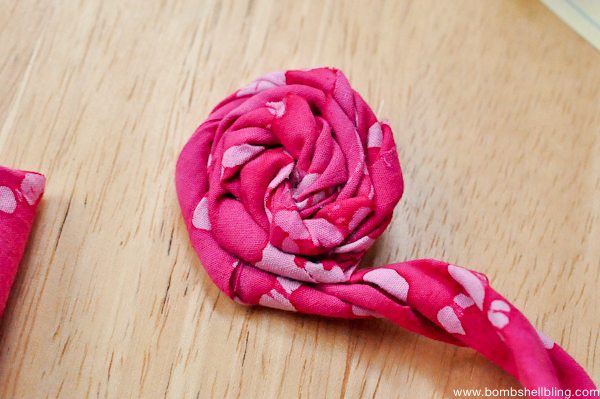
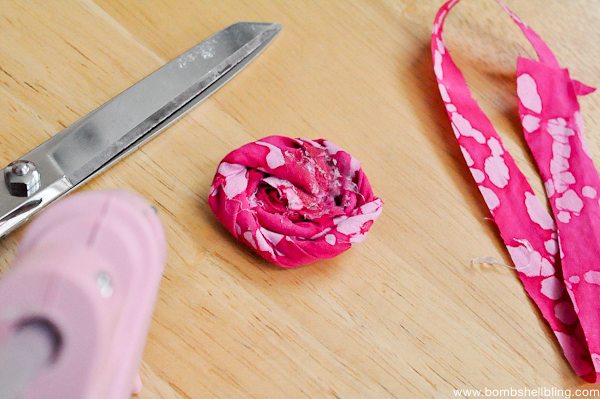
As you start to roll up your twisted fabric like a flower dab hot glue on the fabric and continue to wrap so that the flowers stay tightly wound.
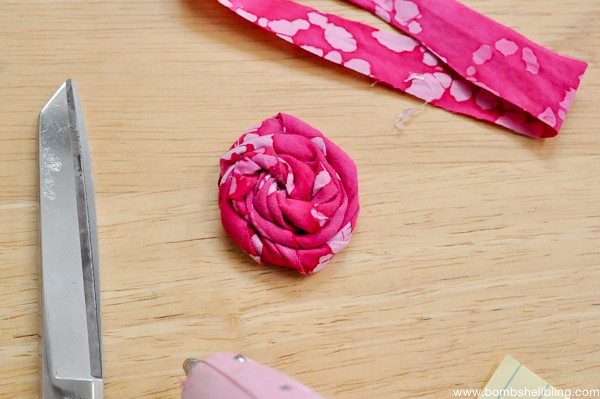
When your flower gets to the size that you like simply cut off the remainder of the fabric and glue the fabric end on the back of the flower to finish it off.
All done! Stick it on a clip or headband and you are good to go!
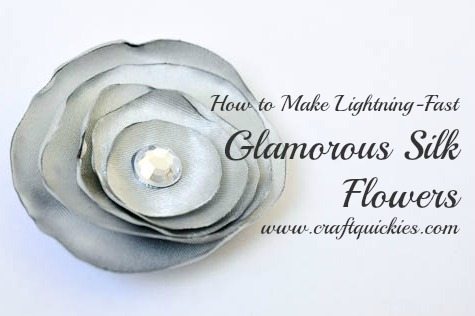
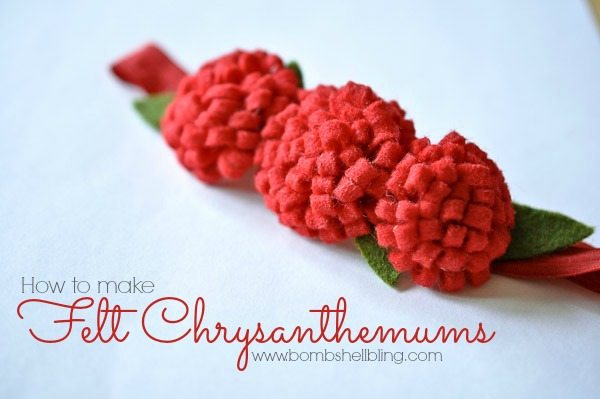
Before I go, here are a couple more crazy simple flower making tutorials that also use scraps of fabric:
Glamorous Silk Flowers
(My blog used to be called Craft Quickies.)
Have a FLOWERY day!!
Eeek! I love them! Thanks so much for joining in the Scrap Busting Extravaganza Sarah! Those flowers are all so cute and will look great on so many things! I am thinking decorations for bags, shoes – even for gift wrapping!
Make sure you head over to visit Sarah and check out all her projects – you will love her jewelry pieces especially – they are GORGEOUS!!!




So adorable! Rolled fabric flowers are one of the reasons I started my fabric hoarding. ;)
Pretty!! I’ve got a Craft Gossip post scheduled for later this morning that links to your tutorial:
http://sewing.craftgossip.com/tutorial-how-to-make-a-rolled-fabric-flower/2015/01/15/
–Anne
Thank you so much Anne!! :)