I was at Target last week and snapped this photo with my handy dandy phone spy camera.
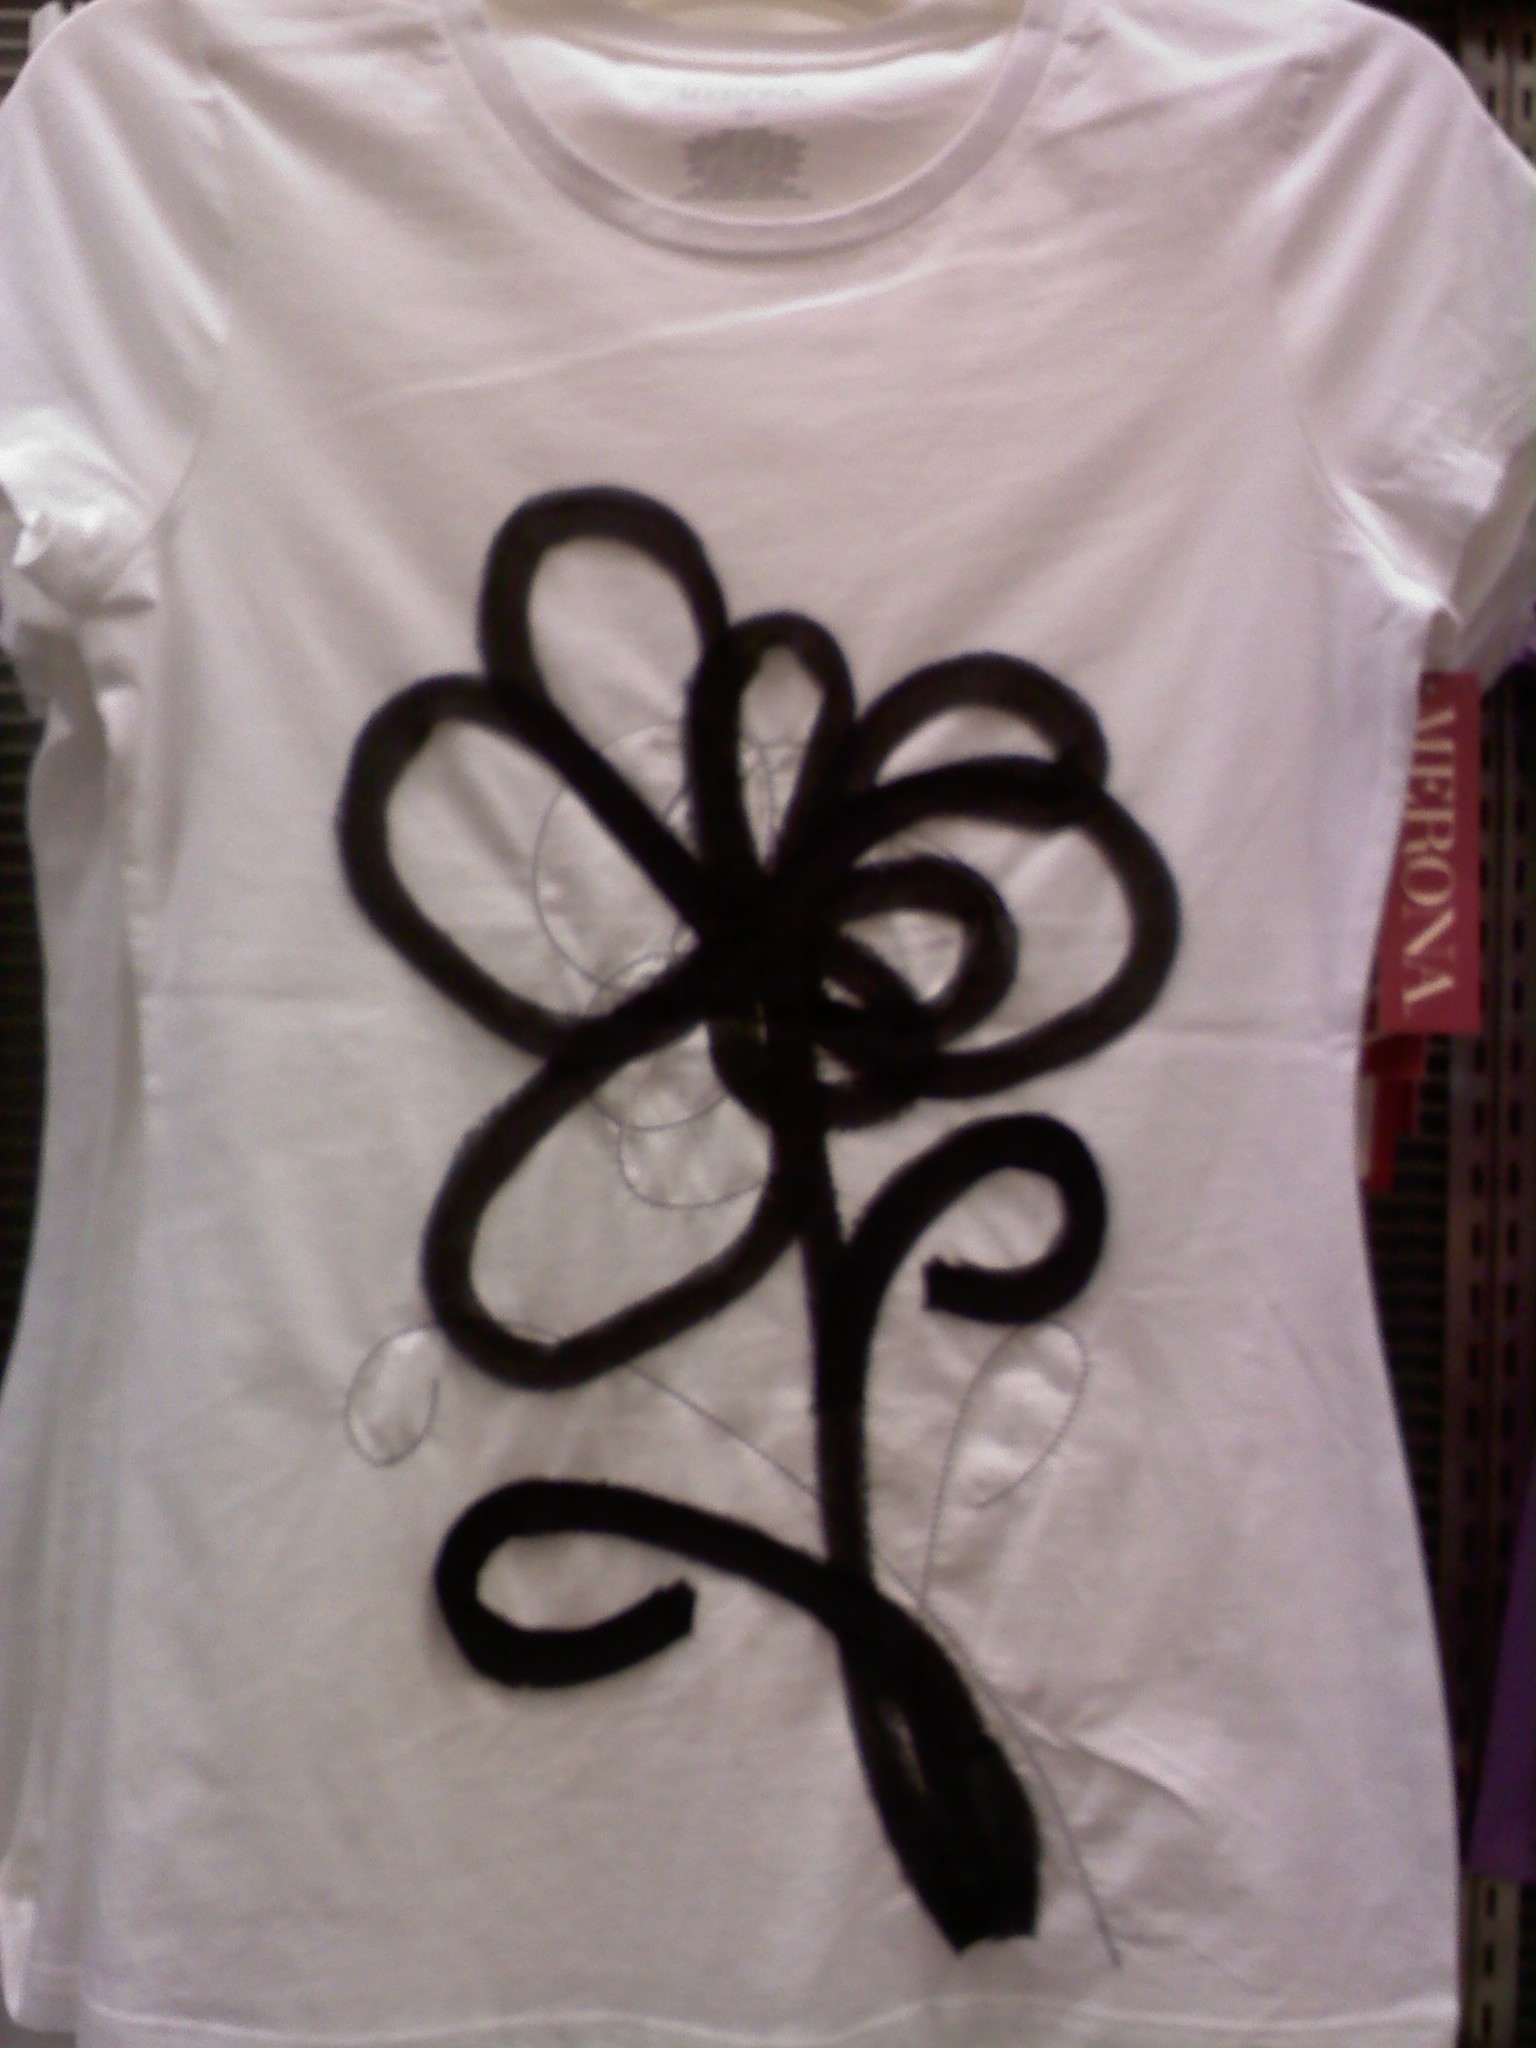
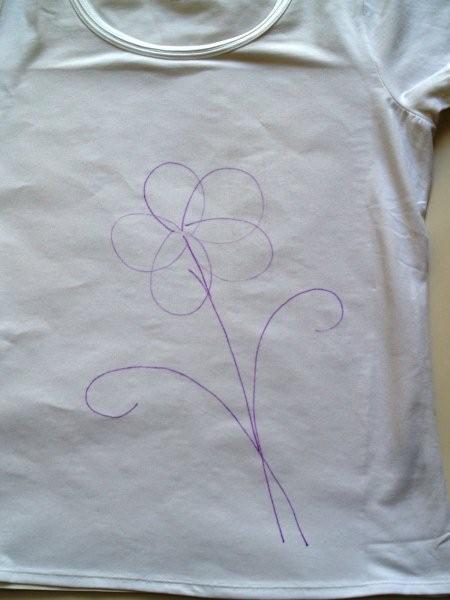
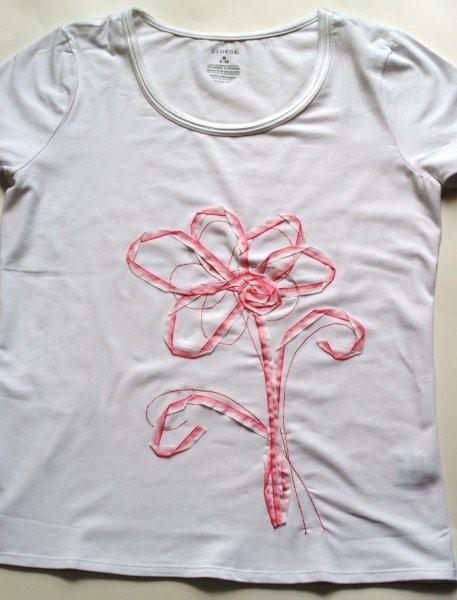
Cute huh? I thought so too. I also thought I could make it just as cute. And pinker. Because, if you can, why wouldn’t you? :) Here’s mine:
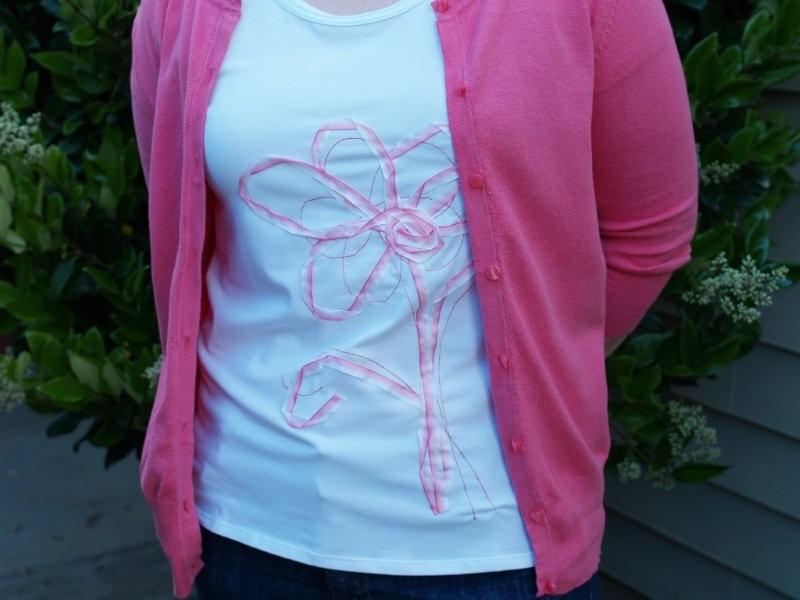
(I’m finding I’m fairly self-conscious about being the model for these things I”m making. Huh.)
Now, I know that everyone out there is copying Anthro (myself included) and other great stores, but even though this is a lil ole $14.99 Target T-shirt, I think we can do it for even less, and did I mention pinker?
So let’s get started! Gather your supplies.
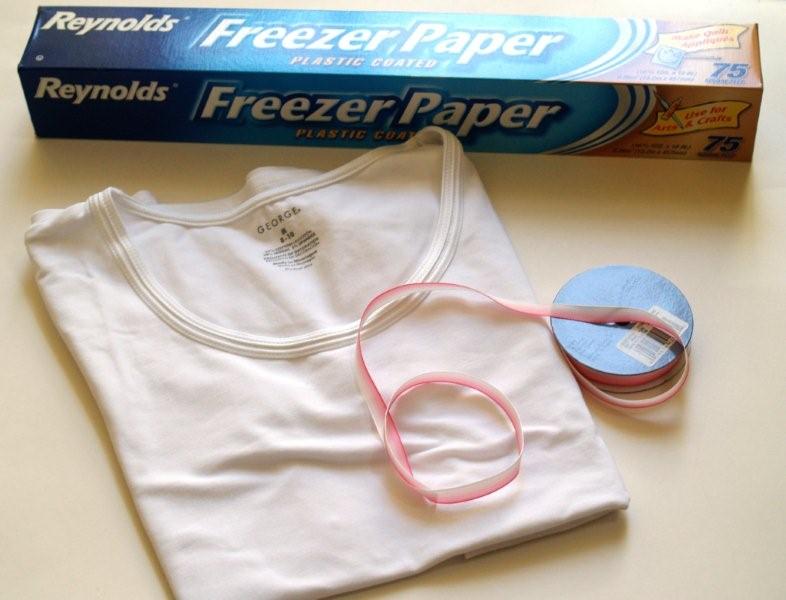
We’re going to need a plain T-shirt (I got mine at Walmart for $4.00), freezer paper, and ribbon. I got this sweet little ribbon at Michael’s, half price. You could also use tulle or a fabric strip. I used almost the whole roll – so almost 3 yards of ribbon.
You will also need some thread to match your ribbon and a contrasting thread for your stitched flower, and a marking pen.
I use a quilters marking pen that is a disappearing ink pen. Sometimes it’s a little enthusiastic so I have to make sure I’m not going to leave the project part-way through.
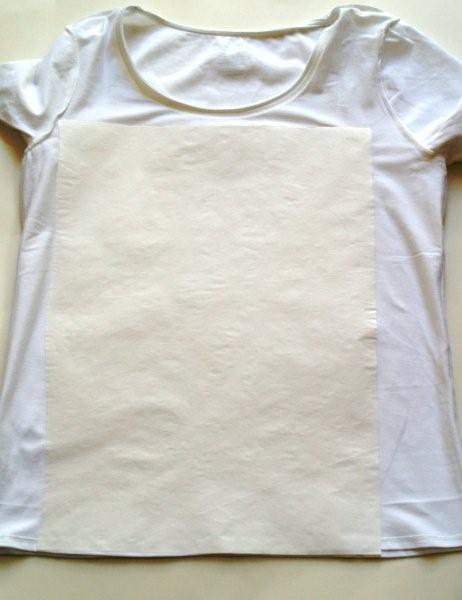
To start with, turn your t-shirt inside out. Tear off a piece of freezer paper about the size of the front of your shirt. Iron it on, waxy side down.
Turn the shirt right side out. Draw your flower on to the T-Shirt. You can use this photo as a guide. It doesn’t have to be perfect.
You want the stitched flower to be a little shorter than the ribbon flower so that you can see it once you sew your ribbon on.
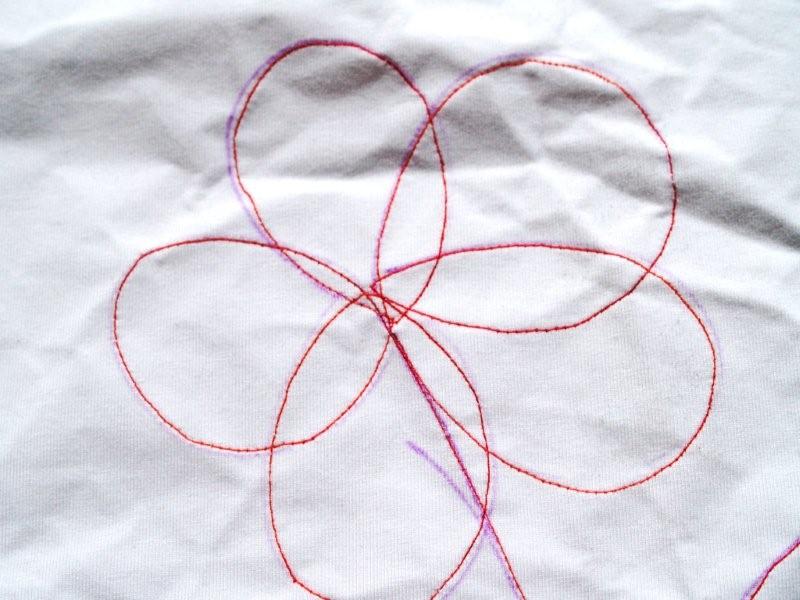
Using your contrasting thread, follow your marked lines with a straight stitch. Make sure you do a small reverse or locking stitch at the beginning and ending of each line so your thread doesn’t come loose.
Also, make sure as you’re turning the shirt that the part underneath doesn’t get caught in your sewing.
Your paper will crinkle up as you go, that’s fine.
Here’s my sewn flower, wrinkles and all.
Once your stitched flower is finished, draw out your ribbon flower lines. You want them to be a little bigger than the stitched flower.
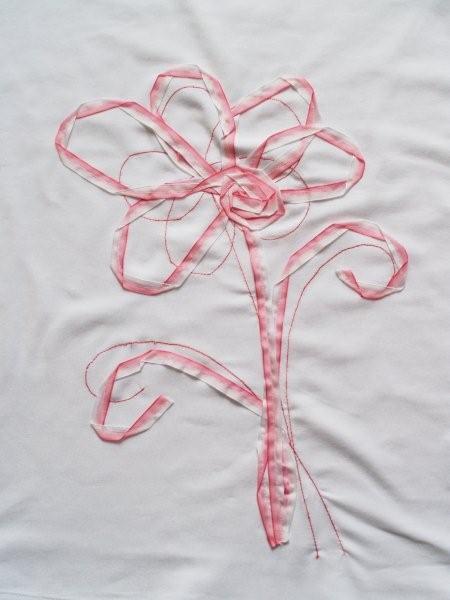
Start at the bottom of the shirt and begin sewing your ribbon on, turning your ribbon as you go when you come to tight curves. Stitch down the middle of the ribbon with the matching thread.
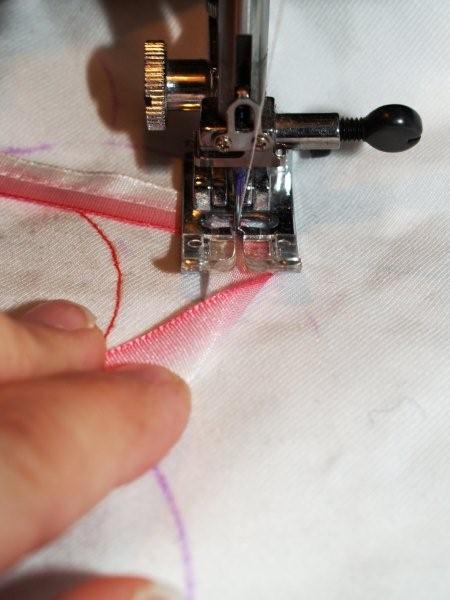
Keep turning the ribbon and sewing it down over all your lines. Leave the small center part for last and make a small circle of ribbon in the center for the center of the flower, sewn just like you did the rest of the flower, turning the ribbon to go around curves.
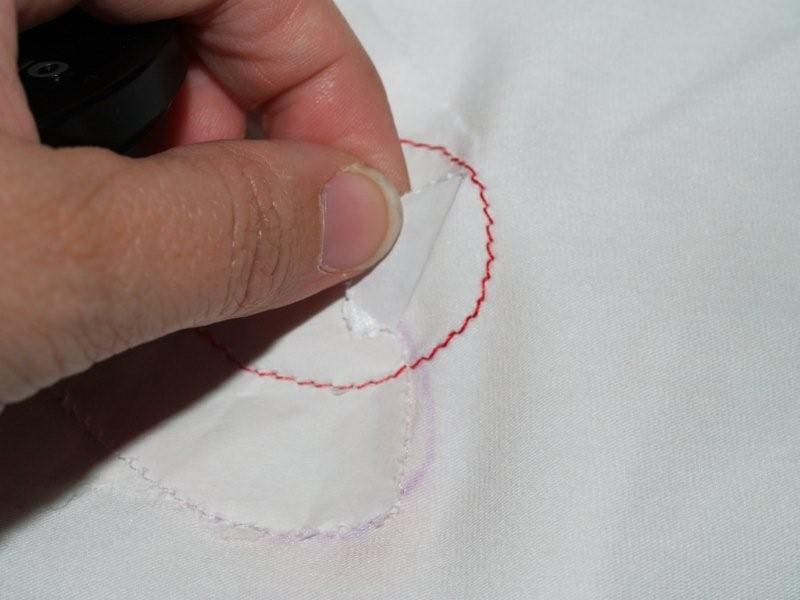
Now we arrive at the least fun portion of our little project. The paper removal.
Turn your T-shirt wrong side out again. Starting at the bottom, pull the paper off around the edges, away from your sewing lines. Working in strips, keep tearing closer and closer to the sewing. When you get to the stitched lines, hold your finger on either side of the thread with one hand and pull the paper gently with the other. Because you are working with a knit fabric, your have to be gentle of the fabric will pull with the paper or the threads will pull up loops.
Keep working slowly until all the paper is removed. Tweezers might help in the small spots.
Once you’ve finished, press the back side of your shirt. This will help with any puckering or wrinkles from the paper.
Turn your shirt right side out. Awww. So cute.
And again,
So our total is around $5 for the shirt and ribbon, everything else was on hand. Not too bad.
What do you think? I’d really like to know.
Am I the only one that copies 15 dollar items as well as 50 dollar ones? :)


I LOVE this! Who cares how much it is when it turns out so cute. I think I’ll make them for my daughters. I’m going to try a few different patterns too. I love the flower, but you could do it with just about anything! Thanks
Thanks Kerstin, I’d love to see your versions!
OH wow! This is beautiful! So feminine and beautiful. I will feature this at somedaycrafts.blogspot.com tomorrow. Grab my “featured” button.
Thank you so much! I will definitely do that! I love your blog. :)
This si so cute. i gotta do a version of this. Hmmm strategically placed would cover that little oops on my daughter’s Tshirt.
Why wouldn’t you indeed?! Everything deserves to be pink :)
This is brilliant – love your version SO much more than the original. Ok, off to copy you now!
LOVE this!! I linked to your tutorial on Craft Gossip Sewing:
http://sewing.craftgossip.com/tutorial-flower-motif-for-a-t-shirt-using-appliqued-ribbon-and-decorative-stitching/2010/04/29/
–Anne
Love it! I’m going to try to recreate it in miniature for my 2 year old. Thanks for sharing!
so cute! I love it so much! Pink is my favorite!
This is so cute! I think it like it better than the original!
I have a shirt that has a few holes in it where it has caught on something sharp.This could be the answer to fixing it as it’s one of my favorite t-shirts and I don’t want to throw it away. Thanks for the tutorial.
I absolutely love this. Thanks so much for sharing how you did it!
I have a weekly Thursday blog party especially for people to share things they’ve made to be worn. Stop by if you’d like!
Thank you all for the sweet comments and links! I’d love to see your versions!
LuV IT!! Pink….ahhhh:)
yours is waaaaay cuter!!! Very clever!!!
Wow!! This is really great. If I saw it in the store, I wouldn’t have thought to copy it…but I’m glad that you did. You could do any number of designs and for the little people in your life as well. Great tip about the freezer paper. I would have ironed in interfacing…but freezer paper is way cheaper!
Thanks for sharing this! It’s super cute and I cna make it in any color needed to match my outfit. I definitly love me some copies! It makes me smile to think how cheap can I make it.
super cute!
Your post made me laughed, I totally had that shirt in my shopping cart last night…but I started thinking the same thing you did….BUT now I can just copy your steps…THANK YOU!!!
That’s too funny. I did the same exact thing before I hung it back up and took a picture! Let me know if you give it a try. :)
I saw that at target and was thinking of copying it, too, for my daughter. And yes, making it pinker. I had decided against it, but love the way the ribbon that you chose looks. I may go back to that idea after all! Thanks!
Give it a try! I’d love to see it. :) I got the ribbon at Michael’s. Do you have one near you?
This turned out really cute! And, no, I too will copy items that are already pretty cheap. Thanks for stopping by my blog. I’m following you now:)
Hi! Back Again. I’m a new follower!
What a cute idea!
I’m having a blog party tomorrow and I’d love it if you linked up!
http://www.iamalongfortheride.blogspot.com
This is so pretty! I am featuring you next week on Favorite Things Friday! If you would like a featured button stop by my blog and pick one up!
I LOVE that! I saw the same shirt at Target and wondered how to replicate it. Thanks for sharing!
So clever and cute (and pinker.) ;-)
That is lovely! And I likw yours way better than the Target version!
Hi! Nice to meet you and find your blog (via oneprettything). I love this idea and your creativity– I’ve linked on the dabbled facebook page.
http://www.facebook.com/pages/Dabbled/72183884112
Dot
I totally love your version. The funny thing is, I also snapped a picture of that shirt while at Target. Thanks for the motivation to get started!
thank you so much for your wonderful tutorial! :) i put a link to it on my blog here: http://frostedsquare.blogspot.com/2010/05/fancify-my-t-shirts.html
Lovely. I have admired these type t-shirts at stores but always like to be more original and frugal! Thanks SO much for the tutorial. Some of my girlfriends are going to be gifted with these. I made a” JCrew like” t-shirt for Mother’s day with appliqued rosettes hand stitched onto it and then one for myself and love it. Thanks for sharing your skills :)
Beautiful!! I like your version a lot more than the original :) . I think I’ll try it on a onesie!!
Thanks for the idea I just made mine, did not turn out as good as yours thats for sure!!
I love this shirt tons!!!! Way to go! Brooke
http://girlboygirlinspired.blogspot.com/
This is so much cuter than the original! I can’t wait to try it!
I was wondering where you get your shirts from? I have seen craft shirts at both walmart and hobby lobby but they have a limited supply. I have looked on the internet, but they are never cost effective.
Your knockoff is way cuter.
Am bound to make my own.
One question though, what’s the freezer papaer for? And what kind of store can I buy it?
I love yours and your instructions! I was trying to have my kids have matching colors in our Christmas card, the best I could do was a cute sweater and some ribbon that matched. Your site saved me, I made a really cute shirt for younger daughter to wear!