I have a two for one tutorial for you today! I think this is going to be so fun!
Ok – so you know Mother’s Day is around the corner right? Like – if it was a snake, it would bite you. Well, no worries, I’ve got you covered. Because today’s tutorials are quick and easy and fun to do – and they are perfect gifts for mom!!
First up I have this super pretty Rhinestone Brooch and Bead Necklace Tutorial! Cause you can’t really miss with giving Mom jewelry right?!

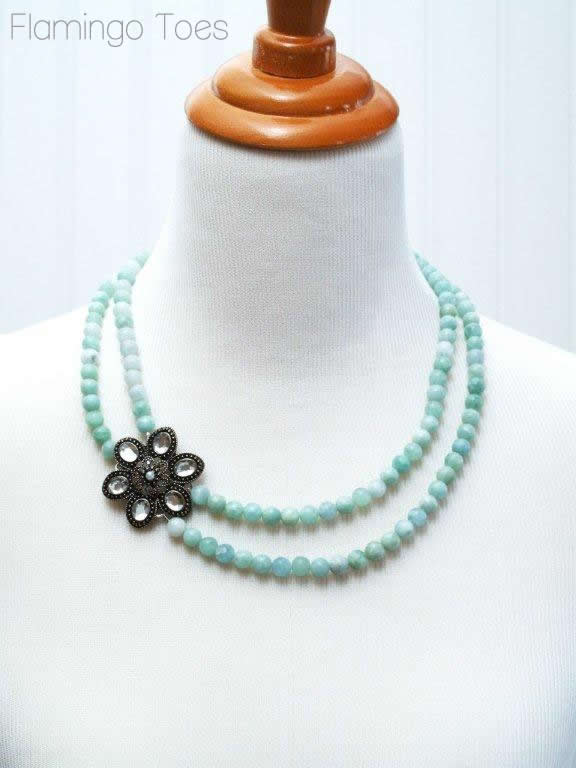
Isn’t it pretty? I love how simple and classic it is – but trendy too! Those pretty mint beads (which you could find almost anywhere) will look just perfect with all Mom’s summery outfits.
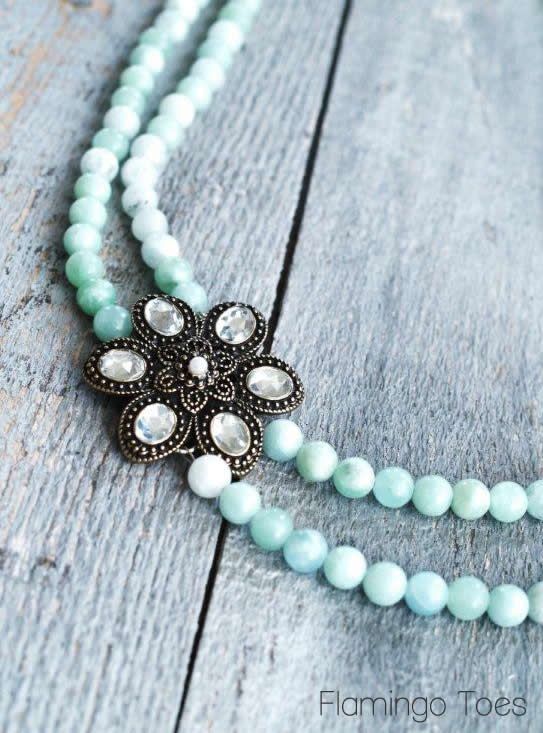
The off-center rhinestone adds a really fun touch – and just a little bit of bling to dress things up!
The necklace is a nice 22″ length – though you could easily adjust that for your version by adding or taking away beads.
So are you ready for a tutorial? This is a great necklace to try if you’re just starting out with jewelry making!
You’ll need:
- Beads – a total of 40″ of beads
- Beading Wire
- Brooch or other Focal Piece
- Crimp Beads
- Jump Rings
- Lobster Clasp
- Tools: Wire Cutters, Crimp Pliers, Round Nosed and Flat Nosed Pliers
Cut a length of Beading Wire 11″ long. Attach the wire to a jump ring with a crimp bead. If you need help with that, I have a mini tutorial for it on the “How to Do That: Jewelry Tips” page.
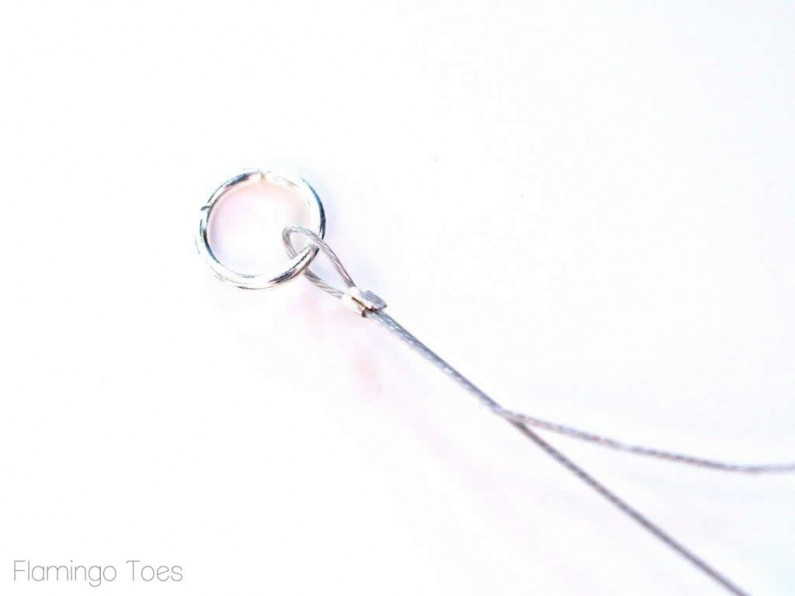
String 7 1/2″ of beads onto the wire, making sure you cover the short end of the wire with the beads as well.

Finish the other end of the bead strand with another crimp bead and jump ring.
Make another strand the same way, cutting a 12″ strand of wire and stringing 8 1/2″ of beads.
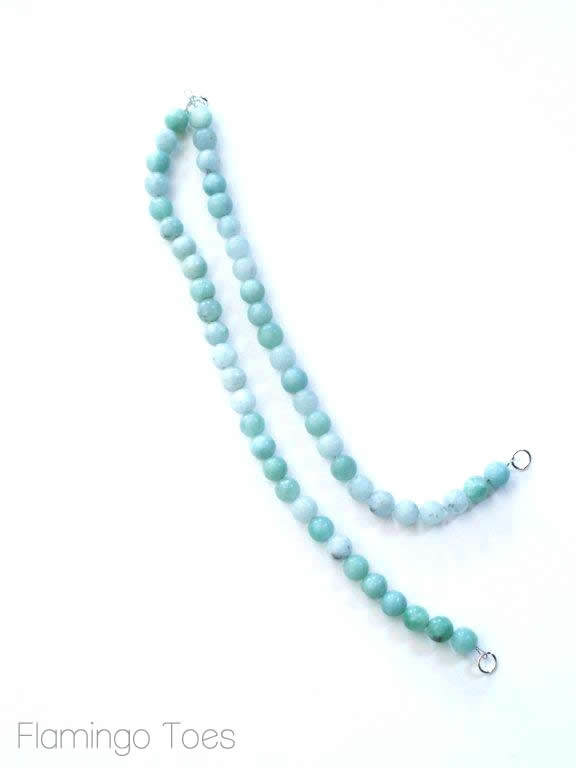
Connect the two jump rings at the two of the strands with another jump ring.
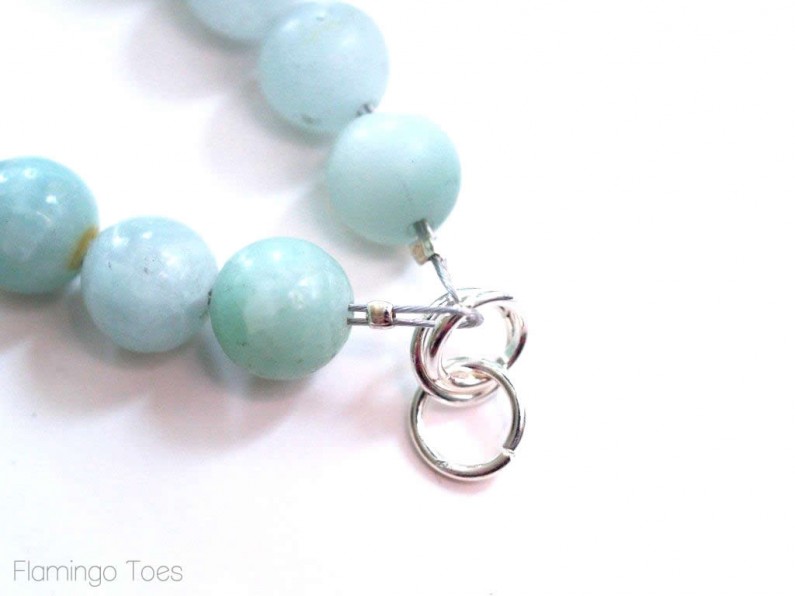
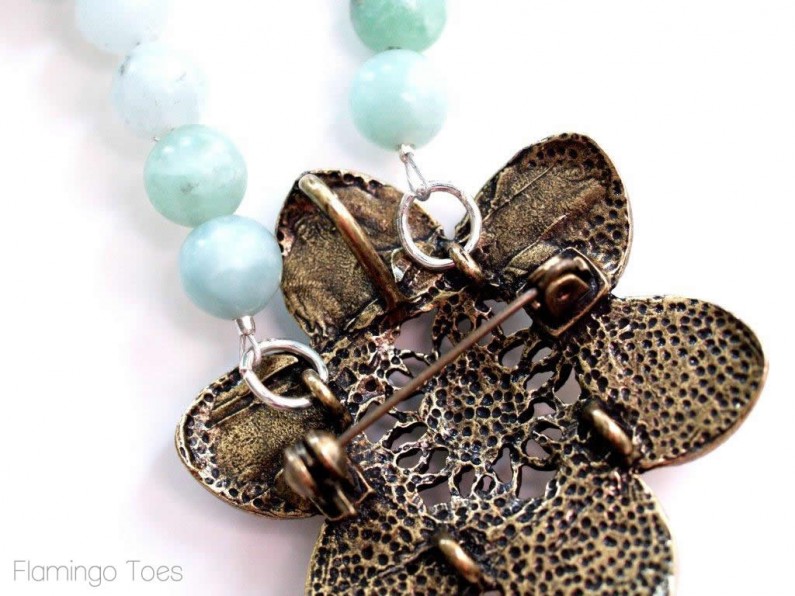
Attach the bottom jump rings to your brooch. Now, my brooch has these handy-dandy rings at the top and bottom. (I found it at Michaels). But you could connect your rings to the pin wire. Or through any openings in the brooch. Lots of options. :)
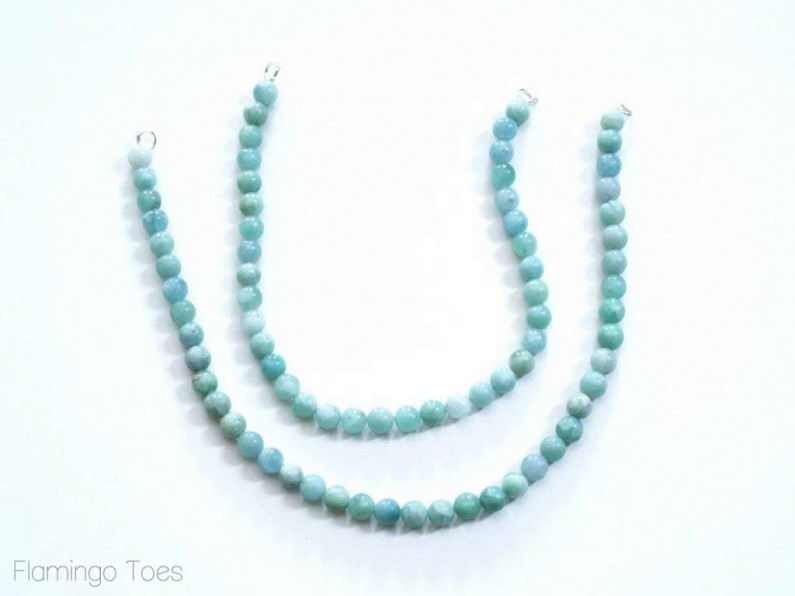
Make two more strands of beads – one with 11″ of beads and one with 13″ of beads.
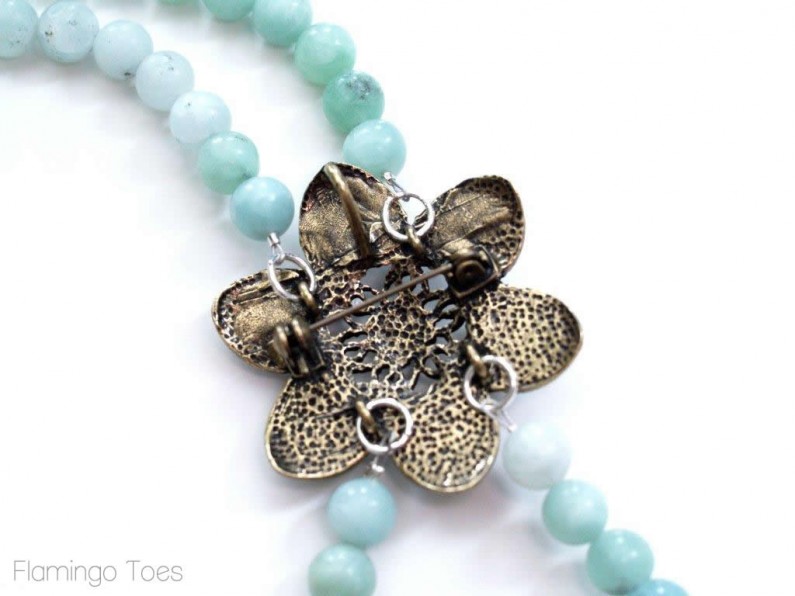
Connect these strings to the other rings on your brooch.
Connect the two open jump rings at the other end of this strand with a smaller jump ring. Add a lobster clasp to that ring.
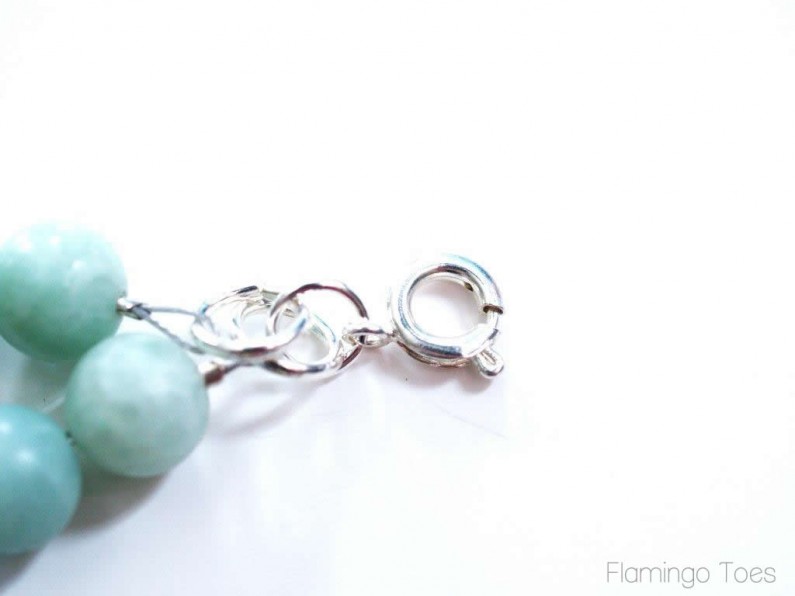
That’s it!! Not bad at all right?
It’s such a perfect gift! It also makes a great – I-made-this-awesome-necklace-to-wear-while-I-went-shopping-for-your-gift – kind of necklace.
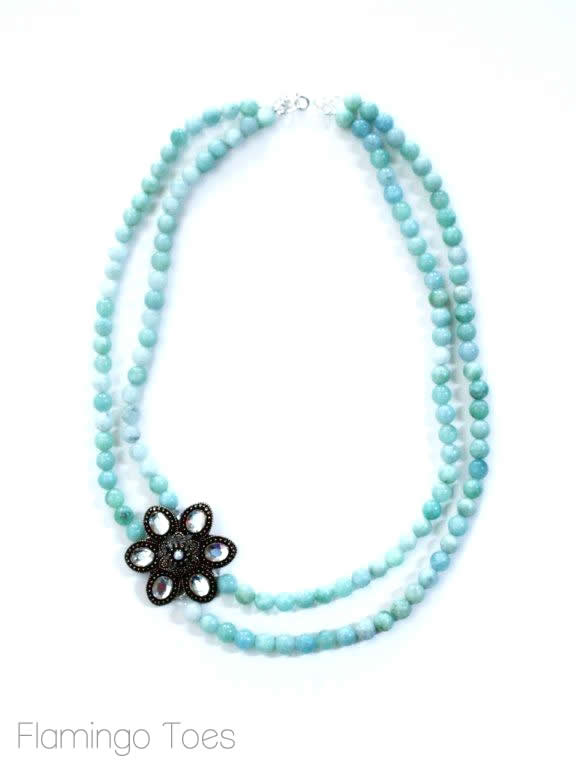
I love those pretty beads. This is such a classic style too – you could use different beads and a cameo or some pretty fabric flowers for a whole different look!
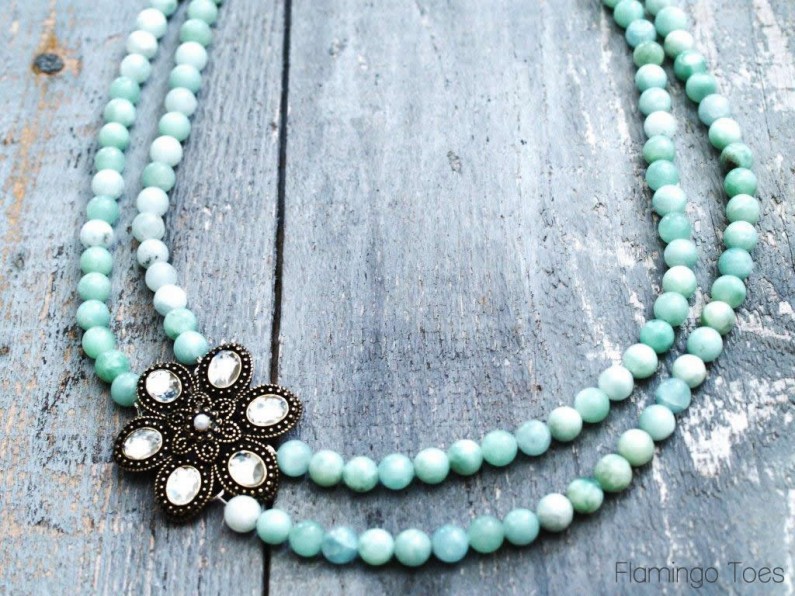
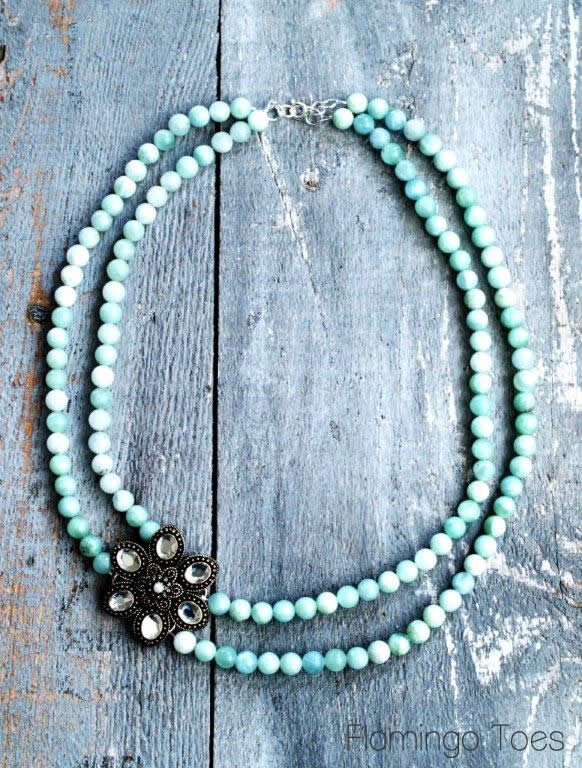
I hope you like it!
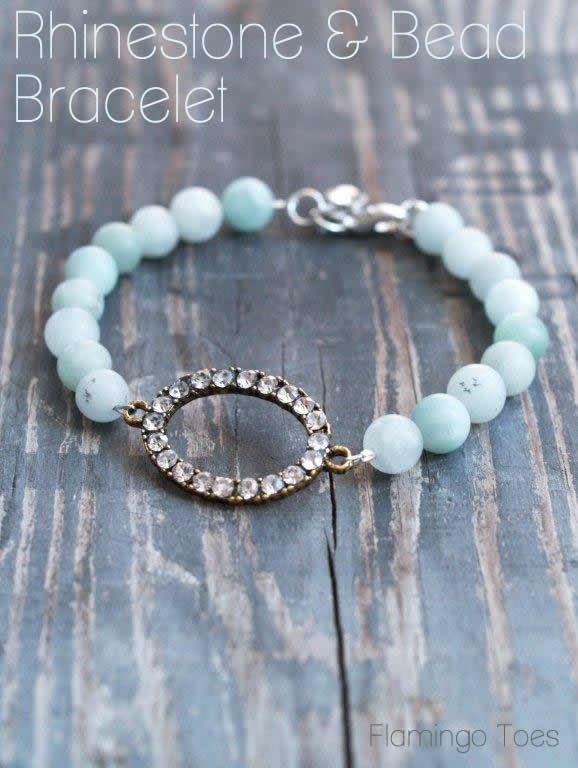
And you know how I mentioned TWO tutorials? Well I have a treat for you! Today if you head over to my friend Kristyn’s blog, Lil’ Luna, you can find the tutorial for this darling matching bracelet.
You can make Mom just one of the pieces – or the set!
So are you all set for Mother’s Day? Or do you have some last minute creating/shopping to do? :)
Linking up at Sunday Scoop, Today’s Creative Blog, Met Monday, Tutorials & Tips Tuesday, Shabby Creek Cottage, My Repurposed Life, 504 Main, and the other fabulous parties on the party page – make sure you check them out!



Beautiful necklace Bev. Thanks for the excellent tutorial.
Judy
I love those colors together. The gunmetal with the turquoise… so pretty!
~Kelsy
Gorgeous, Bev! I’m loving the color of the beads with the brooch. It feels very vintage!
So cute! As always :)
I love the combination of the beads and the focal piece.
This is so lovely. You did an excellent job. http://craftwithcartwright.blogspot.co.uk
After seeing the beautiful bracelet yesterday, I couldn’t wait to find out how to make the necklace. I love, love, love both pieces!!! I would have a hard time giving one away…so I guess I need to make one for myself first and then one to giveaway…lol!! Thanks for the tutorial!! Love it!!
I like them.
darling — so, so darling!!!
I love this! I am not a huge jewelry person but I do wear necklaces, this one is fabulous. I love the color, I love the simplicity and the brooch is the perfect accent! Wonderful job! Krista @ A Handful of Everything
thank you for all of your fantastic tutorials! if the sew mama sew has taught me one thing…. most blogs don’t have tutorials!! so thank you for taking the time to post these, they are much appreciated!
Love this! My husband and I have recently gotten into making jewelry for me. =)
Found you through 36th Avenue Party Time. Love your blog!
I would love for you to share and link up at my TGIF Link Party.
http://apeekintomyparadise.blogspot.com/2013/05/tgif-link-party-2.html
Please, invite your friends to party too! The more the merrier!
Hugs, Cathy
anytime i see a project from flamingo toes, i know it is great! thanks for all the easy to follow tutorials!
Hi,
I love this necklace and the brooch. Where do I look for brooches that have the four loops on the back to attach to? I have found some with two and the pin but not having luck with four.
Thanks for your help.
Your work is beautiful!!!
Karen
Nice work and a nice tutorial..