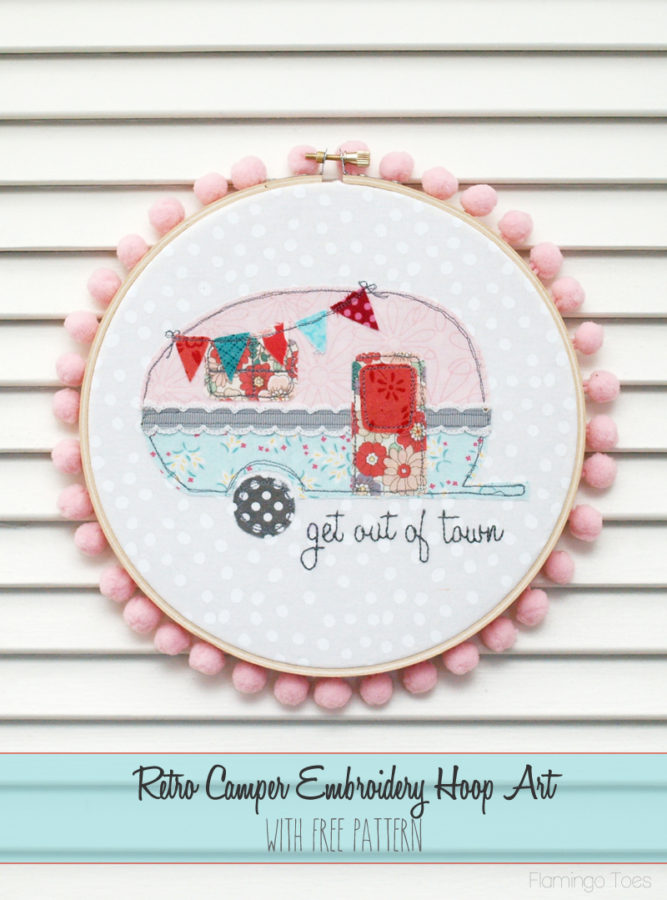
Summer is around the corner! And that means vacation time. Now someday I would love to have a fabulous pink and turquoise retro camper that is all decked out with pretty fabrics and a bunting to roam the country in. Though if it is pink and turquoise and buntinged (totally a word) up, I might be by myself since I’m not sure my husband will set foot in it. A girl can dream though right?
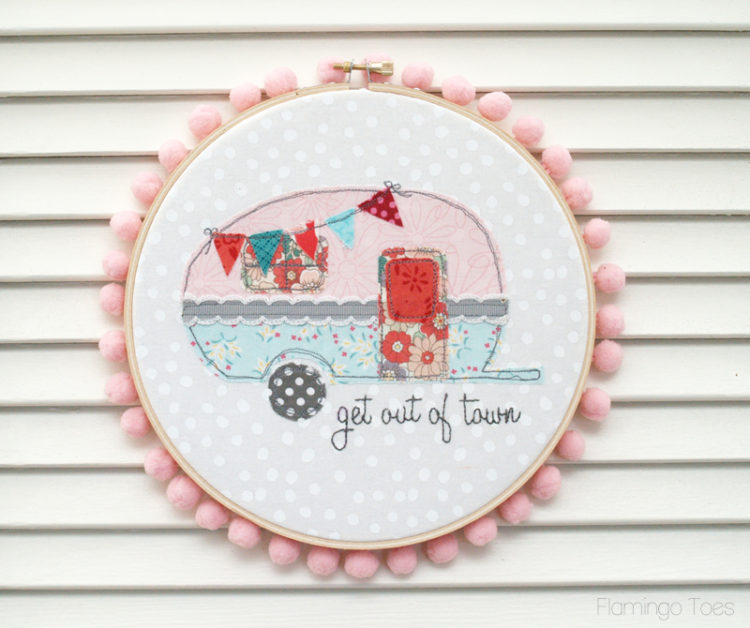
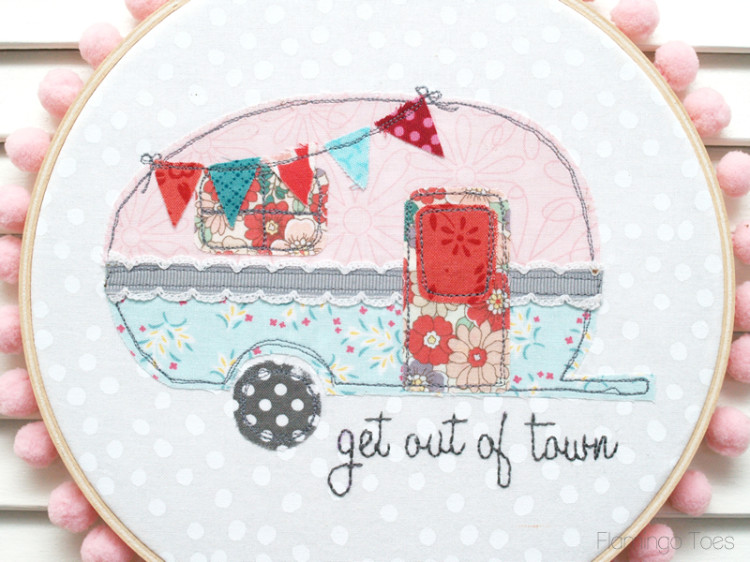
Until then, I’m going to just dream, and make all sorts of things with cute little campers on them – like my new Retro Camper Embroidery Hoop Art!

I’m kind of in love with how this turned out. I used the “get out of town” phrase that is on my Kate Spade Knockoff Bag – I thought it went pretty perfect with the little camper.
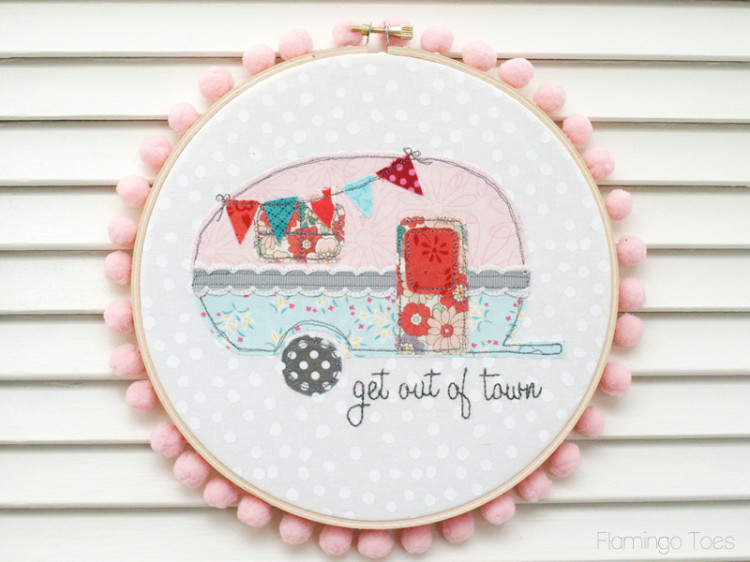
This is not hard to make either. I know it has some sketchy little stitching on it, but that is really easier than it looks. And if you don’t want to do that, you could embroider it by hand, or just leave the stitching off!
Here’s your materials list:
- One 8″ embroidery hoop
- fabric for background
- interfacing or embroidery stabilizer
- fusible webbing
- assorted fabrics for camper
- ribbon or trim for camper
- pom pom trim for hoop
- hot glue/gun
- embroidery thread for stitching
- disappearing ink marker
- Retro Camper Pattern
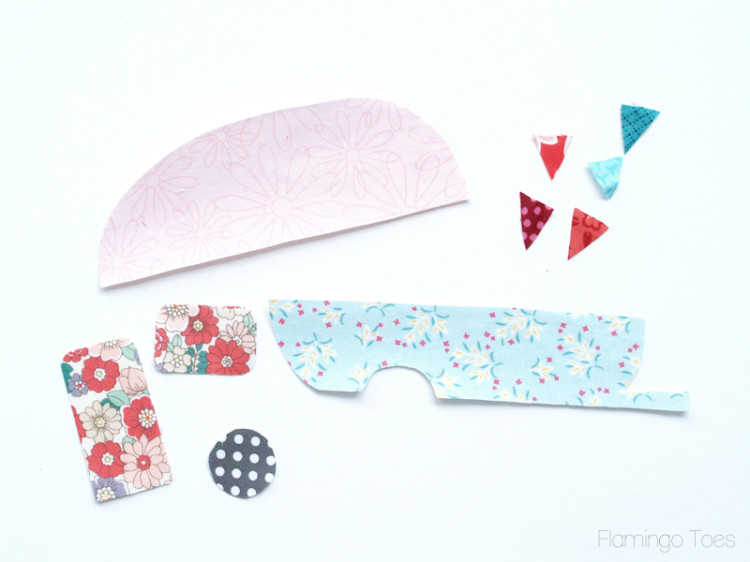
Cut out all your hoop pieces from the pattern and iron fusible webbing onto the back. I just added small strips of webbing to the tops of the bunting pieces, I wanted the ends to be loose so it looked like it was hanging there.
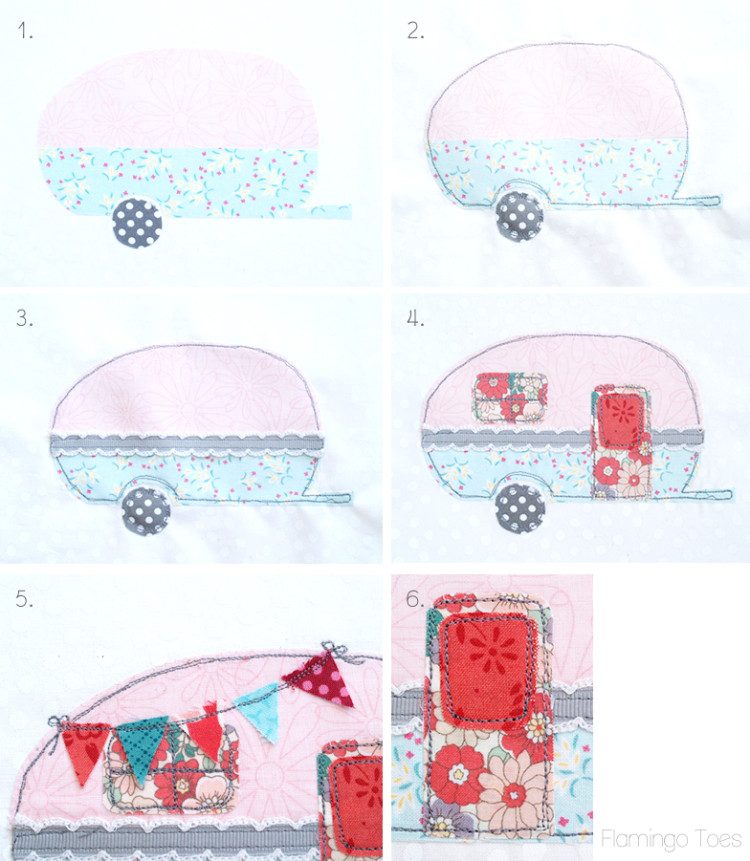
Assemble your hoop:
- Remove the fusible webbing backing from all the pieces. Iron the top and bottom of the camper to your background fabric. Iron the wheel in place too.
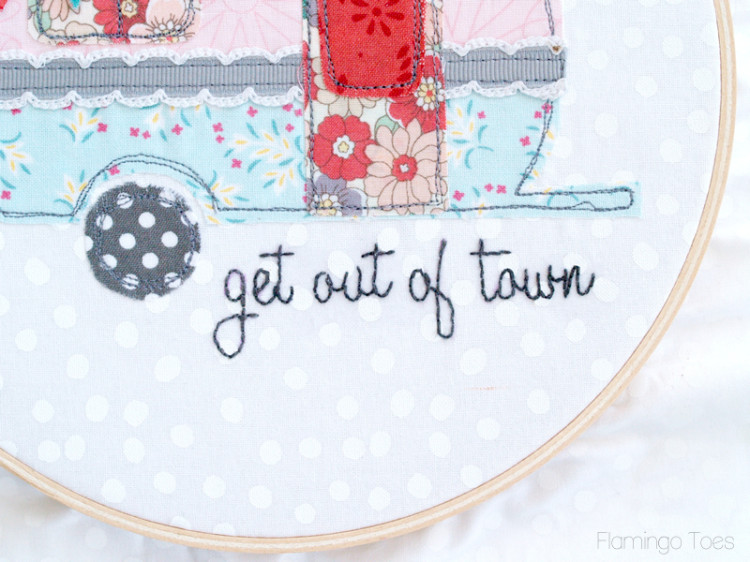
Iron a piece of fusible interfacing or stabilizer on the back side of your project. This will make it so your sketchy stitching doesn’t pull the fabric and make it pucker. - Use a free motion foot on your sewing machine and stitch around the edge of the camper and the wheel twice. It’s cuter if your stitching isn’t perfect.
- Cut a piece of trim a little wider than your camper. Tuck the ends in and sew in place over the dividing line of the camper.
- Iron your window and door (and door window) in place on the camper. I put my window a little higher on the camper than it shows on the pattern – but it would be cute either way. Stitch around the windows and door. Stitch window panes onto the camper window.
- Fuse the tops of the bunting pieces in place. Stitch along the tops of the buntings, leaving the ends free so they come off the camper just a little.
- Close up of the door so you can see the stitching a little better.
Trace the lettering under the front of the camper with a disappearing ink marker. Embroider the letters with a simple back stitch. (Tutorial here if you need it)
Trim around the edge of the edge of the hoop so there is about 1/2″ of fabric all the way around. Glue the fabric to the inside of the back of the hoop. Glue your pompom trim onto the back side of the hoop as well.
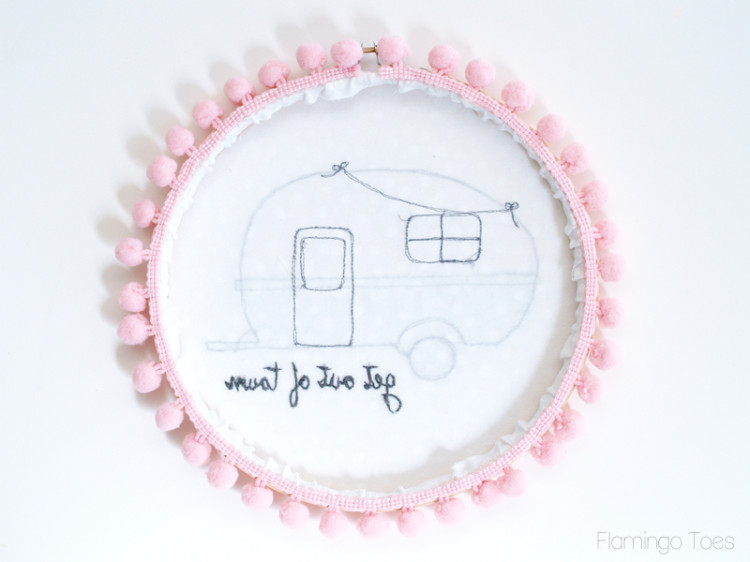
If you want, you can finish off the back of the hoop with a circle of felt. This keeps everything nice and tidy looking. And that is it!
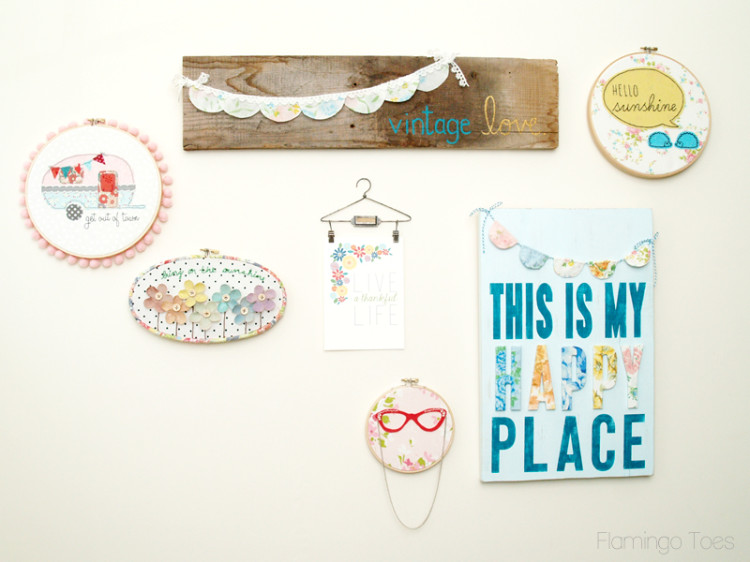
I have the hoop hanging in my entryway – with my other summery type hoops and some other fun things – I love how cheery it all looks as soon as you walk in the door!
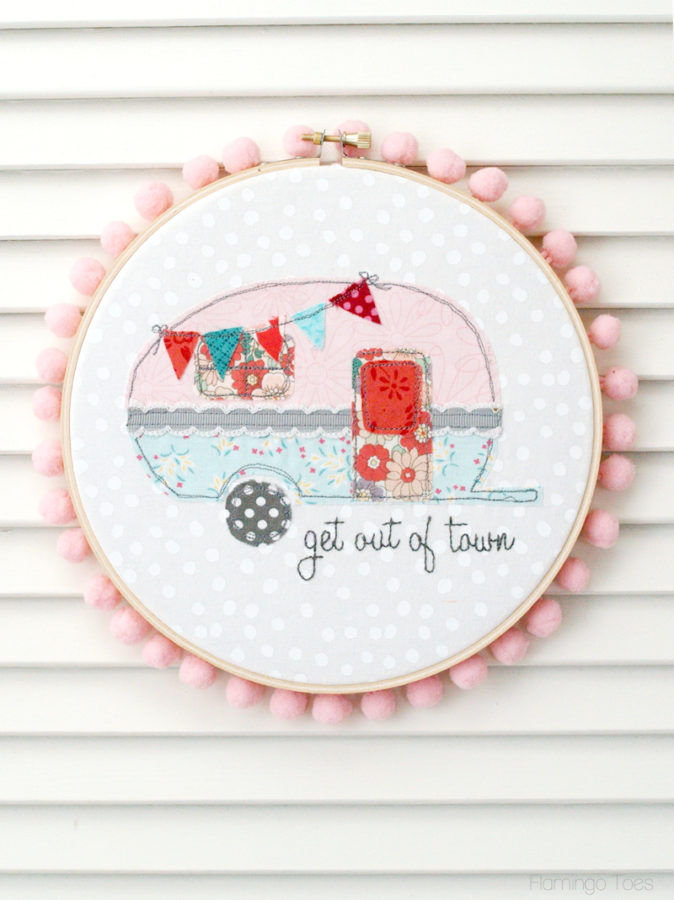
Do any of you have a little retro camper? Or maybe you’re just crushing on them like me?! Either way I hope you give the hoop a try!
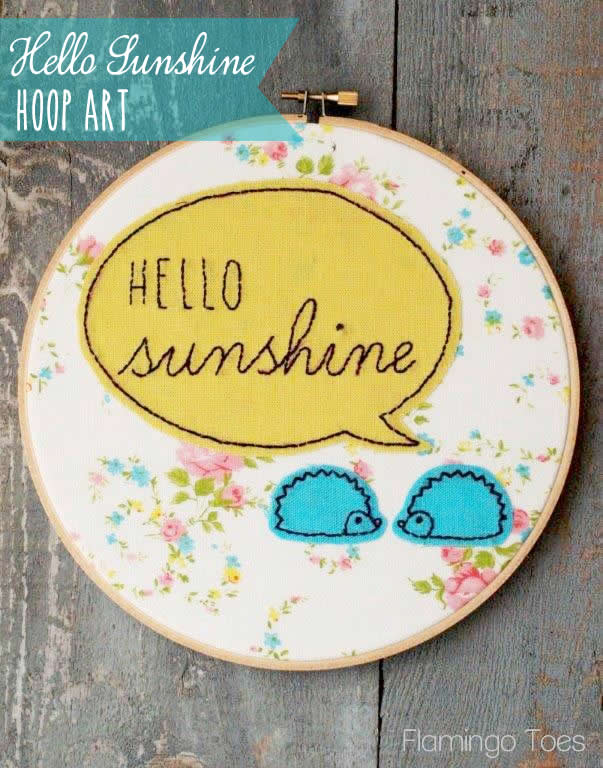
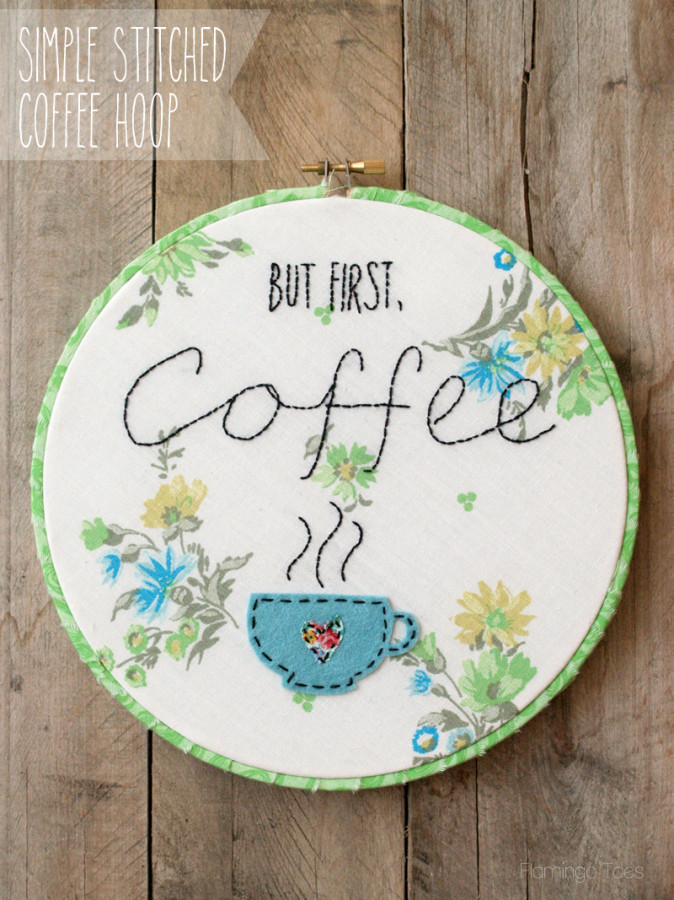
If you want to check out some more fun hoop art – take a look at these:



I am totally in love with this!!! I am the proud co-owner of a 1957 Jewel camper. I love all things retro and camper, so you had me at hello, today!
Thanks so much for the great tutorial :)
Hi Bev,
Wow! I love it, it’s camptastic!
I’ve been trying to find old campers to photograph lately, just for the fun of it. I want to make this, but it’s been a long time since I embroidered or crafted for that matter, ha! Your step-by-step makes it look simple though, I think I will try:)
Thanks ma’am! Di
Oh my goodness – I love all of these!! I’m going to have to make one this weekend :)
very cute and what a great idea for some wall candy. thanks for sharing.
I have been into little canned ham campers since long before ‘glamping’ was a word. -like 25 + years. I’ve had a couple , & just loved them. This is just too cute!
My hubby and I are actual campers. I love pink. He loves vintage. This will look darling in our camper! Thank you for sharing!!!
I absolutely adore this – it reminds me of our old caravan
seriously?? So cute!! Tweeted & pinned :)
I SOOOOOO love this…I’m not quite an “embroidress” — but you made it look so easy, I just might have to try it.
How cute are these. I picked up a few hoops at a yard sale. Now I know what to do with them. I think I can do it with fabric glue.
Well how cute is this? Would love one of these for a summer studio.
Bev- I ADORE your embroidery hoop art. Every single one is beautiful. I’d love to have a collection of them on my sewing studio wall. This one is adorable. Beautiful work. :)
Your retro camper is just adorable! You have a great eye to be able to mix and match the fabrics so well. It really is a cute design!
Bev, this is too adorable! I just wanted to let you know that your blog is one of my absolute favorites to read! Your photography is beautiful and you have so many wonderful and inspiring ideas. I’ve always been a bit intimidated by embroidery projects, but I’ve decided to finally try my hand at one- you’ve inspired me to do so! Thanks for all of your wonderful, colorful projects! :)
Have a great weekend!
~Emily
I literally haven’t ever seen anything this cute in my entire life! This is darling!
This is so cute!! I LOVE the camper and the little pom poms. Thank you for the pattern!! :)
SO super cute, Bev!! I love all the little details you added. One day I want to try your “sketchy” method! Its so fun!
I love love love all of your hoop art. Going to have to find time to make one or more of these. The retro camper or caravan as we call them here in Australia is just gorgeous. Thank you for the pattern. Would love to make a patchwork quilt with different styles of retro campers on it.
Im so making this today :)
Adorable!!! Thank You for sharing this :-)
Love this idea so cute! Also, I wanted to ask if you had a pattern for the adorable hoop on your wall with the red glasses? Thanks so much xoxo
This is such a cute, homey little project! Thanks for providing the pattern. Love it!
When you work hard to treat your depression naturally, great results are
likely to arrive quickly. If this is the
case, do your best to help them through the attack,
and try to remember that they didn’t choose a panic
attack to happen to them. You often have trouble focusing, making decisions, or remembering things.
Adorable and certainly much quicker than embroidery! Thanks for sharing on craft schooling Sunday!
This is adorable! I love how whimsical your blog is!
This is so sweet I absolutely adore it!
Love (x10) your hoop art and entry way. It is super cheerful! Pinning for future. Visiting from Sew Can Do link party.
This is super cute! Thanks for the pattern and tutorial.
These are so darn cute. Pinned!!
I love it! So cute! Liz
I just love your retro camper embroidery hoop art. I love all your embroidery hoop art! Pinning to share.
I’m in love with this retro camper! Maybe I need to unbox that sewing machine I got for Christmas (not this past Christmas, but the one before that – blush). I love everything hanging in your entryway. Did I say love too many times? :)
Adorable!!!
This is so cute! My mum would love this as she has just bought a caravan.
That is the cutest thing ever! I love trailers! Thanks for the tutorial.
Anything featuring a vintage camper is a good thing – but oh my gosh this is really the cutest of them all !!!
This is so darling. I think I will have to make one to go in my sun room. Love it, thanks for the great tutorial too.
Get Out Of Town!! This is so Adorable!! Thank you so much for sharing at the Create – Share – Inspire Link Party. We hope you will stop by again soon
~Emily
I’m soooo in love with this project!!! I’m popping over from Whistle & Ivy after seeing her own hoop art. As I told Bethany, I definitely am going to give this a try! Thank you so much :)
Bev, I loved this retro camper design from the moment I saw it. Finally, a day came when I could try the pattern. I was given six small squares of fabric to design one square as part of a surprise baby quilt. This is the first time I tried appliqué and it was fun. I especially liked that I didn’t have to be perfect with the sewing piece.
Thank you for sharing your creativity and beautiful designs.
Must make this adorable camper for daughter’s Mother’s Day gift. They have an older tiny camper like this. Thanks so much ..bev for sharimg this pattern (among just one of so many). So appreciate your talent and generosity. Will be so much fun making this for daughter,hope it surprises her..