A few weeks ago I was so lucky to be asked to participate in the M&J Trimming Challenge.
M&J Trimming sent 5 bloggers a box of supplies – with the challenge to make whatever we wanted using all the supplies in the box.
The projects and ideas were so amazing!!! It was fun to see how different the projects where, when we all had the same supplies.
One of my favorite items in the box was a beautiful length of Silk Hand Dyed Ombre ribbon.
And right away I just knew that it had to be incorporated into a necklace!!
I wanted something that would really show off the colors in the ribbon – but be easily adaptable to any other ribbon or fabric.
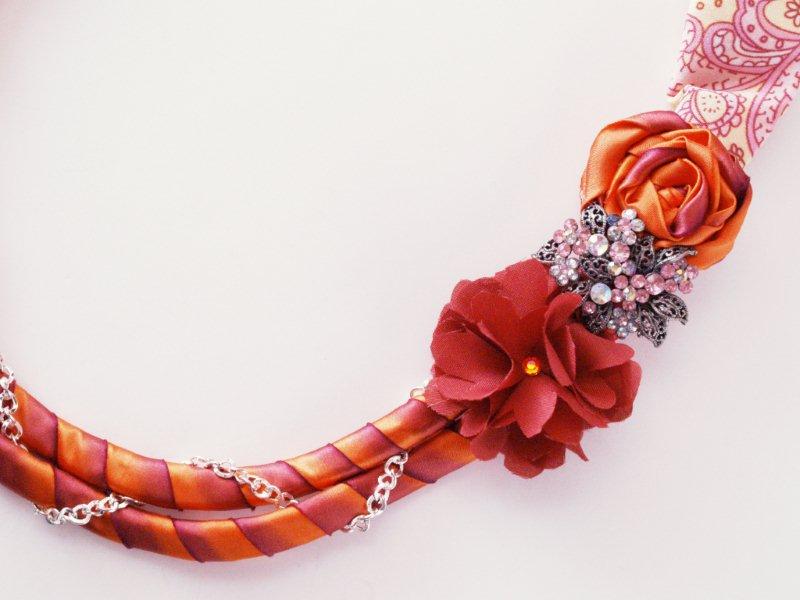
Here’s what I came up with!
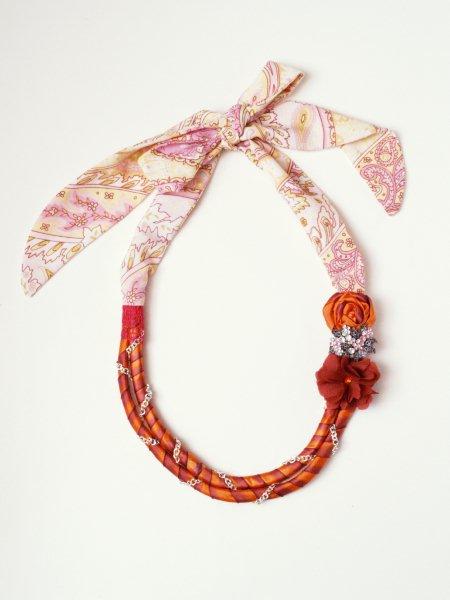
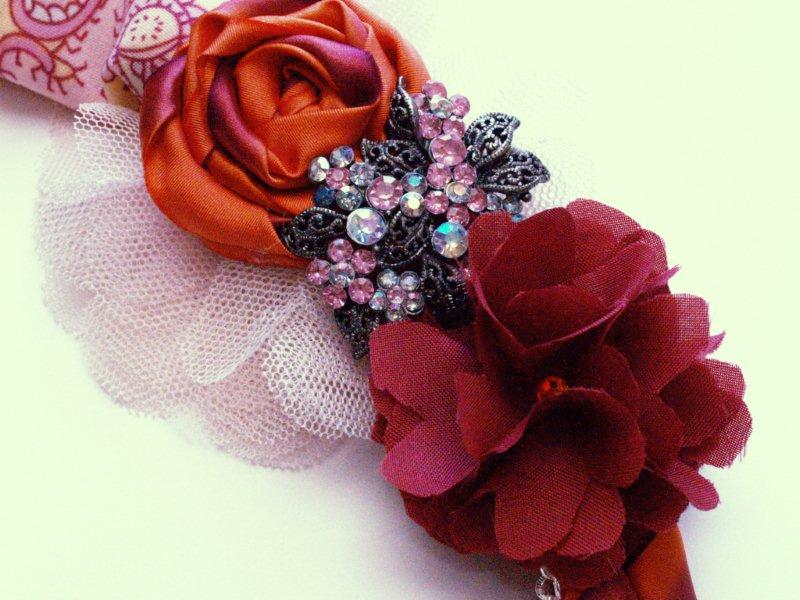
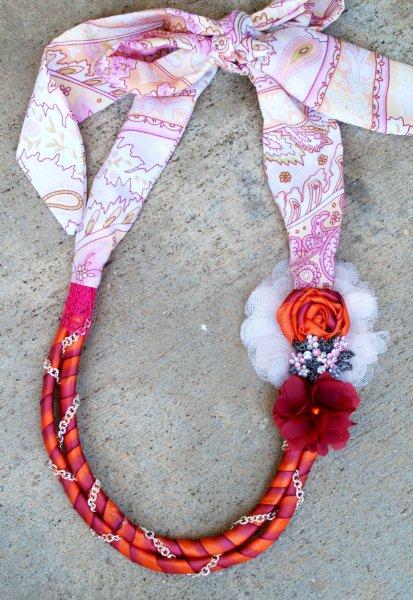
I love the extra flowers and the little bit of vintage bling too!
Here’s what you’ll need to create your own version. . .
Materials You’ll Need:
• Silk Ombre Ribbon (or other ribbon or fabric – approx. 3-4 yards. Depends on how tightly you wrap it)
• Mesh Ribbon (1/2 yard)
• Cotton Cording (just over 2 yards)
• Silver Chain (again, depends on how tightly you wrap it, but 2 yards should be plenty)
• Fabric for neck ties (2 pieces 28″ x 5″)
• Small amount of fabric for ruffled and netting roses
• Vintage brooch or other similar piece
• Glue (I used hot glue because it dried quickly)
• Needle & Coordinating Thread
• Sewing Machine (for neck ties)
Begin by cutting your cording into two pieces. One 35″ and one 37″.
Fold each cording piece in half and beginning at the two cut ends, glue the halves together.
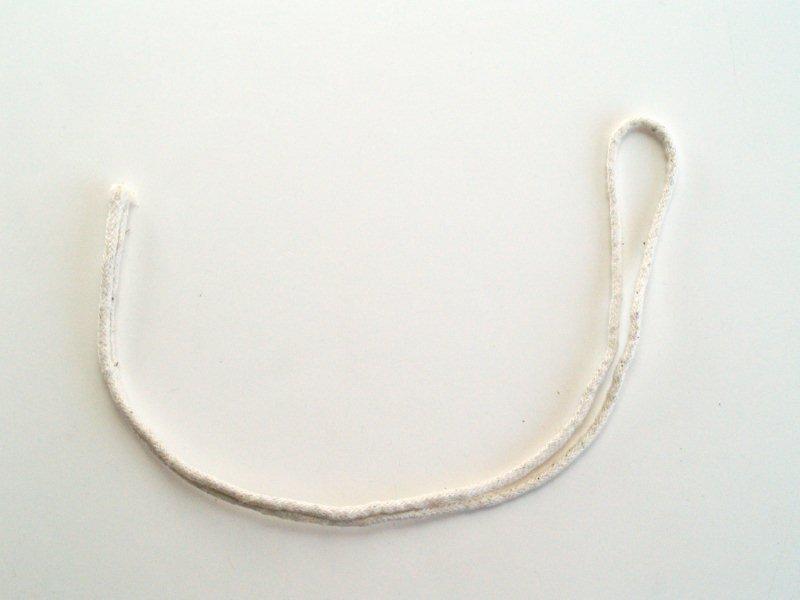
Repeat for the other cording piece.
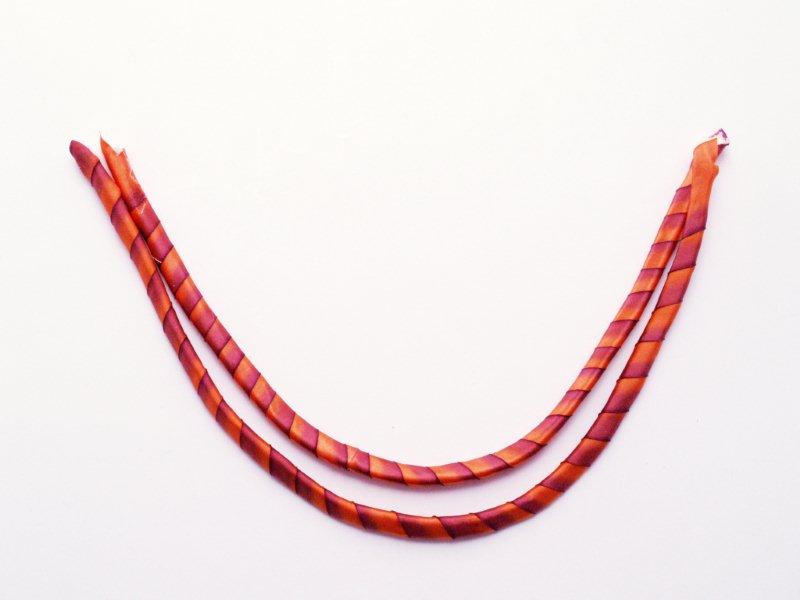
Once the cording is glued together, start wrapping the silk ribbon around the cording. Make sure as you wrap that the colored, ombre portion of the ribbon shows. You don’t want to cover up the gorgeousness. ;)
If you aren’t using Ombre ribbon, don’t worry about that.
Add a dot of glue at the beginning and then every few inches to help hold the cord in place. Not too much because you don’t want to have the glue show through or have a giant lump of glue under the ribbon. Not pretty.

Wrap the other cord as well. Shape them just a bit so that they both form a “U” shape, with the smaller cord inside the larger one.
Hand sew the two left wrapped ends together with a few stitches. Without cutting your thread, sew the top link in your silver chain to the two cordings. Knot and cut your thread.
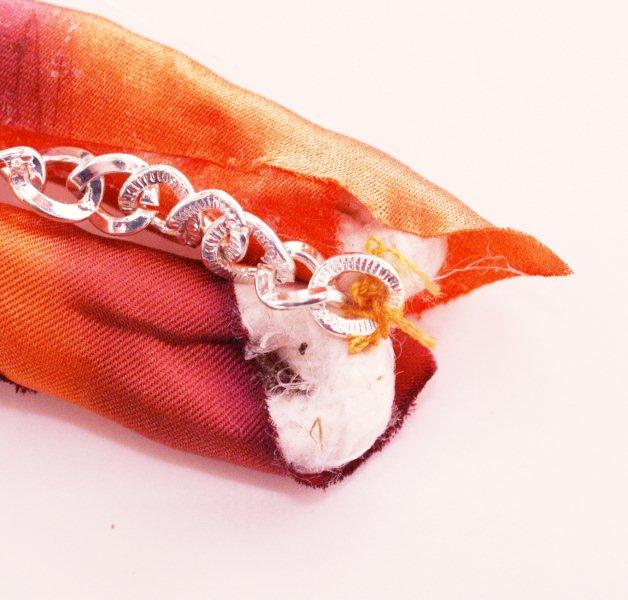
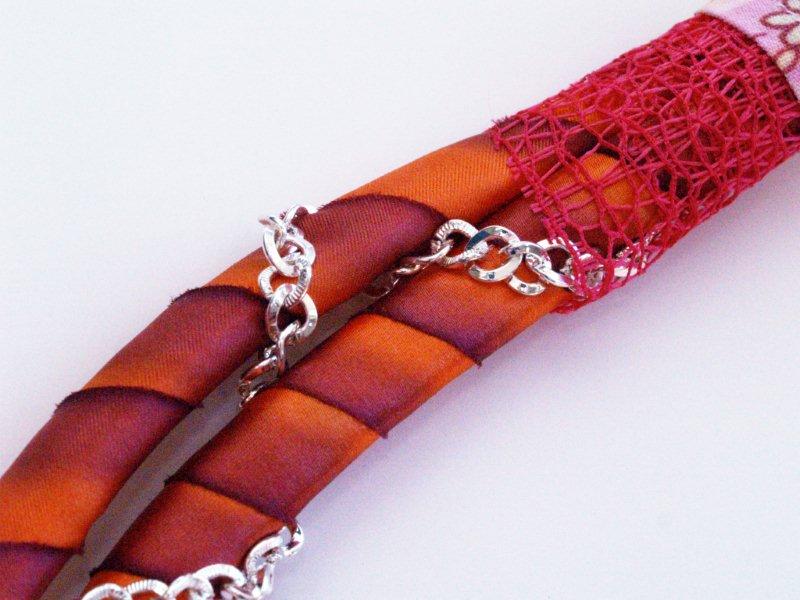
Lay out your cording so that the chain is under the wrapped cording pieces. Loop the chain around the left, longer cording piece and bring it around through the two cording pieces.
Bring the chain around the right, shorter cord piece and then back through between them. Pull the chain snug without being too tight.

7. Continue wrapping the chain around the cording pieces, keeping the “U” shape intact as much as you can.
Finish off the other end by hand stitching the chain and the two ends together.
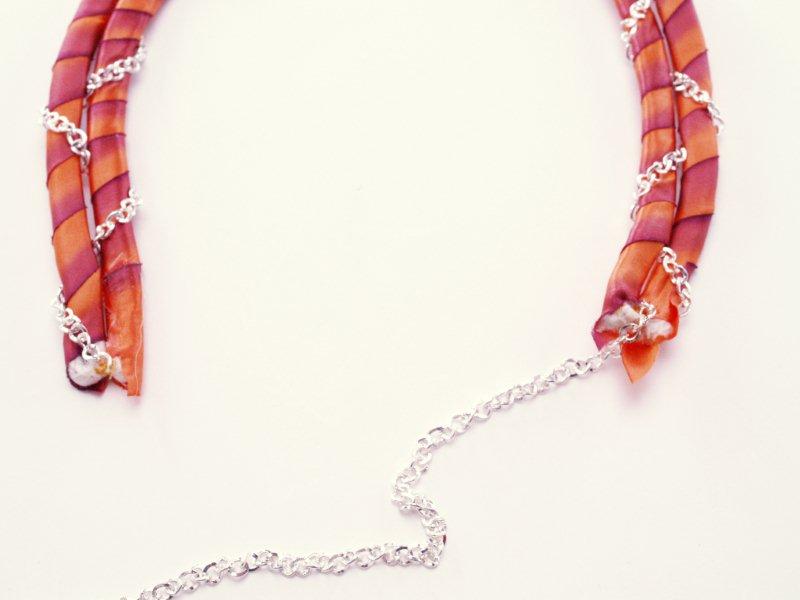
Trim off any excess chain.
Now we’ll work on the ties.
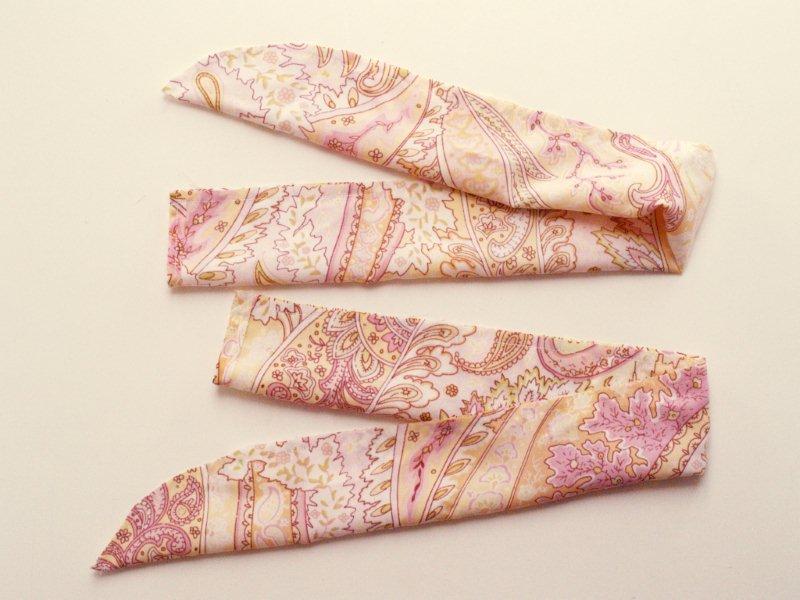
With your cut fabric pieces, on one short side turn the fabric to the wrong side in a small fold and hem the side down.
Fold the rectangles right sides together so that you have a long rectangular tube. Sew the ends together starting with the hemmed end and tapering to a point at the other end.
Trim the curved end. Turn right sides out and press.
Around each cording end, wrap a few inches of the mesh ribbon (or other contrasting ribbon/fabric). This will help hold the cording pieces together and add a really fun texture to the top of the cording.
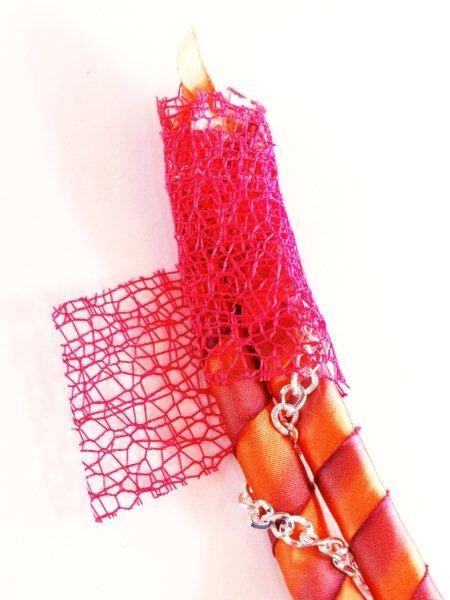
Slide the hemmed end of the fabric tie over the cording end. Make sure you leave some of the mesh ribbon showing.
Pull the tie so the seam is away from the cording. On the back side, hand sew the mesh ribbon down and sew the tie down along the edge.
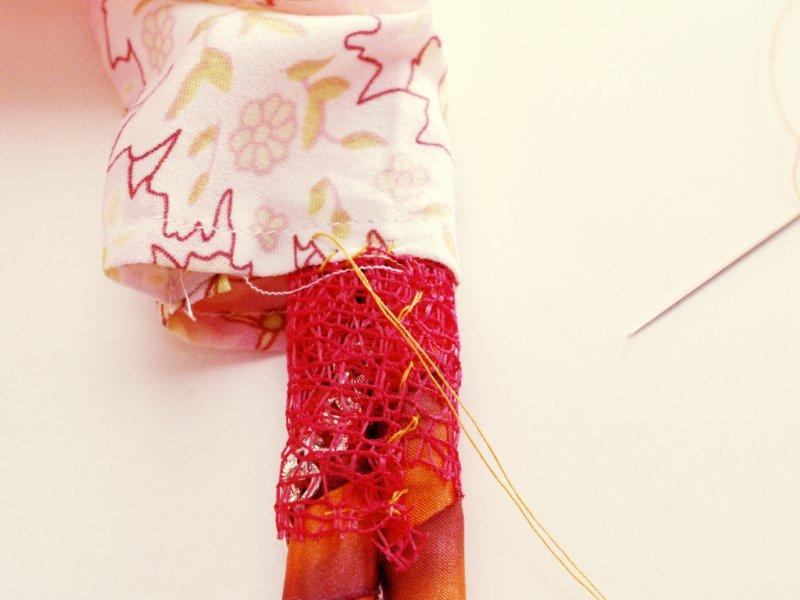
Pull the tie snug and fold the extra fabric back over the cording. Stitch the edge and a little bit of the fold down.
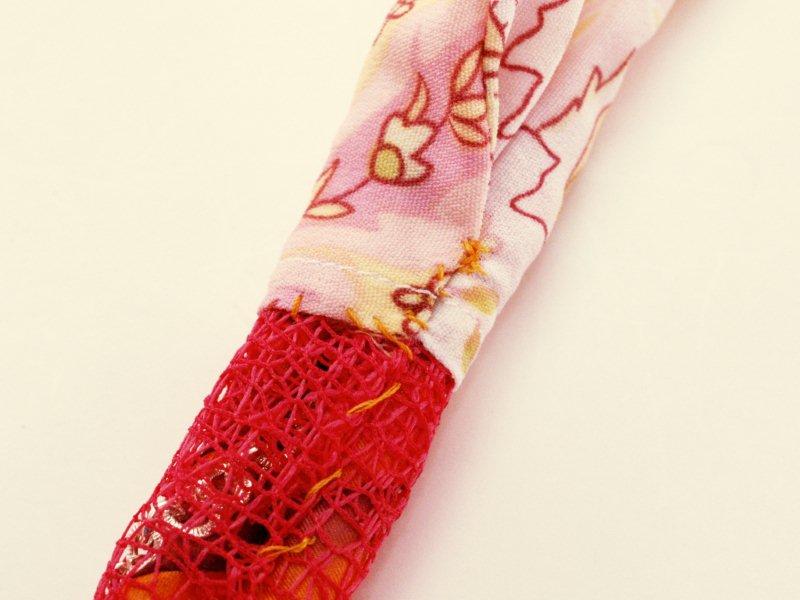
Now the basic part of the necklace is finished. Time for some embellishing!
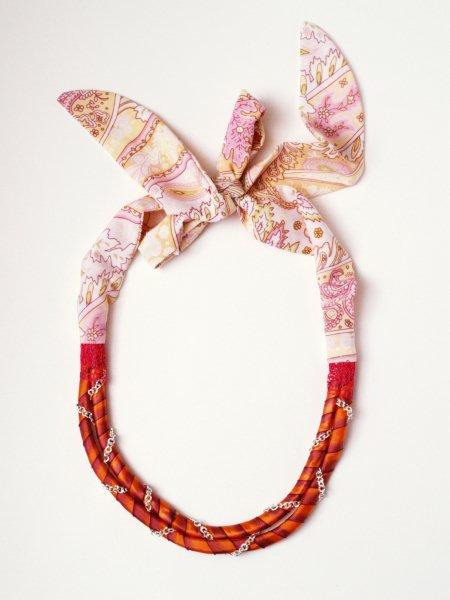
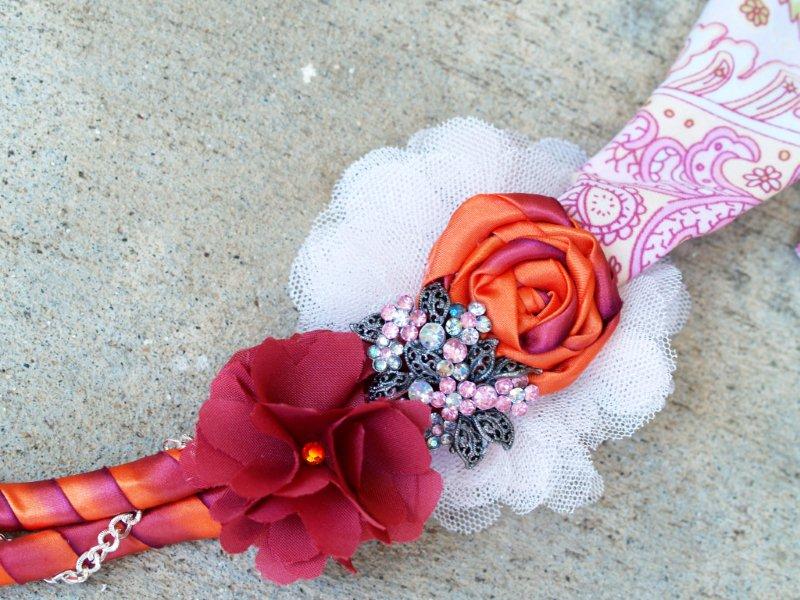
Make a ribbon rosette out of the silk ombre ribbon and a 2 other flowers out of coordinating fabric. I used a solid dark pink and a light pink netting.
(Quick Question – does anyone want tutorials for these or are there too many out there already? I’ll happily do a tutorial if anyone needs one.)
Add the rosette and the solid flower to the right side of the necklace, where the tie ends.
You can add a vintage brooch or a fun button between them.
To add a little more texture, add a larger netting flower behind the others, to the back of the cording.

And that finishes off the necklace!
I love the way the ribbon and the chain look woven together. I think it makes the ribbon even more eye catching!
I just love that rose/orange color combination!!

So what do you think?? I would love to know!
I’m linking to Sunday Scoop, Today’s Creative Blog, Met Monday, Skip to my Lou, Tutorials & Tips Tuesday, Quilt Story,
and the other fabulous parties on the sidebar – make sure you check them out!


Very nice!! Love your tutorials :)
I think is necklace is so beautiful and unique-great job. Thanks for sharing the tutorial as well!!
The necklace is beautiful! Thank for the clear tutorial.
Super pretty – love the color combo!
Lovely…when I saw this ribbon on the MJ page (as finished products) I fell for it and felt very bad that I didnt participate in the challenge…beautiful use of it and the embellishments really top it
Gorgeous, Bev! I think this is one of your most stunning pieces! Its that ribbon. You used it brilliantly!
I think it’s great! Definately eyecatching – excellent choices, bold and tasteful. And super tutorial. thanks!
That looks awesome! Beautiful colour combination. Thanks for the tutorial!
I love the color combo. The ribbon is especially pretty with the colored edge. Very creative using the materials.
I would be proud to wear this.
This is so pretty. Love this tutorial!
So gorgeous Bev. One of the most stunning pieces you’ve created and that’s saying A LOT!
really, really like this!
Thanks for posting this, Bev. It turned out really nice!!!!
How fun! You did a beautiful job!
love it! so fun and summery
Um, this is totally adorable! I love all the simple layers coming together to make such a lovely statement necklace. Come visit my blog sometime! Jen @ http://www.icantstopcrafting.blogspot.com
How very pretty! I love it!
Your necklace creation is absolutely beautiful! I love the colors and the streamline of the entire necklace. Congrats!
The necklace is georgeous! I would love for you to show me how to make the rosettes. I am new to crafting, and I just want to learn everything. You have a ton of talent.
Oh my! I absolutely LOVE this! Beautiful!
Visiting from the tatertots and jello blog hop.
That is such a cool effect with the ombre ribbon. Great job! (via TT&J)
This is such a great tutorial…thanks for sharing! I really like the flowers you put on this.
So glad you linked your beautiful necklace up to this week’s BFF Link Party!!!
What a cute necklace girl. I love the rosettes, and that pretty silk ribbon.
I also grabbed your new party button, I will be back to link up!!!
I would LOVE to invite you to check out my weekly parties. I would be so happy if you linked up, this and any other fabulous project you are working on. MAYBE even add me to your party LIST (yikes). That would be RAD!!!
Stop by anytime to say hello!!!
Hugs, Bella :)
**AMAZE ME AUGUST** @ Bella Before and After Any projects, recipes, diy welcome.
**PARTY PLANNING TUESDAYS** @ Euro Style Cakes. All your party planning tips, decorations, invitations, and recipes welcome at my NEW party.
Beautiful!! I have a party every Monday. I would love for you to stop by and link up your necklace and any other projects you would like to share. http://diyhshp.blogspot.com/
I absolutely love all the colors and textures. So beautiful, Bev! Thank you for being a part of “A Little Birdie Told Me…”!
Jenn
Oh My Gosh This is so colorful, and the textures is great! I Love it!