I’ve been lovin the little half aprons they have at Anthropologie. Check this one out, and this one. Don’t you love the scallops?
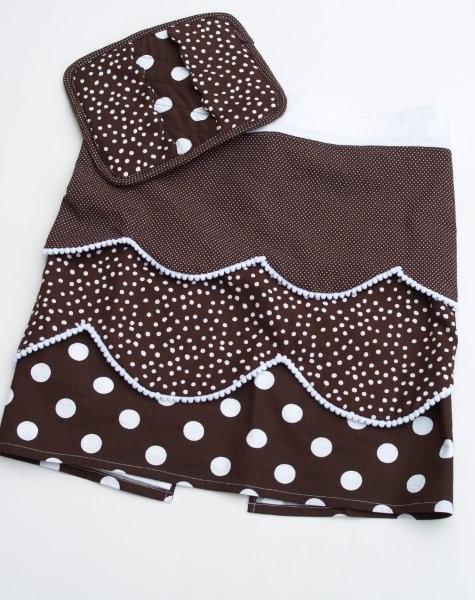
Here’s my version, along with my matchy matchy potholder:
(you can’t tell from this picture but the apron has a white waistband)
What do you think? I’m lovin it. :)
Want to make one too? Here are the instructions:
Out of white fabric cut a rectangle 34 by 15 inches. (If you’re a tiny little thing this might be too wide for you. Measure around your hips to about where you’d want the apron to go, then use that measurement plus 1 inch. Then adjust the other measurements accordingly.)
Cut a strip for the waistband the same width by 5 inches.
For the ties cut two strips 36 inches by 5 inches. ( I wanted nice long ties but you could get away with shorter if you want.)
For the polka dot fabrics cut out:
Top and Middle panel rectangles: 36 inches by 8 inches
Bottom rectangle: 36 inches by 7 inches
Next cut out the scallops for the top and middle rectangles. I marked out how far up I wanted the fabric to scallop at several places along the rectangle. Mine is about 2 1/2 inches up. I used a bowl to trace for the scallops.
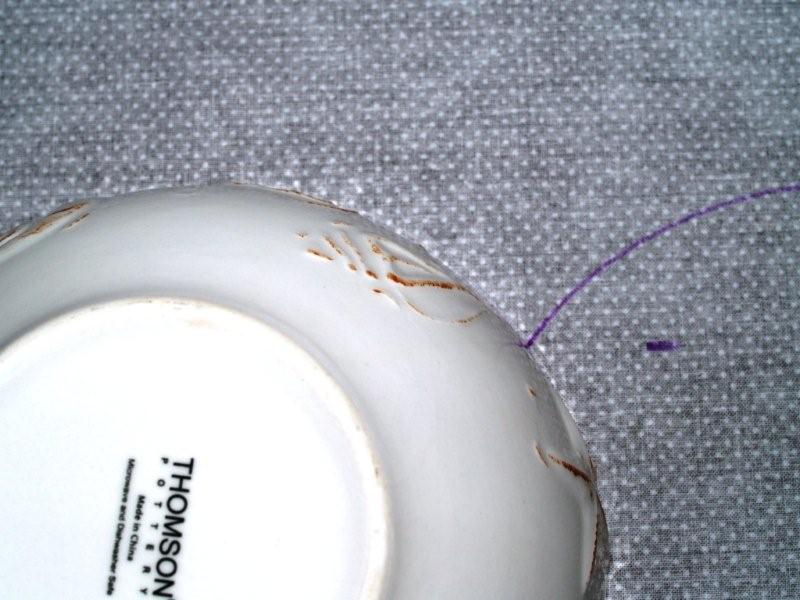
Then I did the same thing with the middle panel, only I used a salad plate so the scallops would be a little wider. On this panel the scallop went up 3 inches. Cut out the scallop panels.
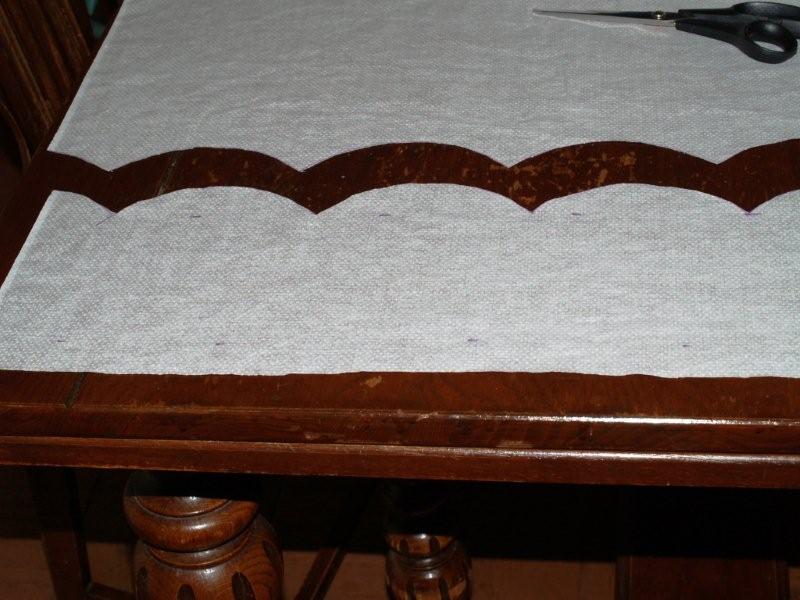
You also need to cut out a scallop facing. Lay out the scallop rectangle over your fabric, right sides together. Cut out along the scalloped edge. Then measure up 1 1/2 inches and draw a straight line. Cut out. You’ll have a small facing rectangle for your panel.
Do that with both panels. Now you can start sewing. :)
Start with your bottom panel. Put a small hem in the bottom (turn over twice and stitch near the fold) and the sides. I did a zig-zag stitch in the top because I wanted the panels to lay as flat as they could.
Make both your scallop panels the same way. First stitch the top of the middle panel and both the facings with a zig-zag stitch.
I used a little pompom edging on the bottom of these two panels. I applied it like you would a piping. (Let me know if you think a tutorial on putting in piping in would be helpful.)
This was a little tricky. This stuff is tiny – only about a 1/2 inch total. So I’m sure the tiny little elves who created this stuff have no problem sewing it on their tiny little machines. But I had to be fairly enthusiastic about making sure it was sewn on well. It kept slipping out from under the presser foot. Grrrr. I sewed it on 1/2 inch from the edge.
Once you have the trim on, pin the facing along the scallop side and stitch on with a 1/2 inch seam allowance, right up to where your trim is. Sew along the side up to the point where the facing stops also. It will be easier if you use a zipper foot.
Clip these seams really well, especially up into the point of the scallop.
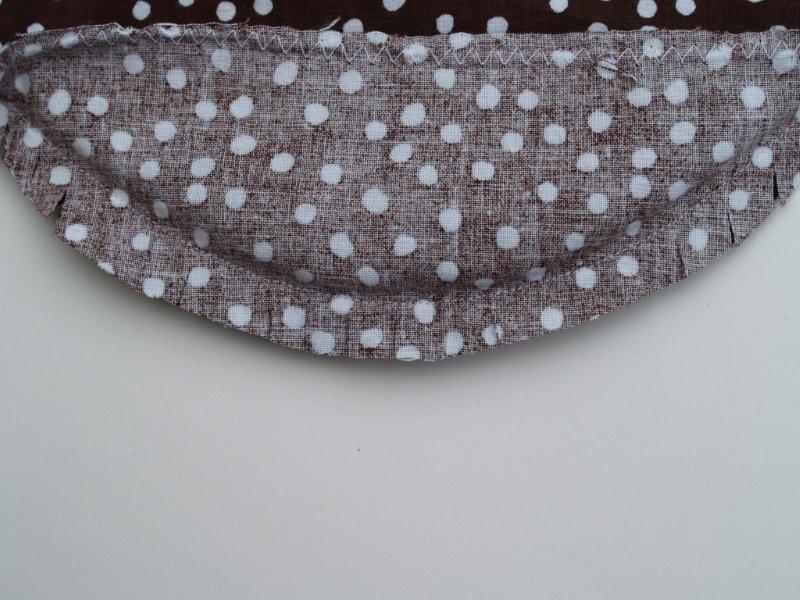
Turn your scallops right side out. Press the seams. (Make sure you do not touch the pompoms with your iron. The little things must be made of polyester. They’ll singe right up. This will make you think evil thoughts about the little elves.)
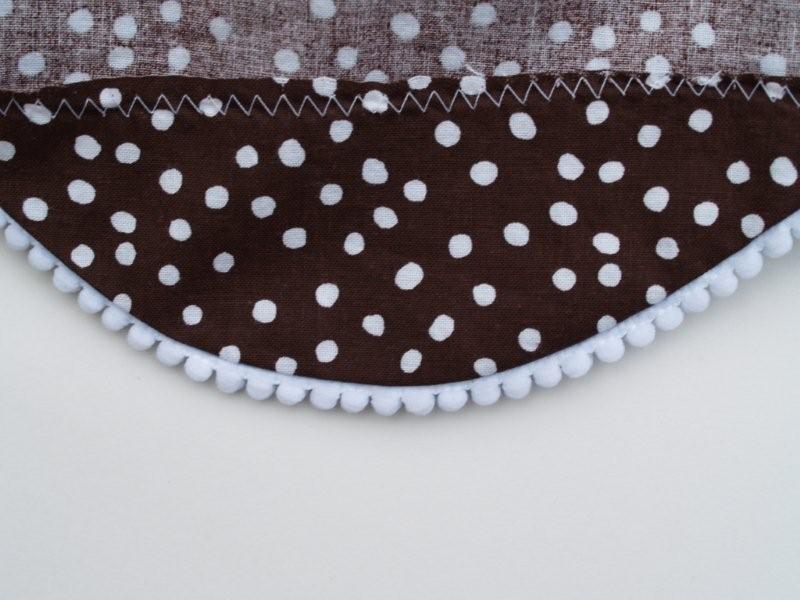
Hem the two sides of the panel, turning over the side so it matches up with the facing seam.
Repeat with the other panel.
Now that you have all three panels finished you are ready to start assembly. Hem the two sides and bottom of your large white rectangle. Lay it down, right side up. Line your top panel up with the top edge of the rectangle. Place the other two panels on the rectangle so that the middle overlaps the bottom and the top overlaps the middle with no white showing. The bottom panel should extend below your white rectangle about an inch and the panels should extend past the sides of your rectangle about a 1/2 inch. Measure and mark the placement of the panels. Mine is sewn at 4 inches from the top for the middle panel and 9 inches from the top for the bottom panel.
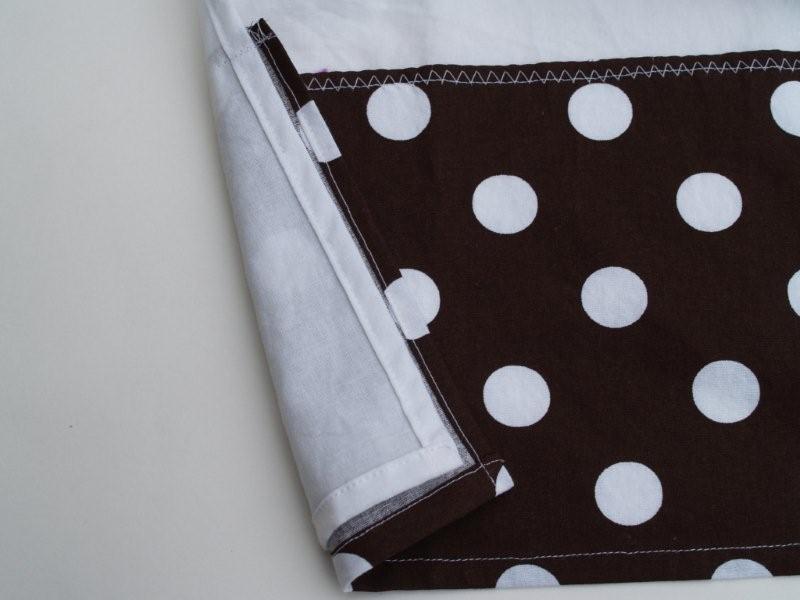
Starting with your bottom panel, sew on all three panels with a straight stitch 1/4 inch from the top of the panel.
At this point you’ll add on the waistband. Sew the two tie pieces on either side of the waistband section, right sides together. Fold over each long side 1/2 inch all the way down and press into place. Then fold it over in half, wrong sides together and press. If you’d like the ends of your ties to be angles, cut them and press them now.
Pin your waistband section over your apron panel, with the front and back of the waistband overlapping the apron panel about 1/2 inch. Match up the side seams to the sides of the apron panel. Pin this in several places. Start sewing at the end of your tie, 1/2 inch from the edge. Sew all the way to the other side, catching the apron panel between the two sides as you sew. Once you’re finished, turn it over and make sure you’ve caught the waistband and both sides look tidy. If you like, run a top stitch along the top of the ties/waistband, 1/2 inch from the fold.
Congratulations! You’ve just made an Anthropologie-ish apron for a lot less! Here’s my approximations for the amount of fabric you’ll need.
Of base rectangle, ties and waistband, 1 yard.
For the top two panels, 1/3 yard each
Bottom panel, 1/4 yard
Here it is again:
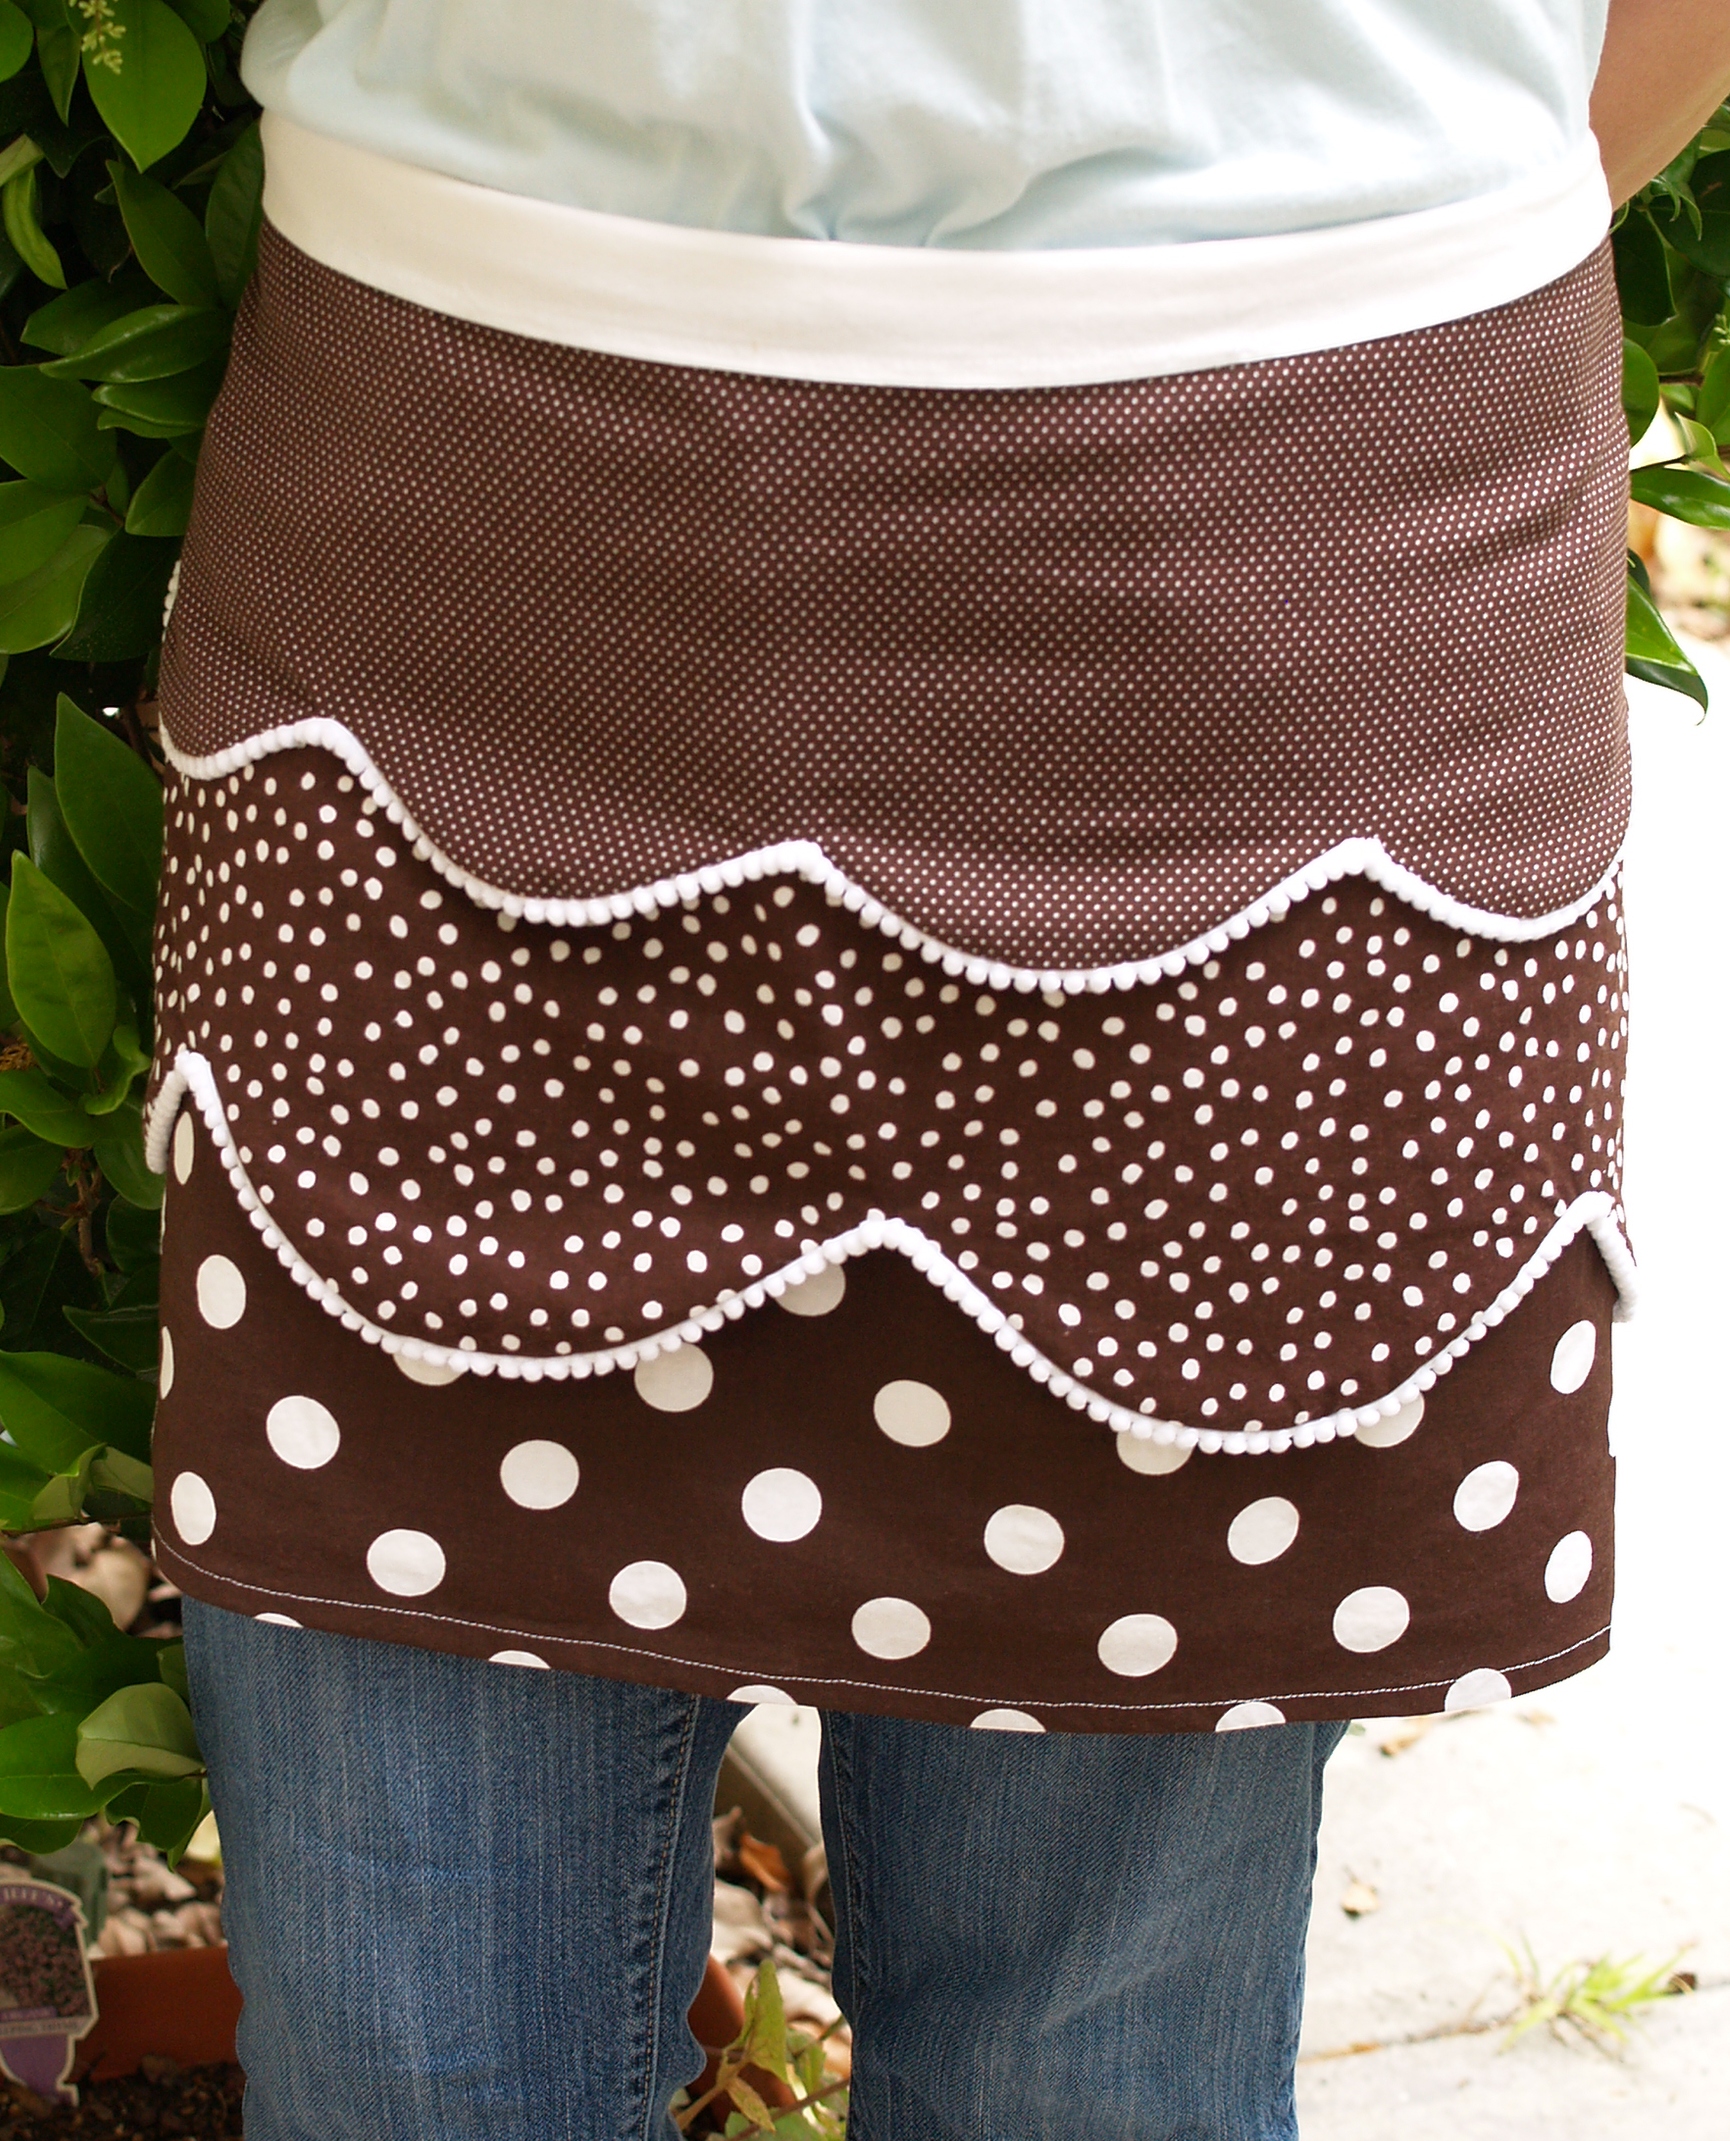
Can’t go wrong with Polka dots and pom poms. Yum. Makes me want chocolate.
I’ll post the potholder tutorial later today – check back(if you want ;) UPDATED: You can view the potholder tutorial here.
If you have any problems or questions, let me know. I’d love to see any you make!


Super cute apron! I love that it has its own matching potholder. And I’m loving the brown! Thanks for stopping by my blog!
Love your apron and its matching pot holder! Great tip for getting the scallops, too.
Those are so stinkin’ cute!!
If you have a second, come and enter my giveaway for a $40 gift card to CSN Stores. :grin:
That’s the cutest thing out, I wish I had the sewing skills to pull that off!!!
Thank you! I”d love to see any that you all make!
I love this! Very sweet.
Thanks for linking up with Sugar & Spice
So cute! Nice job!
Very cute indeed :)
super cute apron! love the tiny pom poms and I’m a sucker for anything with scallops or polka dots.
I love that apron; I especially love the brown and all the cute patterns in it.
ADORABLE!
:) Laura
Super cute!! Love this! The prints are fabulous together and you gotta love the pompoms! Thanks so much for joining the Sunday Showcase Party! I greatly appreciate it! Hope you are enjoying your weekend! ~ Stephanie Lynn
I couldn’t agree more… super cute :)
I absolutely love this apron. Once my pregnant belly is back to normal, I want to make one!
Stopping by from Sunday Showcase.
-Mama E
This is cute and I love that it matches the pot holder – that would encourage me to do more cooking!
Hi Beverly! Just wanted to let you know I’ll be featuring your apron today! Stop by and grab a featured button if you like! Thanks so much for linking up to the Sunday Showcase. ~ Stephanie Lynn
Thank you! I will definitely do that. :)
Love it. I am totally going to make a mommy and me set of these for my toddler and me. I love that you used bowls to achieve the scallop edging and not some fancy-schmancy sewing tool.
This is SO cute!!! I linked to your tutorial over at Craft Gossip Sewing:
http://sewing.craftgossip.com/tutorial-tiered-scallops-apron/2011/01/08/
–Anne
This is SO cute! I must make one…
It is obvious that term papers completing complications bother students a lot. But, the problem is not as serious as it supposes to be! Therefore, don’t bother just about it and order annotated bibliography writing.
Find it irresistible. I am absolutely proceeding to generate a mommy and me personally set of these regarding my own child and me personally. I like that you just applied servings to achieve the scallop edging pieces and never many fancy-schmancy regular sewing instrument.
NICE