I have such a fun project to share with you today!
It’s a fun combination of sewing and woodworking – and I think it’s got a fun Anthropologie-esque sort of feel to it.
(Which let’s face it, is obviously my preferred decorating style) :)
I’ve been needing a cute little rack to hold my aprons near the kitchen and I think this little Patchwork Knob Rack will be perfect!
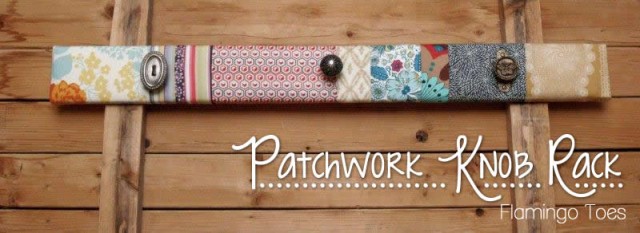
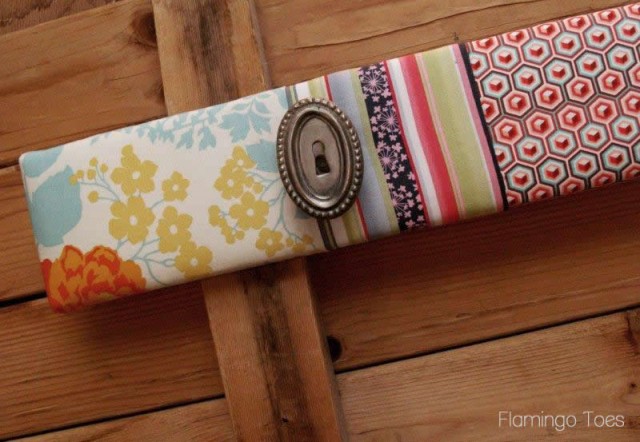
I have a little collection of Anthro door pulls and knobs – I can’t seem to pass them up when they’re on clearance.
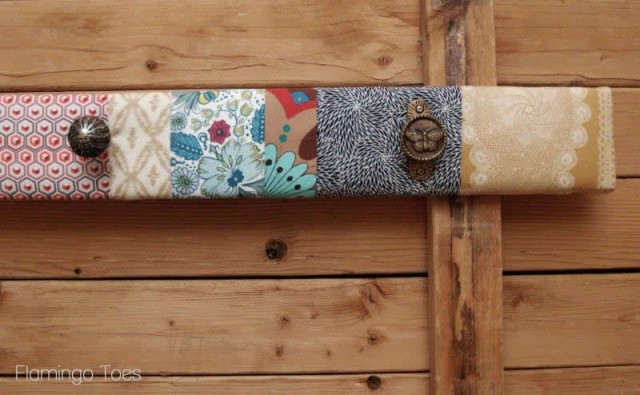
So I snagged three different ones from my stash for the knobs – just to give it a fun kitschy look.
Here’s what you’ll need to make your own rack:
- 1″ x 4″ board – 36″ long
- 3 drawer pulls or knobs – you will want to choose some that have a bit of an extension and don’t sit flush against the wood)
- Assorted fabric pieces
- Pellon Woven Fusible Interfacing (optional)
- thin batting
- Staple Gun
- Drill
- Saw
- Hanging hardware
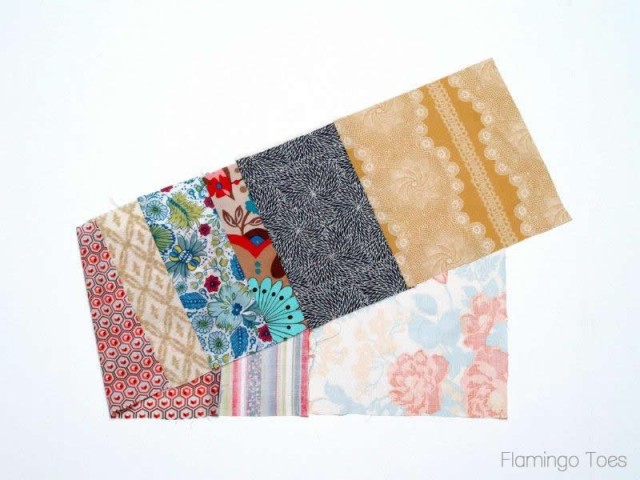
Start by cutting out your fabric pieces. You’ll want them to be 7 1/2″ tall (to cover and wrap around the board) and you’ll want them to total about 50″ to have enough to cover the board and for seam allowances.
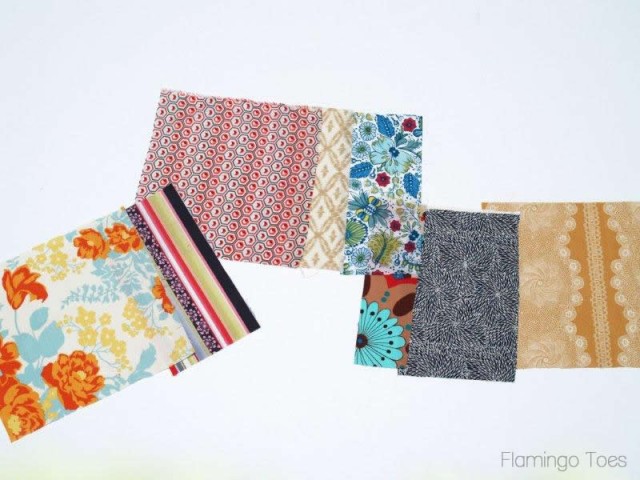
Sew your pieces together and press the seams to the sides, from the center out.
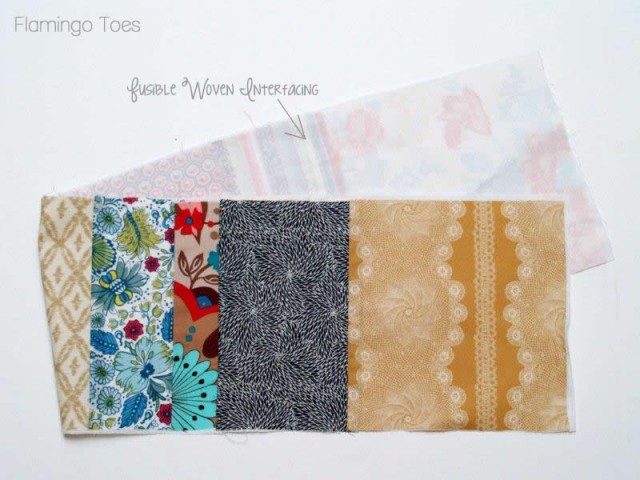
If you have used some thin fabrics, stabilize everything by ironing the fusible woven interfacing to the back of the patchwork piece.
Now – here’s a “don’t do as I did” moment. I recommend you drill the holes for your knobs BEFORE you put on the batting and fabric. If you do it after – it is very easy for the drill to get all caught up in the batting.
Not that I did that or anything. But let’s just say, if you do? You could end up with a cotton candy ball of batting stuck to your drill. So attractive.
So you’ll want to mark and drill your holes (again, ignoring the fabric already on here!! :)
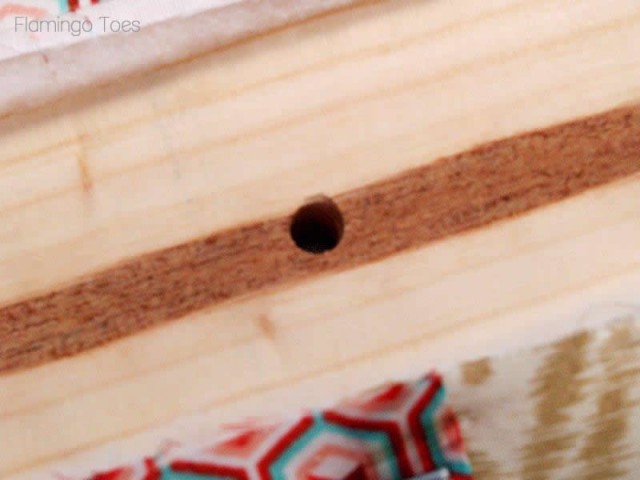
On the wrong side of the board, I recommend you drill a larger hole with a forstner bit – so that you can sink in the nut and it won’t stick out of the back and scratch up your wall.
(Forstner Bits are super handy – and not too pricey if you pick them up at Harbor Freight.)
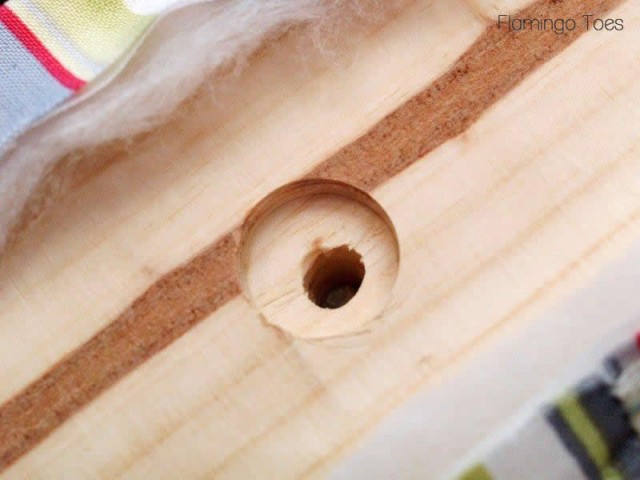
Cut a layer (or two, depending on how padded you want the rack) of batting the size of your board. Lay it along the top of the rack. You can keep it in place with a little hot glue.
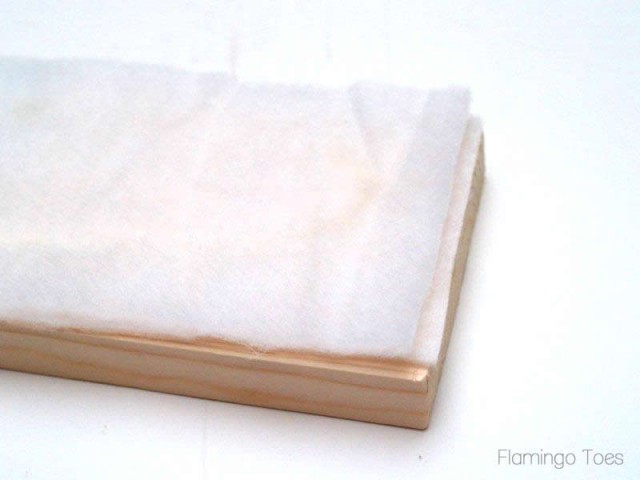
Cut another piece of batting the size of your patchwork piece. Place it on the wrong side of the fabric.
Lay the fabric right side down, then place the board with the batting side down, centered on top of it.
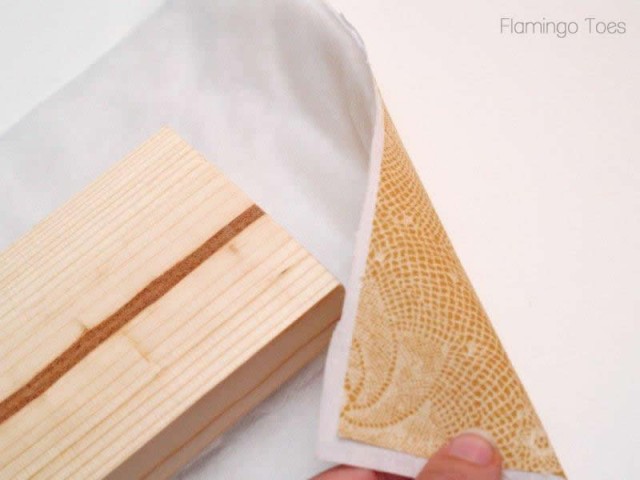
Begin stapling the fabric to the back of the board.
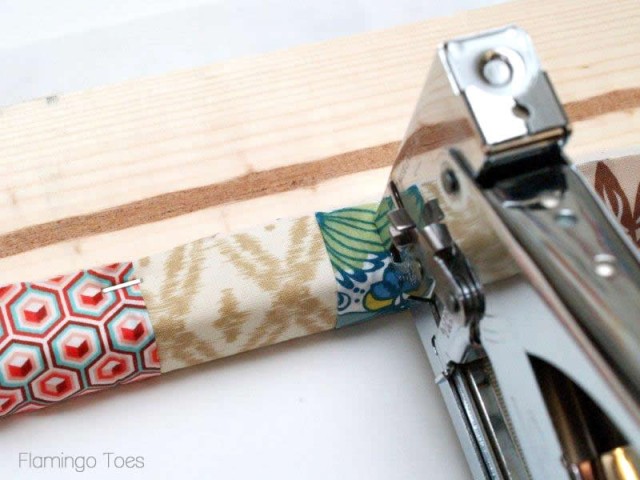
Work your way down one side of the board, then flip it and do the other side. Leave the ends until last.
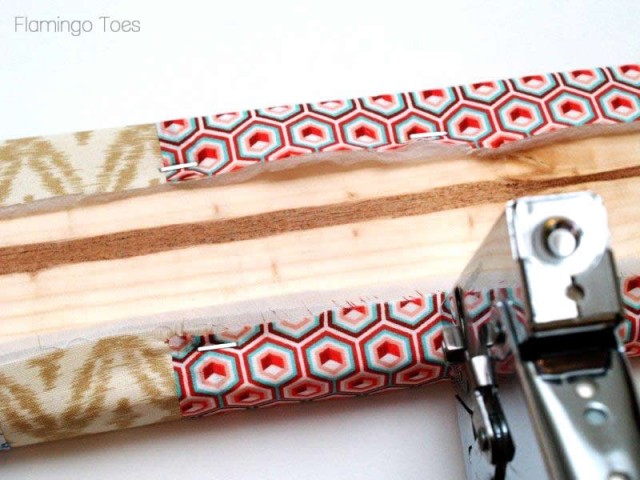
Trim the fabric and batting away from the corner piece so it won’t be so bulky.
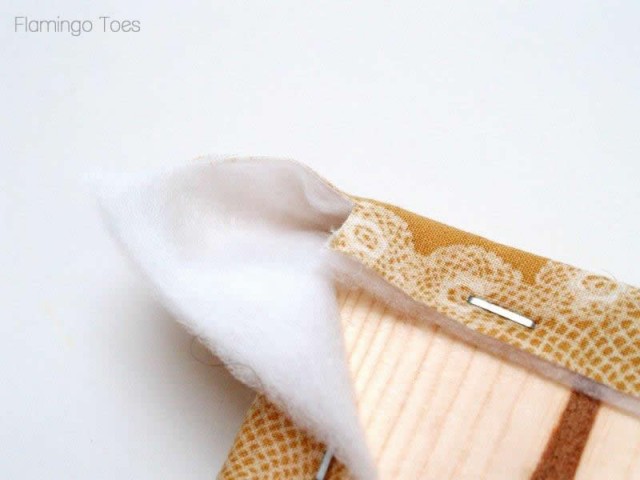
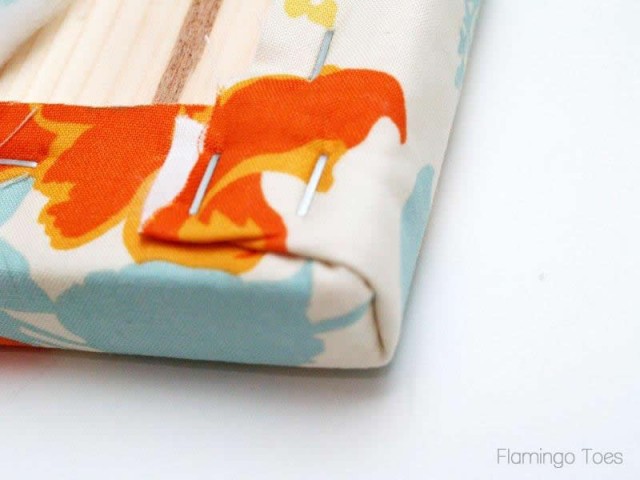
Fold the end in and staple, then pleat the side and fold it in. Staple it so it has a nice tidy end.
Now you’re all ready to add the hardware!
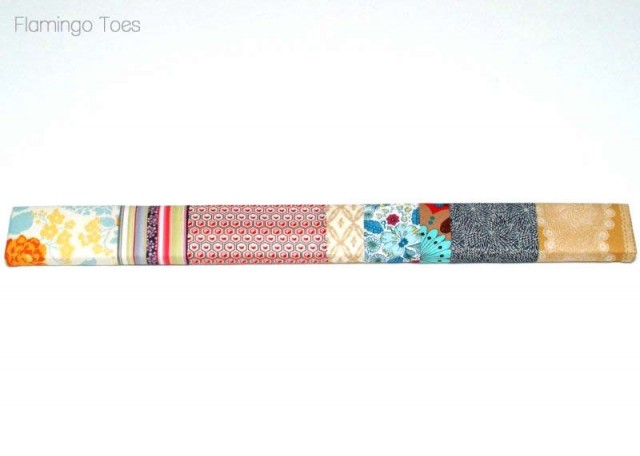
Mark the outside of the fabric above the holes. Cut small holes in the fabric for the hardware.
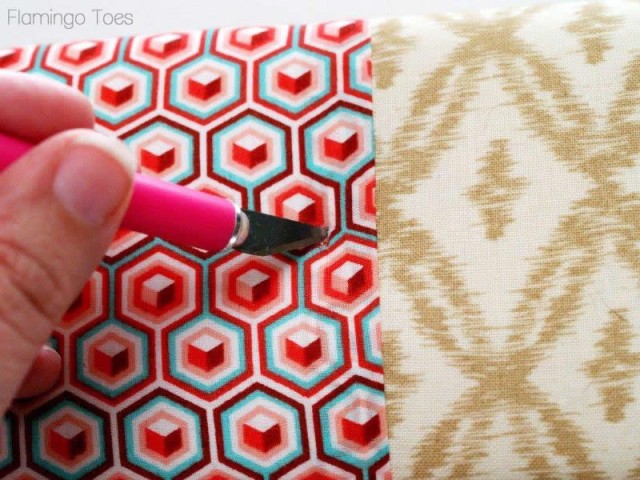
Place the hardware through the fabric and then through the holes. On the back side, mark the threads where you’ll need to cut them off.
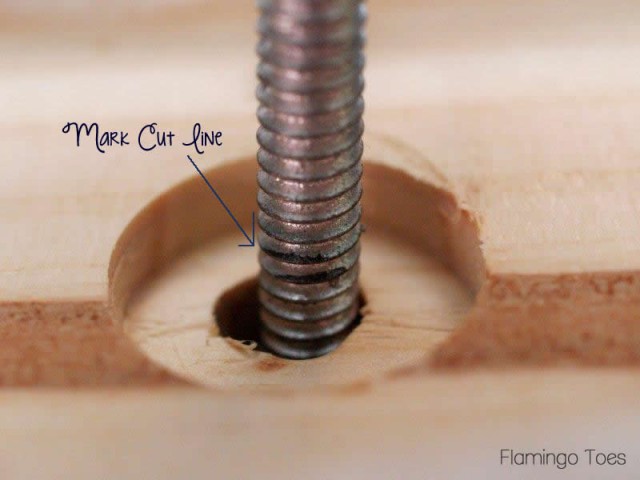
Cut off the screws with a hack saw or dremel. Place the hardware back in place and hold in place with the nut.
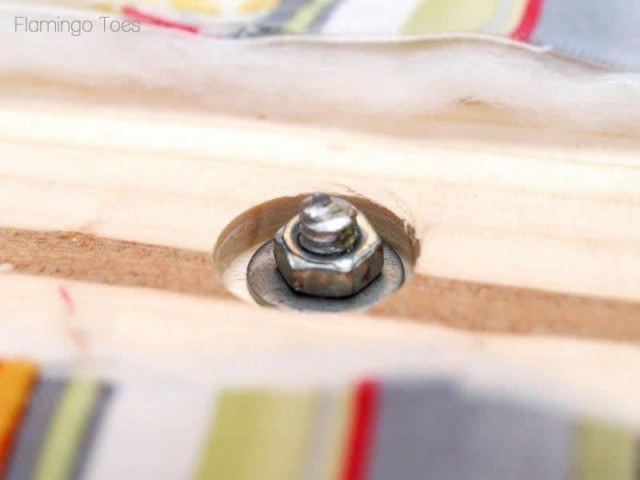
If the screw still sticks out a bit – you can cover that with a little cap or piece of felt glued over it.
Mine had two regular draw pulls, the third had a base that just screwed into the top.
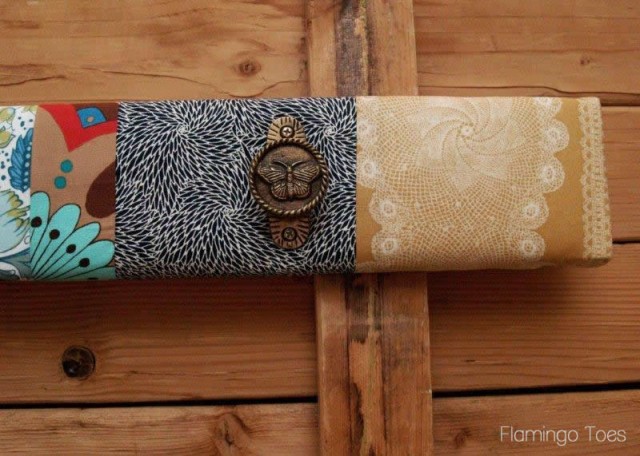
Add your hanging hardware to the back – and that’s it!!
I have some plans for the wall this is going on – so you’ll have to wait to see it in place for a bit. But it looks really cute!
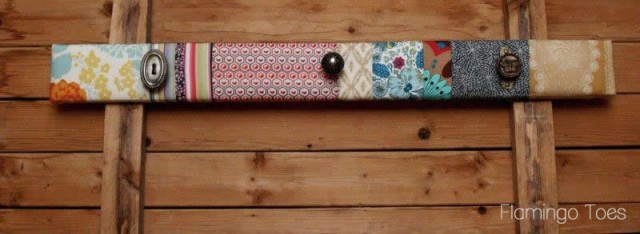


What do you think? I’d love to know!
Linking up at Sunday Scoop, Today’s Creative Blog, Met Monday, Tutorials & Tips Tuesday, Quilt Story, Shabby Creek Cottage, My Repurposed Life and the other fabulous parties on the party page – make sure you check them out!


Absolutely love this! the colors the wood and the knobs all look so good together. Do you have a bigger picture of where it is, it looks like there might be more yummy goodness to see on that wood!
Kim
Thanks Kim!! That’s actually just my photo background. :)The rack is actually hanging on my white wall – that is hard to get a photo of because of the angle.
Cute, Bev!! It will look fantastic with your gorgeous collection of aprons. ;)
Super cool project… I love everything about it!
That is so cute :) The pattern on the fabric is so pretty!!
Bev, your project is so cute. But your tutorials are always amazing!
I love this. Definitely going to have to make one!
Looks great!
Oh wow, this is absolutely brilliant!!! I love your choice of fabric, and these knobs are so sweet! I can picture your cute aprons rocking on these knobs :)
Love this! I’m thinking I need to make myself one of these to hang my necklaces on! So cute.
liZ
oh i love the fabric detail & patchwork! what a great idea!
You have such a great style. :) Love the little details!
Love the fabrics you used and the knobs are so fun! Cute idea:)
Nicely done! Very unique.
So cute … love the mix of fabrics.
That is awesome! What a wonderful scrapbuster, too! so original!!!
So darling, Bev! I love the colors, patterns and vintage-looking hardware!
Jenn
I love everything about this, Bev! The fabrics are darling. :)
This is beautiful Bev. What great idea.
I really like this. Redoing my closet and this will be great to put my scarves on. Think I’ll also make my grand daughter one, she’s been redoing her bedroom (she’s 12) & loves animal prints. She’s talked me into making roman shades in zebra print for her & this should go right with the roman shades. Thanks Bev
I am not sure how I have missed this as many times as I been here. But I love this.
and I will be making a couple of these. or more Kitchen needs 1, maybe even laundry room and I know my sewing room..
now all I got to do is sneak some wood from son or go buy it. LOL