This Need More Shiny Things Free Zipper Pouch Pattern is so fun to sew up! It makes a great bag for makeup, jewelry, back to school or as a gift!

I’m a big believer that you can’t have enough zipper pouches! They are so fun to sew and they make great gifts too! I’m sharing this as part of Melissa from Polkadot Chair’s fun Summer Sewing Series too! She has so many great ideas – for summer or anytime. :)
This cute Need More Shiny Things zipper pouch is all decorated with cute embroidery and I love how the gold zipper sets it off!


Need More Shiny Things Free Zipper Pouch Pattern Tutorial
Materials:
- Fabric for top of zipper pouch – 2 pieces 10″ x 6″
- (optional: if your fabric is very thin you might want to line the front panel with a piece of plain cotton)
- Fabric for bottom of zipper pouch – 2 pieces 10″ x 4″
- Fabric for lining of zipper pouch – 2 pieces 10″ x 9″
- Fusible Fleece – 2 pieces 10″ x 9″
- 9 Inch Gold Zipper
- Black DMC Pearl Cotton Thread – size 5
- Embroidery hoop and needle
- Yarn for pom poms
- Need More Shiny Things Pattern
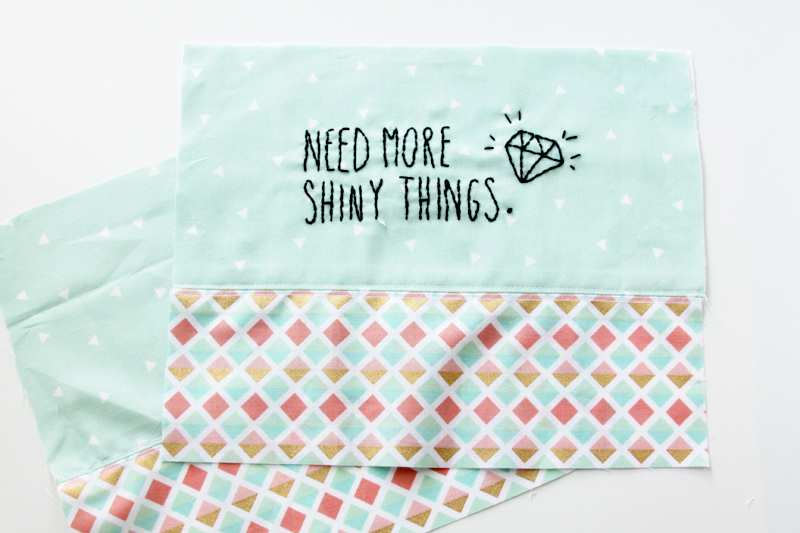
Trace your embroidery pattern and stitch the letters and diamond with a back stitch.

Place a piece of the bottom fabric right sides together with the bottom side of the top fabric. Sew the pieces together with a 1/2″ seam allowance. Press the seam open and top stitch above and below the seam. Repeat for the back of the zipper pouch. Iron the fusible fleece on the wrong sides of the fabric pieces.
Place the zipper face down with the top edge lined up with the top edge of the front panel. Place the lining fabric face down on the fabric. Sew the pieces together along the top edge.
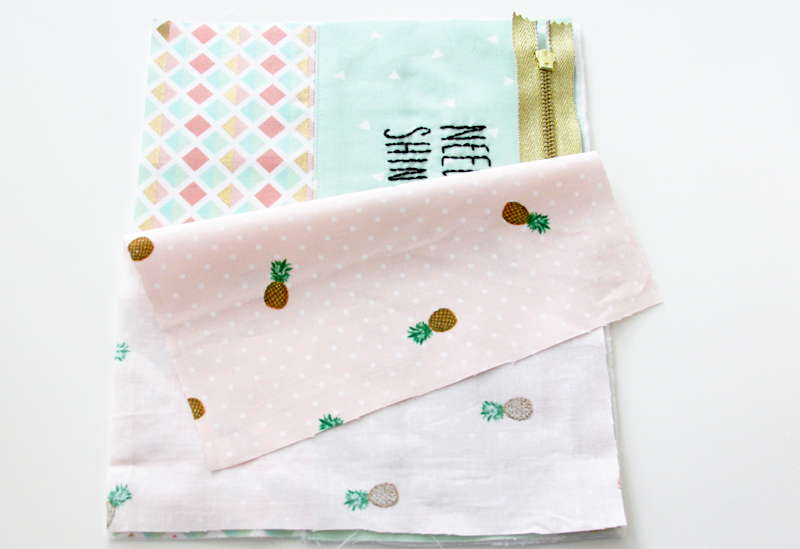
Open out the fabrics so the zipper is at the top and the fabric is folded down on each side.
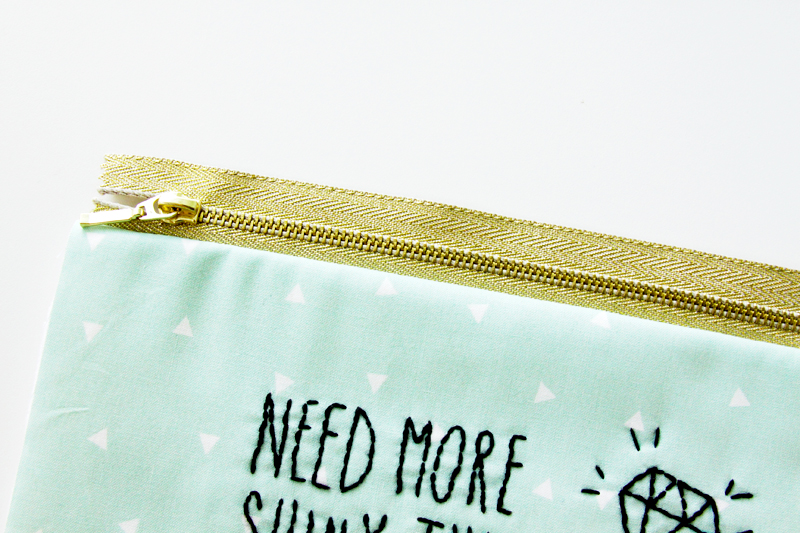
Place the back panel and lining along the open edge of the zipper. The front of the zipper pouch should face the back and the lining pieces should face each other. Sew the zipper in place on this side.
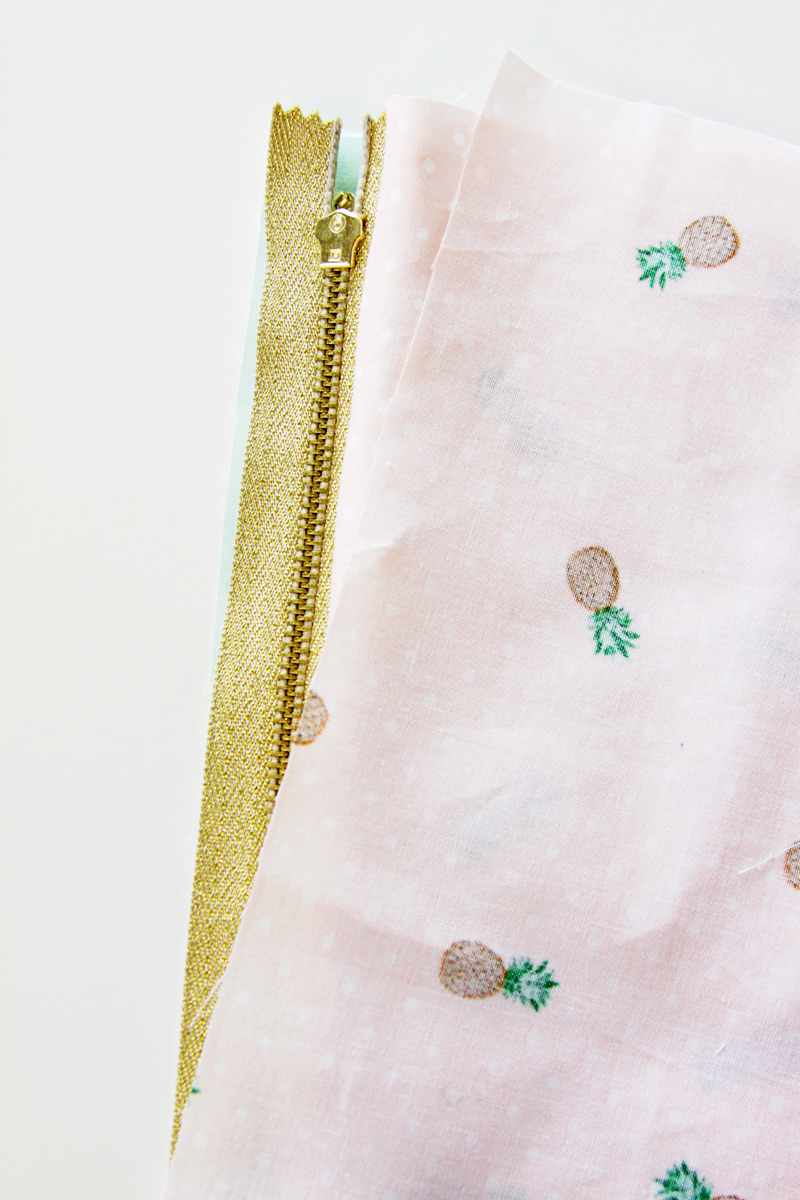
Open up the fabrics and press.
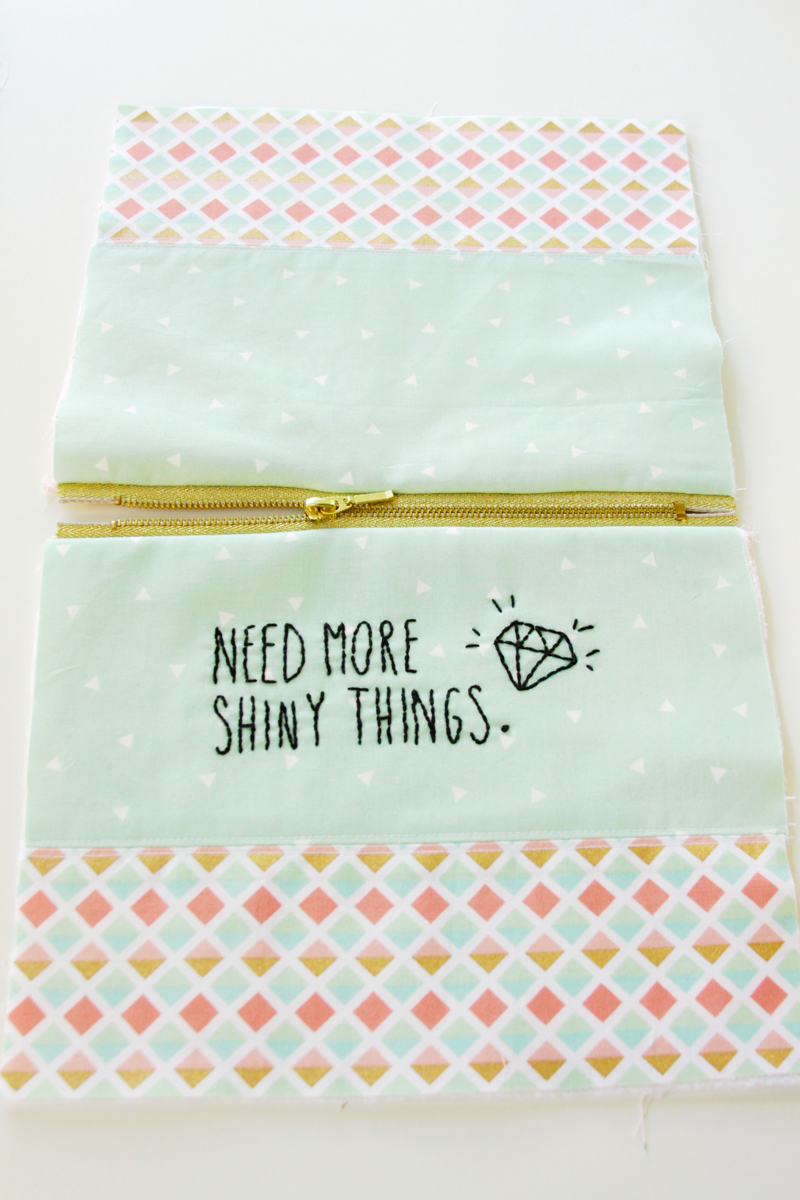
Line up the front panels and the lining panels. Make sure the zipper is opened or you won’t be able to turn the bag right side out. :) Sew around all four sides and leave an opening in the bottom of the lining about 4″.
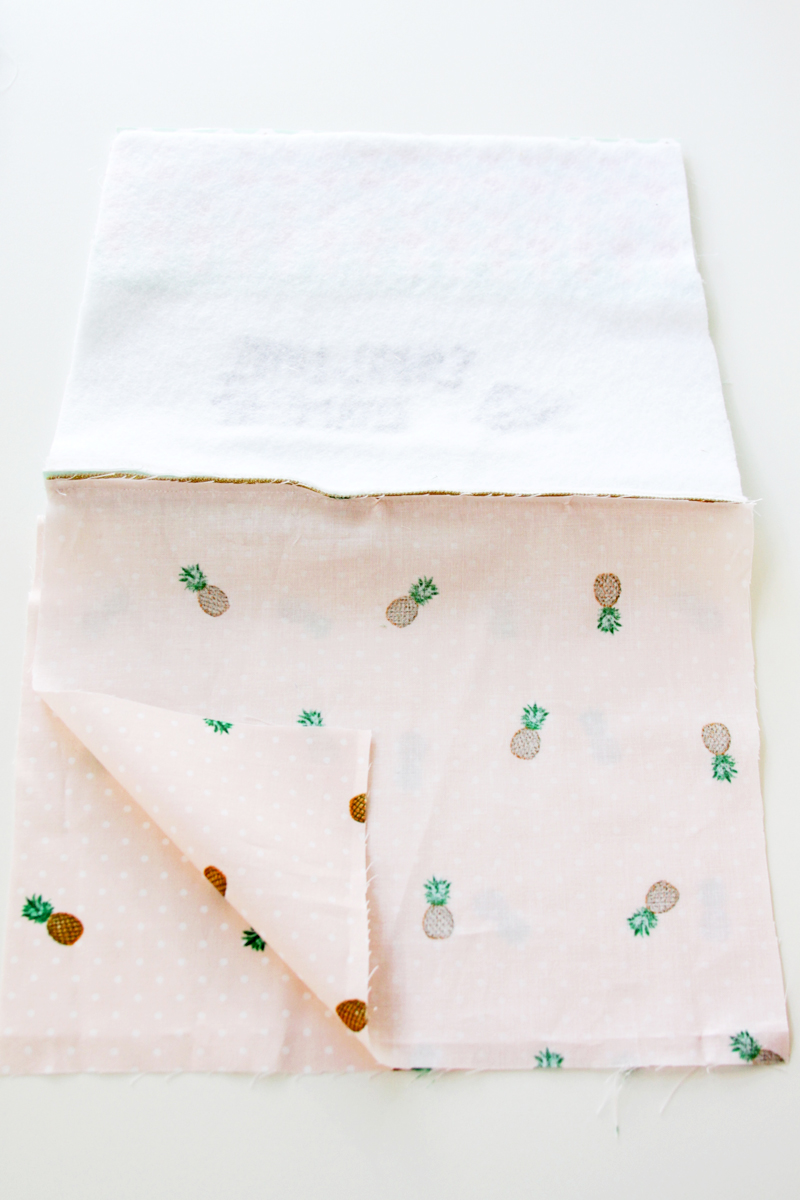
Fold the corners together and sew along each side 1 1/2″ down from each point. Trim off the corners. Do this for the outside and the lining.

Turn the bag right side out and press. Sew the opening closed in the lining by hand. Create two little pom poms and thread them through the opening in the zipper. And you’re all done!


Make sure you stop by The Polkadot Chair to check out the other projects in the series!
You might also want to try
Cute And Easy Donut Zipper Pouch

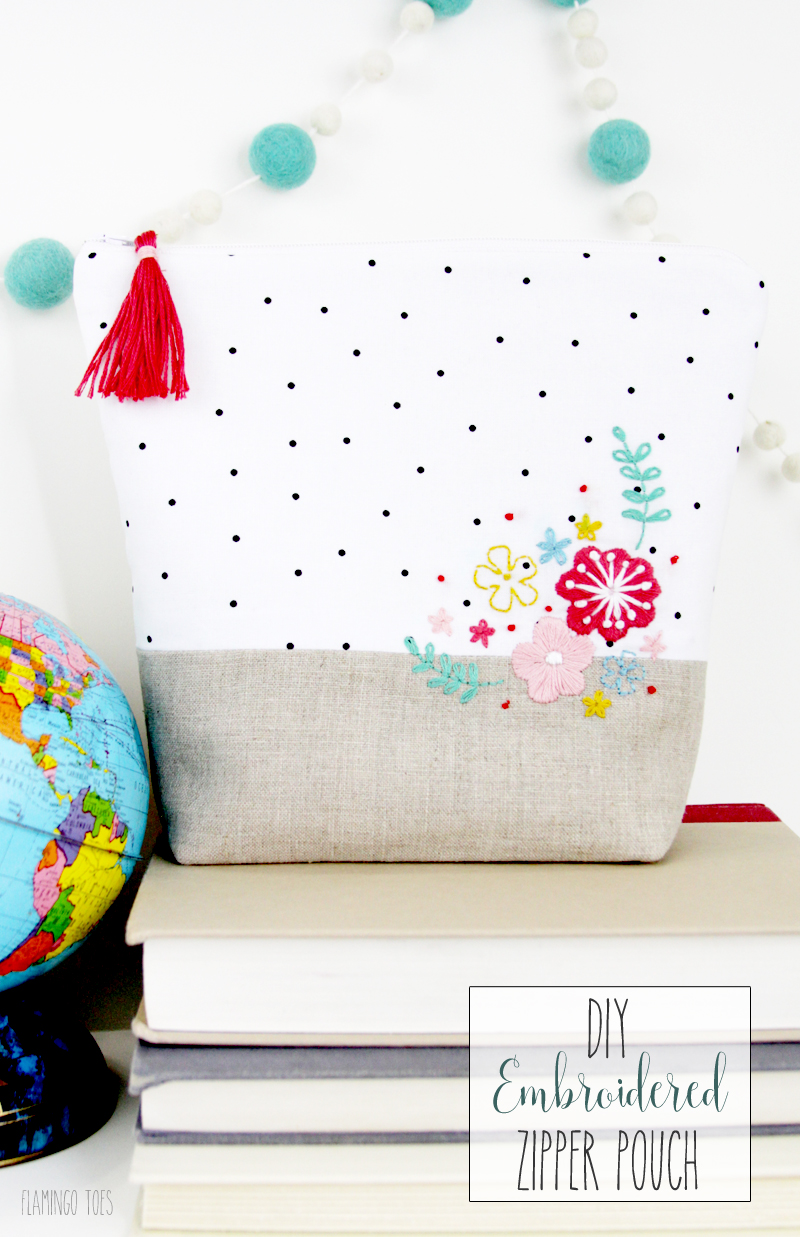
Floral Embroidered Zipper Pouch



You make this sound, and look, so easy. I have some new fabric so I’m going to have to try this. Wish me luck :-)
Adorable! Where did you get the gold zipper??
Thanks Lorinda! I found mine at Jo-Ann but you can get them at Amazon too! http://amzn.to/2bQx1fn
Oh cute!!! I’ve got a Craft Gossip post scheduled for this afternoon that features your tutorial: http://sewing.craftgossip.com/?p=89557 –Anne
Thank you so much Anne!
Wow! This is absolutely adorable and I totally agree with Heather that you make the tutorial look so easy. Can’t wait to try my hand at making this!
Thank for the tutorial. What fusible fleece do you use ?
Thanks Malinda! I use ThermoWeb Fusible Fleece – I think you can find it in most craft/fabric stores!
Thank you !
Would it be high loft ?
I’m sorry but I’m having trouble locating the free pattern.