
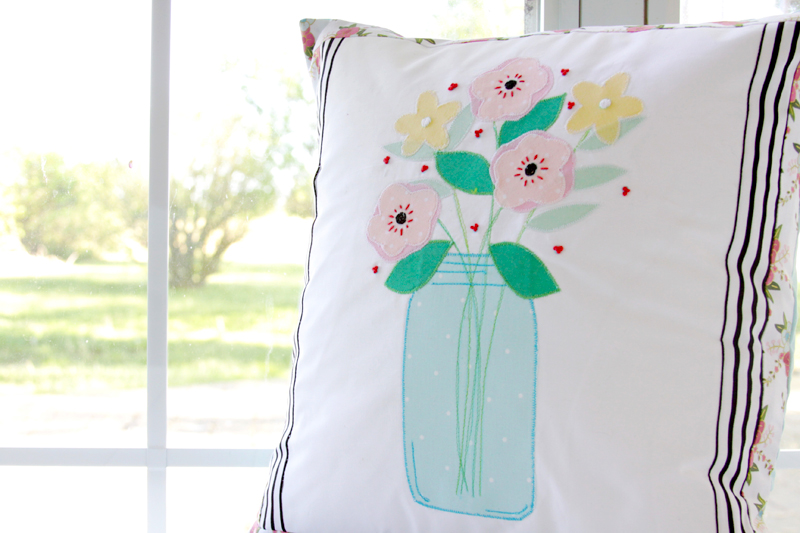
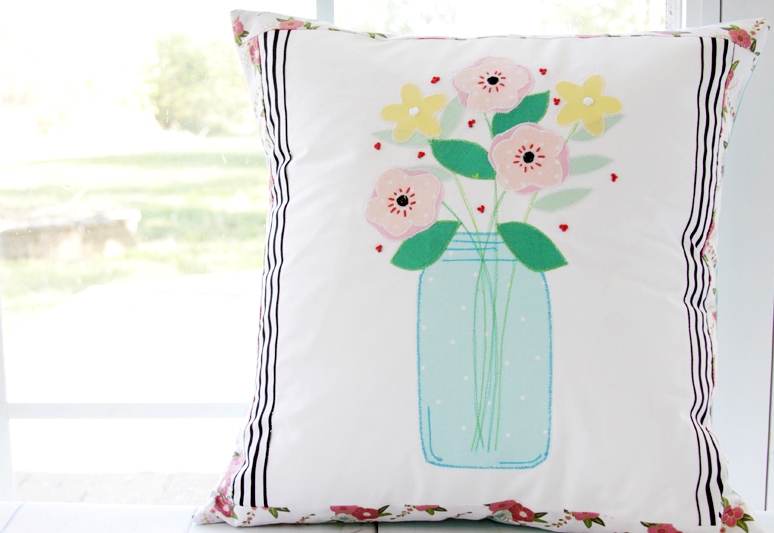
I don’t know about you, but I kind of have a black thumb. Plants die if I just happen to walk by them. I love fresh flowers though, so I pick them up in the store as often as I can. I stick them in vintage bottles and vases around the house and pretend like I’m a gardener. Today’s pretty diy Mason Jar Flower Vase Pillow is in honor of all those bottles of fresh flowers I buy – but this will last a whole lot longer!
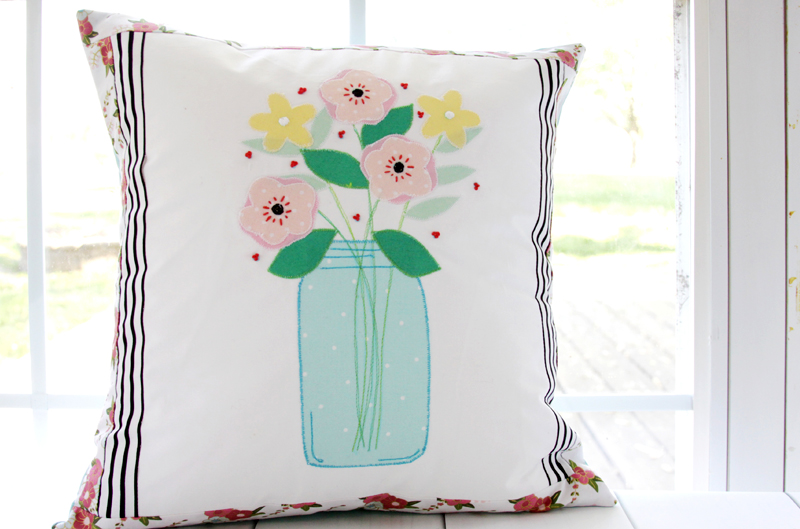
The pillow is appliqued with a sweet little vase of flowers and finished with some floral fabrics to show it off. If you haven’t done applique before, I promise you can do this! It’s so fun and it’s pretty quick to sew too!
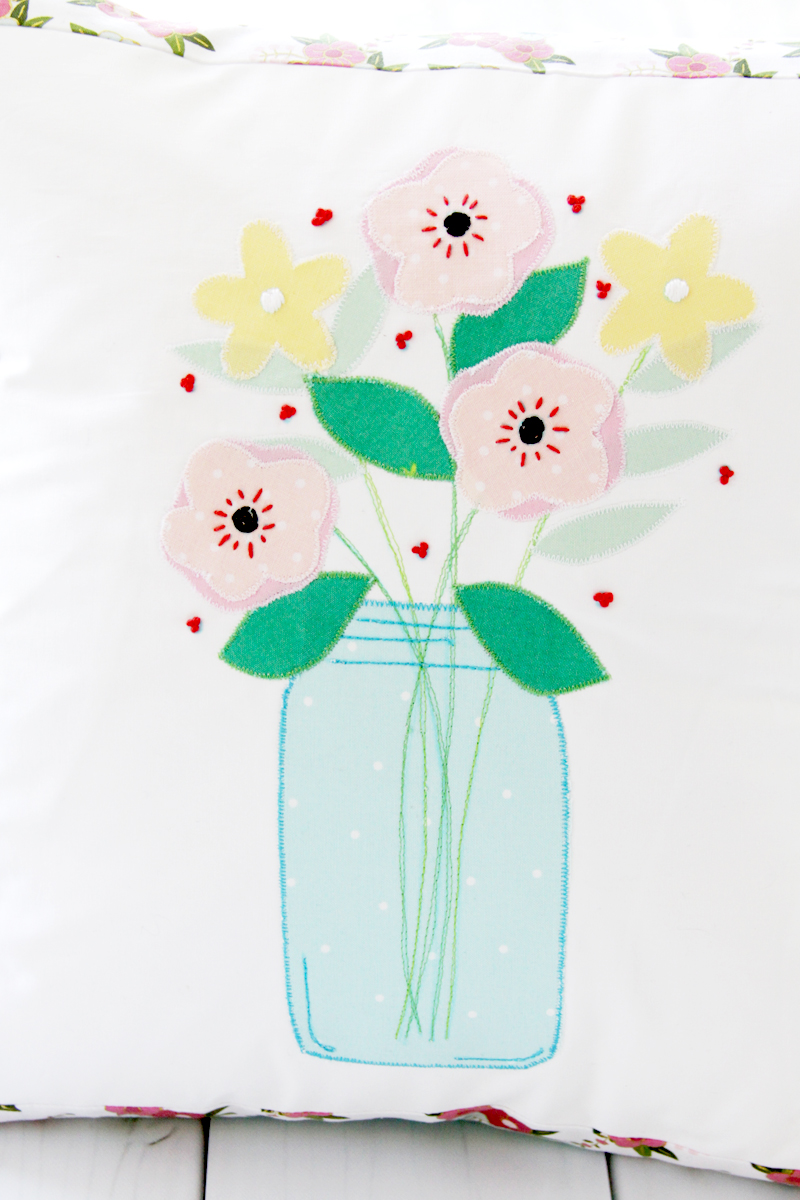
I added a little bit of decorative embroidery to the flowers too – I think it kind of helps them stand out don’t you? I just love these fresh colors for Spring and Summer!
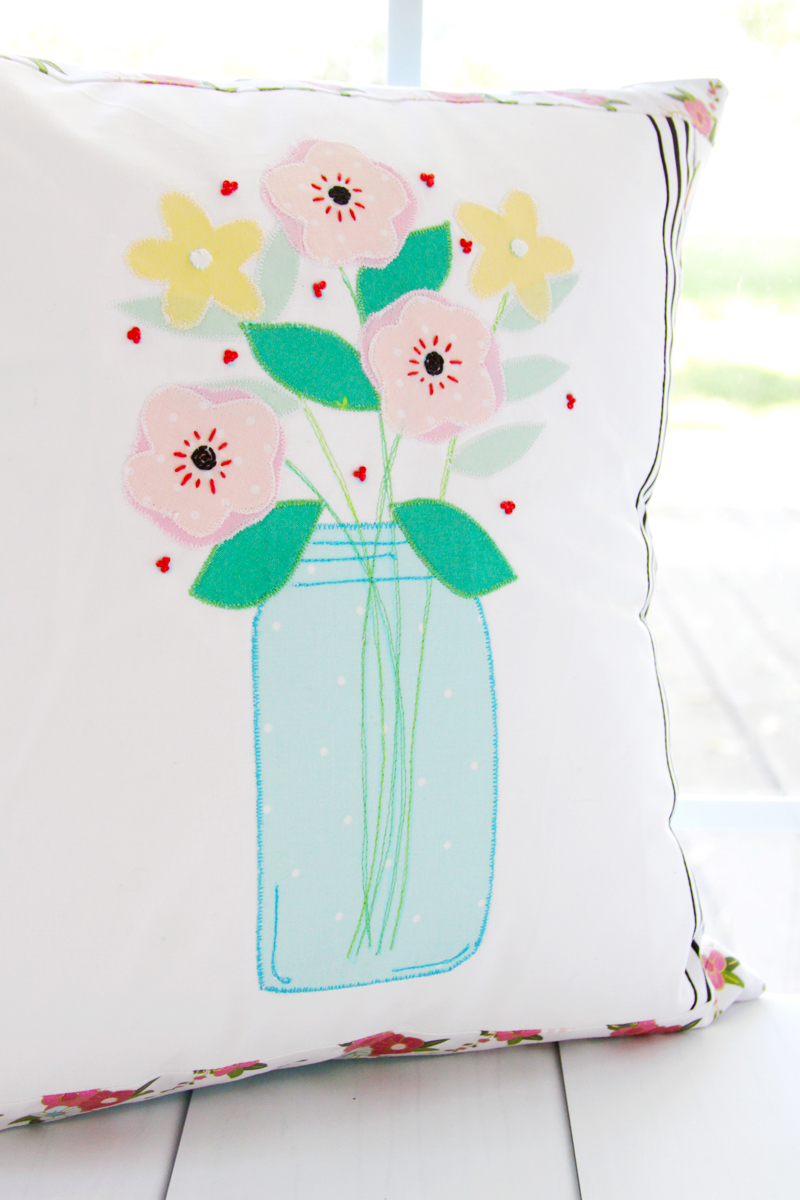
This pillow would make such a great gift too!
Mason Jar Flower Vase Pillow Tutorial
Materials:
- White fabric for pillow front – 14″ x 14″
- Assorted scraps for flowers, leaves and a piece for mason jar
- Small amounts of fabric for strips on the sides – each needs to be 2″ x 16″
- Fabric for Backing – 16″ x 22″
- Embroidery stabilizer – 14″ x 14″
- Iron on fusible webbing
- coordinating embroidery floss
- disappearing ink marker
- 16″ x 16″ pillow form
- thread – white, two shades of green, and turquoise
- Mason Jar Vase Patterns and Layout
Start by deciding on your flower, leaf and mason jar fabrics. Iron your scraps to pieces of fusible webbing, then cut out all the pieces.
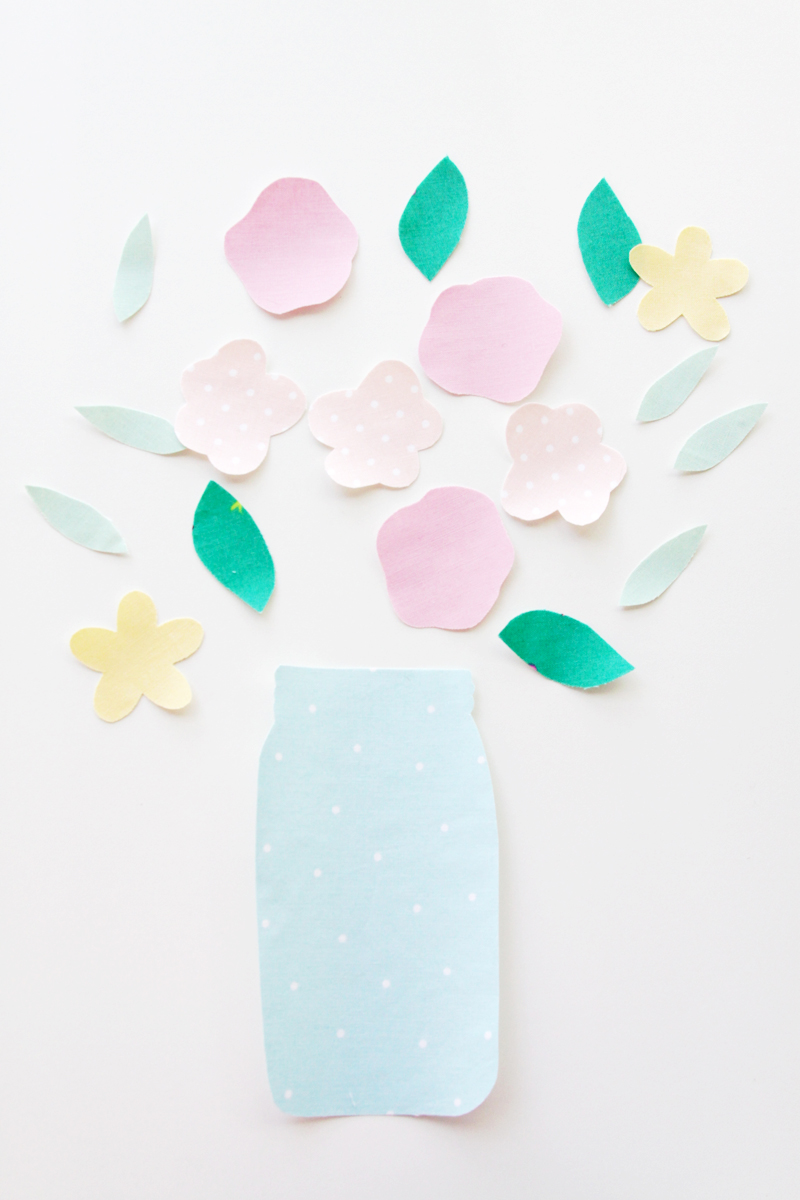
Center the mason jar on your piece of white fabric. Remove the paper backing and fuse the jar to the fabric. You want to make sure you leave plenty of room for the flowers.
Draw on your stem lines with a disappearing ink marker. Fuse the embroidery stabilizer or interfacing to the back of the white fabric.
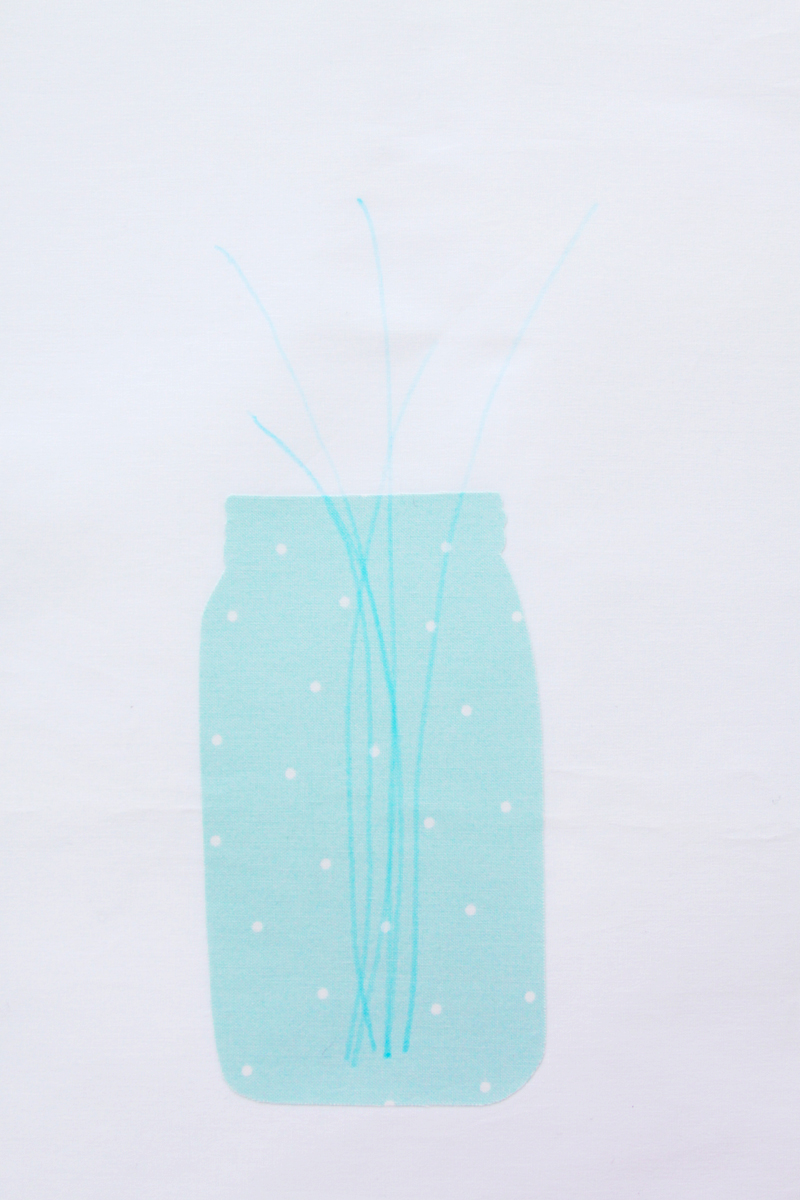
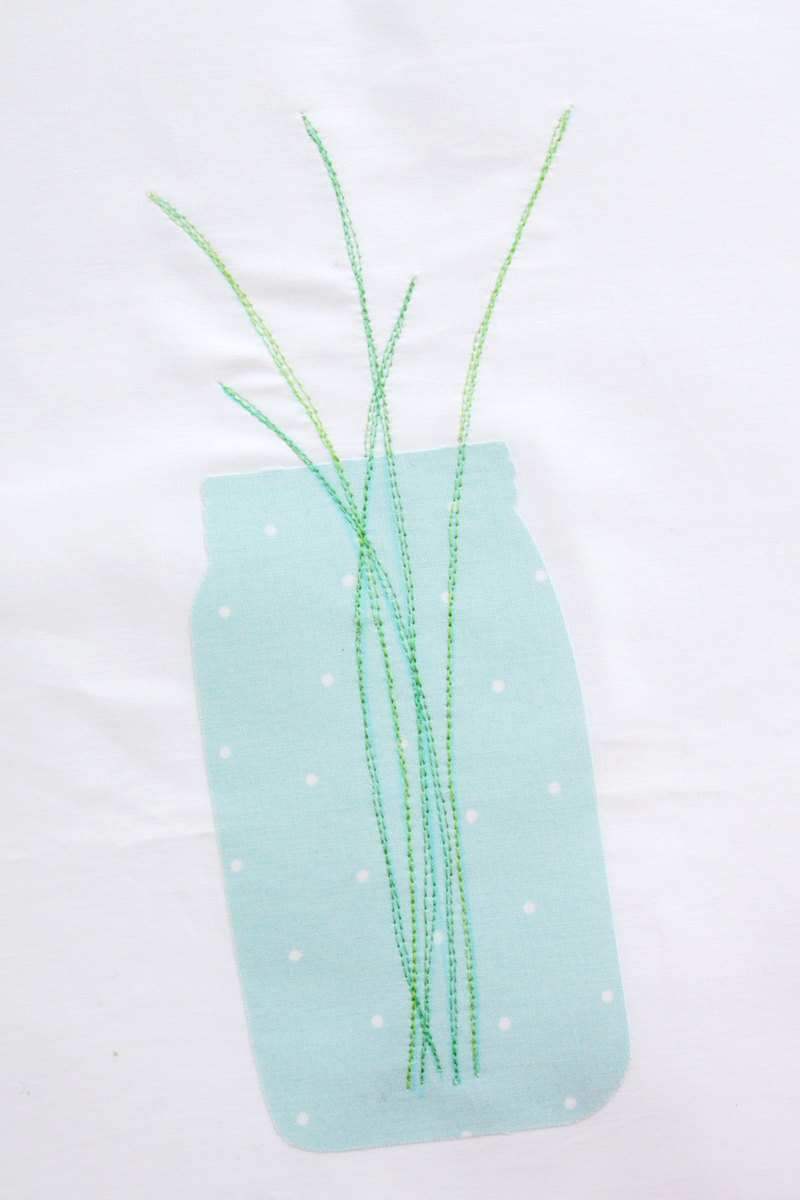
With two different colors of green thread, sew straight lines up and down the stem lines. I used a darker green for the peach flowers and a lighter green for the yellow flowers.
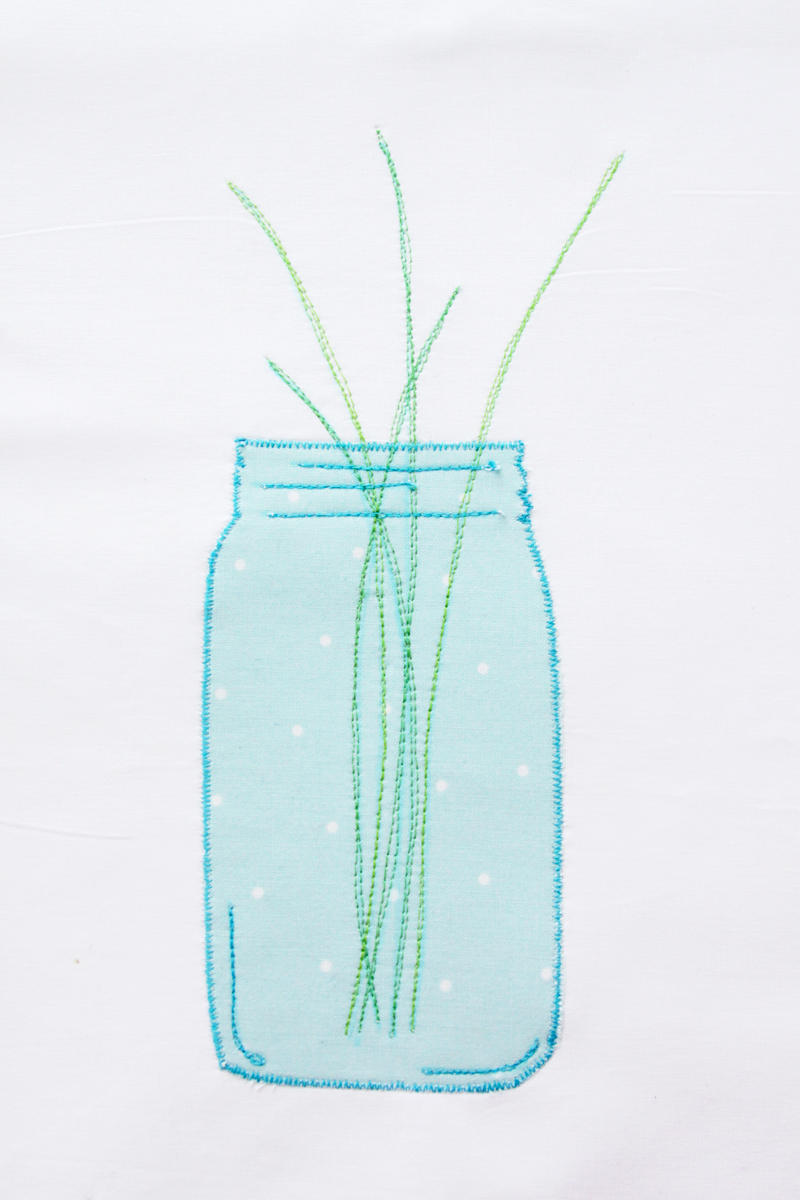
Draw your mason jar lines in place with your marker. Stitch over these lines with your turquoise thread. I stitched over all the lines 3 times. Using a small zig zag stitch, sew around the outside of the mason jar. That’s all there is to applique – just a tiny little zig zag stitch!
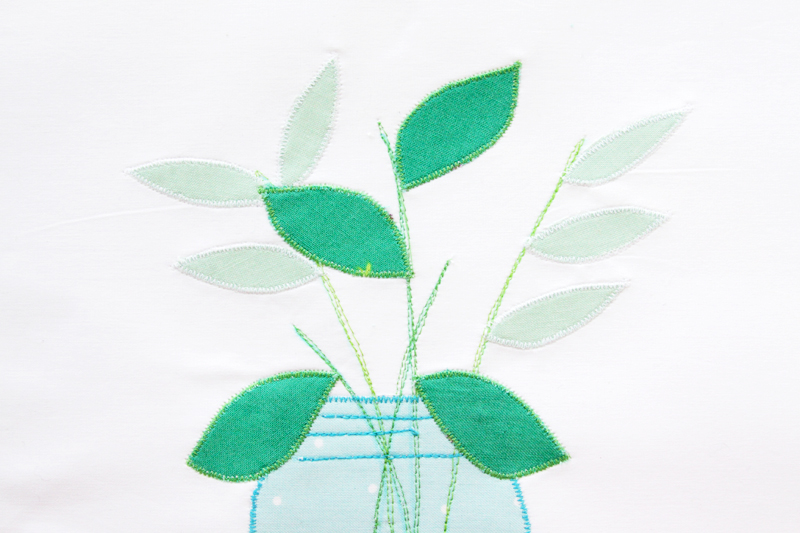
Fuse your leaves in place and stitch around them with a zig zag stitch, using white thread. Sew all the light green leaves first, then the dark green, since those overlap just a bit.
Sew your flowers in place with the zig zag stitch. For the peach flowers, sew the larger shape on first, then the smaller shape over it.
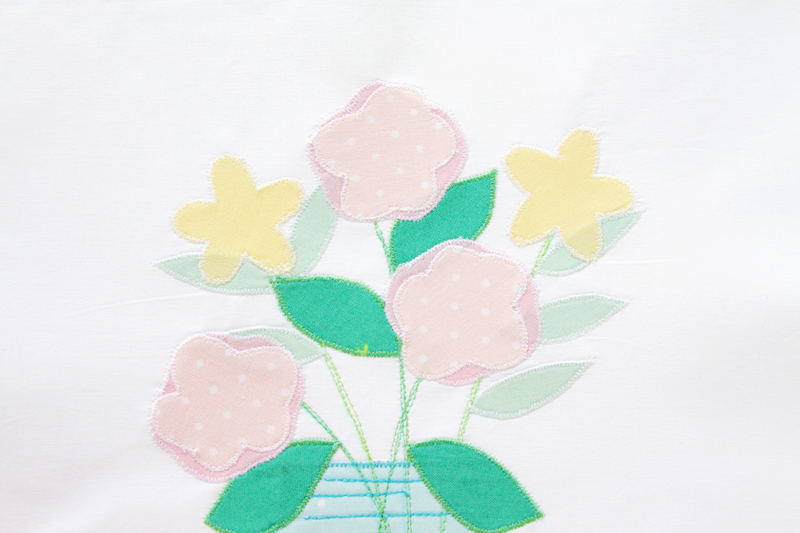
The applique part is all done – so easy right?? Now onto the embroidery. Draw your embroidery details onto the flowers with your disappearing marking pen.
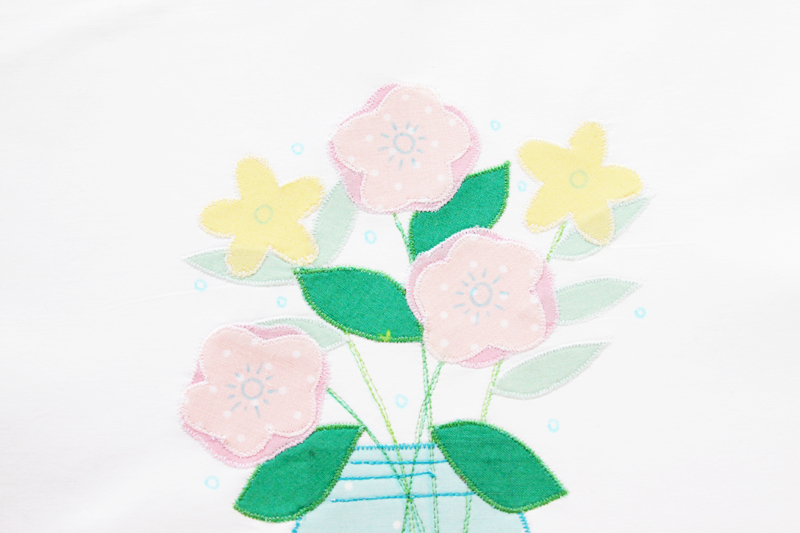
You can do any sort of embroidery, but here is what I did: For the white centers on the yellow flowers I used a satin stitch. For the black centers, I used a back stitch to stitch a spiral in the center of the flowers. I used a orangey color to stitch straight lines out from the black centers. The red dots are groups of three French Knots. If you need help with the embroidery stitches, click on my Embroidery Tips page!
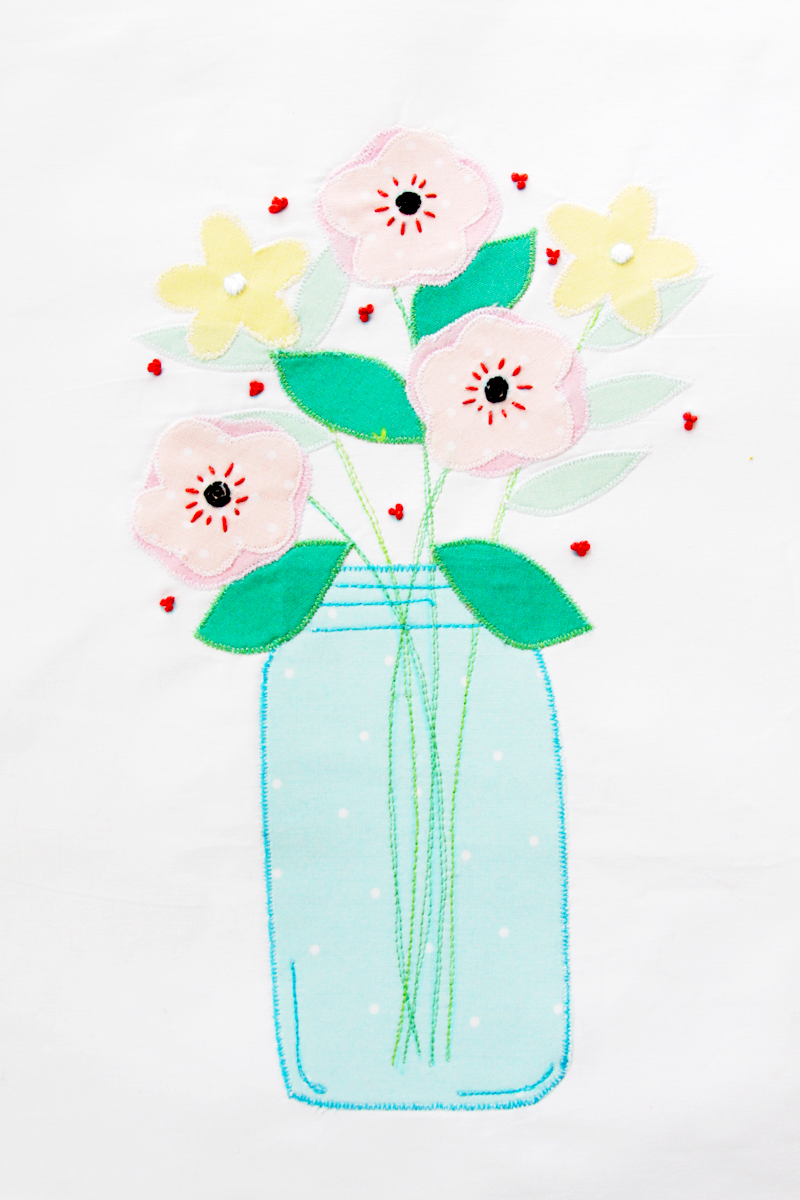
To finish up the pillow top, cut two strips of fabric 2″ x 14″. Sew each stripe to the sides of the white fabric.
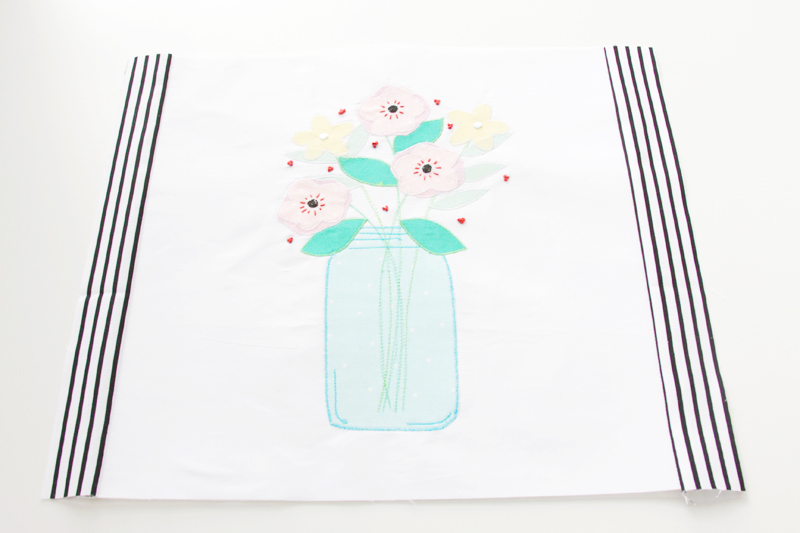
Cut two strips of floral fabric 2″ x 14″ and sew these to the fabric strips you just sewed on.
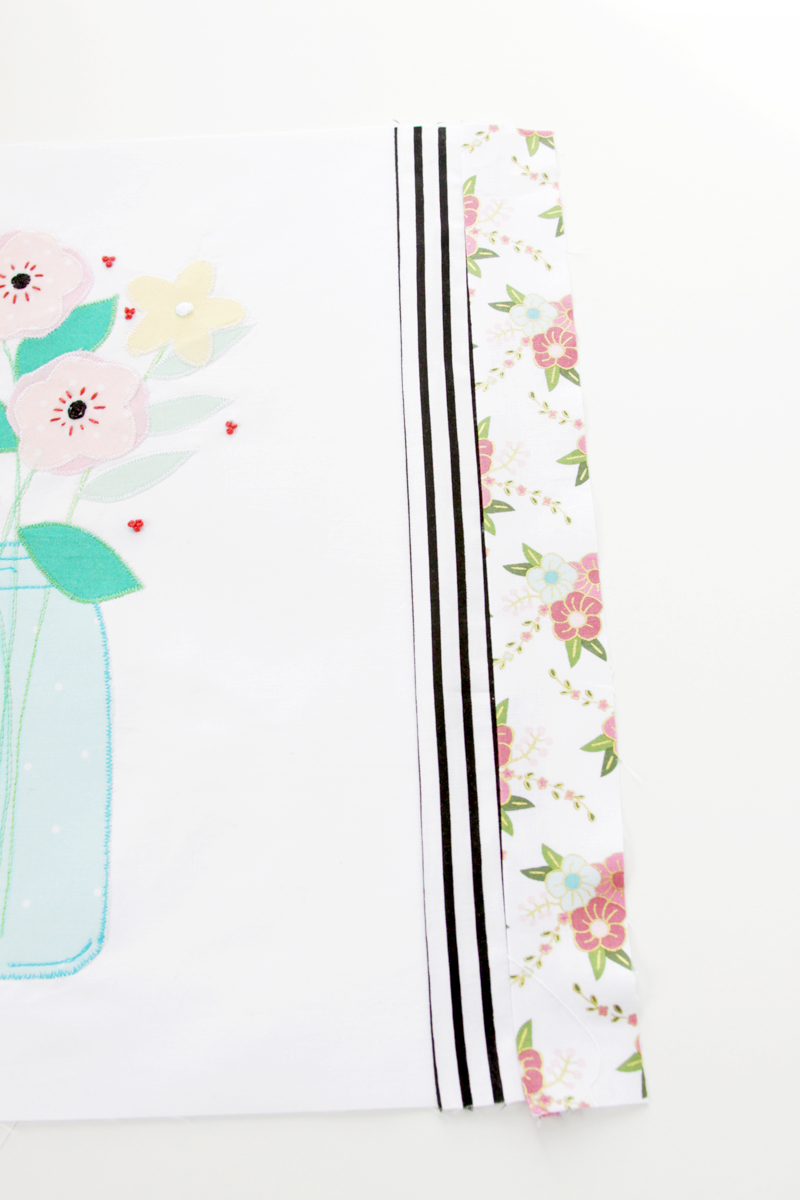
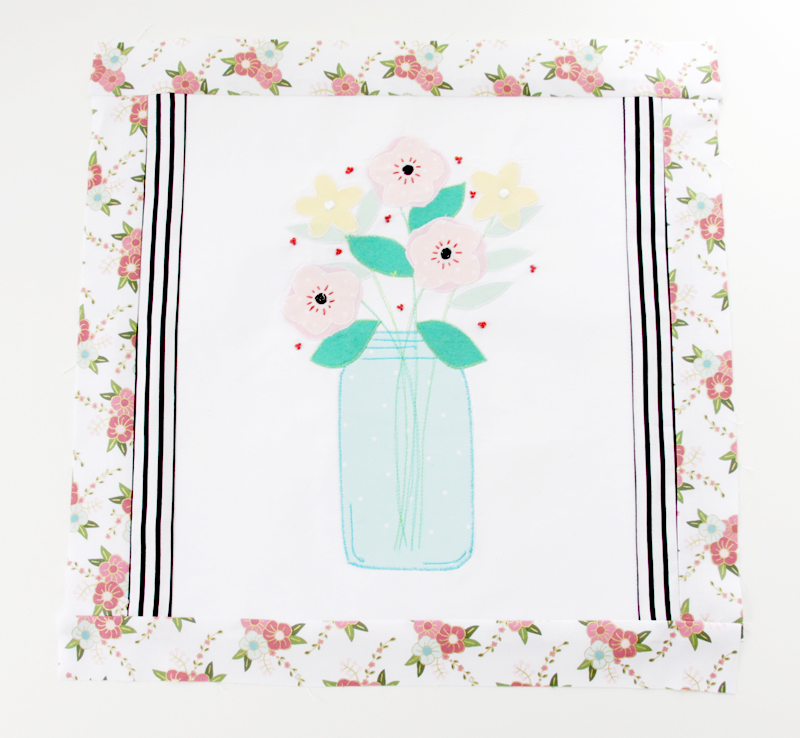
Cut two strips of floral fabric 2″ x 16″ and sew those to the top and bottom of the pillow cover.
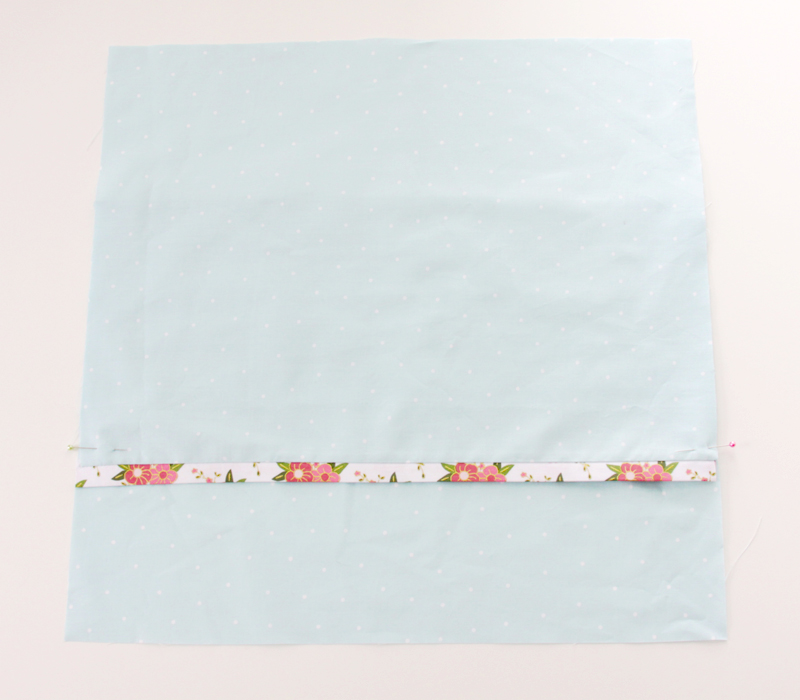
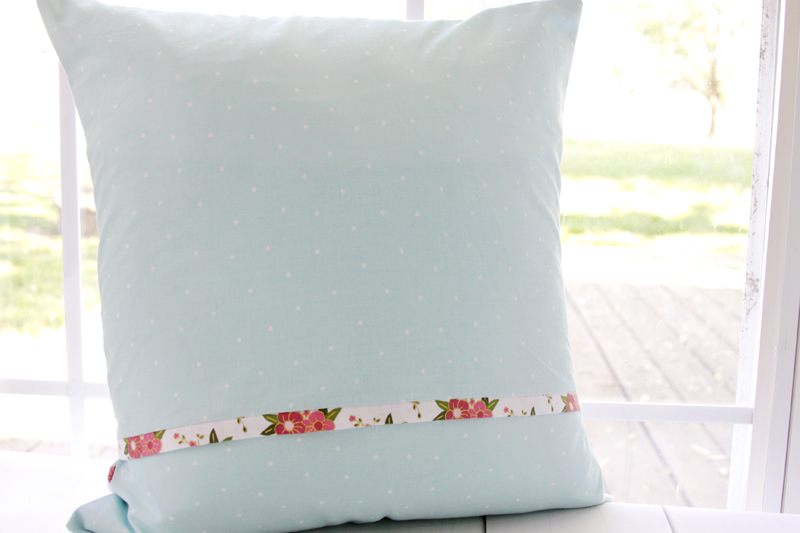
To make the back, cut a piece of fabric 16″ x 10″ and one 16″ x 12″. On the 16″ x 10″ piece, hem the top edge by turning under the fabric twice and sewing. Cut a length of floral fabric 1 1/2″ x 16″. Fold this piece in half long ways and line up the raw edges with the bottom edge of the 16″ x 12″ piece. Sew in place with a 1/4″ seam allowance. Press the printed fabric down.
Lay the larger piece over the smaller back piece so that they form a 16″ square, then pin the sides in place.
Place the pillow front and back right sides together and sew around all four sides. Trim the corners off. Turn right side out and press – and that is your pillow cover!
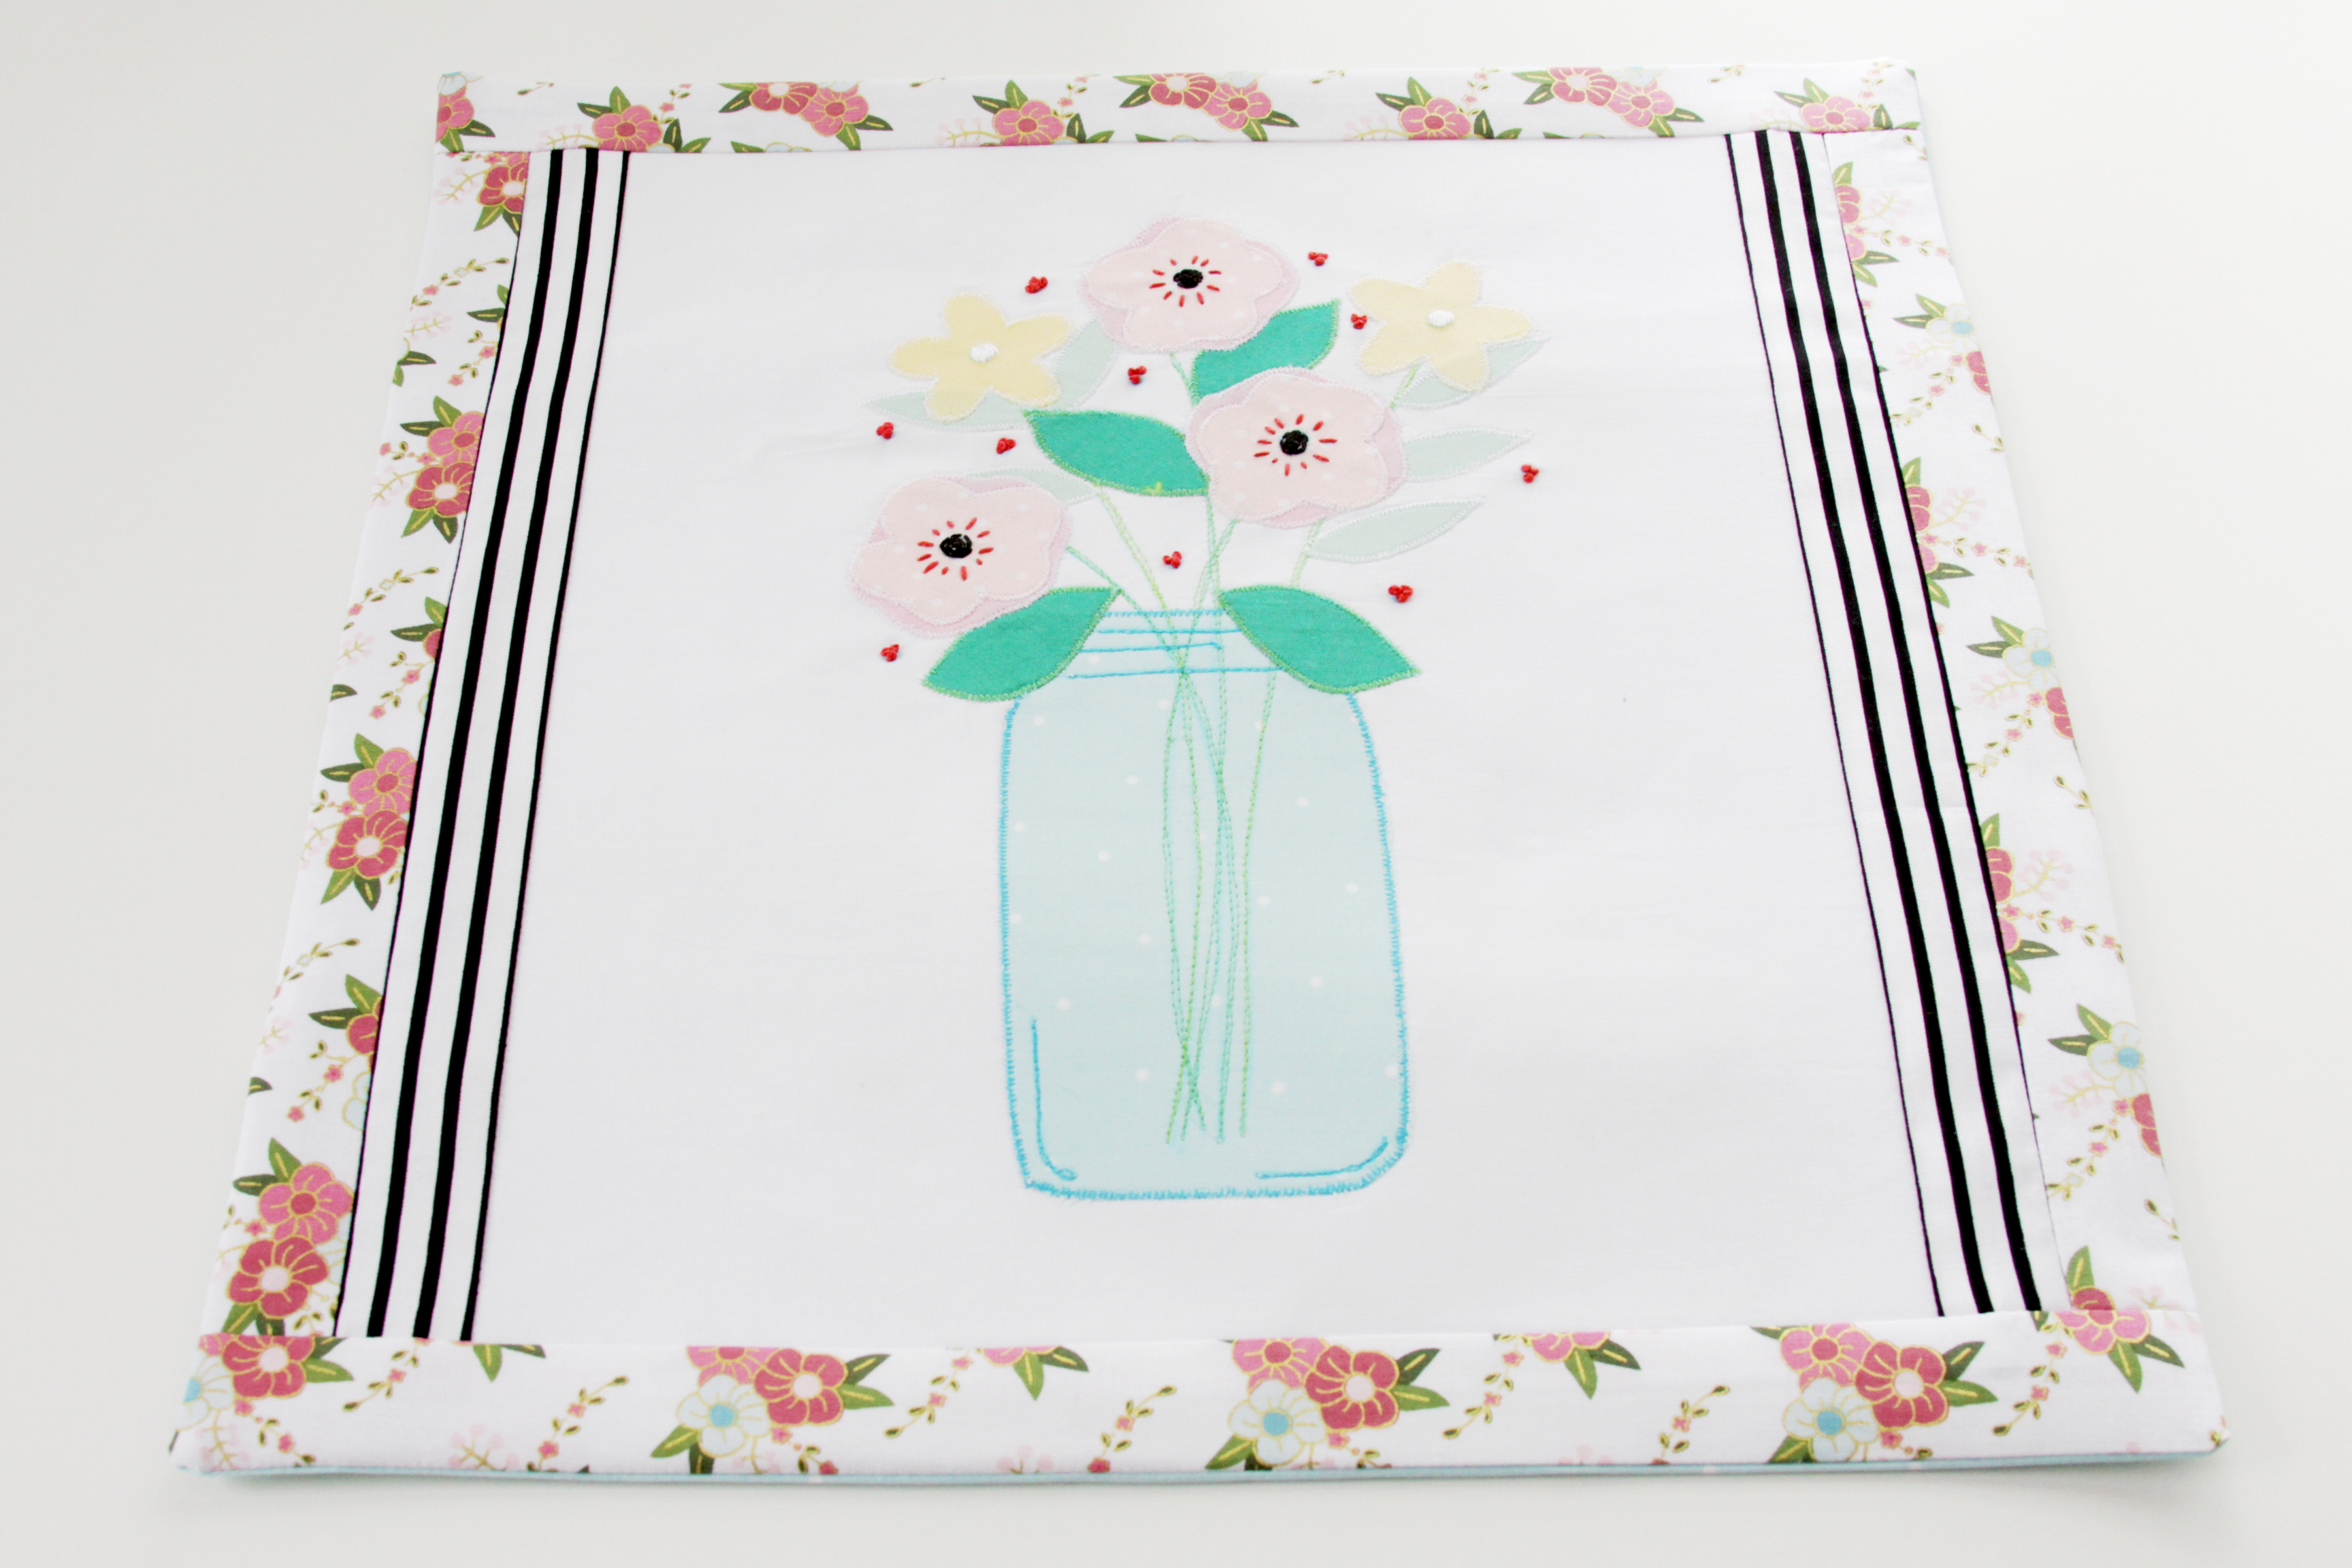
Now you can pop in your 16″ pillow form and show off your new pillow. It would make such a great housewarming gift too!
 Even the back is pretty!
I’d love to see it if you make one up!
You might also want to try
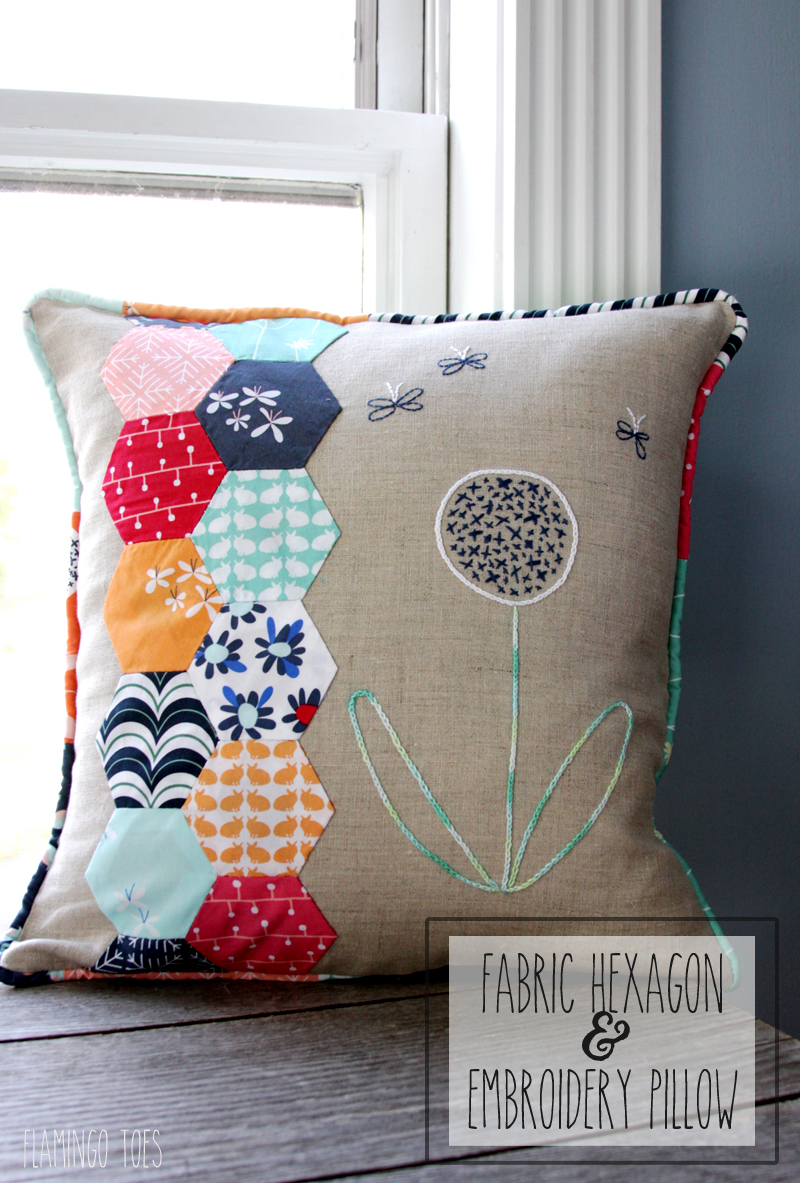
Fabric Hexagon And Embroidery Pillow
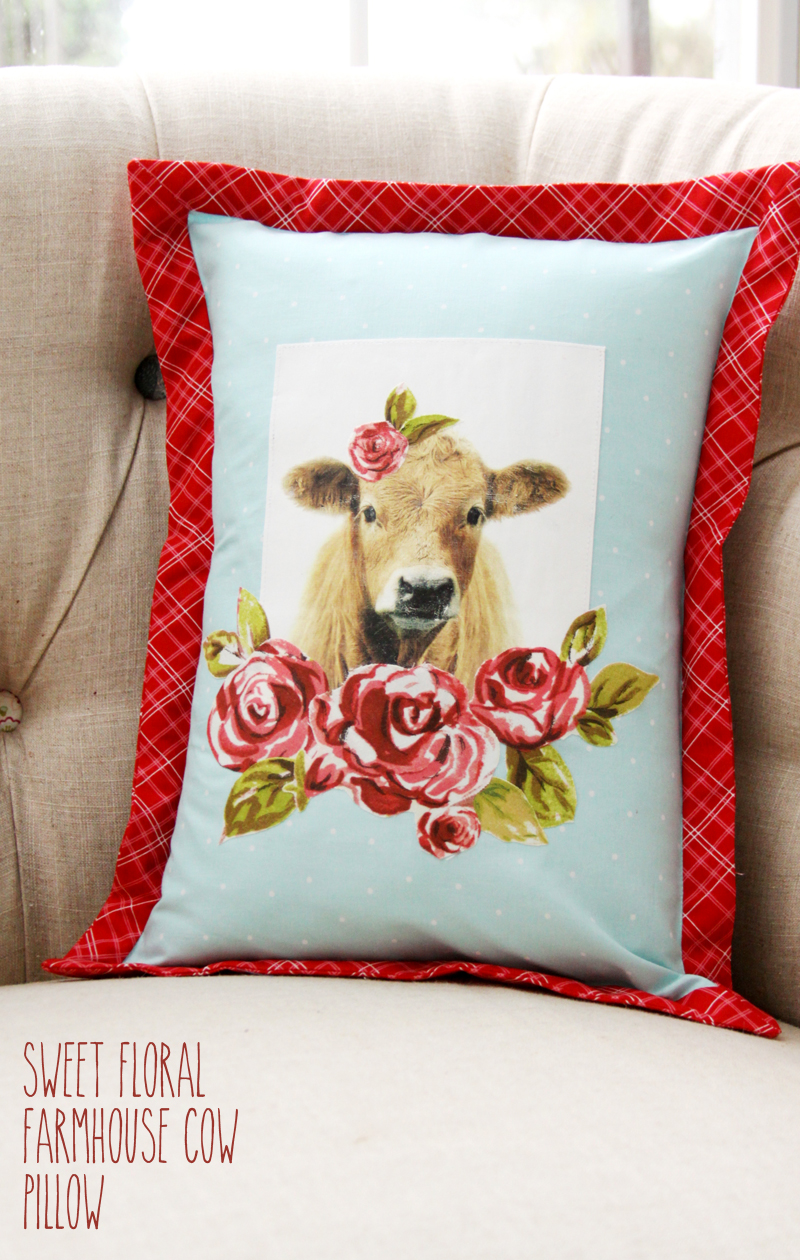
Sweet Floral Farmhouse Cow Pillow



Thank you so much for the patterns. I can’t draw to save my life! That is the most adorable pillow that I plan to make. Awesome!
Oh, I do love the polkas on the mason jars. Such cuteness!
Love your pillow cover! Flowers in mason jars always remind me of picking flowers for my Mom when we were kids. She didn’t have a lot of fancy vases but she did have lots of jars, so our flower offerings often were put in them.
I love this pillow!! I haven’t sewn for a long time but this has inspired me. Thanks for the idea!
Love love love this! Such a pretty design and I especially like all the small details – the striped side panel, the floral frame, the touches of hand embroidery – its all gorgeous! And my project for today! Thank you so much for sharing.
I absolutely love this! Is there a drawing to follow? I cannot draw. Thanks for the lovely idea!
This is an adorable pillow pattern! I do not usually have problems growing flowers and plants but I do have a long time friend who seems to have the problem you do. She has been having better luck this past year though, but this pillow will make a perfect present for her! Plus, I will make a couple for myself as well. Thank you for sharing all that you do it really is appreciated! Have a fantastic creative day!
this is just too adorable, thanks or sharing on craft schooling sunday!
This is such a beautiful pillow! One of the most unique DIY’s I’ve ever seen :)
Blessings,
Edye | http://gracefulcoffee.wordpress.com
This pillow is beautiful. I love it! Thanks for sharing with us at Family Joy Blog Link Up Party this week! Have a lovely week!
So cute!
Love this pillow and a great tutorial.
Thanks for sharing at Happiness Is Homemade,
Bev
Wow, that is such a cute pillow. Great tutorial even though I don’t really sew. I’m visiting today from the #shinebloghop.
You always create the most adorable things. I love the way this pillow turned out…you’re so talented! Thanks for sharing with us at Share The Wealth Sunday. I hope we see you again tonight!
Aw this project turned out so well and so pretty! What a beautiful gift that would make, too. Congrats on your feature at #HappinessIsHomemade this week! :)
Congratulations Bev for being picvked as a feature at the Happiness is Homemade Link Party # 132. Beautiful soft flower and mason jar colors and your directions that make a lovely pillow. Drop by to see my post #236, Why We Need to Eat Orange Fruits and Veggies Daily. If you like what you see, please sign up by email. Lead a colorful life! Nancy Andres @ http://www.colors4health.com
What size seam allowance do you use? The measurements don’t seam to be adding up that well.
I love this pastel prettiness.
Amalia
xo
How cute! The pillow makes me smile it’s so adorable.
This pillow is really beautiful. It looks fresh and new but has a time honoured vintage design feel. Beautiful work. Pinning.
I love anything with a mason jar on it. Your pillow is very pretty. I need to learn how to sew. Thanks for sharing #HomeMattersParty
How cute for spring! Thanks for sharing at Home Sweet Home!
Wow…this is absolutely adorable. Great job. Thanks for sharing it with us at the Waste Not Wednesday link party. Can’t wait to see what you’re up to this week.
This looks so cute and perfect. Thanks for sharing with us :)
Khadija
https://creativekhadija.com/