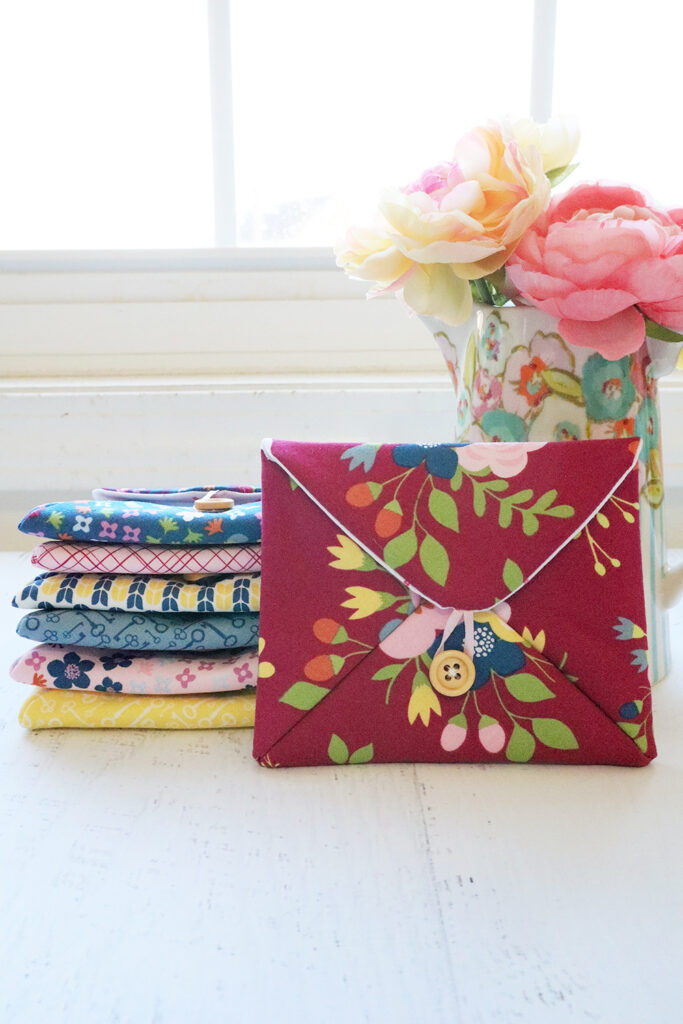
Several years ago I created a sweet little fabric envelope pattern and I decided to bring them back and update these pretty little Love Note Fabric Envelopes!
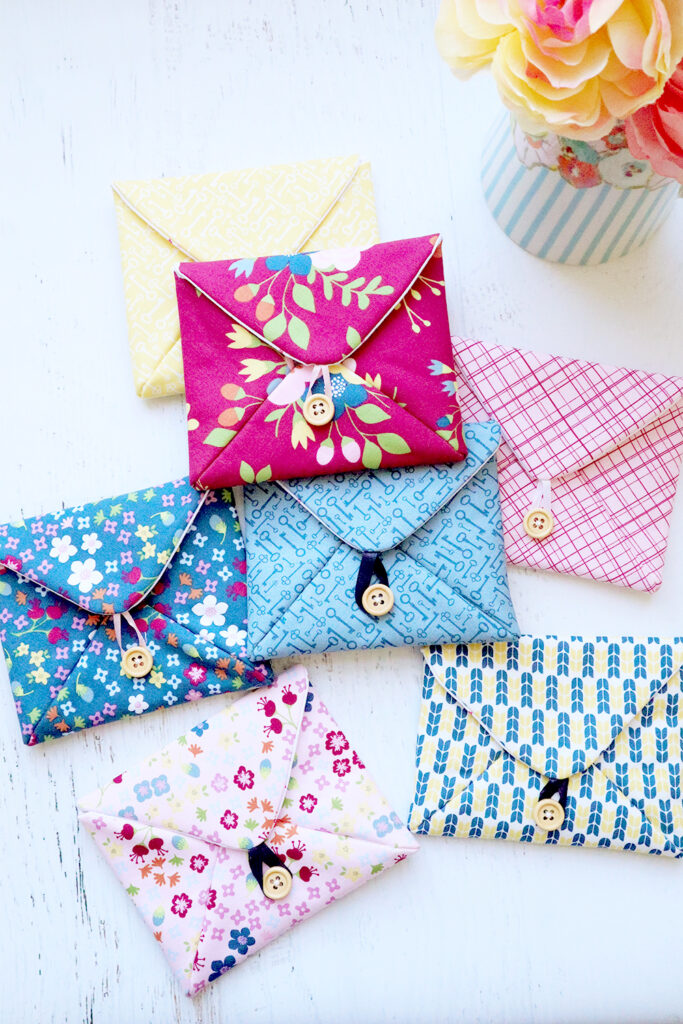
These envelopes are sooo fast and fun to sew! When I originally made them I sewed up 14 to be a sort of Valentine’s Day Bunting. That’s a fun idea but you could also use them as a way to send a friend a sweet note or gift card too!

For this set of envelopes I used the darling new fabric collection, Bloom and Grow from Simple Simon and Co and Riley Blake Designs. It’s a gorgeous collection with florals and pretty text and geometric prints. It worked out great for these envelopes.
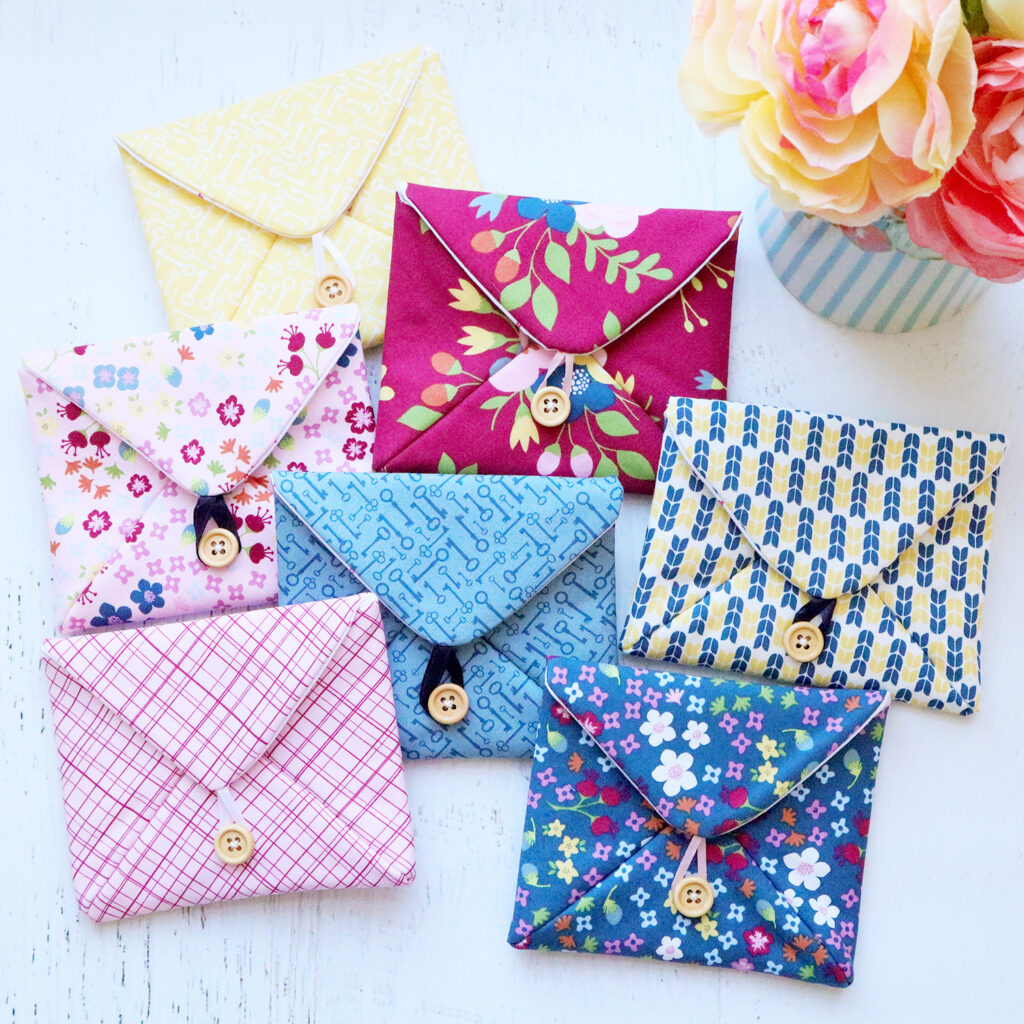
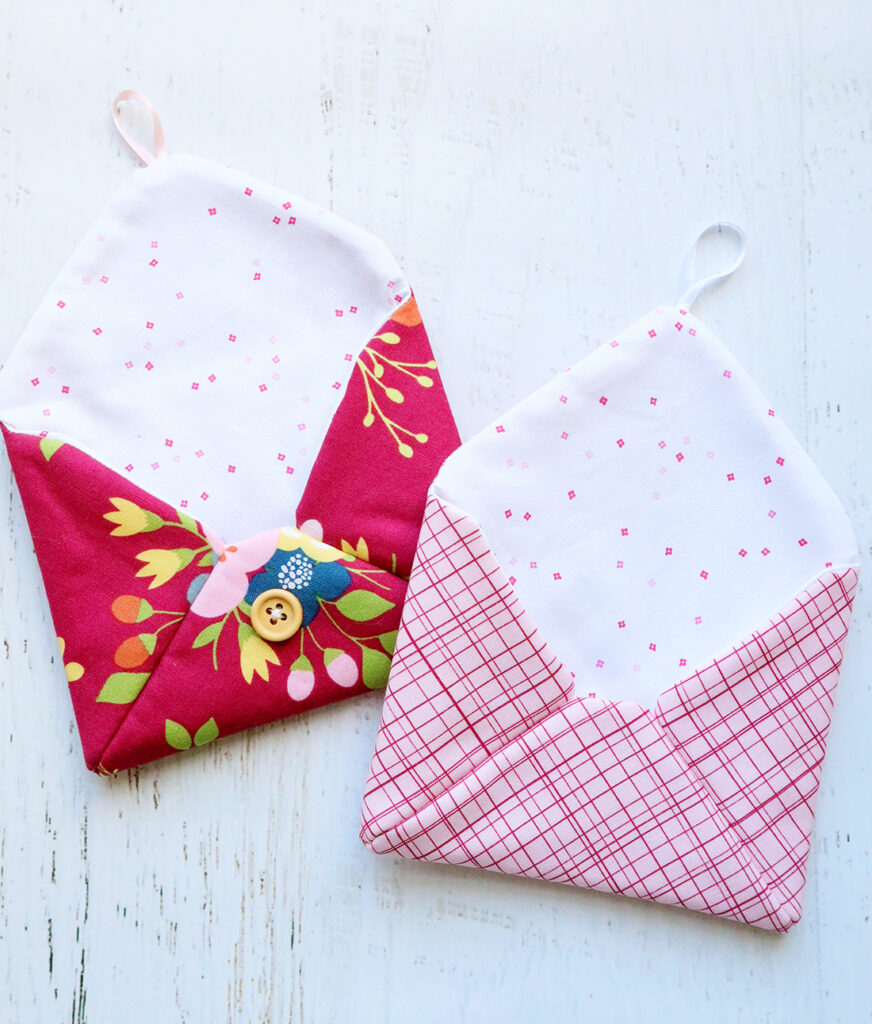
I used Blossom in All the Pinks as my lining – it went great with all the prints so I was able to use it for all the envelopes!
Love Note Fabric Envelopes
Materials: (Per Envelope)
- 10″ x 10″ square of main fabric
- 10″ x 10″ square of lining fabric
- 10″ x 10″ square of fusible fleece or batting
- 3″ length of ribbon, jute or other closing item
- Button
Click here for the Love Note Fabric Envelope Pattern
Instructions:
- Place the pattern on the right side of the main fabric and cut out. If you are using directional fabric, practice folding the envelope on the fabric so you can be sure the fabric will be aligned the correct way when you put fold the flap down.
- Place the pattern on the wrong side of the lining fabric and cut out.
- Place the cut piece of the main fabric on the fusible fleece, so the wrong side of the print is facing the fusible side of the fleece. Cut the piece out of fusible fleece, using the fabric piece as a pattern.
- Iron the fusible fleece to the wrong side of the main fabric.
- Fold the ribbon in half and place the ends lined up with the center of the curve that says “Top” on the pattern. Pin or baste in place.
- Place the main fabric and lining fabric right sides together, lining up the notches and curves.
- Using the pattern as a guide, sew the two pieces together where the dashed lines are on the pattern, with a 1/4″ seam allowance. Make sure that you’ve sewn over the top and ribbon to hold it in place. Clip the curves and notched areas.
- Turn the envelope right sides out, through one of the side openings. Use a stiletto or point turner (my flamingo stiletto works great for this!!) to make the curves and points nice and sharp. Press. The ribbon loop should be pointing up from the top of the envelope.
- With the main fabric facing up, fold the right corner of the bottom straight side up to the right and match it up with the side curved edge. Line up the raw edges, with the notch at the bottom of the seam and side curve and bottom corner lined up. Part of the seam will be turned under and part will be raw edges, that’s ok! Sew with a 1/4″ seam.
- Repeat with the bottom left side, matching it to the left side corner. Sew together. Press the envelope flat.
- Fold the top flap of the envelope over and mark where the button should go. (Towards the bottom of the ribbon loop.) Sew the button in place.
You can find the Video Tutorial of this project in my Facebook Group. Click here to join and watch!
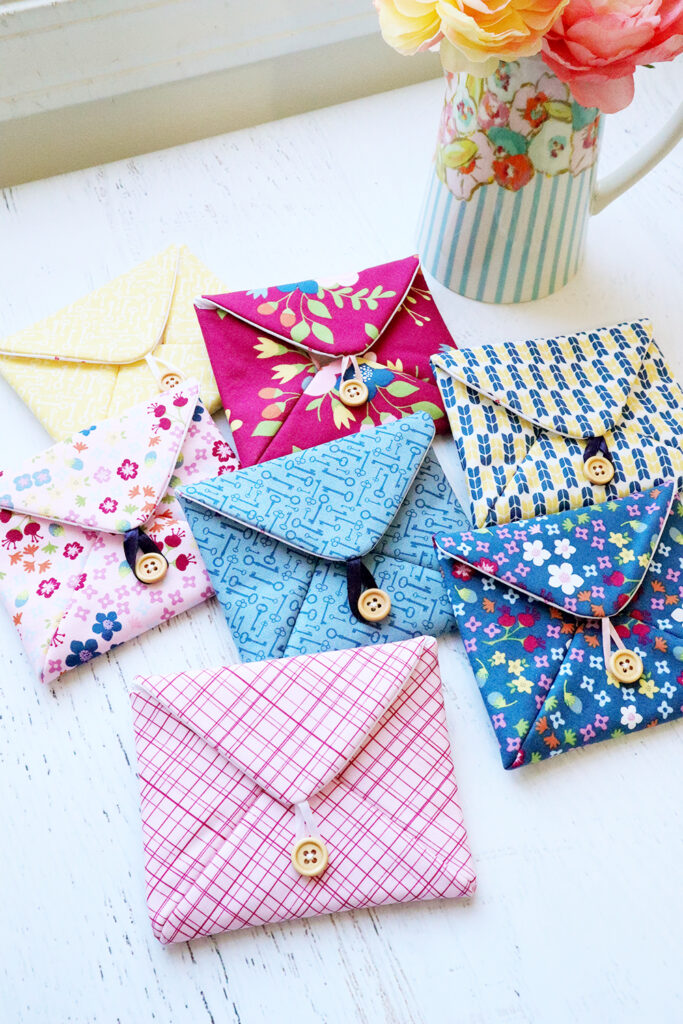
You can have a lot of fun with these if you want to change them up! They would look really cute with a design fussy cut on the envelope front or flap. Or you could add a little embroidery or personalization. If you’re making them for kids, cute buttons or prints would make them really fun. There are so many options!
I would love to hear what you would do with them!


Thank you for sharing! Love all your ideas and talents!!
I tried to join group several times…no luck. I love your work and website but don’t understand the pattern for cute envelope. I have one half finished and now am stuck…help, please!
Thanks for the freebie. I look forward to making a few!
These would make a nice little girls purse with a cord strap. Love the gift card idea for any birthday, Christmas, etc. Thanks for sharing. Love all your stuff.
These sure are cute! I am printing this out in the hopes I have time to make a few soon!
Thanks for resharing this fun pattern/tutorial from a few years ago!
I printed out the pattern and started on the project. Got to the part where the flaps are folded over and sewn. Can’t figure out how to do that unless it is hand-sewn. Otherwise, won’t fit under foot on sewing machine without going through to back. Would love to see the demo that you mentioned, but I missed the live demo. Is a video available?`
I’m stuck at the same place. Can’t figure it out. She said there’s a video on her Facebook group, I’m waiting to be accepted. Here it is: https://www.facebook.com/groups/FlamingoToesStitchandShare/discussion/preview
Good luck!
I’m with Gerri…..how do you fold & sew down the flaps? I can’t play videos on my computer…is there a way you could post a few still photos on this site? Please & Thank You…Tess D.
Those are sweet!
Love this idea! I will use and place in with the chocolate roses for Valentine’s Day!!
Thank you so much for sharing this lovely little envelope pattern. I can see it being very useful.
Rita
These are beautiful I will be making quite a few of these to send to friends and family, just to say thinking of you.
Thanks for this cute idea. As soon as I saw I was struck with the thought that with a little tab to hang on a lanyard. A senior high rise I recently visited showed me that the seniors were carrying keys on a lanyard but all their little cards and licenses were in pockets. Some had fallen out and were in danger of being misplaced. I will be making these envelopes and donating for the seniors to hang on the lanyards.
Peg
What a wonderfully thoughtful idea. I hope it’s a hit!
My Mom used to make similar envelopes. She would sew on he the back of her quilts in the corner. Inside she would put pieces of fabric used in the quilt in case repairs needed to be made. She was use a fabric pen to write a message on the inside of the flap.
Thank you Beverly This is such a sweet pattern. I hope to try and make a few for my grand girls
(good grief I am getting old and crusty, I just tried to post my comment in the “website” section and pressed post comment and …. )
I have been looking for a good Valentine’s Day project to do with a 9-year-old girl that ‘m mentoring; this is perfect. She loves to sew and I’m encouraging her in her new interests of hand- and machine sewing. Thank you for this delightful project. So sweet, and perfect for my plans with her (and myself, of course!). lol
These are so cute Beverly Thank You so much. Barb ♥️
What is the finished size on these?
Fantastic little makes. I will enjoy using these especially as they are reusable. Thanks