So. You may have noticed I like jewelry. I’ve shocked you. I know.
I also like to travel. And of course – I have to take jewelry with me. Going on a trip with no jewelry would be like walking around with no shoes. Just not an option.
I haven’t been able to find a bag I really liked to store my things in for trips – until now!
This cute little Travel Jewelry Bag is just perfect for stowing all my earrings and rings and bracelets – and a few of the smaller necklaces too!
Plus – I think it’s pretty cute. :)
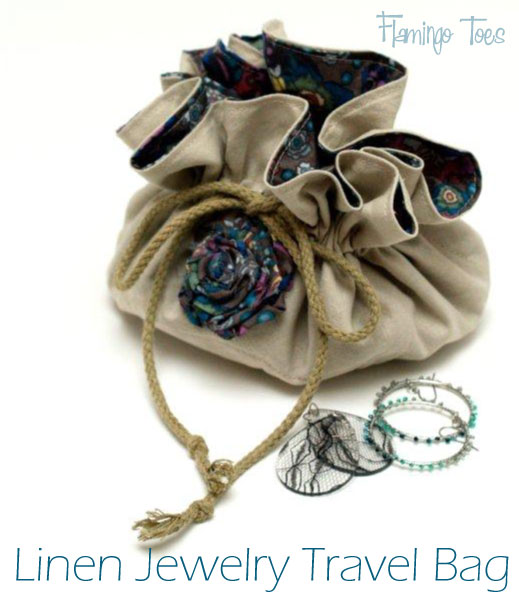
This is a pretty quick tutorial! It’s really fun to put together too!
Here’s what you’ll need to make one:
1/2 yard for outside fabric
1/2 yard for inside fabric
7″ circle of fusible interfacing
Cording or Ribbon for Tie
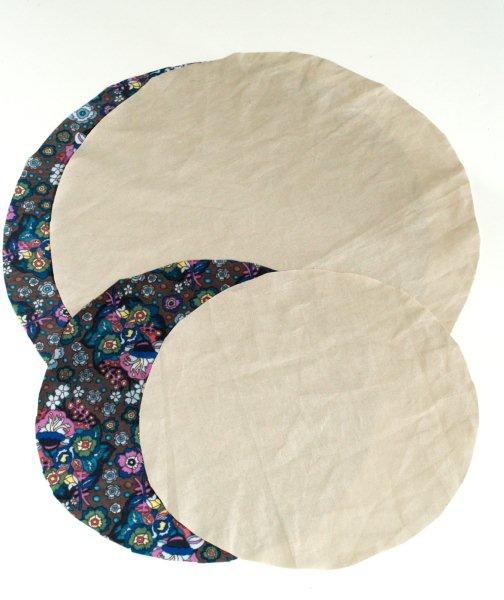
Begin by cutting out your circles. Out of each fabric cut 1 – 18″ circle and 1 – 15″ circle.
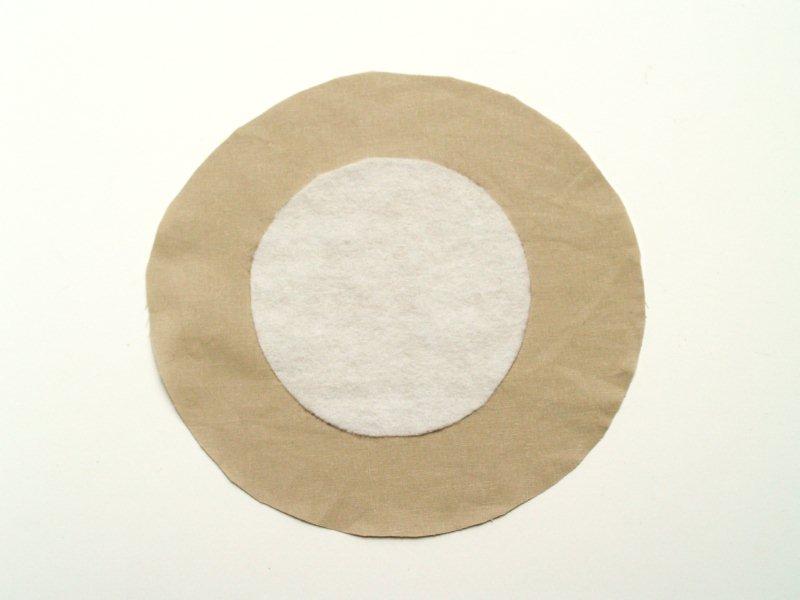
On the wrong side of fabric of the small outer fabric circle, iron the circle of fusible interfacing in the center.
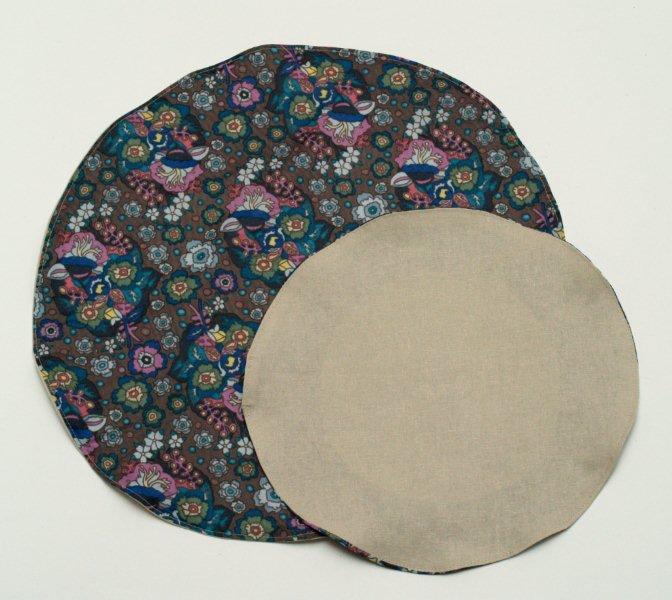
Place the small circles right side together and sew around the edge with a 1/2″ seam allowance. Leave an opening for turning, clip the seam allowance all the way around and turn right side out.
Press. Repeat for the large circle.
Topstitch around the outside just inside the seam, making sure the openings are sewn closed.
On your large circle, sew a circle 1 3/4″ from the edge, then a second circle 2 1/4″ from the edge. This will be your casing.
(If you are using wide or really thin ribbon, you can adjust this.
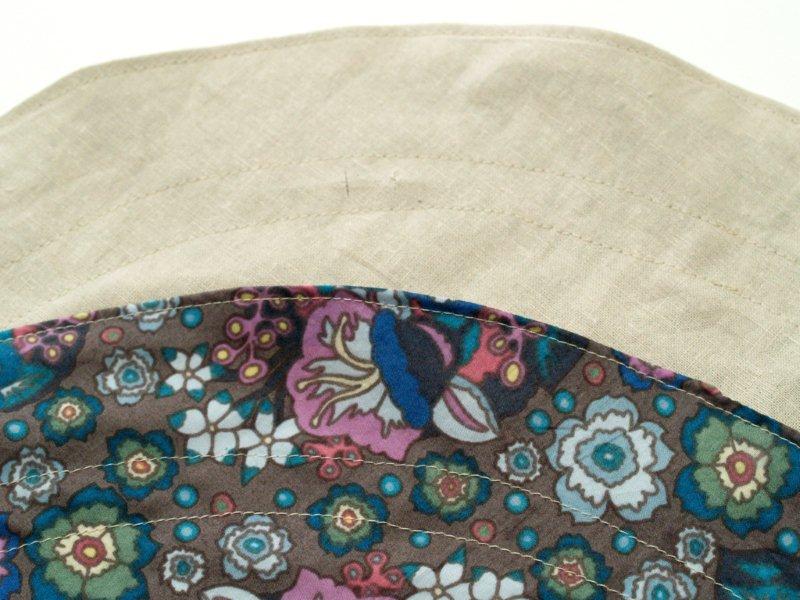
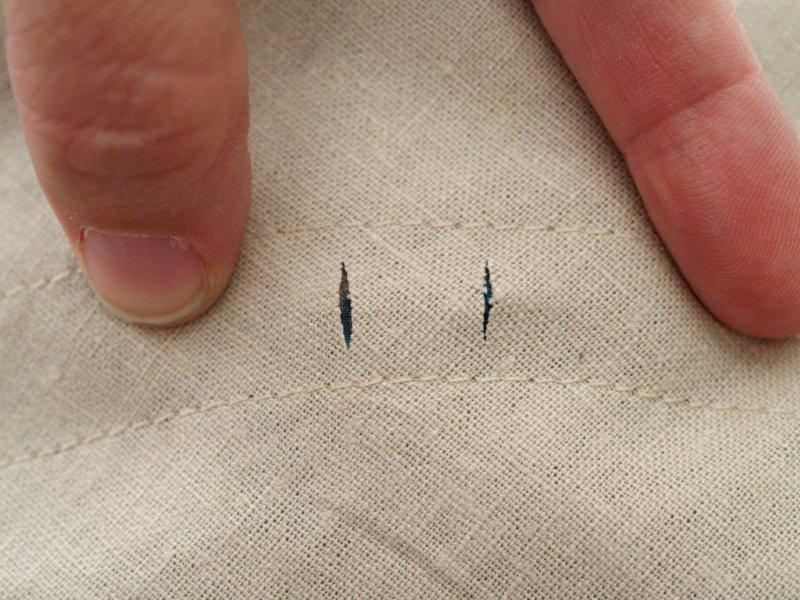
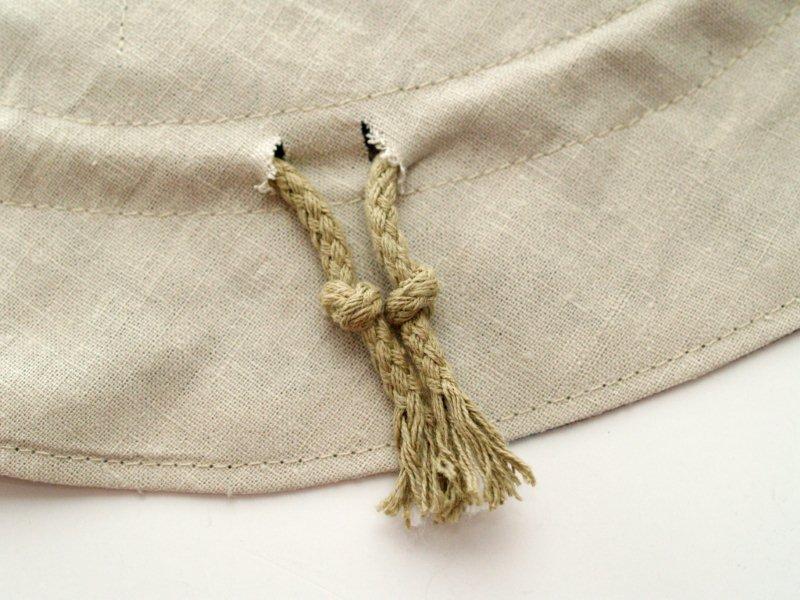
Pull the outer fabric away from the lining inside the casing. Make two small slits in the outer fabric only.
Treat these with Fray Check.
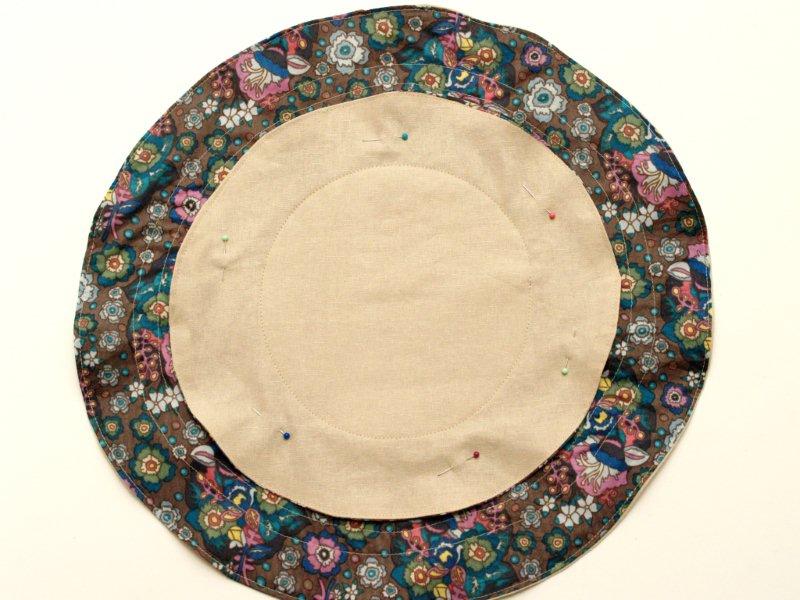
Place your small circle, outer fabric up, on top of the inside fabric of the large circle.
On your small fabric circle, sew a circle just over the edge of the fabric batting in the center, sewing through both circles.
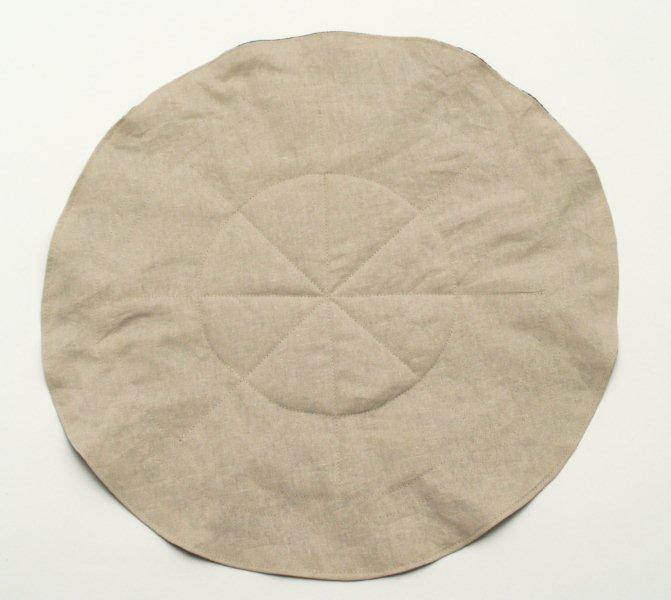
Draw 4 lines through the inside circle, like a pie. Sew down these lines. This will create the little pockets along the sides.
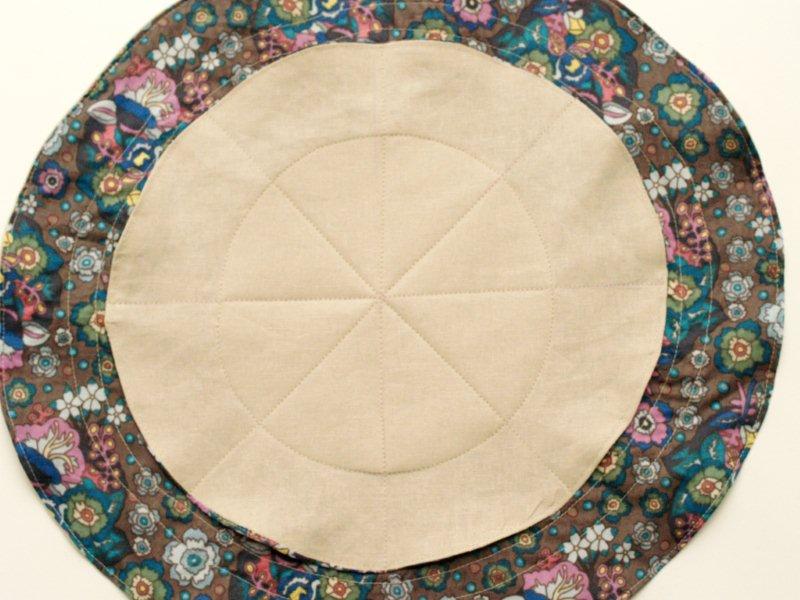
Here’s what the back looks like.
Feed your cording or ribbon through the casing, leaving just a little bit through each hole. Knot the ends.
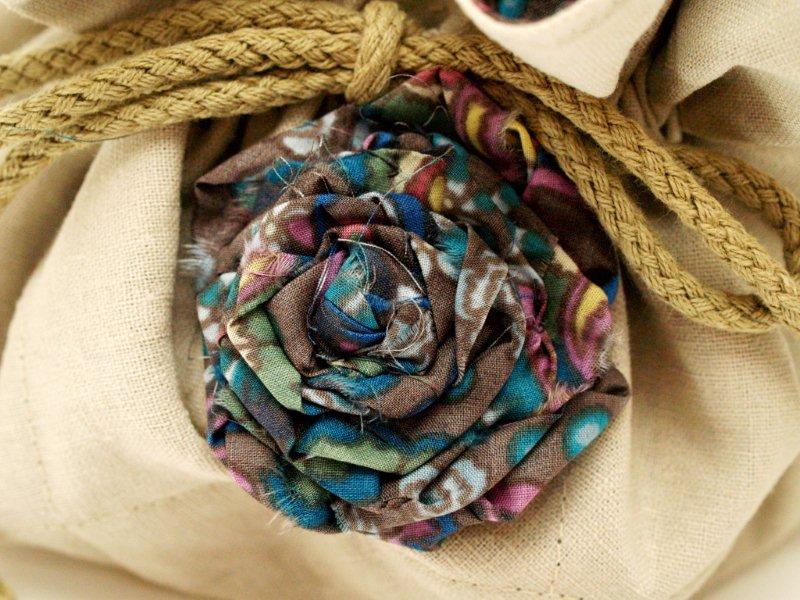
Make a little fabric rosette out of your inside fabric. Sew it to the outside just below the casing opening.
That finishes off your little bag!
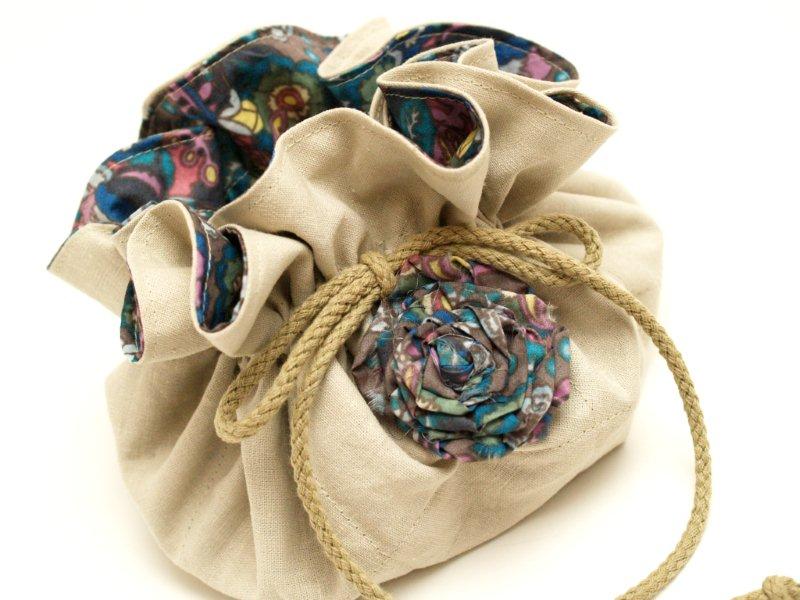
Inside there are 8 little pockets that you can stash earrings in, you can put bracelets or other larger things in the center section.
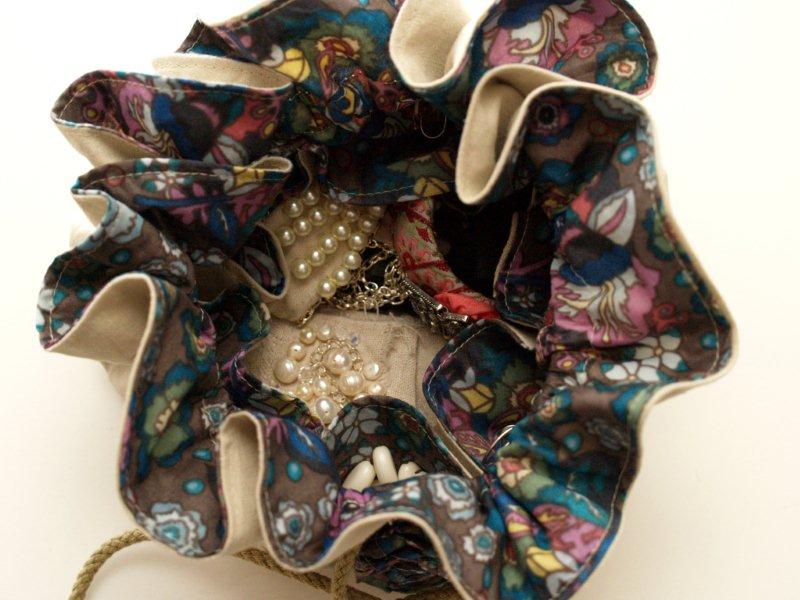
This little bag would be great for makeup too!
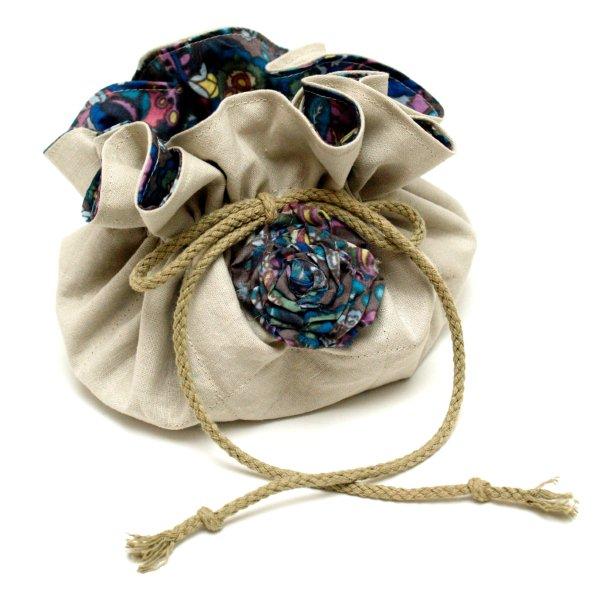
Don’t you think it would make a great gift? You could make one up – then put a cute knockoff jewelry item inside! Voila! Instant awesome gift!
(This was originally a guest post for the awesome girls over at Quilt Story)
Also – I shared a fun Gift Wrap idea over at Me Making Do yesterday for her Crafty Creative Christmas Series! I’d love for you to come see it!
I’m linking to Sunday Scoop, Today’s Creative Blog, Met Monday, Skip to my Lou, Tutorials & Tips Tuesday, Funky Junk Interiors, and the other fabulous parties on the sidebar – make sure you check them out!


Adorable, Bev! My mom made one for me and one for each of my bridesmaids at my wedding. Its a treasured possession! :)
Awesome! I love the little pockets!
Wow I love that bag! It would make a fab gift, filled with lots of fun little trinkets (and chocolate, of course, hehe!)
Oh I love this! Thank’s so much for a tutorial. This is a new christmas gift on my list to give. :)
This is spectacular! I absolutely love it :)
Love the fabric too!
Lindsay
http://www.craftyladylindsay.blogspot.com
I got one of these when I graduated from high school and I”m still using it. IT’S AWESOME!!!! :-) What a great tutorial for my mom….not for me, since sewing seems to give me injuries. Ha!
Ooh very cute! Love the inner fabric and your flower. I use something similar for my cheapy camera!
Thanks for sharing the how to :)
That is just so stinking creative! I love all the mini pockets so you can separate things out! Thanks for the tutorial!
Brilliant Bev! I quiite agree…traveling without jewelry is just not an option. And being able to carry it in something this lovely, well all the more reason to make and take more jewelry! Thanks for sharing at this week’s BFF Open House!
Beautiful, Bev…as always!
So pretty Bev!
This is fabulous. I am always getting my jewelry tangled up. What a great way to keep it straight. Thanks so much for the tutorial.
that’s a really nice bag! a treasure bag.
I linked to your tutorial on my blog – thanks for sharing!
♥, doro von Hand zu Hand
Can I print this out for my own use?
I used to have one for my quilting notions on the go. My niece remembers mine and would like one for her jewelry. She travels a lot so this would be ideal.
Thanks so much for the instructions.
Jane
Lovely pouch! I’m in the middle of making one. So I stumbled to this problem: is the measurement for the smaller circle correct? Maybe I made a mistake (very likely) but with the measurement given the smaller circle is too big. It doesn’t fit inside the casing sewn for the ribbon.