This post is a partnership with Plaid Crafts. All opinions are my own. ;)
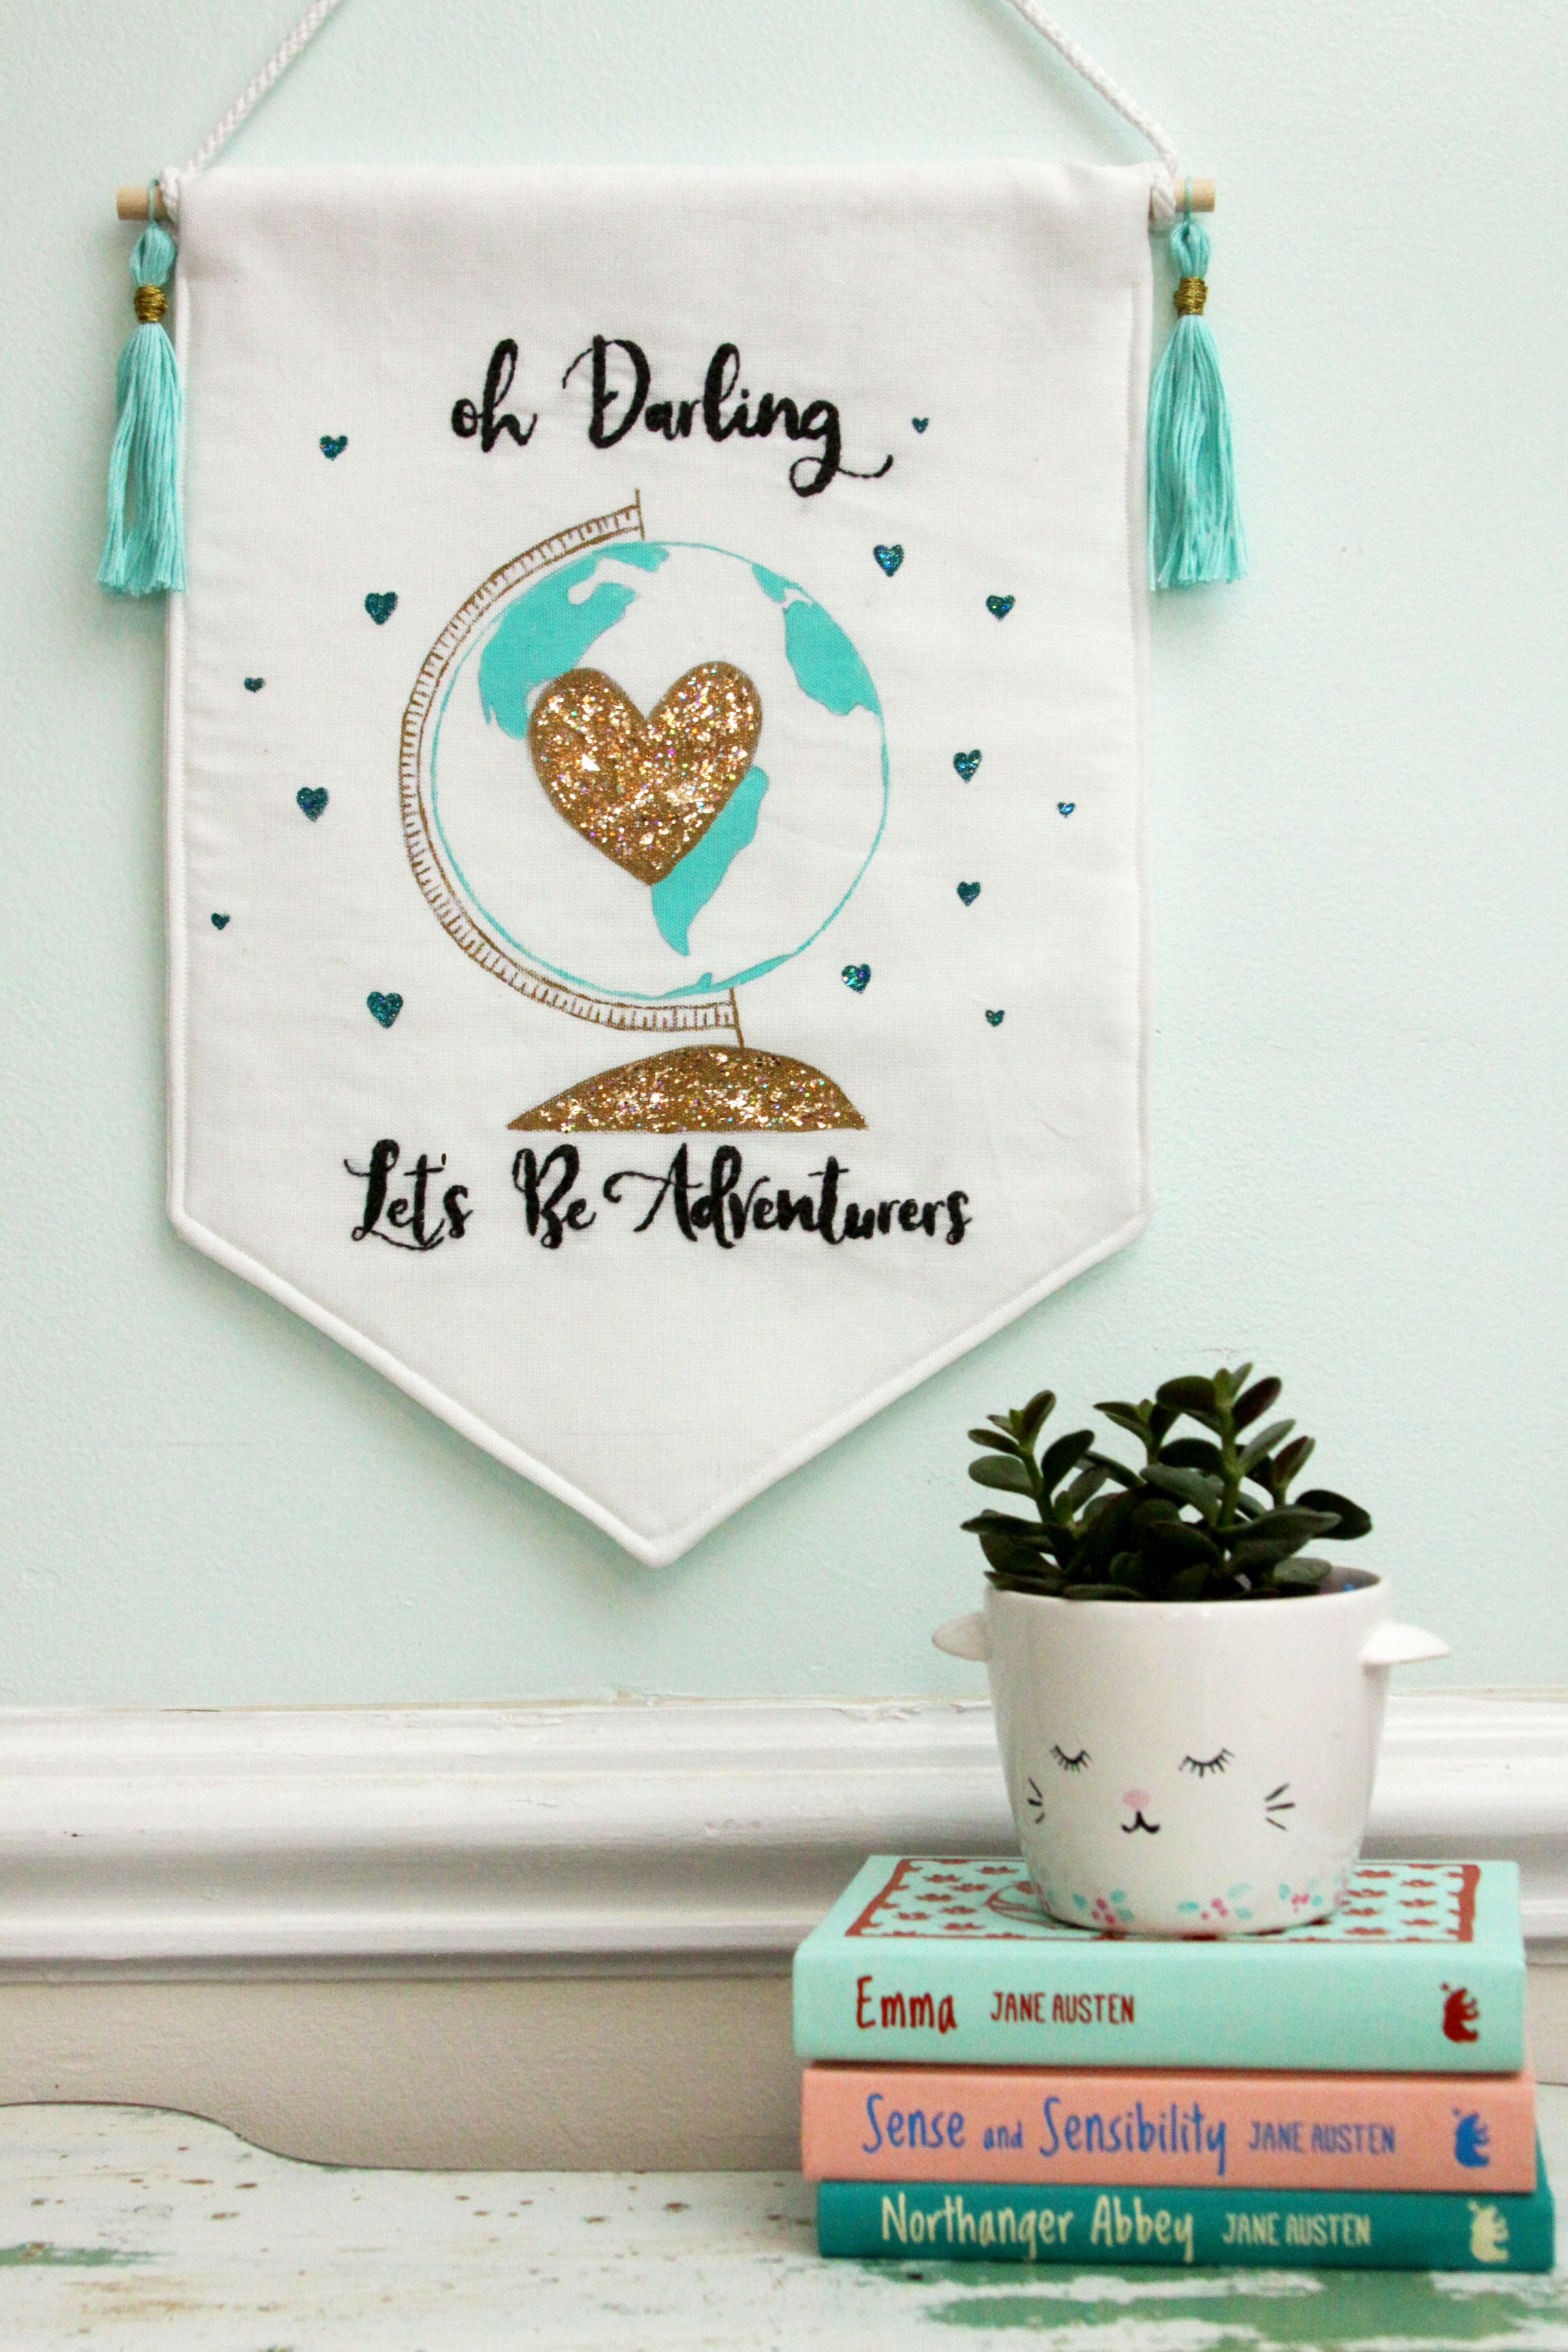
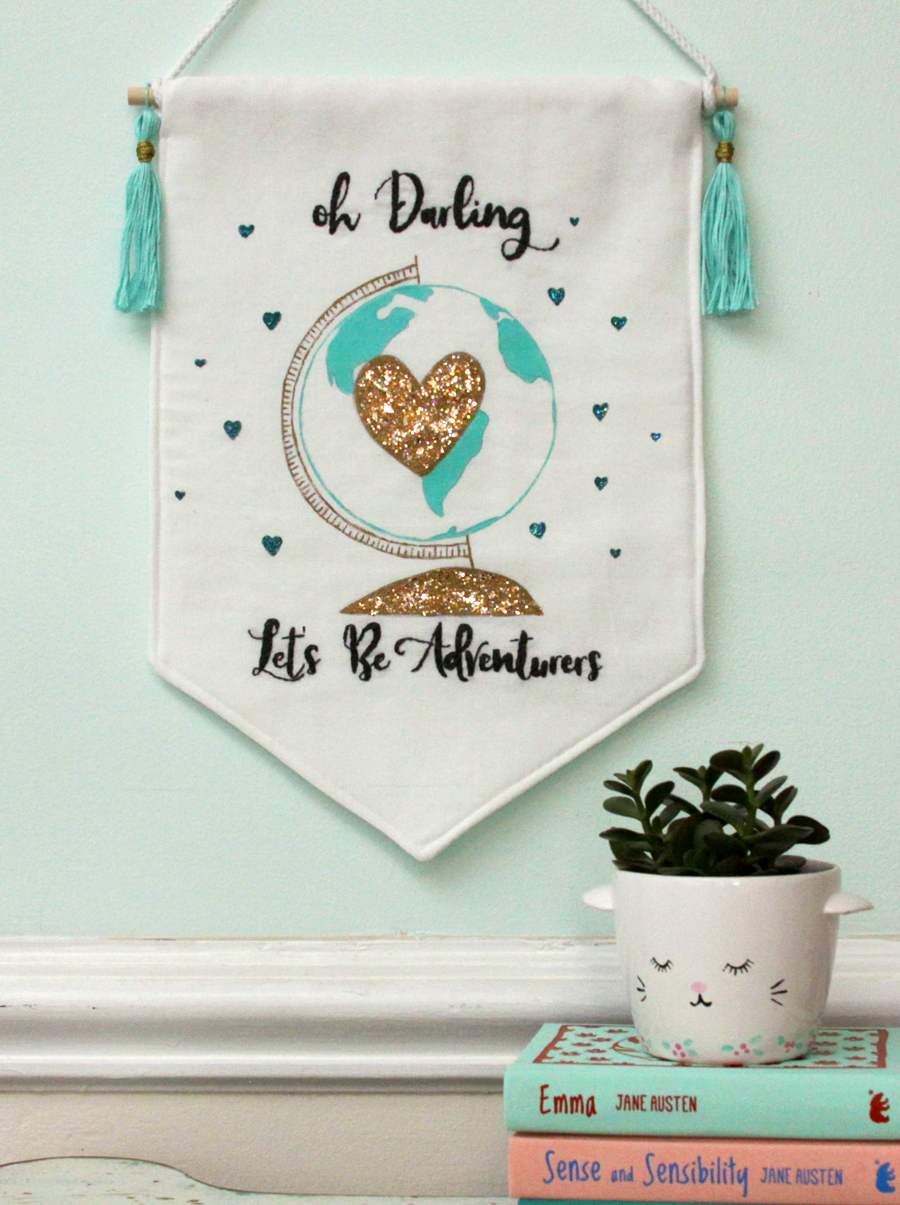
It’s no secret that I have a huge love for vintage globes! I have a fun collection but I love using them in projects too. This sweet Let’s be Adventurers Glitter Globe Banner is easy to make up and it’s such a fun way to show off your love for travel and adventure!
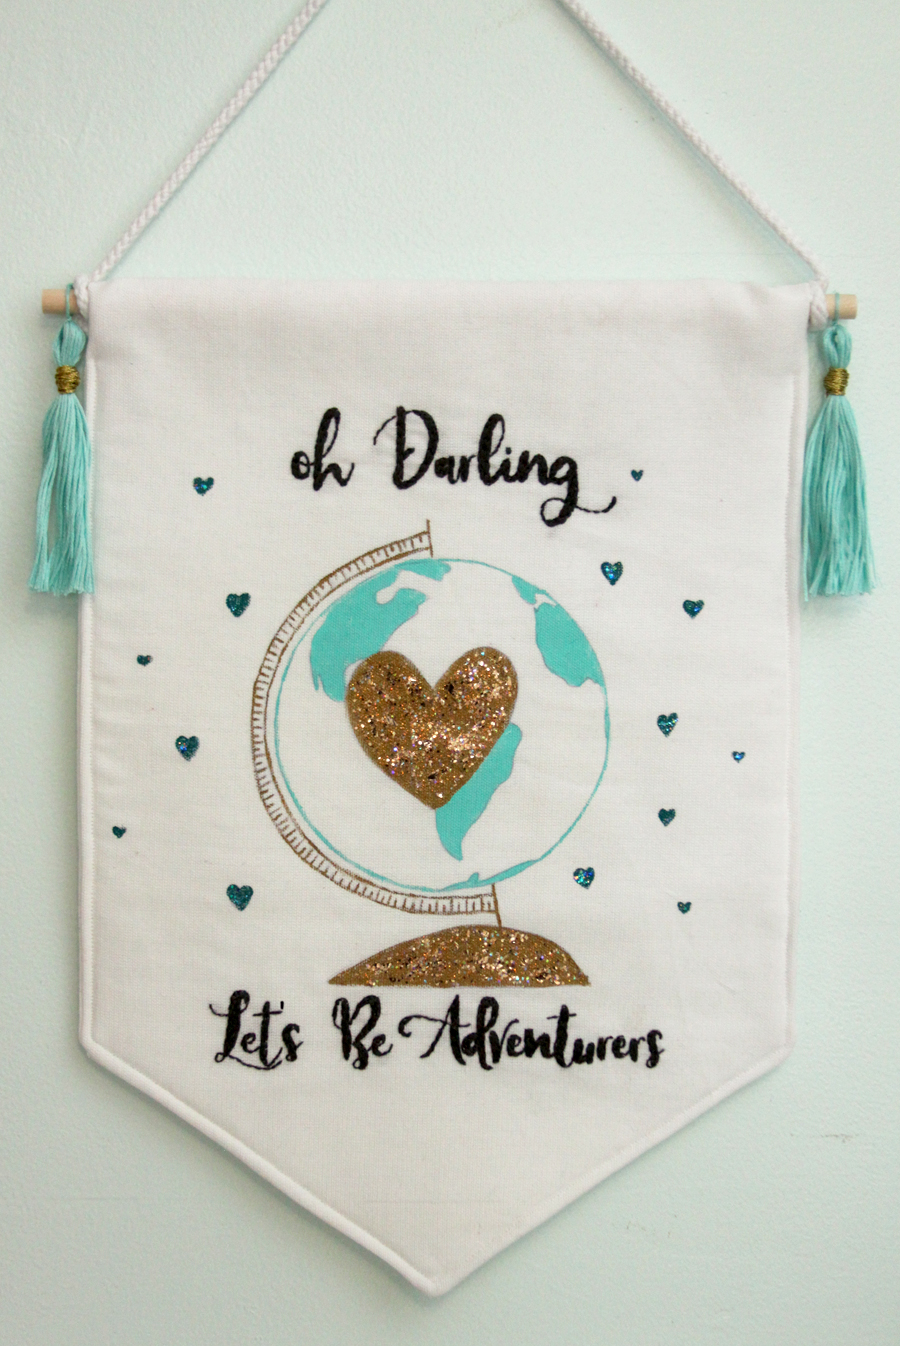
I love projects that use a combination of materials and it was so fun to combine fabric, embroidery and paint to make this fun banner!
I think my favorite part is the glitter though! I am not much for using loose glitter – it’s such a mess. But this new FolkArt® Glitterific™ Acrylic Paint makes it so easy. You just paint it on and all you have to clean up are your brushes – and you don’t end up wearing it all day!
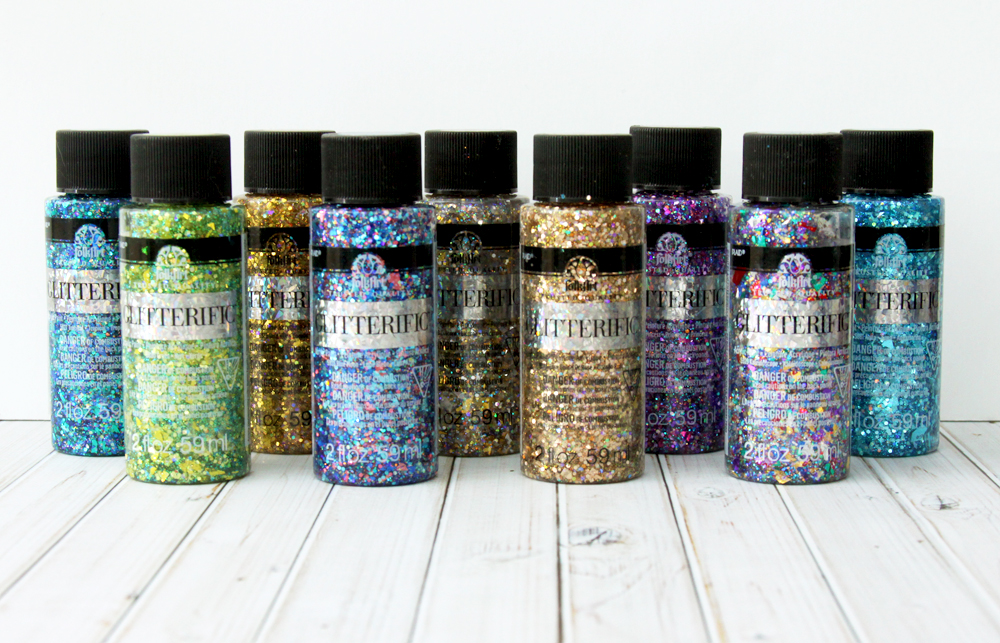
It comes in 21 pretty colors and I really like that it’s water-based so it makes clean up really easy. I also really like that it’s made up of a combination of glitter sizes so you get a nice layered look. Right now you can find 10 colors at Plaid online and there will be more colors released this Spring at all your favorite craft stores.
So let’s get started! Here’s your materials list:
- Fabric Piece – 13″ x 40″
- Glitterific – Rose Gold, Tropical
- FolkArt Brushed Metal Paint – Brushed Gold
- FolkArt Multi-Surface Paint – Patina, Teal
- Embroidery floss – 3799, two skeins of 964, 5282
- 1 yard of cording for hanging
- Paintbrushes
- Marking Pen
- 12″ x 20″ piece of fusible fleece
- Embroidery Hoop
- Let’s Be Adventurers Pattern
Begin by tracing your pattern onto the lower section of the fabric piece.
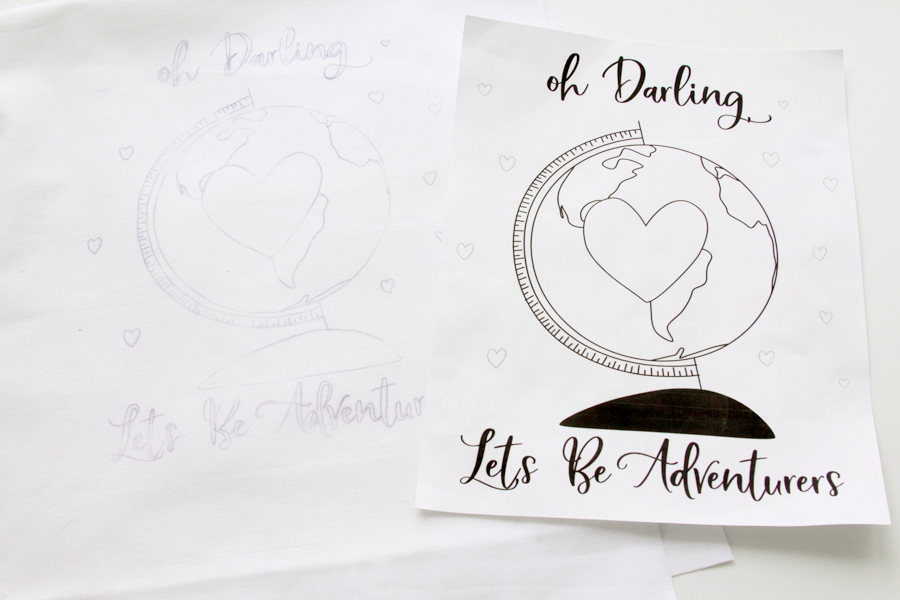
Stitch the lettering with a back stitch and fill them with back stitches.
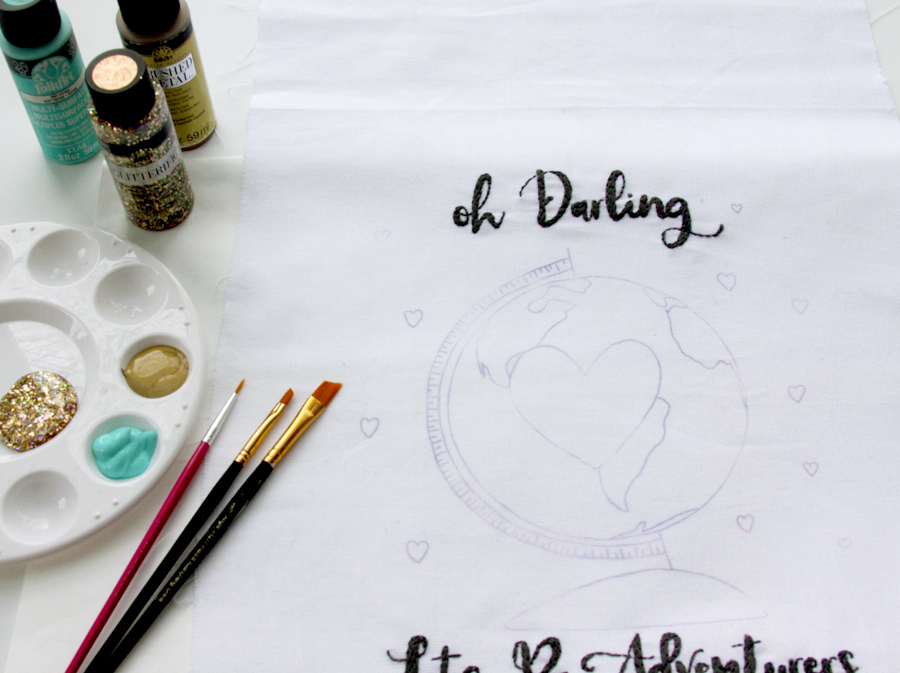
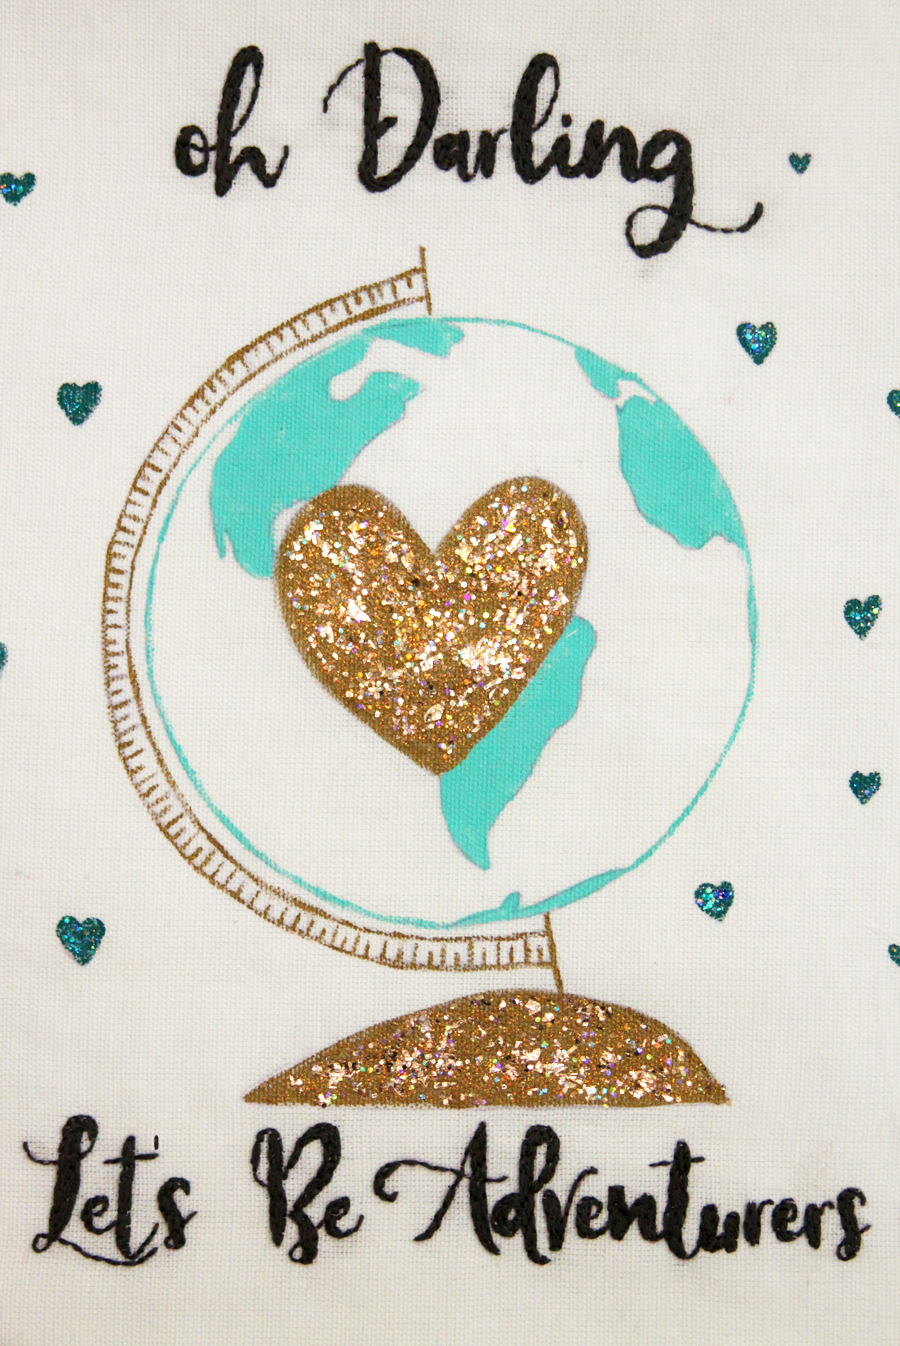
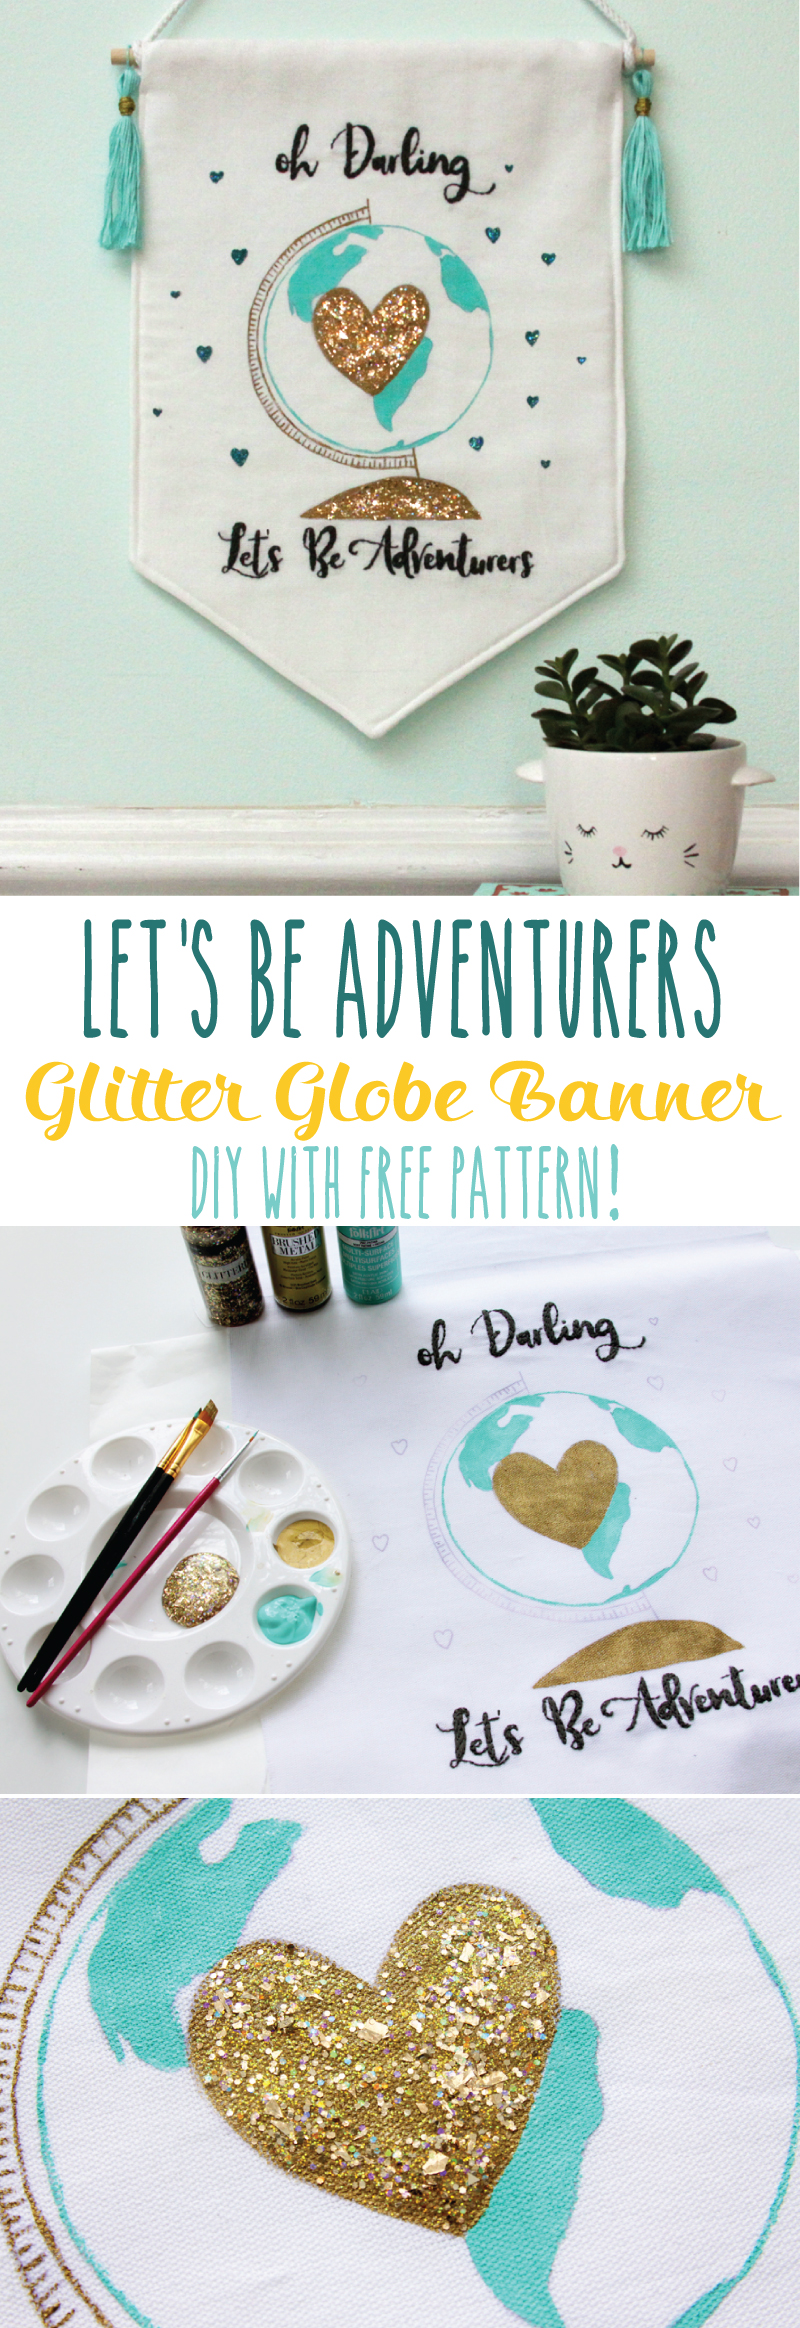
You can use Glitterific on fabric that isn’t going to be washed – since it’s water based it would wash out. But it works great for this banner! I wanted the glitter to really pop so I added base colors of paint first. Paint the countries and the outline of the globe with the Patina. Paint the heart and the base of the globe with the with the Brushed Metal.
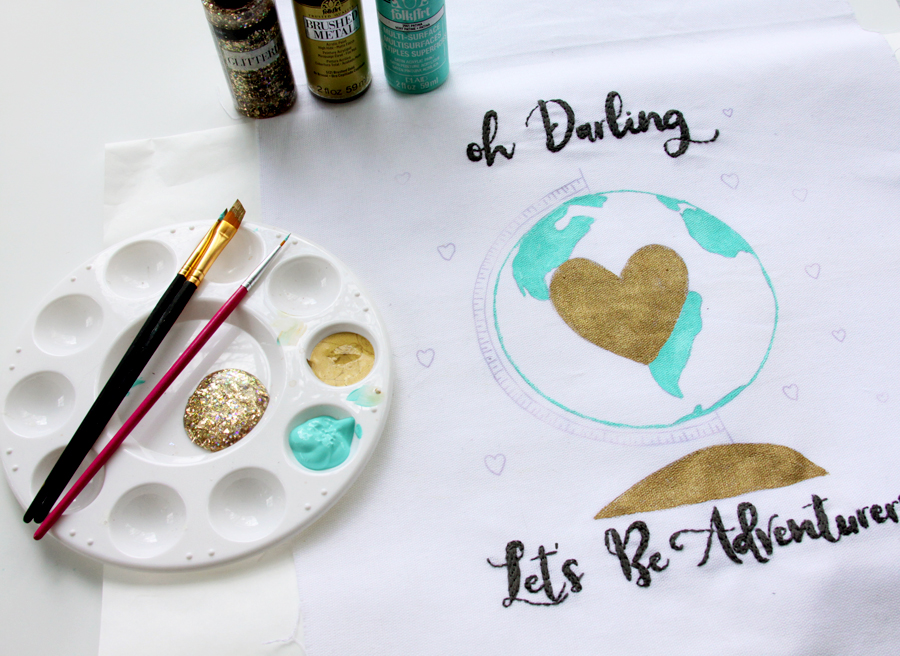
Once the paint is dry, cover the gold areas with the Glitterific Gold. Depending on how glittery you want the heart and base, you can add more layers of the Glitterific. Paint in the lines of the arm of the globe with a small paint brush using the Brushed Gold.
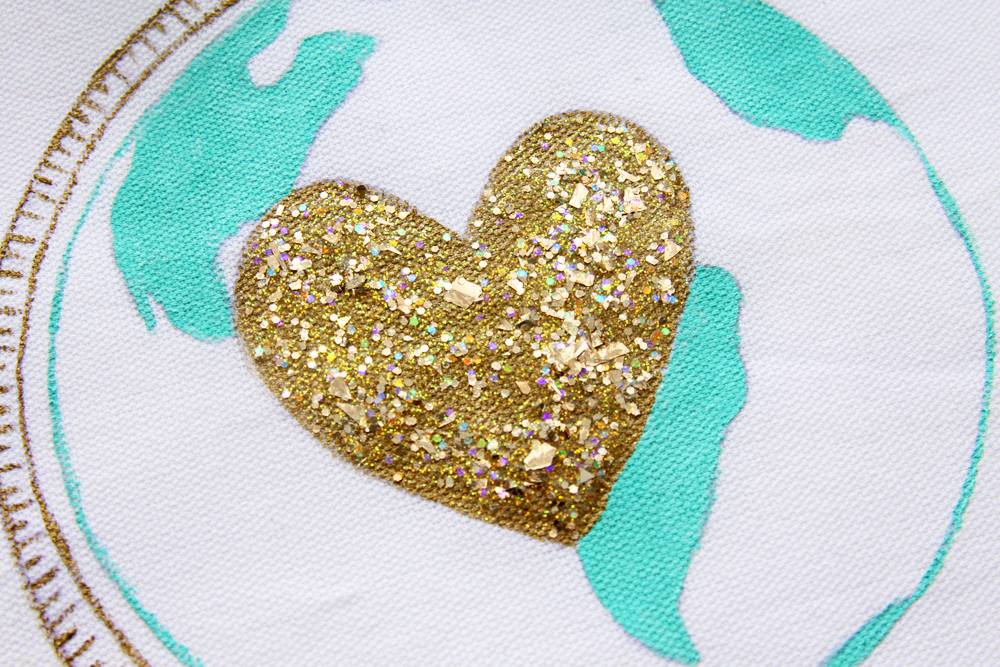
Paint in the hearts with small brush using the Teal paint.
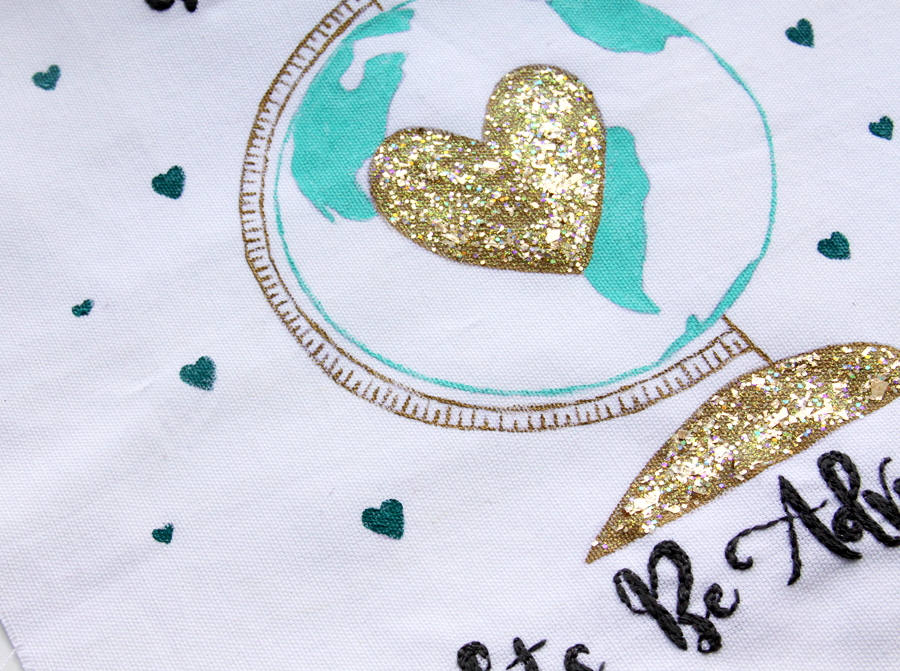
Once the base paint is dry, dab in the Glitterific Tropical in the hearts.
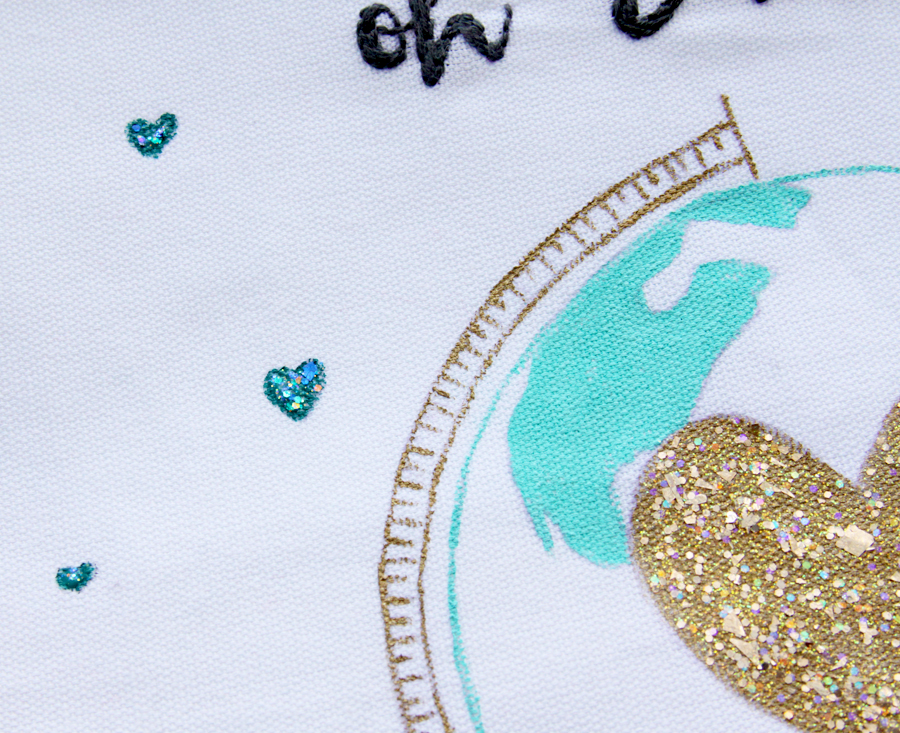
Make sure everything is completely dry before you do the next step. You don’t want to transfer any of the glitter or paint to the back of the banner. Fold the banner in half with the right sides together and trim the banner to 12″ on the sides. Measure up the sides of the banner 4″ and cut the banner to the point in the center.
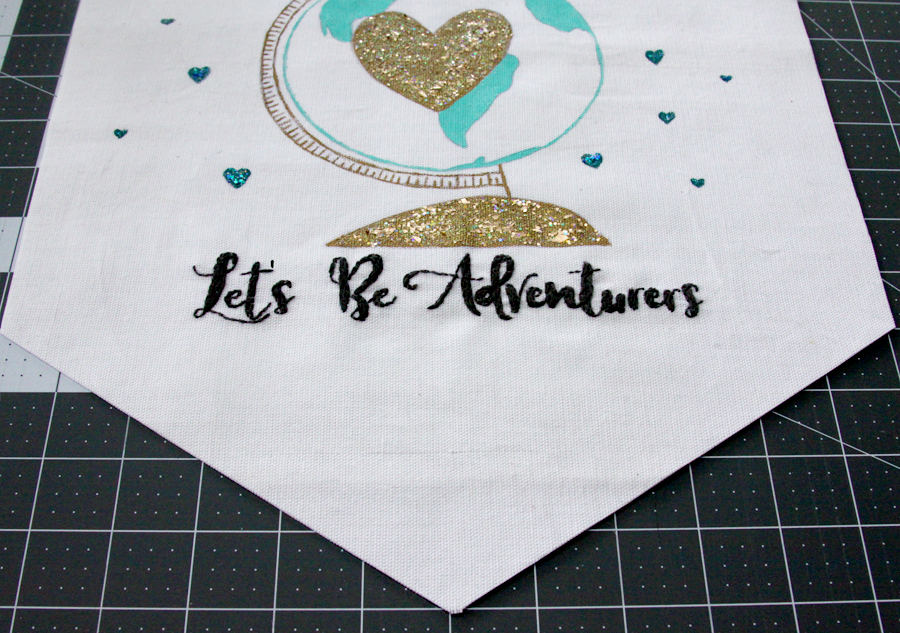
Fold the banner in half with the right sides together. Place a piece of fleece over the banner and cut out the shape of the banner. Measure down from the top fold 1″ on each side and make a mark. Sew below the marks around the sides and bottom, leaving an opening of about 4″ – 5″ for turning.
Turn the banner right side out carefully and press, making sure you don’t press the glitter sections. Tuck the opening in and press in place. Sew around the banner sides and bottom (except for the top 1″ on each side), just inside the seam.
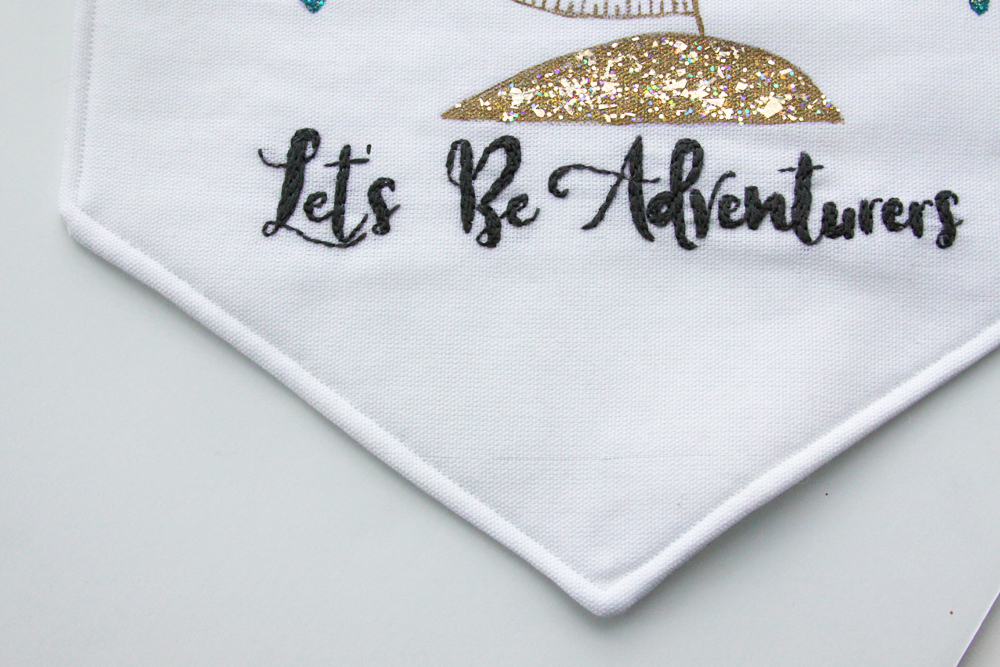
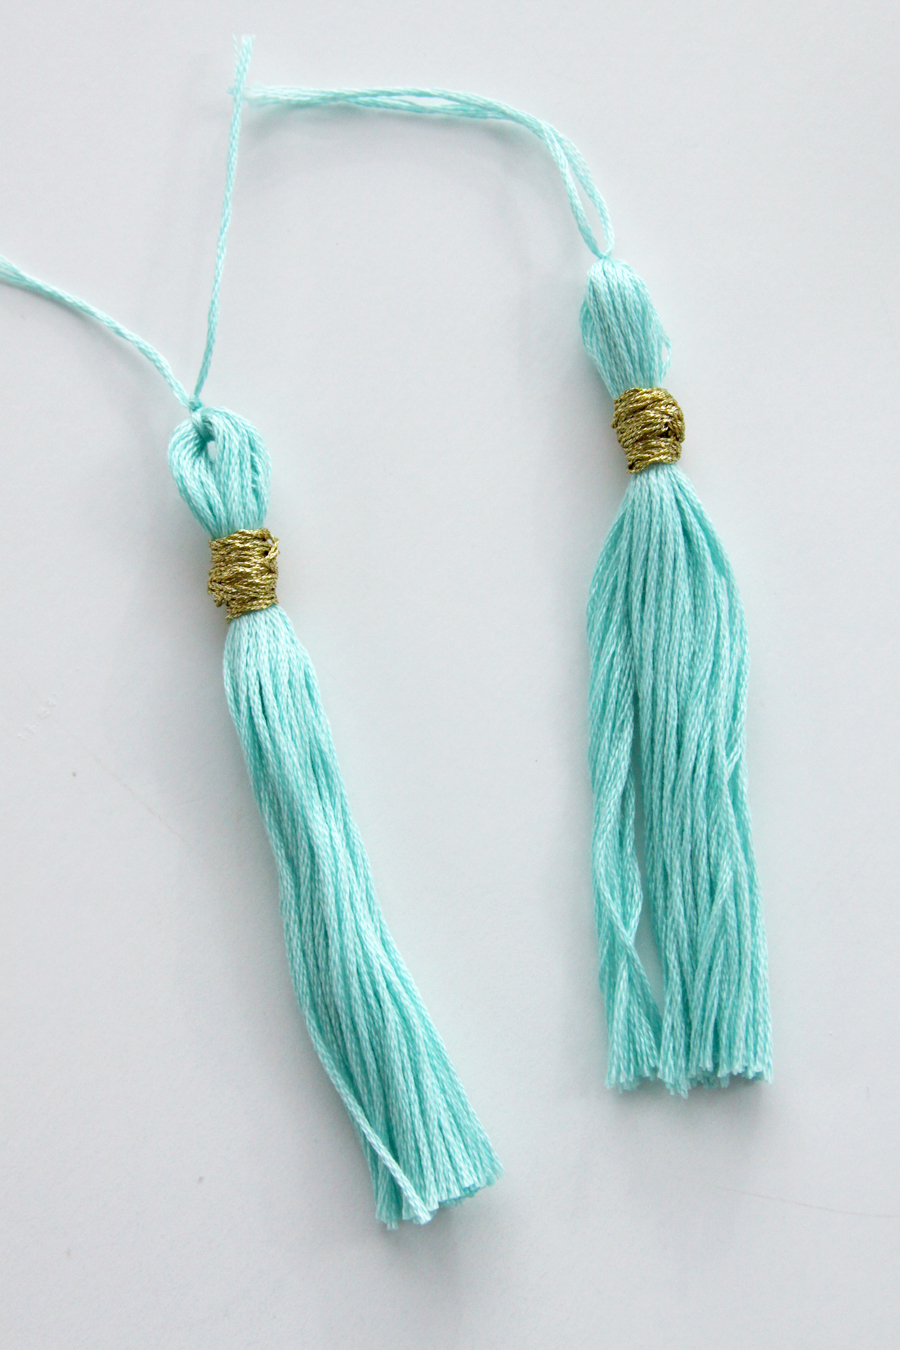
Make two tassels with the two skeins of 964 embroidery floss, using the gold floss as the wrapping.
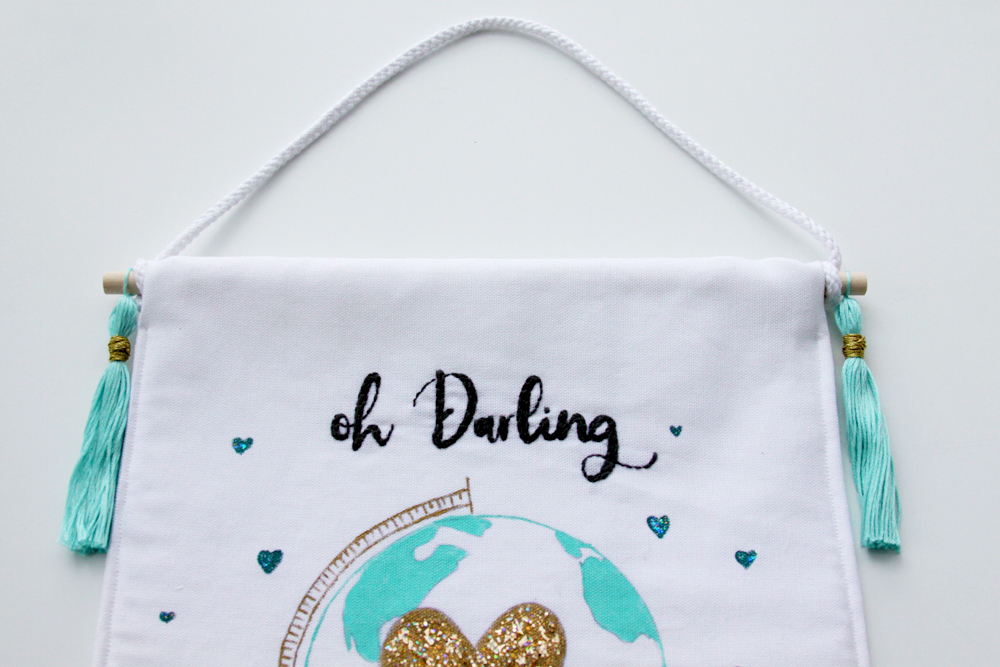
Slip the dowel through the opening at the top of the banner. Tie the cording to each side of the banner and tuck the end into the opening. Tie a tassel on each end.
Now you can show off your sweet new Adventure banner!
You can check out the Glitterific at Plaid Online right now and in stores this Spring!
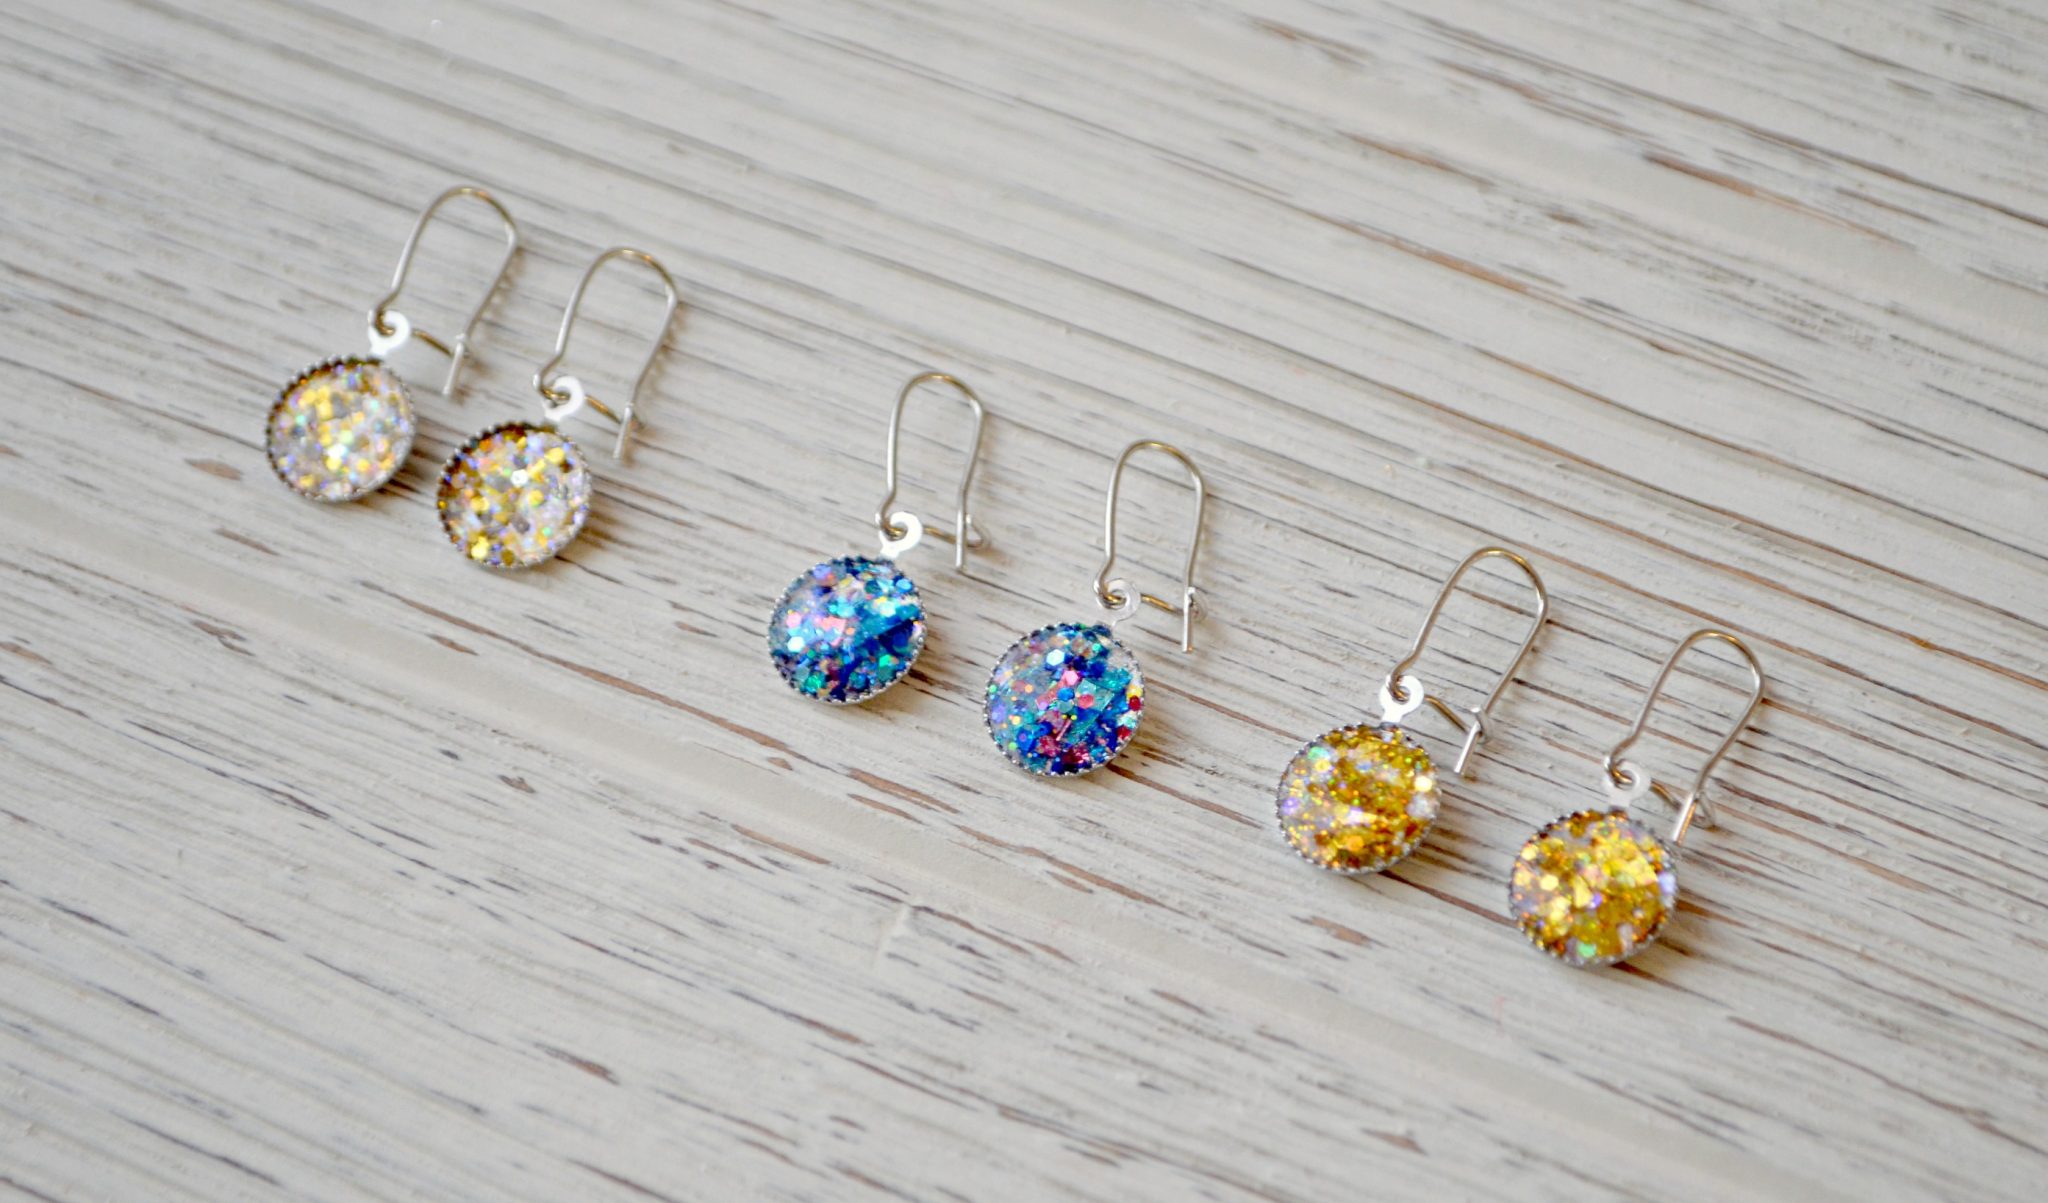
Be sure to check out these other Glitterific projects by my fellow Plaid Creators!
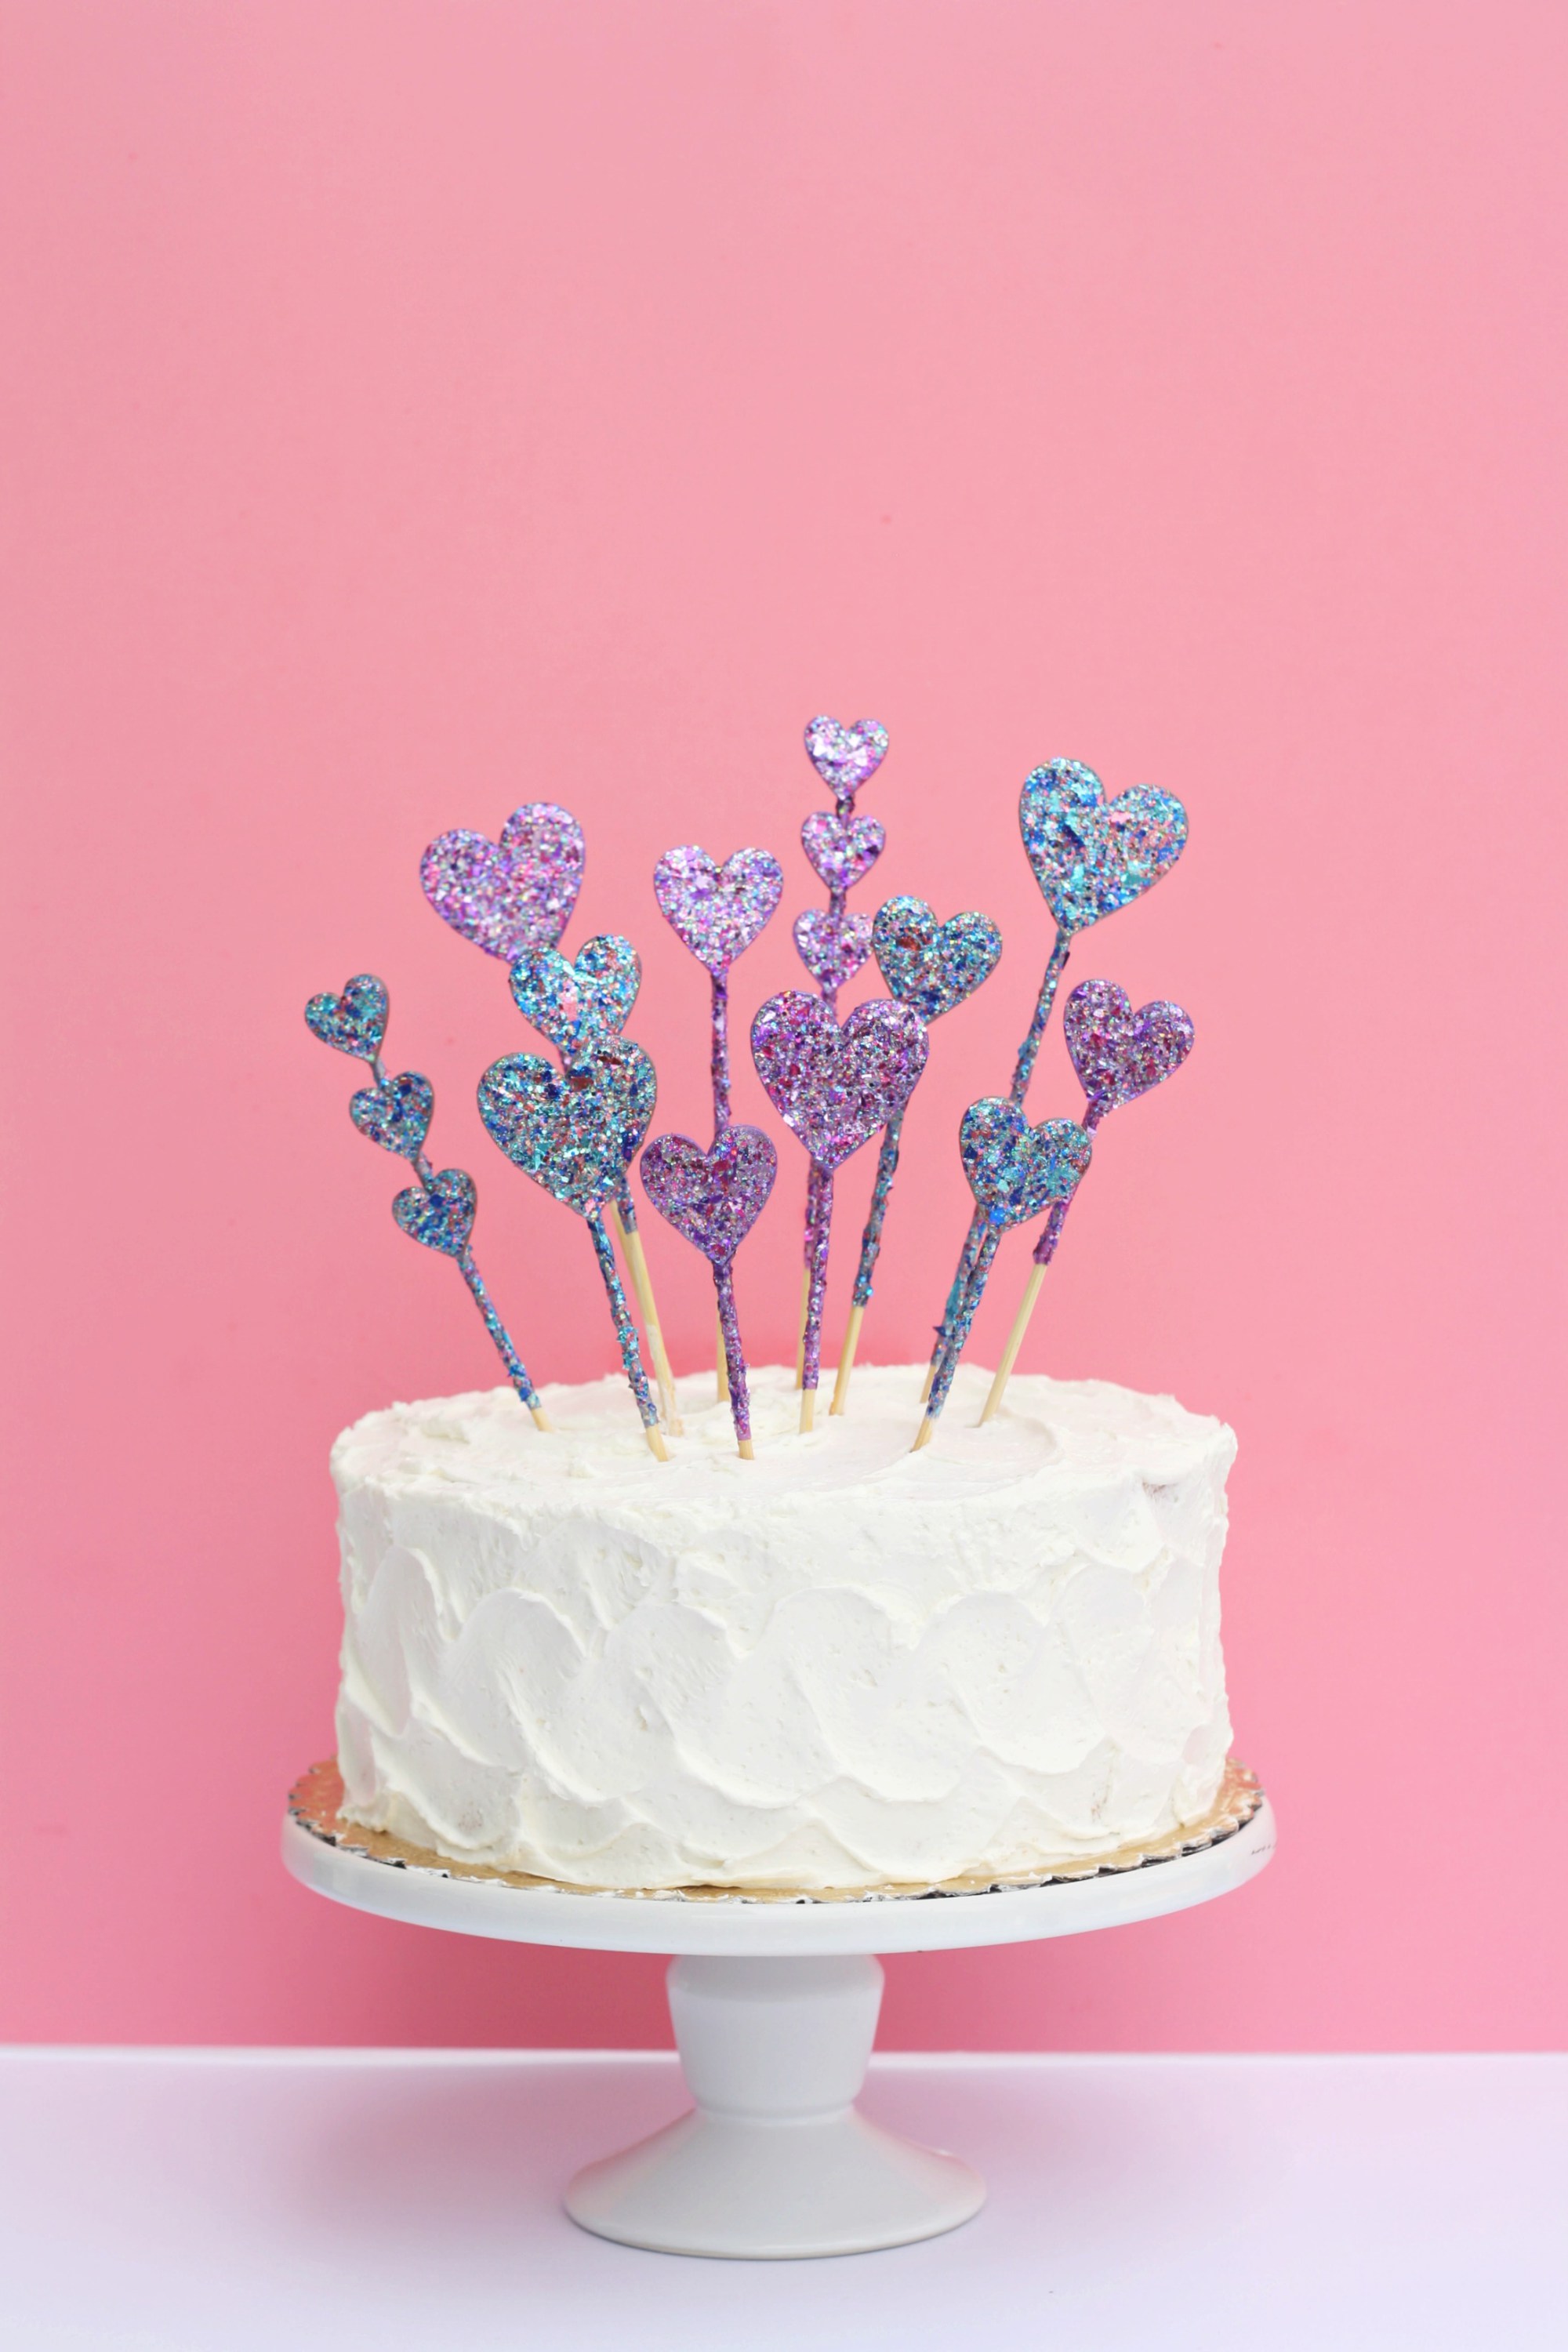
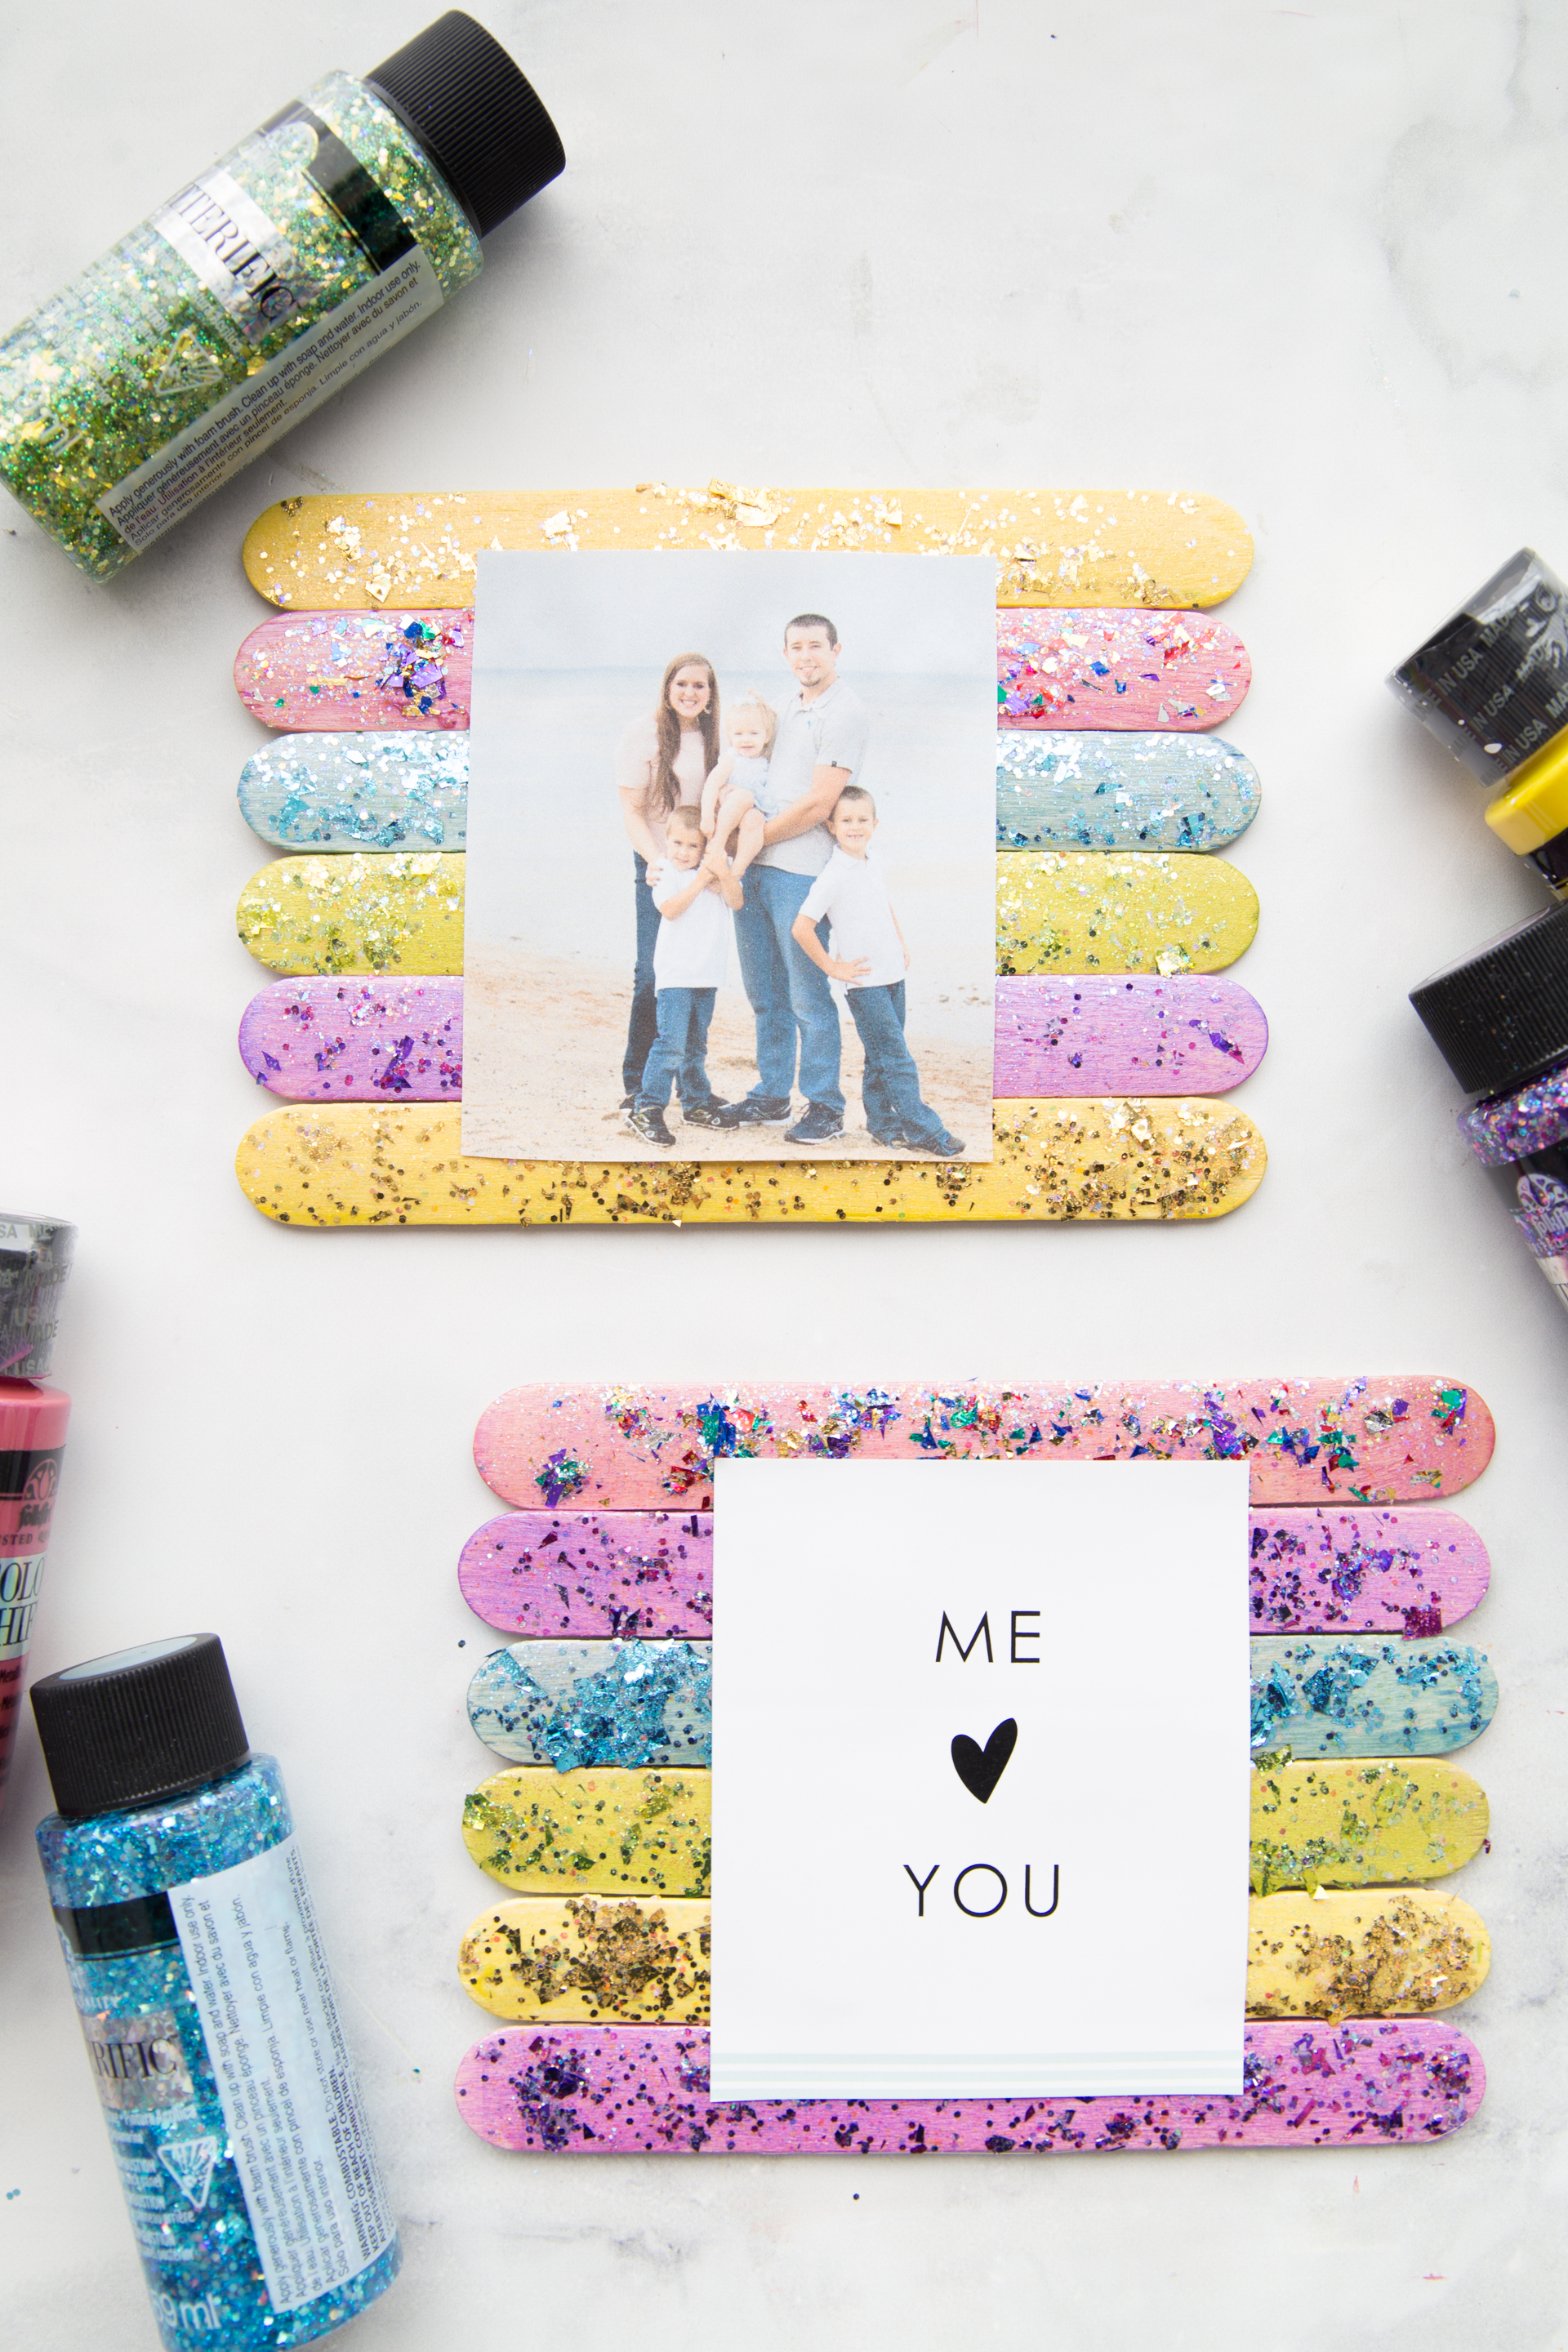
DIY Glitter Heart Cake Toppers – The Pretty Life Girls
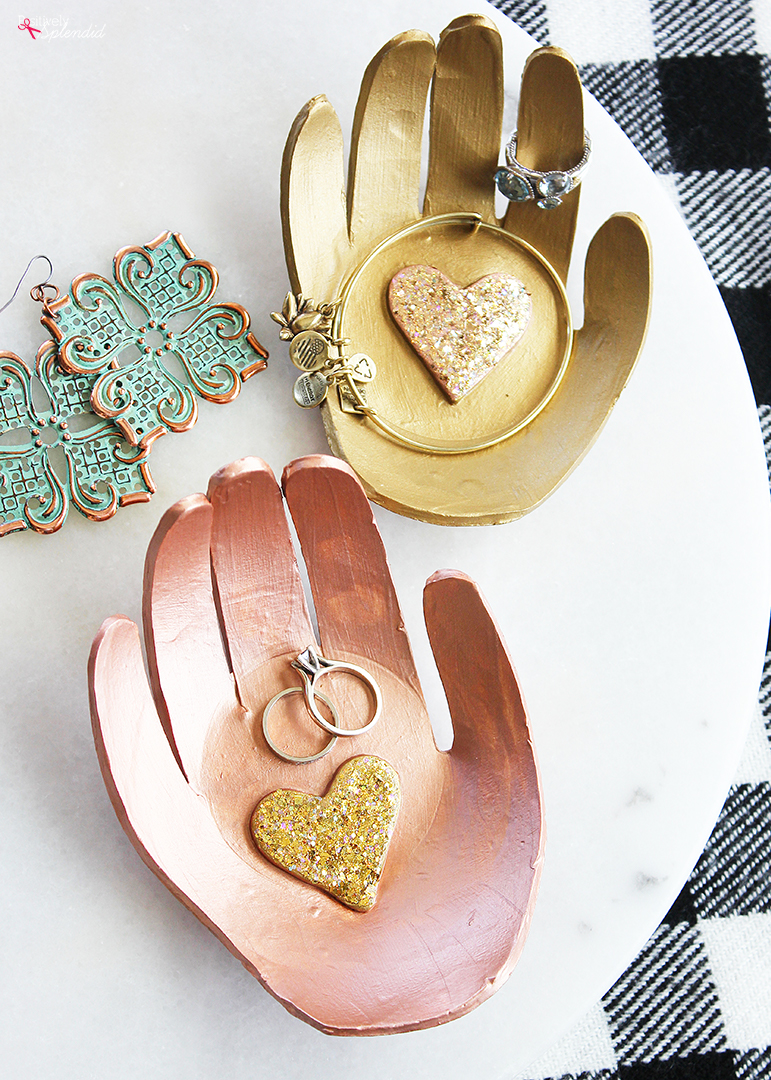
DIY Hand Ring Dish – Positively Splendid
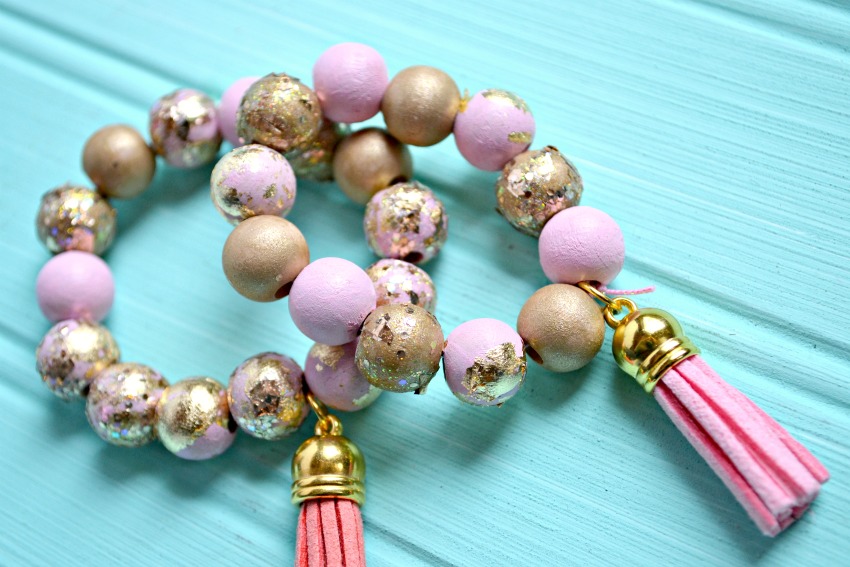
Mommy and Me Bracelets – The Cards We Drew
Linking up to parties here.


I am obsessed with this! It would be perfect for our home…especially if I made China visible on the globe!
It’s awesome that this new glitter paint can be used on fabric, too! FolkArt paint isn’t available to me locally (crazy, right?), but I’ll be moving in three months and can’t wait to get my hands on some!
Such a fun project! I haven’t heard of the glitter paint so thanks for featuring it. Thanks for sharing at #HomeMattersParty
The banner turned out so nice. I love the combination of things you used and I agree with you “let’s be adventurous”! Thank you for sharing on Party in Your PJ’s!
Bev you are so clever, and I love the gold glitter, anything that is sparkly gets my attention!! So cute!!
I have chosen your post from Friday Features Linky Party 2/16 to feature on this week’s party. It is also going to get a boost on my Instagram account, so watch for it. And it is pinned on my Friday Features Pinterest Board!!!
I appreciate that you stop by to share your awesome blog with us each week!
Wishing you a lovely weekend!!
Best
Karren