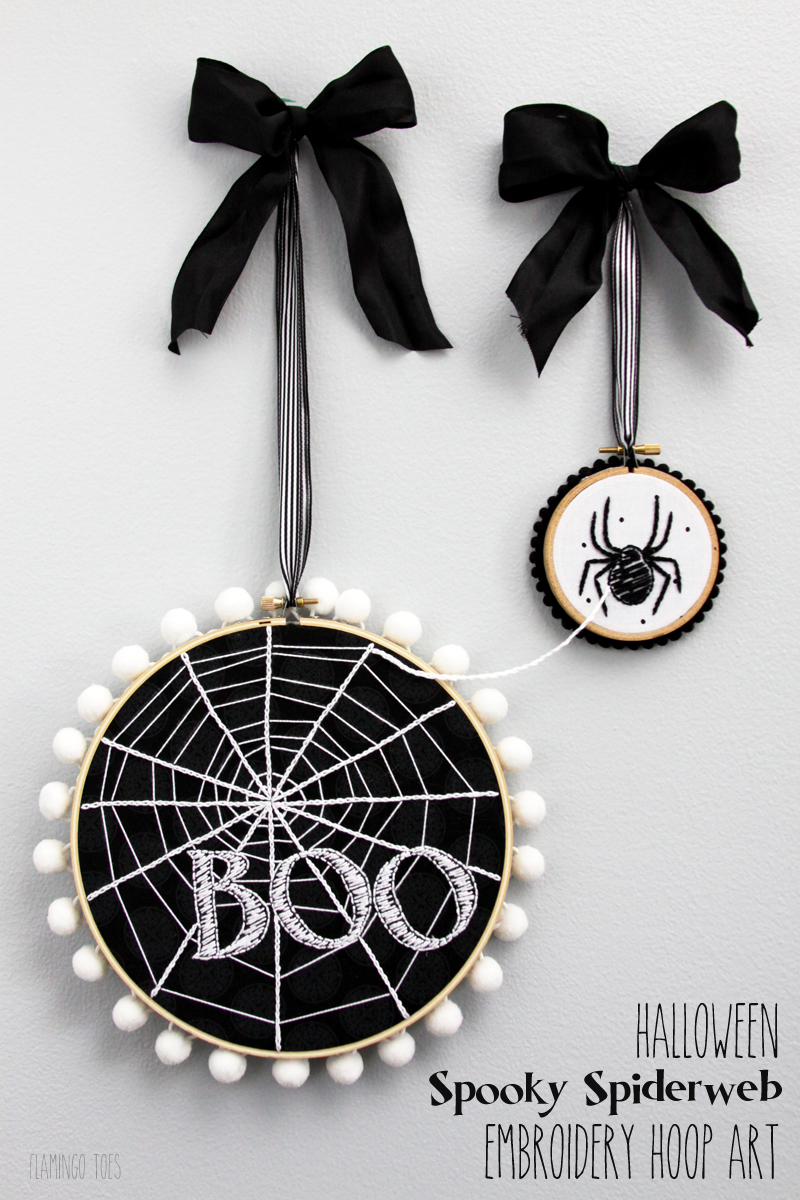
I’ve been wanting to do a double hoop set for so long now! I just couldn’t hit on the right idea. Until this fun idea came to me – a connected hoop set was the perfect idea for Halloween!
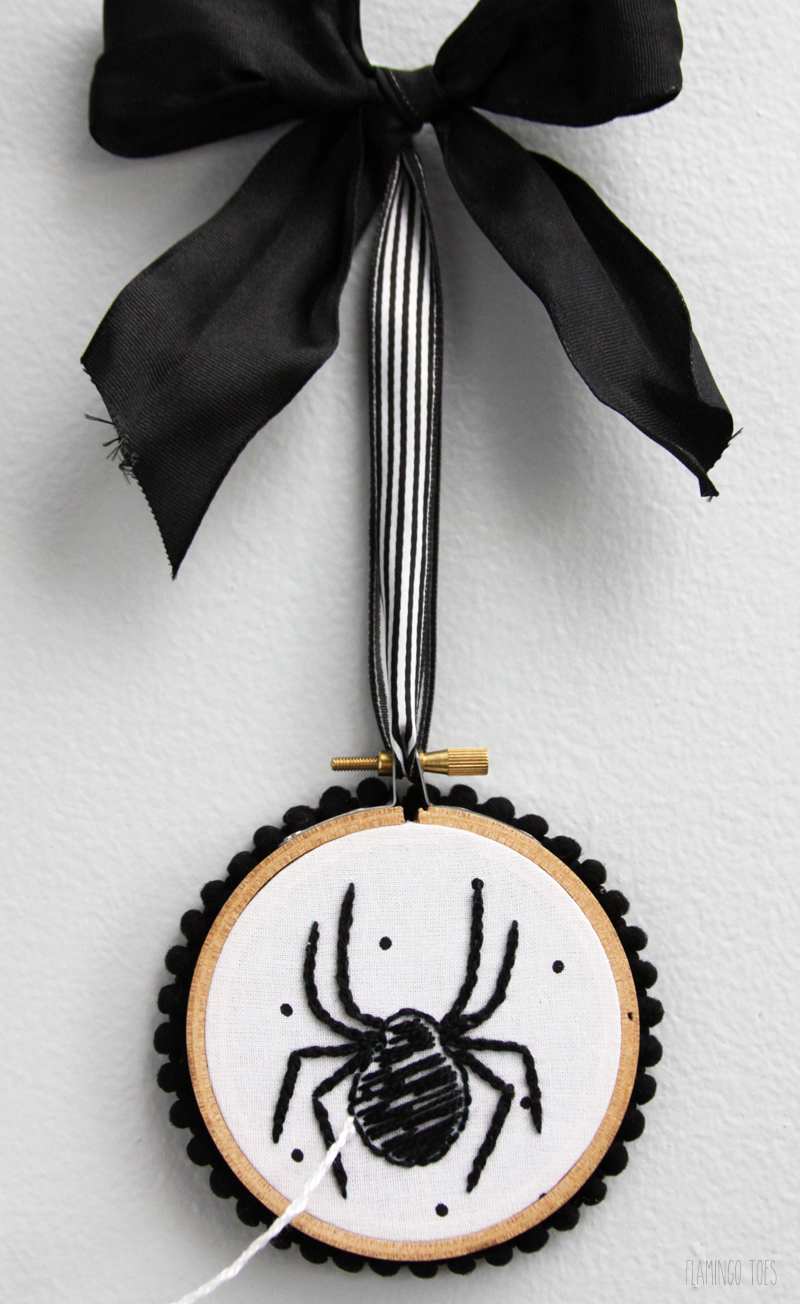
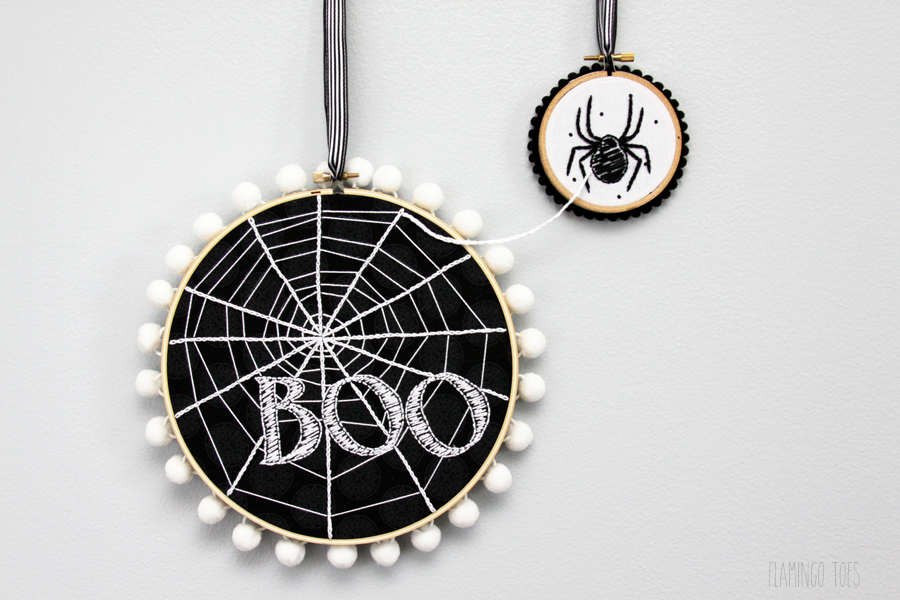
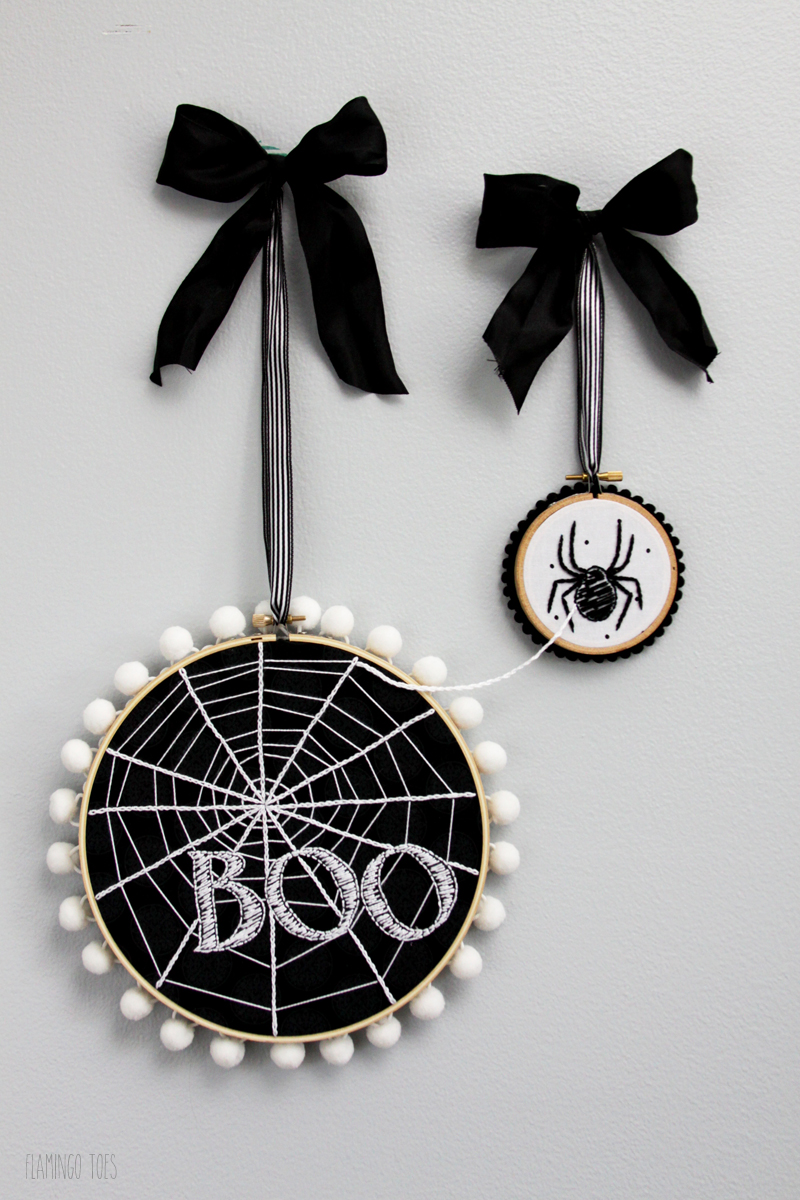
This Halloween Spooky Spiderweb hoop art is made up with these two cute hoops – one a web and one the spider who spun it! They are easy to stitch up and the hoops are connected with a bit of web!
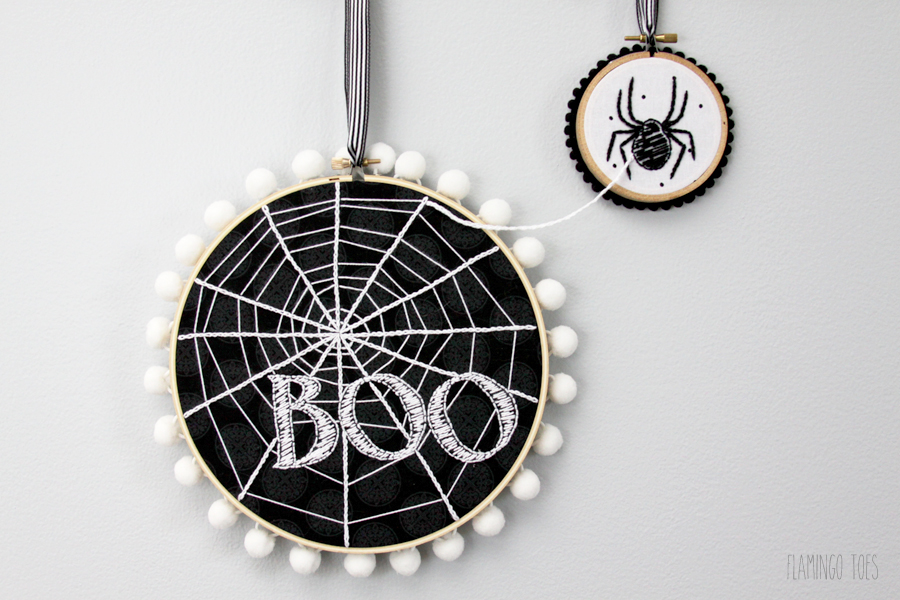
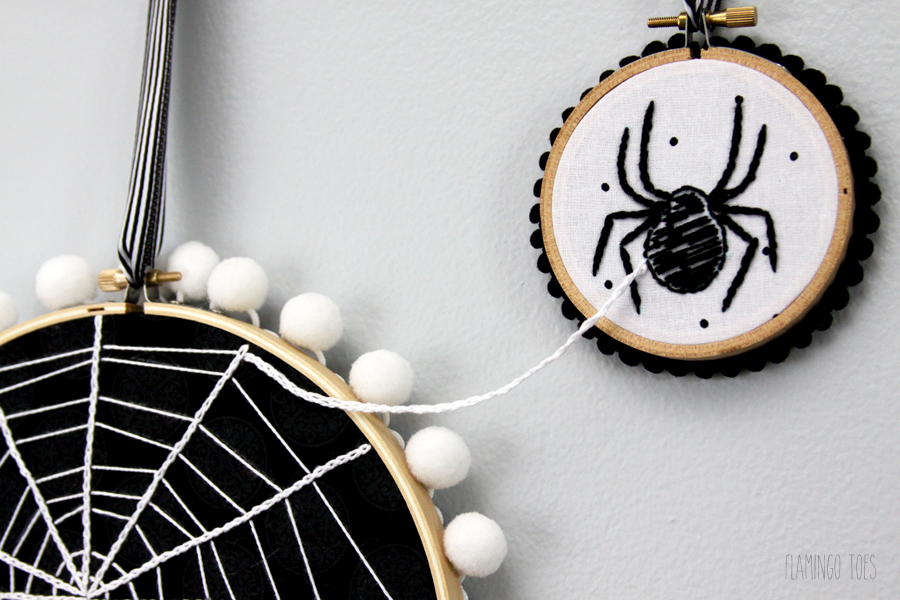
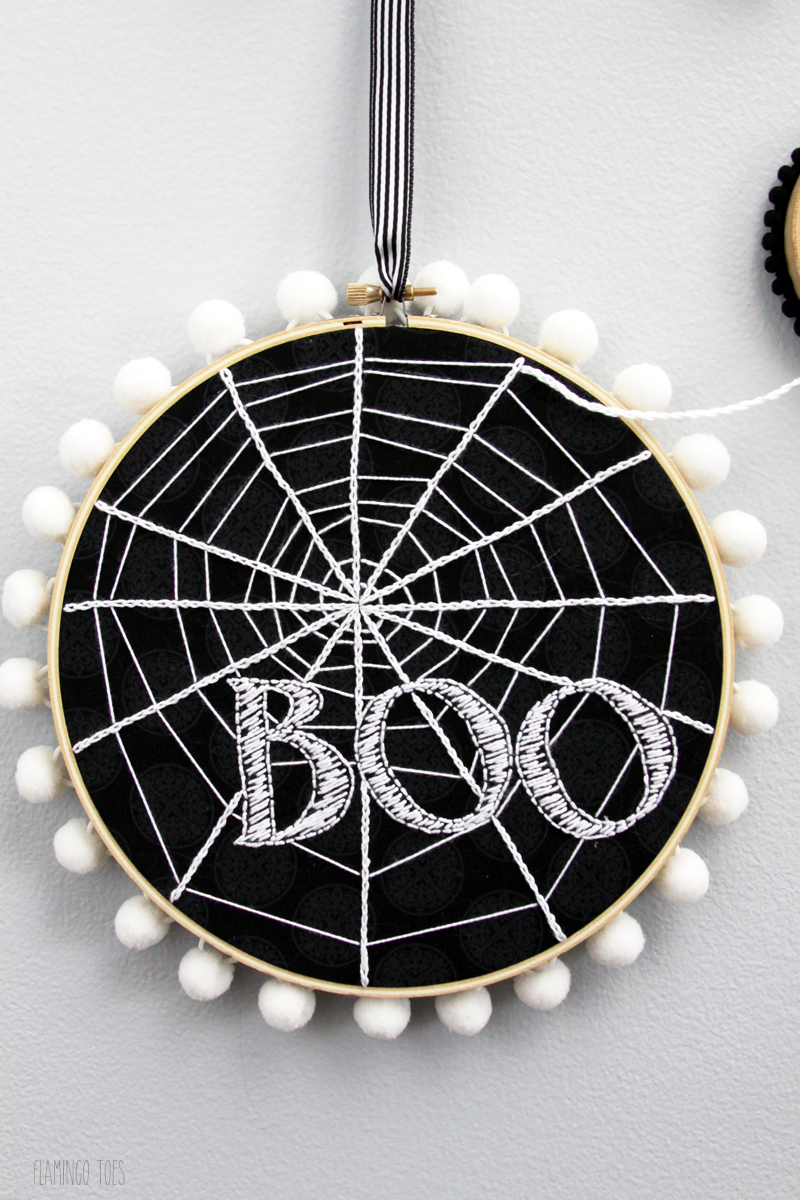
I am addicted to adding pom poms around the hoops – it adds such a fun bit of texture to them.
Here’s what you’ll need to make your own:
- Embroidery hoops – one 8″ and one 3″
- Fabric for each hoop – 2″ larger than the hoops
- DMC Embroidery pearl cotton (or floss) – white for the large hoop and black for the spider hoop
- Tracing paper/pen
- Pom pom trim for each hoop
- Ribbons for hanging
- Hot Glue/Glue gun
- Spider and Web – Free Pattern
Begin by tracing each of the patterns.
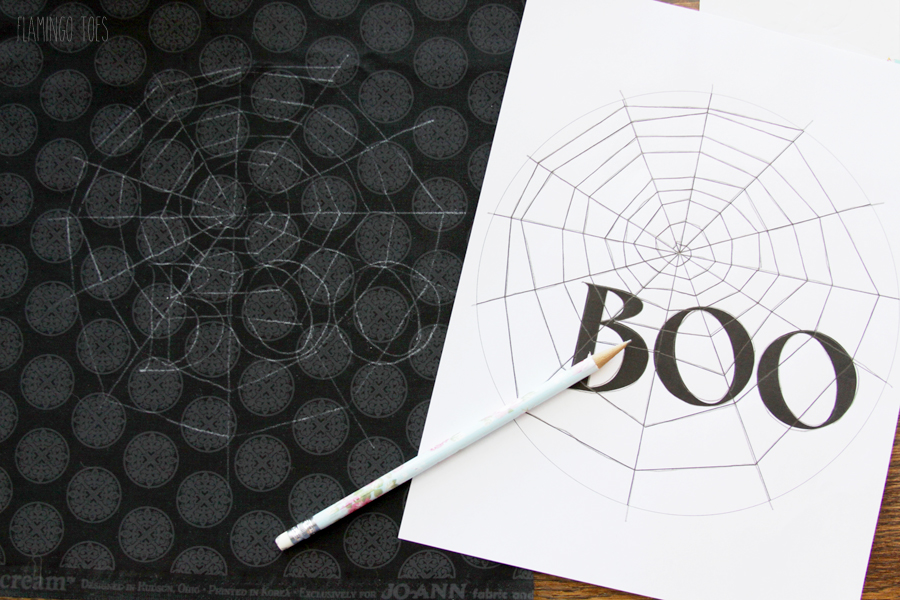
Place the black fabric in the larger hoop, centering the design in the hoop. Begin your stitching by outlining the letters first, using a back stitch.
If you need help with the stitching, check out my Embroidery Stitches page.
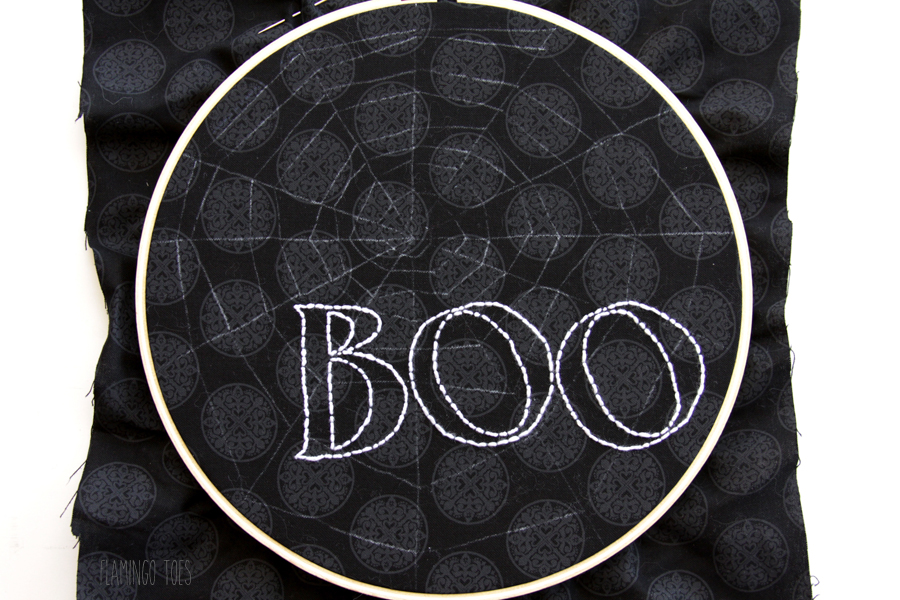
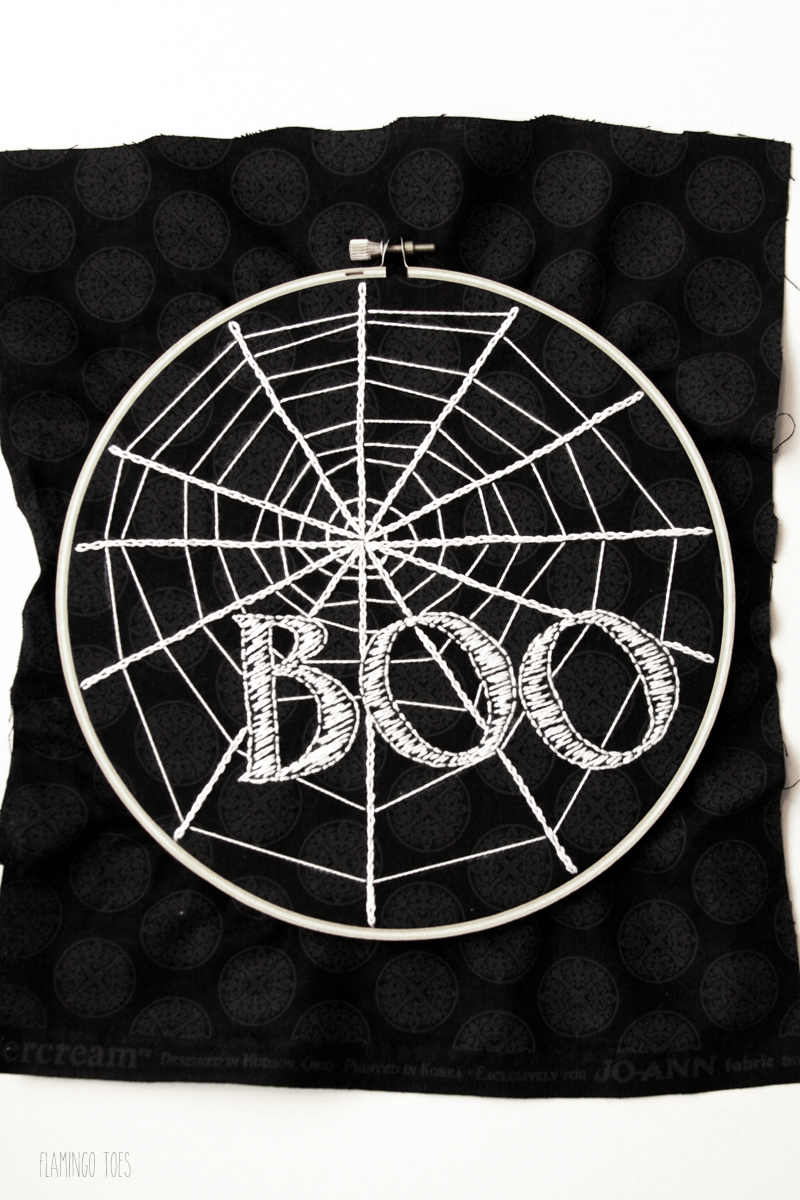
Stitch each of the spokes of the web first. Start each one in the center, then work out to the edges with a chain stitch. Once you’ve stitched the spokes, stitch the lines of the web by bringing your needle up under the stitching of the spoke, then under the next spoke over, following the marked lines.

Fill in the letters with a diagonal stitch – keeping the stitching a little loose so it looks hand drawn.
Stitch up the little spider hoop with chain stitches for the legs and fill in the body with the loose satin stitches.
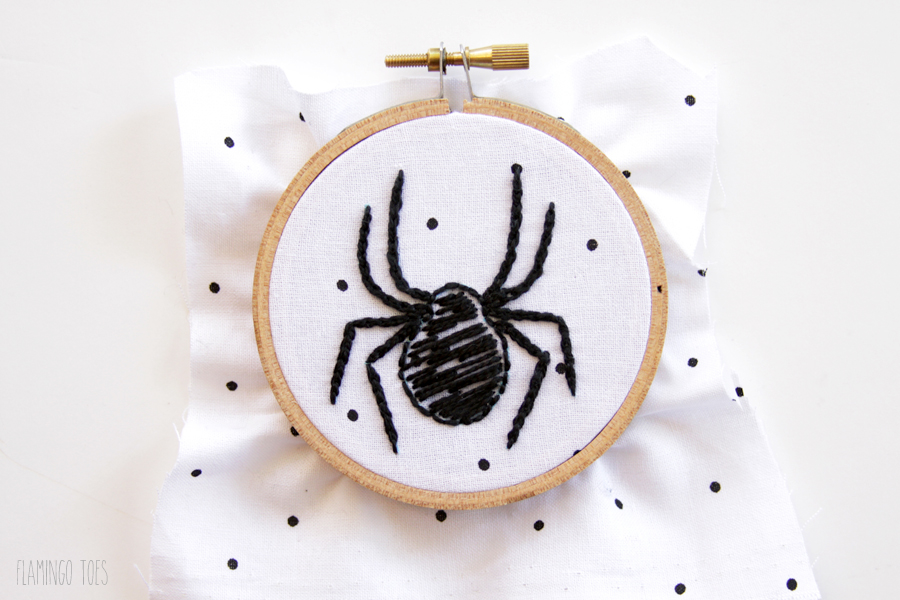
Trim the fabrics around the hoops and glue the fabrics to the backside. Glue the pom pom trim along the edges of both hoops.
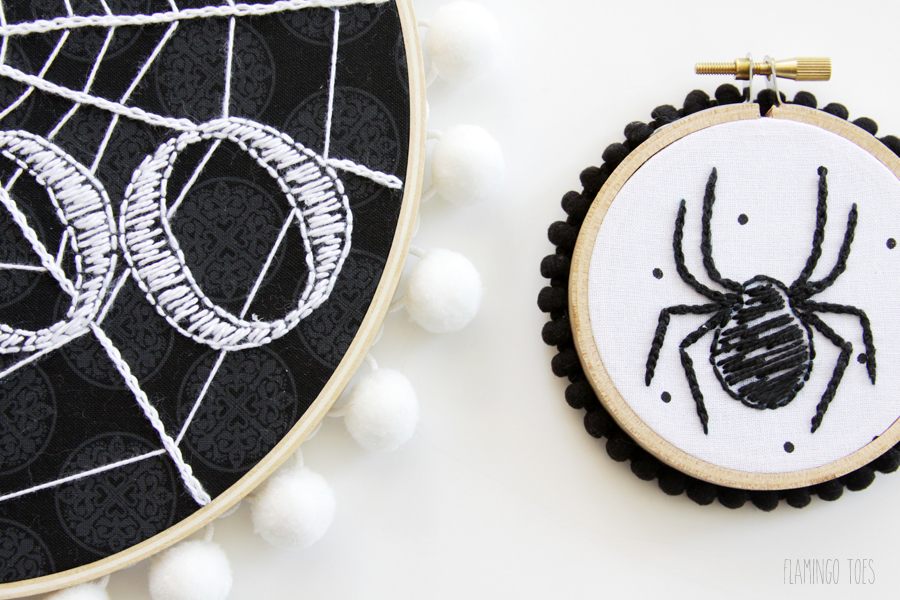
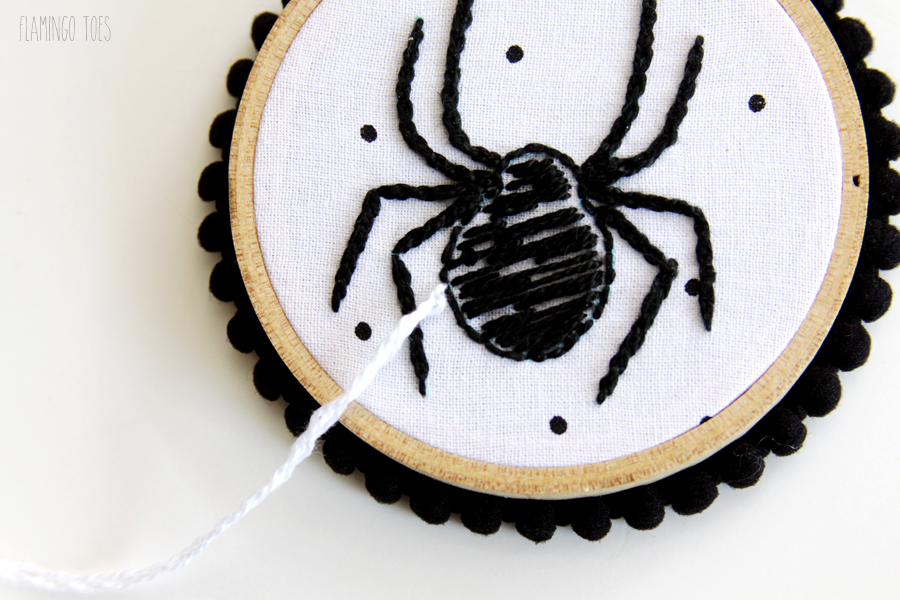
To make the connecting web – cut three lengths of white floss. Knot the first one, then bring it up at the point the web ends on the top of the hoop. Unthread the needle. Repeat with the other two strands of floss. Loosely braid the three strands together, the length of the web you’d like.
Thread each strand and add the thread to the smaller hoop by running it under the left side of the body of the spider. Once all three strands are through, make sure the thread hangs the way you’d like, then knot them on the back of the hoop.
Finish the backs of the hoop if you want with a piece of felt to cover your stitching.
Add lengths of ribbon to hang the hoops and bows to the ribbons and you’re all ready to hang them!


Love these!!! I don’t know if I have time to make for this year, but it’s on my to do list!
So cute! Although I’m not an embroidery person, my grandmother Anna was. When I saw this on Pinterest, it inspired me to create some new wall decorations using her old embroidery hoops!
That way she can be a part of my current family traditions!
How do you trace into black fabric? It looks like you used a regular pencil with some sort of white transfer?
Hi Sarah,
Sorry that wasn’t more clear! Yes, I used a tracing paper. I like this brand: http://www.amazon.com/Saral-Transfer-Tracing-reverse-background/dp/B0027AENYK/ref=pd_sim_201_4?ie=UTF8&refRID=1T19KTSDTYY9F2GX6N4K&dpID=41WW85IqzIL&dpSrc=sims&preST=_AC_UL160_SR160%2C160_ It does a great job of transfeerring onto black fabric. You just lay down the fabric, put the transfer paper down, place the pattern on top of that and then draw over the pattern with a pen or pencil. It transfers a nice clean design!
I love this DIY for Halloween! The pom-poms are the perfect touch :)
These must have taken some time, but oh are they perfect! I just love how they are black and white. At first I thought it was a chalkboard design in an embroidery hoop, but you actually stitched all of this! Awesome!
Carrie
curlycraftymom.com
Super cute, I couldn’t wait to start this project. Question, do you use all 6 strands, or do you divide it?
Hi Kristi! I’m so glad you like it!
I used pearl cotton and you don’t separate that. If you use floss I think 3 strands would work great! Let me know if you have any other questions!
These look amazing ! What a great Halloween decoration. I love embroidery projects.
Supercute and easy idea!!
Ok- I LOVE that the spider hoop is connected to the web hook like that- truly a perfect, perfect detail!! :)
Sarah (Sadie Seasongoods)
Bev, this is a great to use a traditional medium in such a modern way! I’m so happy you joined our #OMHGWW linkup party this week!
Shellie
http://www.thefabjourney.com
Oh my goodness, this is too cute! How creative, I Woodbridge never thought to do that.
I meant *would have* not Woodbridge. My phone thinks is funny to type random things.
Do you sell these? I would love to buy a set. They are the cutest things I have seen in a long time. I can not do embroidery. Please let me know.
Thanks,
Laura
Oh wow! I love the intricate detailing of this hoop art and your tutorial is terrific. I’d love it if you would link this cutie up with us at the Best of the Weekend Link Party. The party goes live on Friday nights and is open until Wednesdays. Hope to see you there :)
I am actually really excited to make this project! I have old cross stitch hoops in my craft stash that are just looking for a good use. Thanks for the idea!
These are super for Halloween. Love all the details. Pinned & sharing. Thanks for joining the Inspiration Spotlight party. Have a great rest of your week Bev & see you again soon.
Thanks for sharing with us at #Throwback Thursday link party. Hope you join us again tonight..
This is very creative!
So Cute!
Hello, This is sooo cute!! Nothing happens when I click the link to get the pattern though. Is there a different link or way to access it? Thanks!!