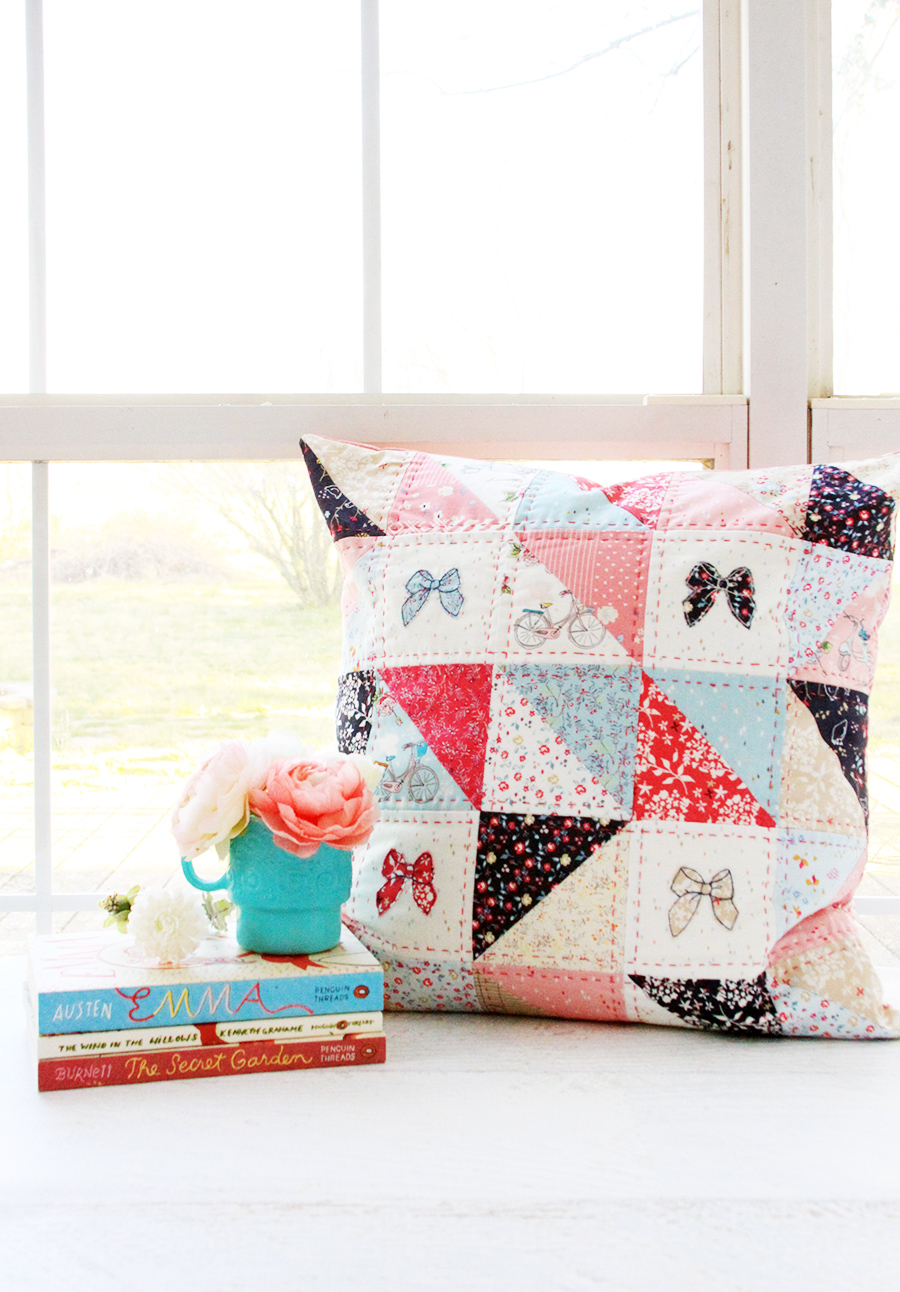
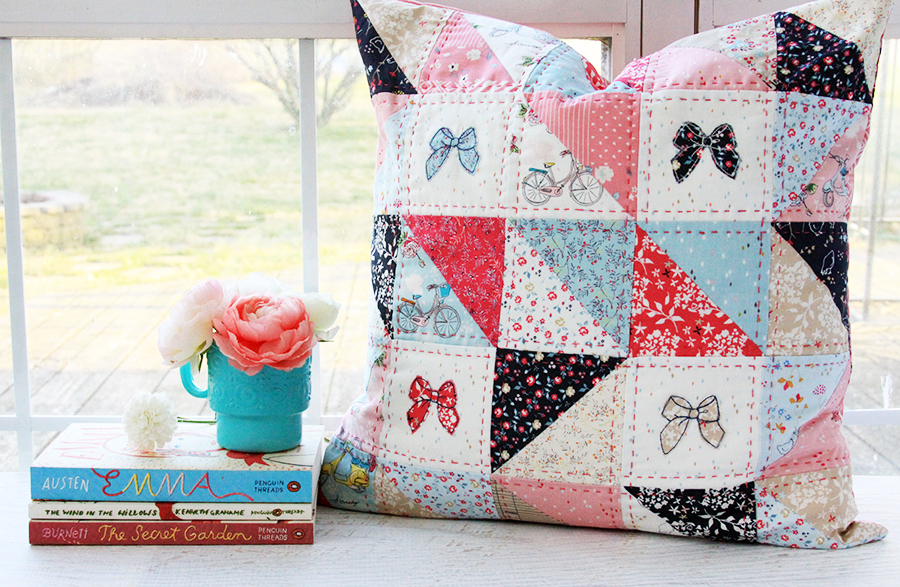
I have been dying to make a patchwork pillow for ages! When I saw the new fabric line, Someday, from Minki Kim and Riley Blake Designs, I knew it would be perfect! There are tiny flowers, the sweetest little details and darling sketches. The prints look so great together and they’re perfect for fussy cutting too! I had so much fun making up this half square triangle pillow!
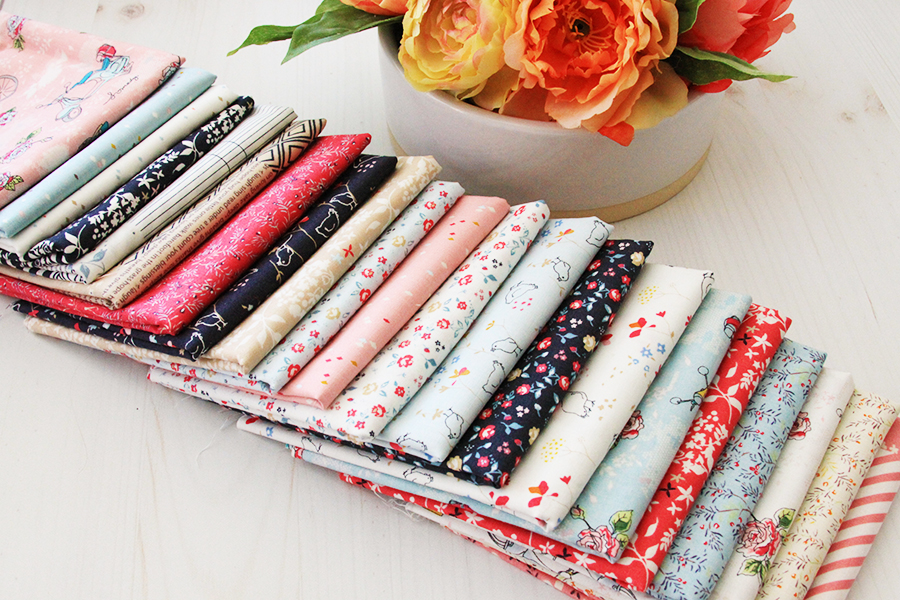
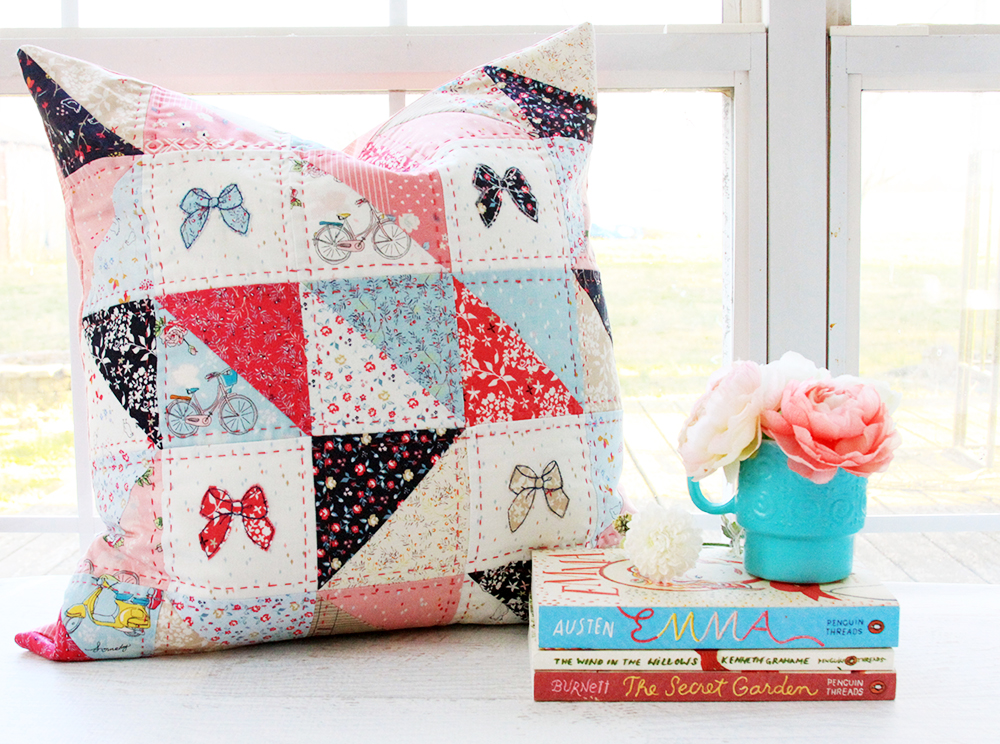
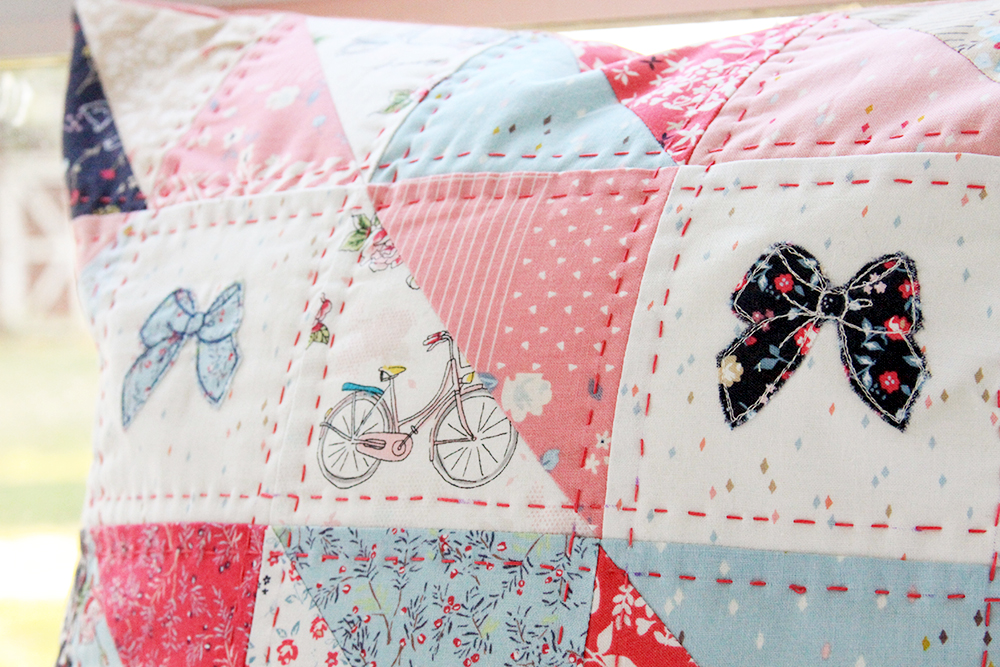
I wanted to hand quilt the pillow – I love how it turned out. The little running stitches are so easy to do and I feel like they really frame the squares.
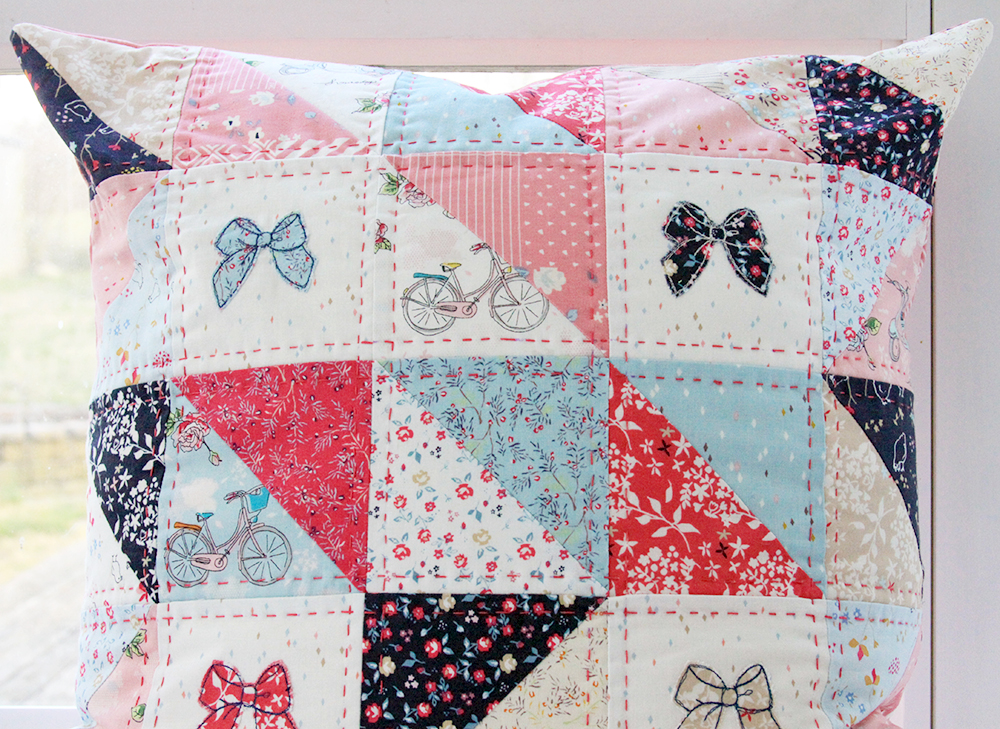
I also wanted a few applique squares scattered through it! I fell in love with the bow pattern in Minki Kim’s book, Diary in Stitches (aff link) and thought it would be so sweet for this.
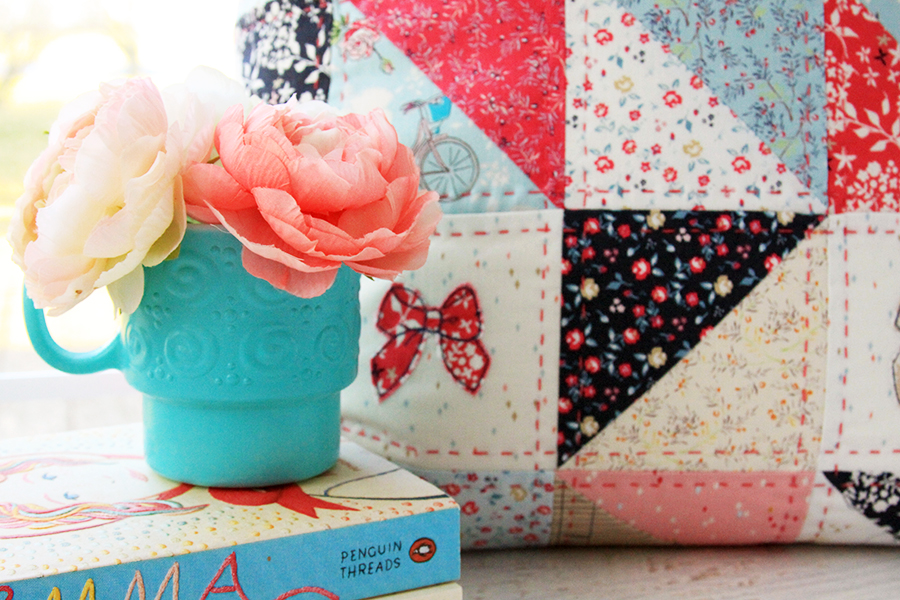
I think it’s such a fun design – I have a feeling there will be a lot more patchwork pillows in my future! This tutorial is a light version of the instructions – there are so many options here for putting something like this together. You could definitely mix things up and have something similar but just as easy!
Half Square Triangle Patchwork Pillow
Materials:
- Assortment of fabric prints – I used Someday Fabrics from Minki Kim. A fat eighth bundle would work great for this.
- 1/2 yard fabric for back
- 21″ x 21″ piece of batting
- 20″ pillow form
- Aurifil Floss – I used dark pink
- HeatnBond Fusible Webbing
- Disappearing Marking Pen
- Piecing and Applique thread – Aurifil 50 wt in coordinating/contrasting colors
- Diary in Stitches book – for bow pattern
Cutting: You’ll need 22 – 5 1/8″ squares of fabric, 4 – 4 1/2″ squares of light background fabric, pieces of fabric slightly larger than bow pattern
Note: I like to have room for trimming my half square triangles down. If you want to use charm fabric pieces (5″) you can, you’ll just have less to trim off.
Place your fabric squares right sides together in sets to make 11 groups. Match up light and dark fabrics so you have good contrasts in colors. Form half square triangles with each set. To do that – fold your top square in half and press or mark a diagonal line on the top square.
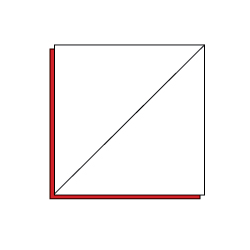
Sew a 1/4″ seam on each side of the marked line.
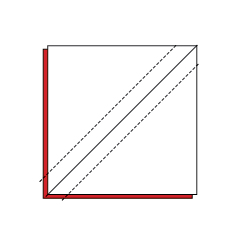
Cut down the marked line and separate the pieces. Open up the squares and press the seams towards the darker fabric.
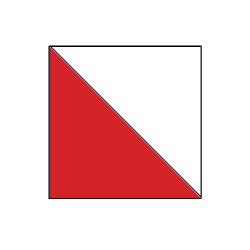
Repeat until you have 21 half square triangles. Trim the squares down to 4 1/2″ x 4 1/2″. Set these aside for now.
Iron the fusible webbing on the wrong side of your bow fabric pieces. Cut out the bows and mark the stitching lines on the front. Remove the paper backing and iron the bows to the 4 1/2″ squares with the light background. Sew around the bow shapes and over the marked lines.
Layout the half square triangles and appliqued squares in a 5 x 5 pattern. Place the bow squares in row two and four, in columns two and four. Mix and match the directions of your half square triangles for a random look.
Sew together the pillow front – matching up corner seams. The finished top should be 20 1/2″ x 20 1/2″. Place the pillow cover on top of the batting piece and pin in place. Draw marked lines 1/4″ to each side of the seams. If you’re using a disappearing marking pen, draw one line at a time or the lines will be gone by the time you get to them. :)
With 3 strands of 6 strand floss, sew running stitches on each marked line.
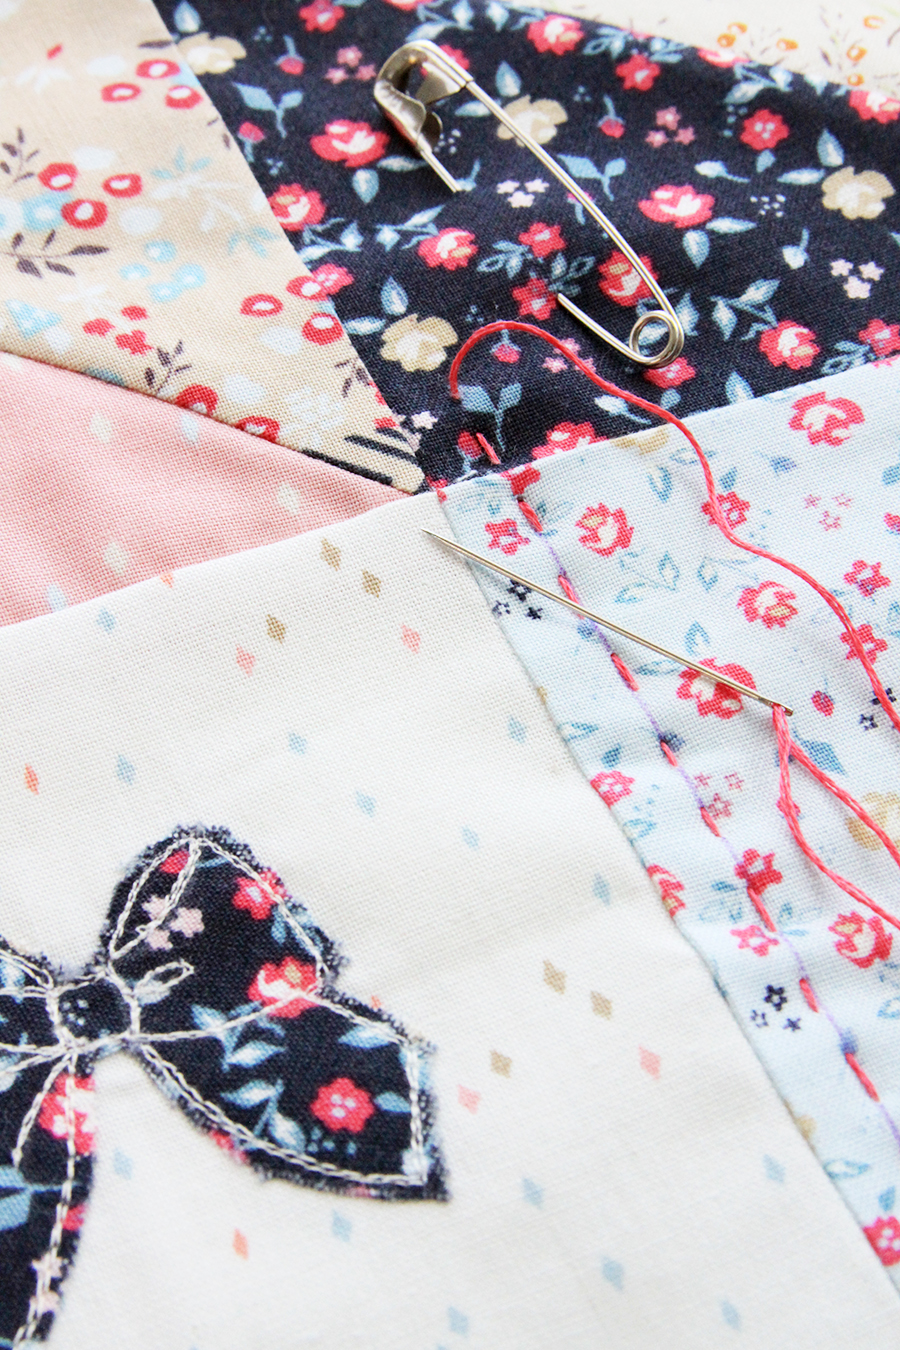
Continue until all lines have been marked and stitched.
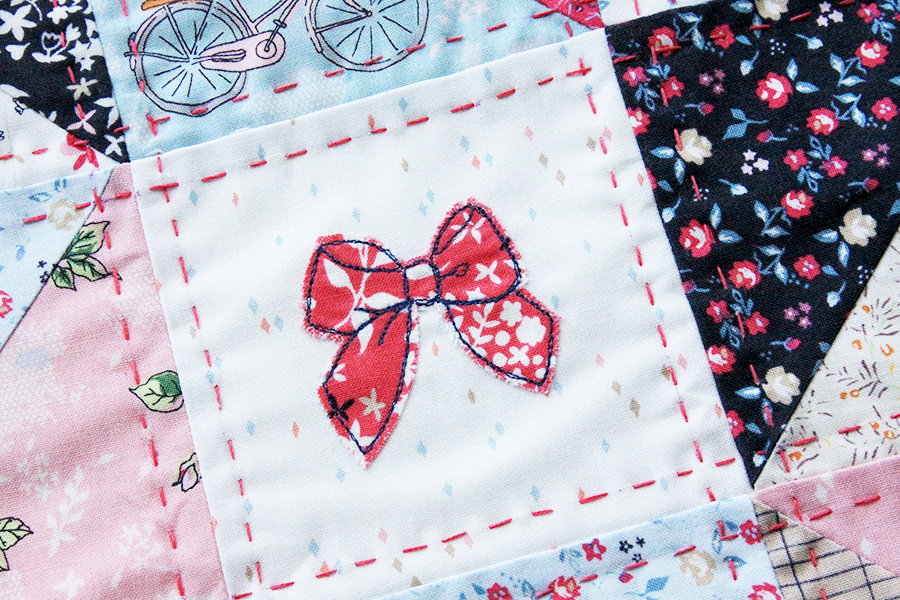
Square up the pillow top. Mine ended up about 20″ x 20″. For the back, cut two pieces of pillow back fabric 14″ x 20″. Create an envelope back for the pillow by hemming the bottom of one piece (one 20″ side) and the top of the other piece. Overlap the two pieces to form a 20″ square so the piece on top has the hem at the bottom. Pin in place. Place the pillow front and back right sides together and sew around all four sides. Trim corners, turn right side out, and press. Put pillow form in and your cute new pillow is all set to show off!
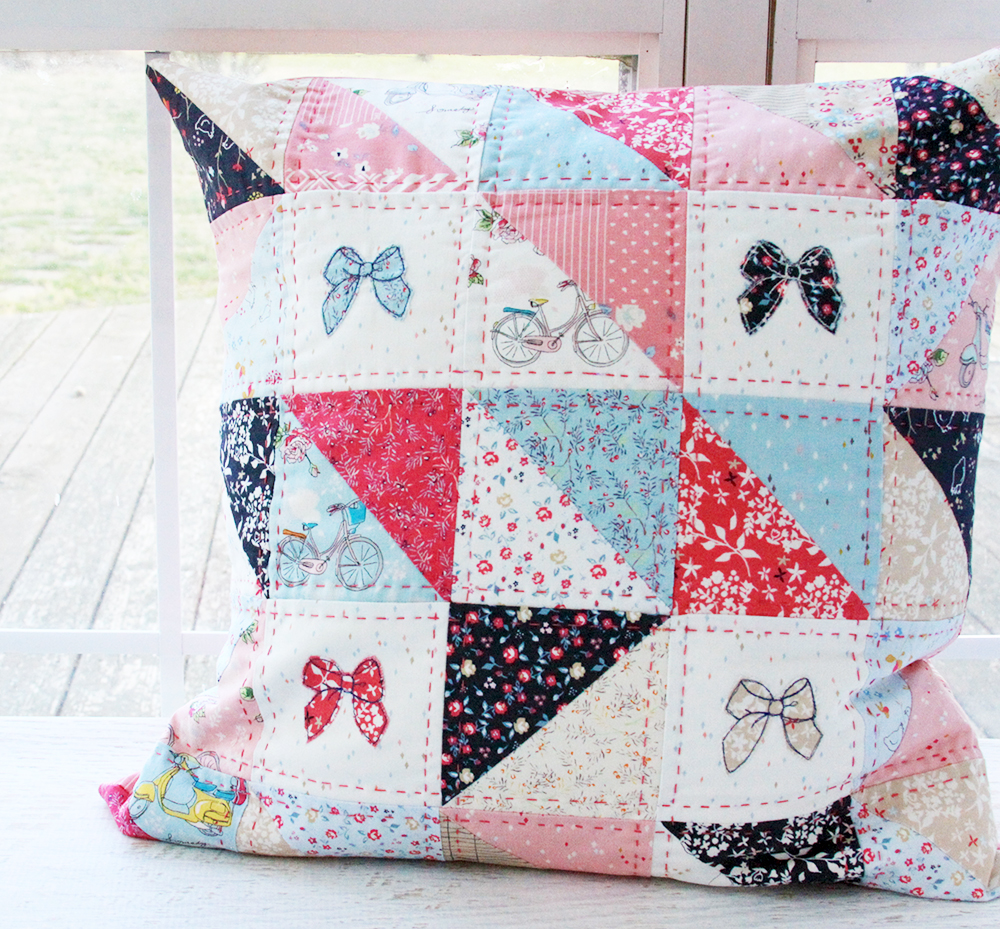
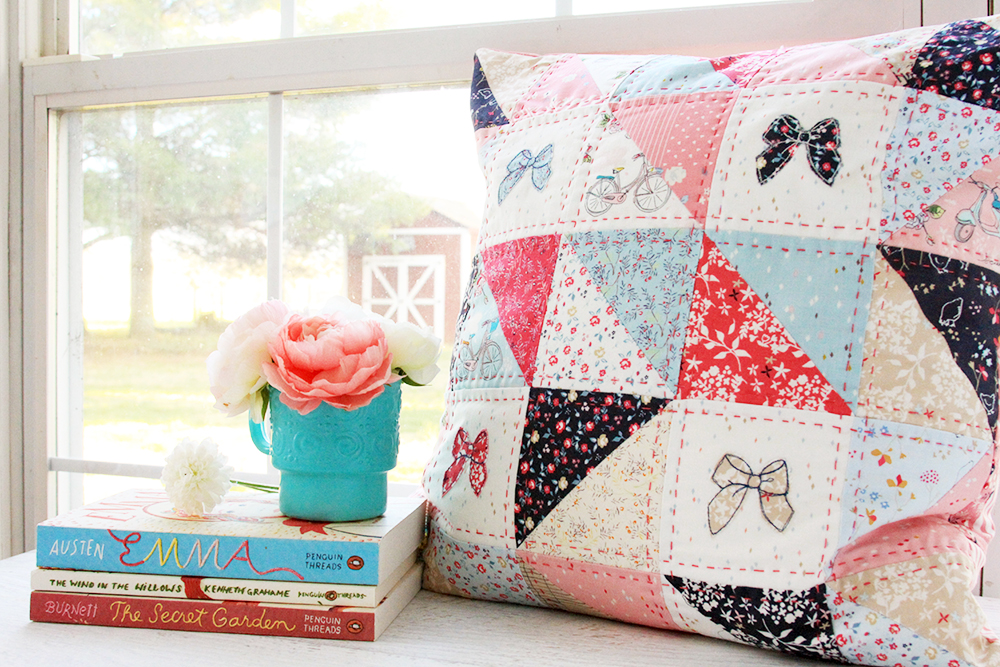
I love how cozy and colorful it is!! And how the quilting really shows off the squares! Aren’t those little bikes and scooters the cutest?!
You can find Someday fabric at quilt and online shops! And you can find more fabulous projects at Minki Kim’s website!


The Minki Kiim website is suspended when I clicked on the link. The pillow is adorable as is the hand stitching and applique in the square. What a great idea. I hope to make your bunny in love pillow first :) Thanks for sharing.
Wow! This is beautiful :) I love your choice of fabrics and colours!
Very sweet pillow and thank you so much for sharing! Happy Spring!
Cute! Cute! Cute! Another one to do! I had to make the Bunny Love pillows!! I’ve come up with another idea for a patriotic pillow.
Love this pillow, and the tutorial! Her by way of Inspiration Monday… would love to have you join us at Homestyle Gathering on Tuesday!
This came out so lovely! I really like the fabric colors you chose for it too. Thanks for sharing with us at #OMHGWW!
I love everything about this sweet pillow! I’m into month #5 of a block of the month club where I chose to use this fabric line. I just went a purchased a bit more fabric to make two pillows to accompany the quilt :-). Gorgeous job – the bows are sweet!