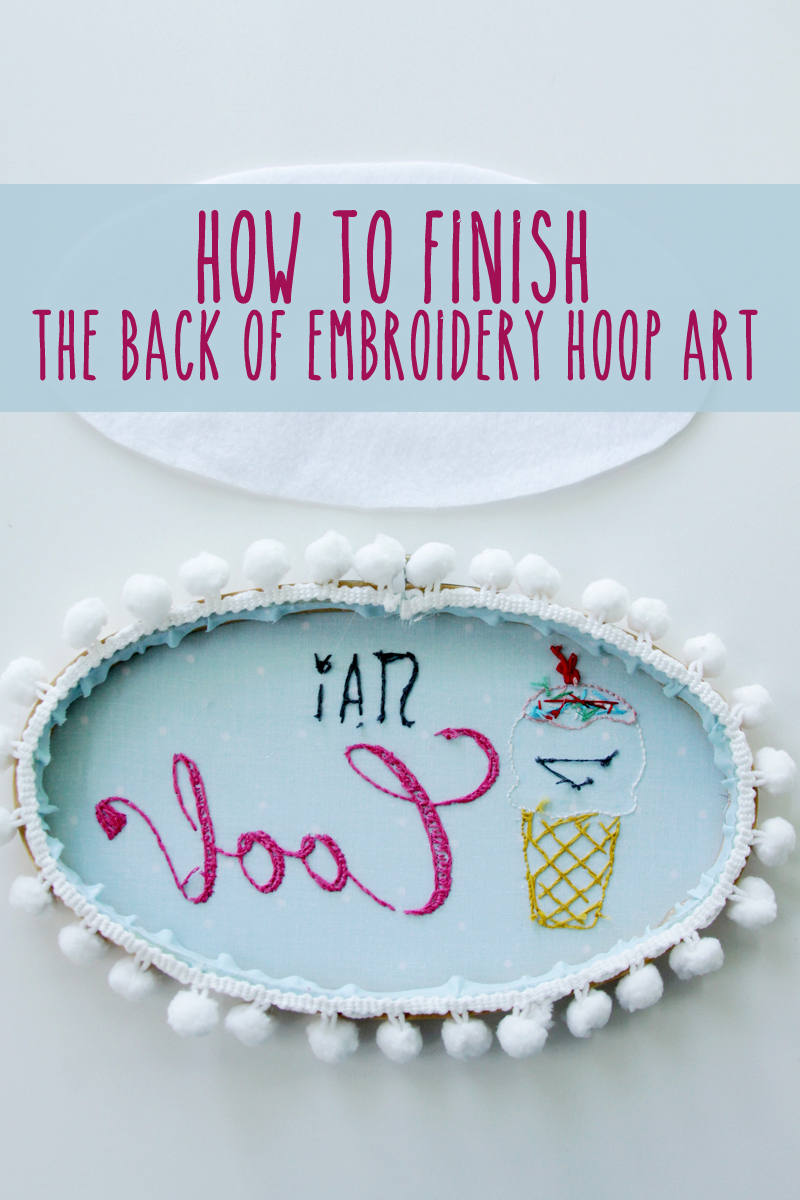
One of the embroidery questions I get asked periodically is how I finish the back of my hoops. There are several different ways to do this but I wanted to share my easy way for how to finish the back of embroidery hoop art!
This keeps the back of your hoop art all nice and tidy and hides all your stitches. It also prevents whatever wall color you’re hanging the hoop art on from showing through and changing the look of your design.
Materials:
Here’s what you’ll need!
- Sharp Scissors
- Hot Glue
- Felt – at least as big as your hoop size
Once you are all finished with your embroidery, trim the fabric around the hoop so it’s about 1/2″ past the hoop. You don’t want it too long or it will distort the fabric on the front side of the hoop. If it’s too short, you’ll burn your fingerprints off when you glue it down. Not that I’d know anything about either of those alternatives. Ahem.
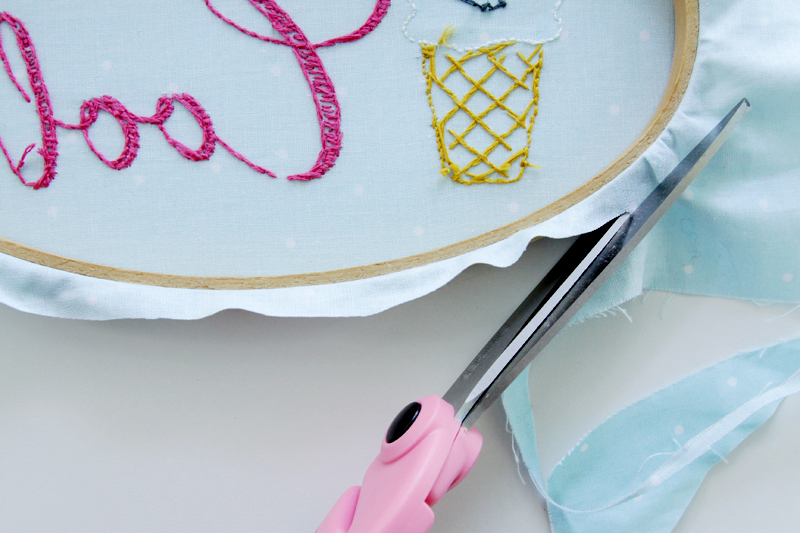
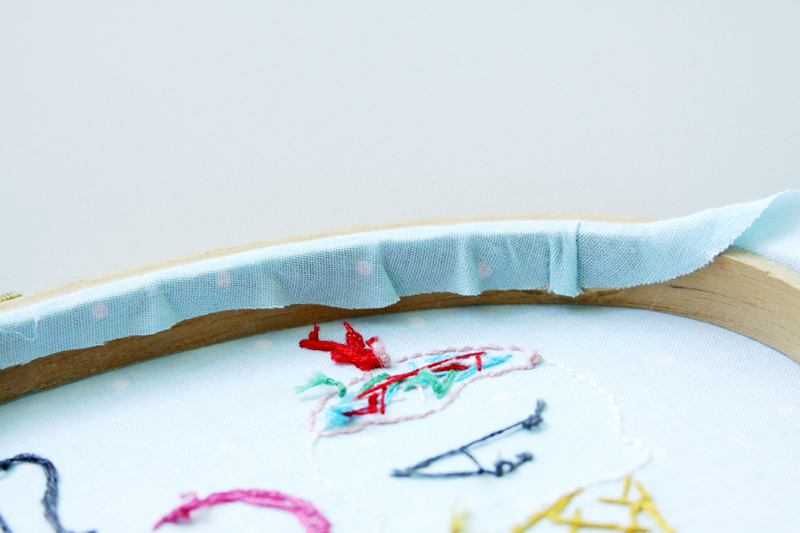
Run a bead of hot glue on the inside back of the hoop. Press the fabric down into the glue and continue around until the entire hoop is glued.
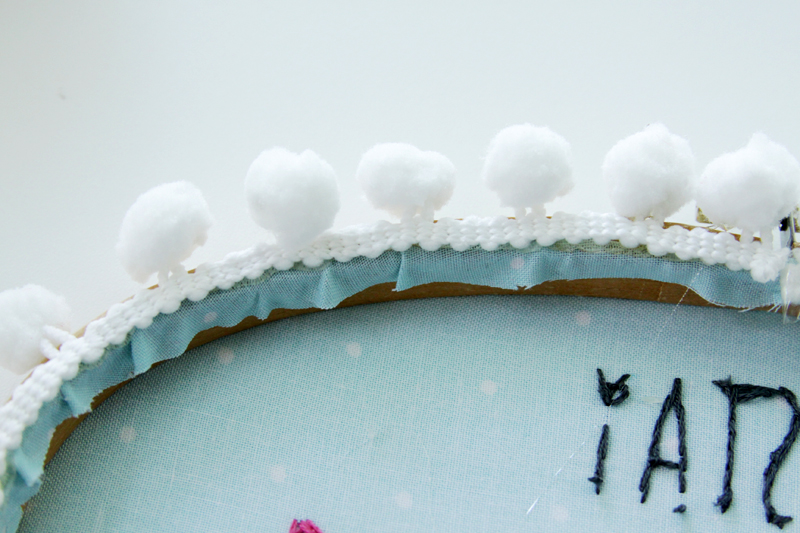
If you’re going to add any trim to the hoop, now’s the time to do it. If you’re adding pom pom trim or rick rack, glue it to the back of the hoop, so it sticks out past the edge.
Cut out a circle (or oval) the size of the hoop from felt. I typically use the cheaper polyester felt for this but if you’re making it as a gift or for something special, you might want to use the nicer wool felt.
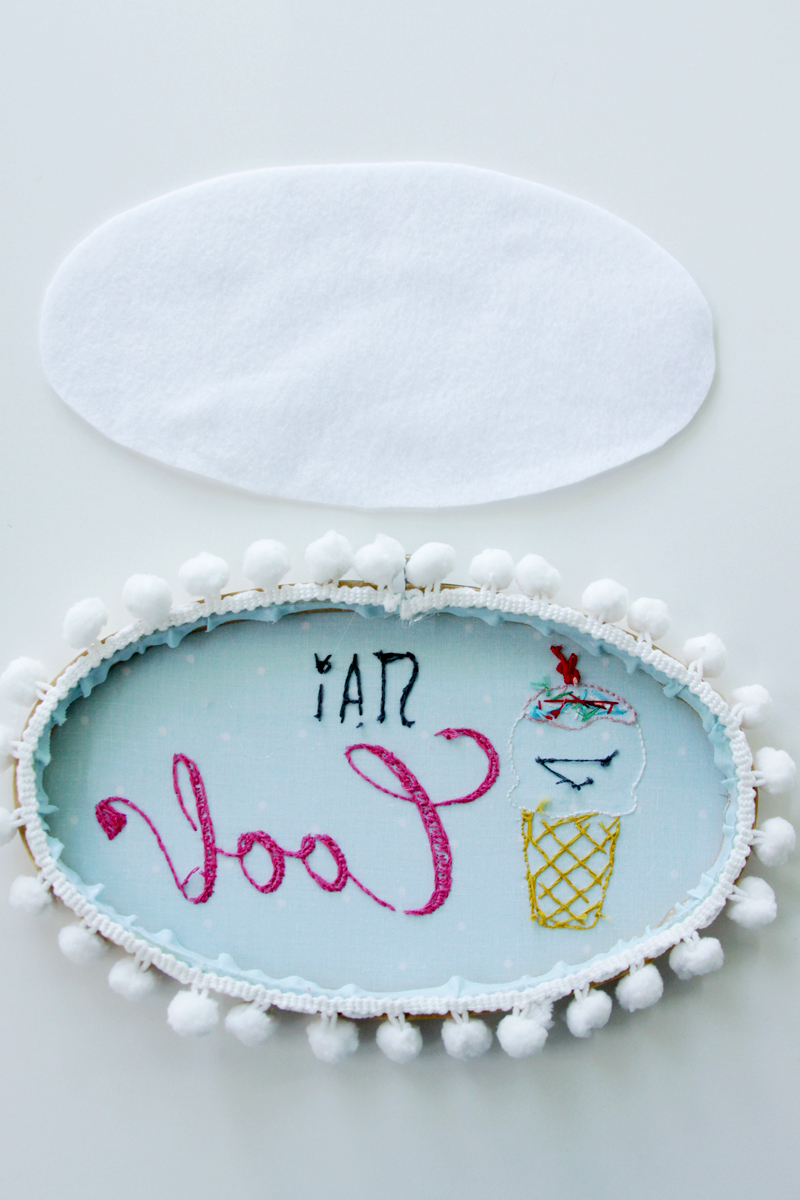
Glue the felt in place on the back of the hoop. If any of the felt overlaps the edge, trim it off, you don’t want it showing from the front of the hoop.
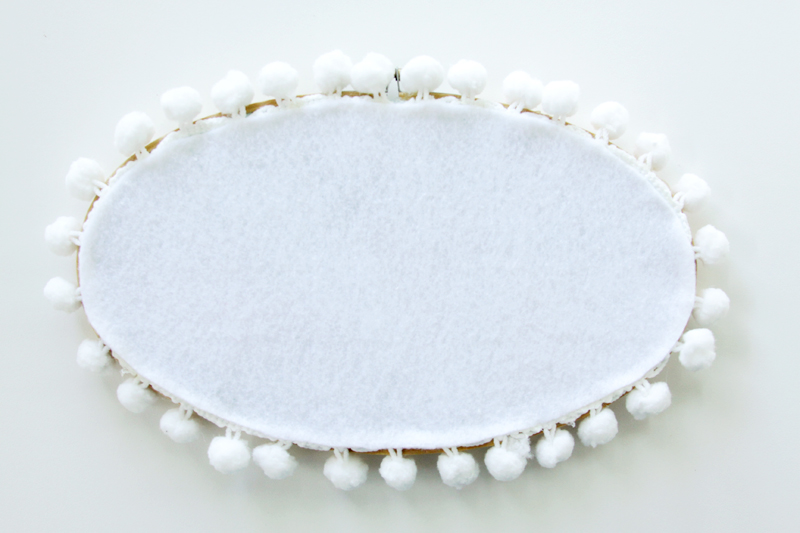
That’s it! It’s so easy and takes just a little extra time to finish off the back of your hoops.
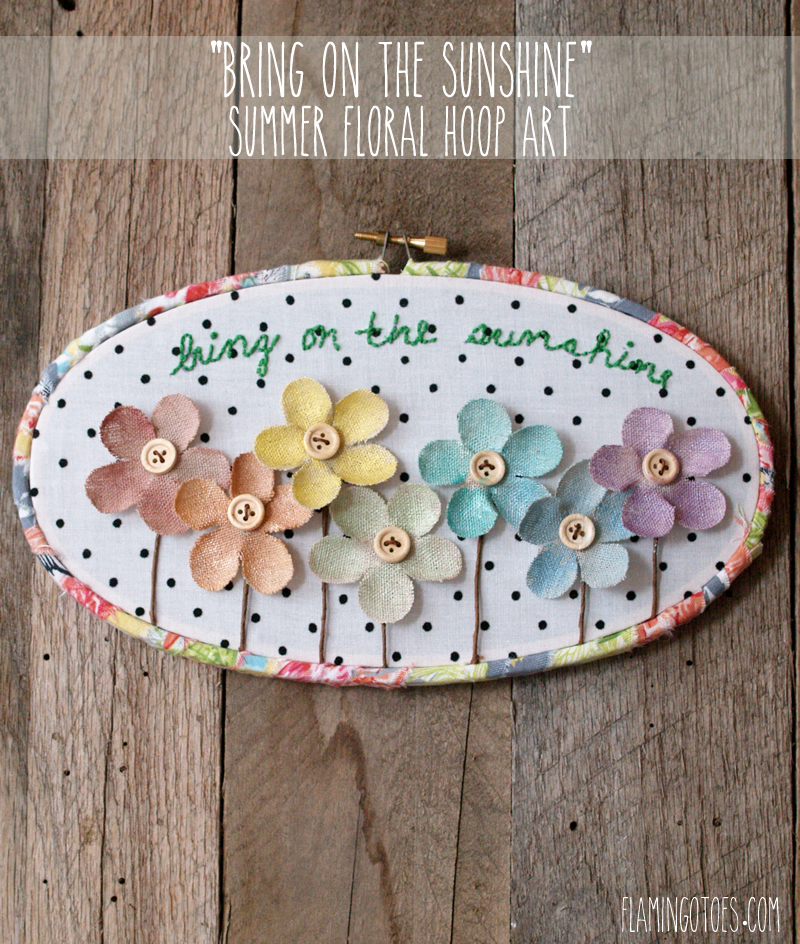
And here’s the front of the hoop that I’ve been showing! It’s a free tutorial over at 30 Handmade Days today!
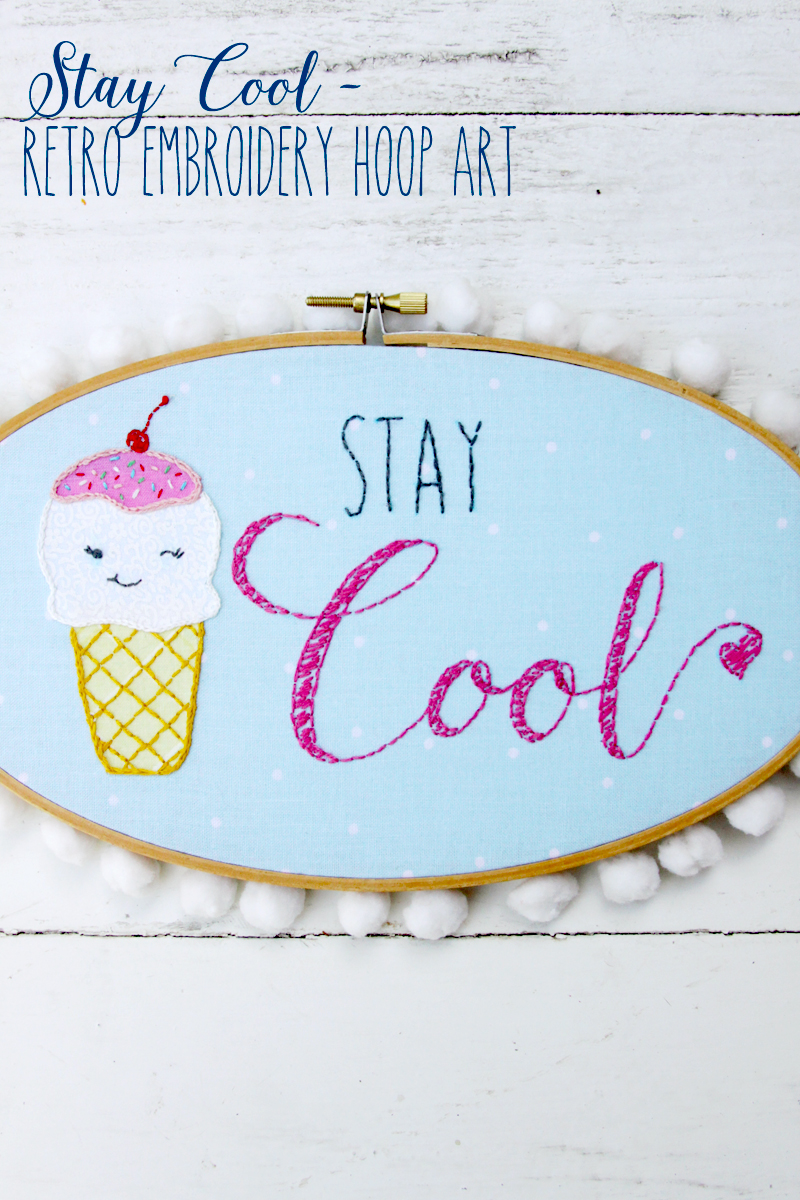
So fun for Summer right?
I’d love to know – if you do embroidery hoop art, how do you finish the backs of your hoops?
You might also want to try
Stay Cool – Retro Ice Cream Embroidery Hoop
Bring On The Sunshine Summer Floral Hoop Art


Your hoop art is always so cute!!!! I’ve got a Craft Gossip post scheduled for tomorrow evening that features your tutorial: http://sewing.craftgossip.com/?p=88802 –Anne
Love your “stay cool” art piece. My mom used to use embroidery hoops for her pieces – she did lots of embroidery and lots of pictures and pillow covers with French knots. I’d finish my hoops like you did – hot gluing a piece of felt over the back. I prefer that and felt is inexpensive and easy to use.
I haven’t made any yet… I simply ADORE your patterns!!!
This is great! When I do a embroidery hoop it doesn’t always look so cute on the back. Great way to hide it. Thanks for sharing with us at Family Joy Blog Link Up Party.
How tidy! And so pretty too. Love it.
What a wonderful idea, Bev. I bet the felt backing helps keep the hoops from being “jiggled” out of place every time a nearby door slams shut, too!
I love felt. I want to marry it. The End. xoxo
How do you hang it on the wall if the back is covered in felt?
Hi Sheilah!
I usually hang my hoops from screw at the top. :)
Bev
Under the screw that tightens the hoop? Is there room?
Yes! I usually use small finishing nails, but you can use a larger nail as well, just put the nail through the opening under the screw and then tap it into the wall.
Glad I clicked over to see about correct way to finish back of work. Nice to keep it looking and being tidy. Have learned so much more about embroidery than I thought I knew, never too late to learn.
Due to new problem with gout arthritis in right wrist/hand is getting harder and harder for me to do so many crafts. At least can still do embroidery. I was out sanding some boards today and found out how hard it is to hold boards. Then will need to paint them when Mr.Furry puts them together for me. Getting old is not for sissy’s, lol.
Have wonderful weekend