Can you believe it is Thanksgiving Week already?? Sheesh? Where has the year gone??? :)
Most of you know I live in Sunny CA. Winter to us means we might have to occasionally wear shoes that aren’t flip-flops – but probably not.
I went to college in Flagstaff, AZ though – where we had actual winters. Snow. Wind. Temperatures that humans shouldn’t live in.
This human at least. Me and cold – we don’t get along.
Unless I’m inside. Then I love to look out the window at the snow falling. Preferable with a fire crackling, White Christmas on the TV and a cup of cocoa to sip.
What can I say? I’m a bit of a weather wimp.
Now I don’t have the snow – but I still love to have the fire, watch the best Christmas movie ever and have a cup of cocoa. I can just do it and watch the ocean out my window. Much better. :)
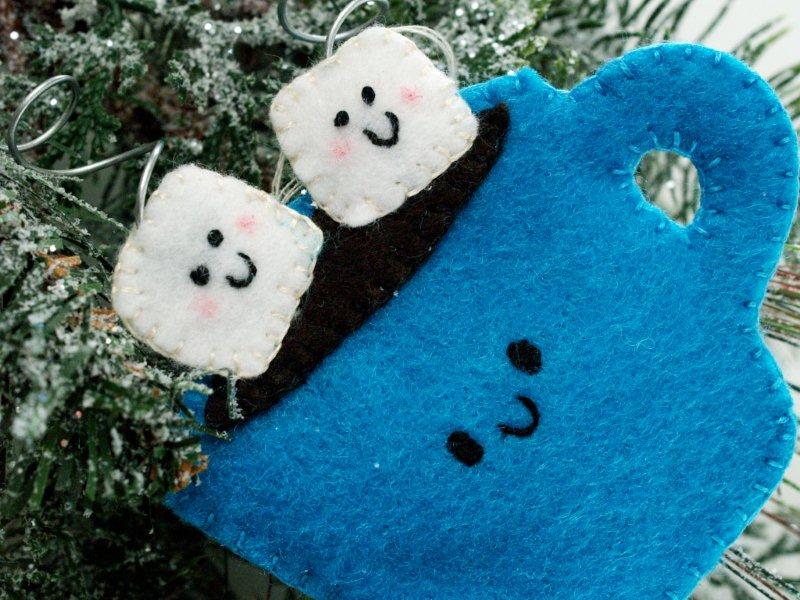
This little ornament is perfect to remind me of those cold – or not so cold – winter nights!!
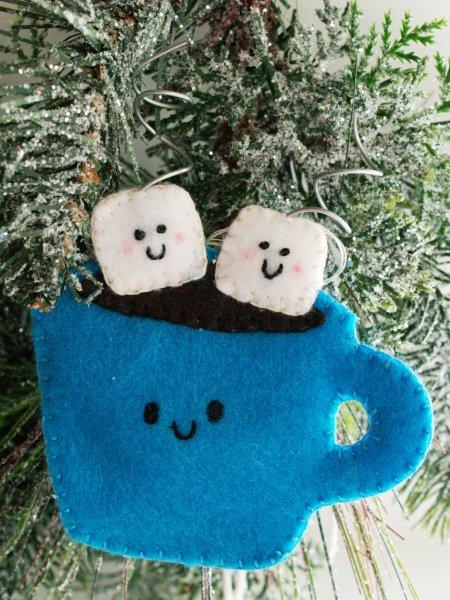
Isn’t it cute? I was in Target the other day and saw these cute pj’s in the girls section that had a smiling mug of cocoa and two little cute marshmallows on the front. I thought the idea would be perfect for a fun little ornament!
Here’s what you’ll need to make your own:
Felt – blue, brown and white
Embroidery floss – matching colors
tiny bit of pink paint
thin batting
floral wire
Pattern – click here to download
Start by cutting out all your pieces out of felt.
Place the cocoa piece over the top mug piece, according to the placement on the pattern.
Sew the cocoa to the mug using a blanket stitch.
This is super easy and not scary at all. Start by bringing your needle up about 1/4″ below the edge of the brown felt.
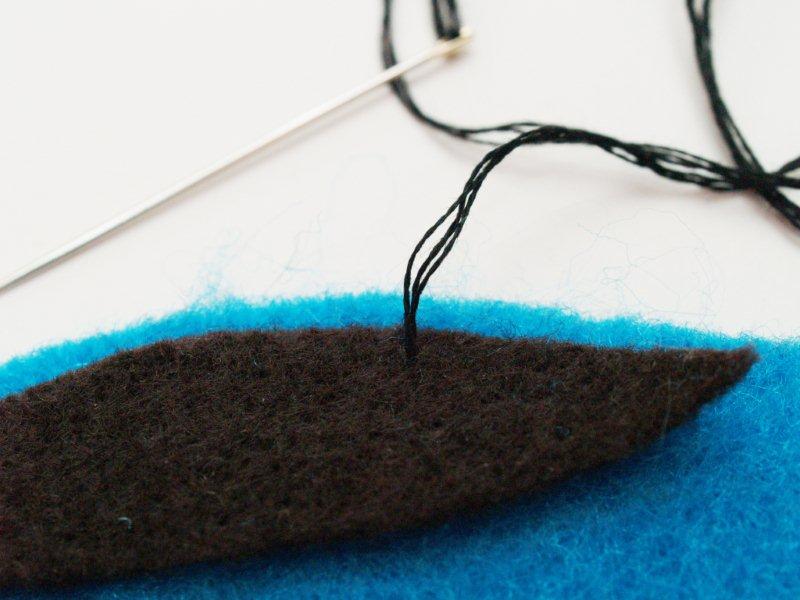
Sew a little stitch about 1/4″ from the left of this one, putting the needle 1/4″ below the edge of the felt and bringing it out just above the felt. Make sure the needle passes over the loop of thread.
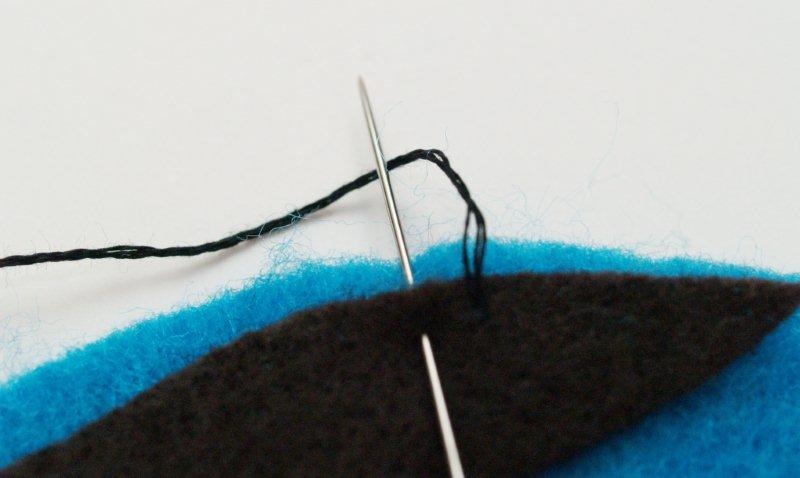
Repeat this last step again to start forming the blanket stitch.
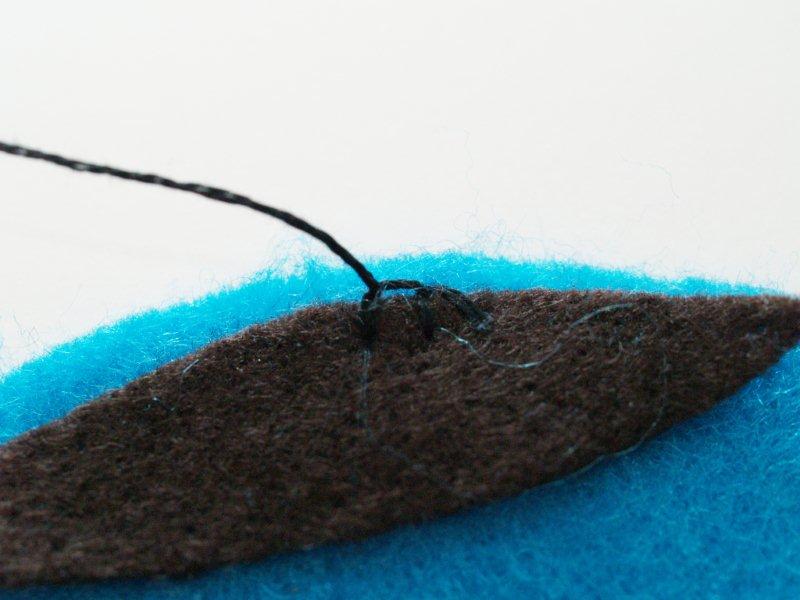
Sew all the way around the cocoa piece until you come back to the beginning. For the last stitch, loop it through the first stitch to make the thread lay flat.
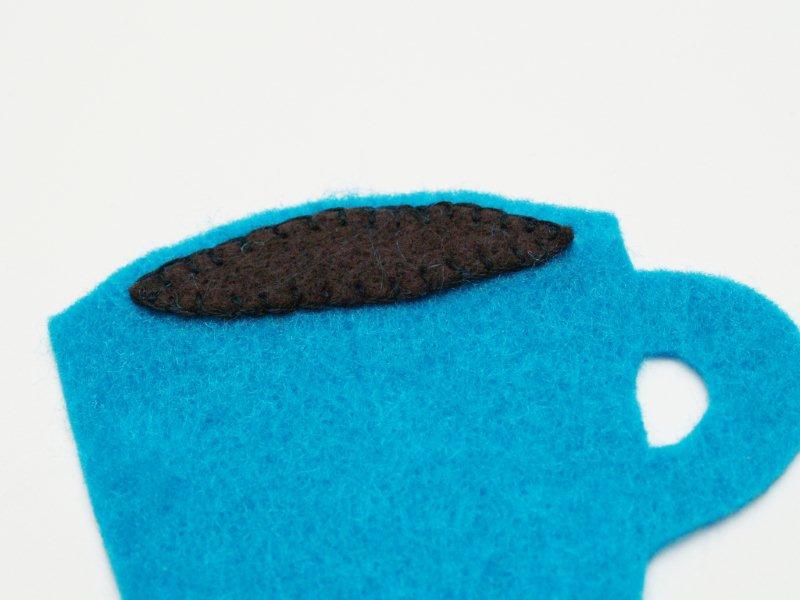
Sew the eyes and mouth onto this piece by using small stitches and following the pattern placement.
Fill the eyes in with long straight stitches.
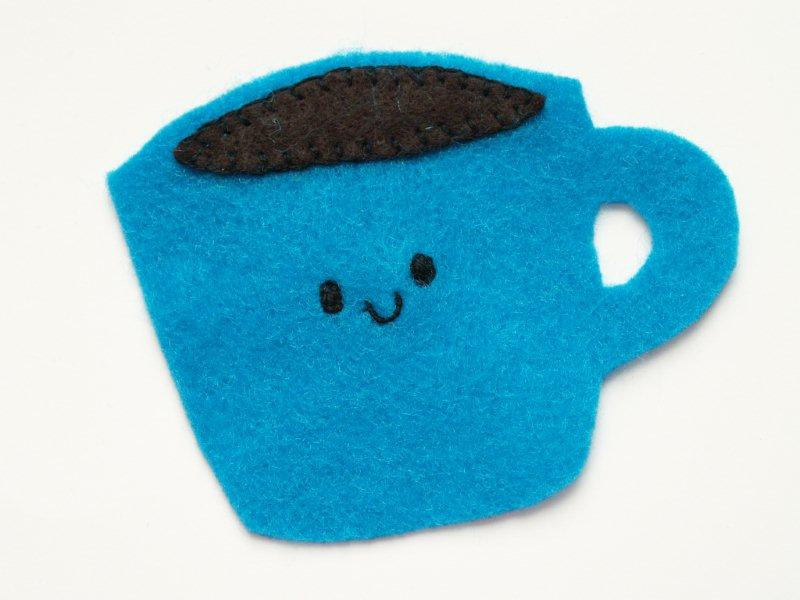
Oh so cute!!
Cut out a layer of thin batting the same pattern as the mug and layer it between the mug front and back.
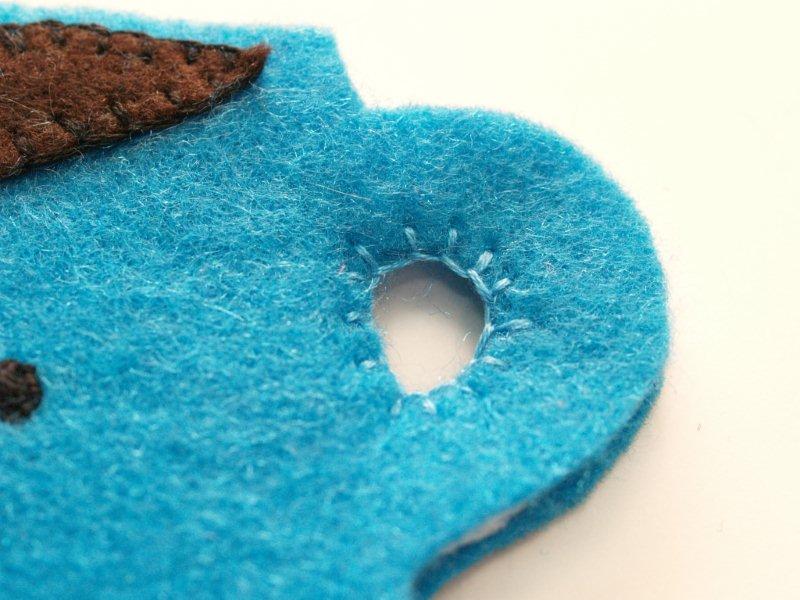
Sew together the mug pieces beginning with the inside of the mug handle. Use a blanket stitch, making sure the batting doesn’t show between.
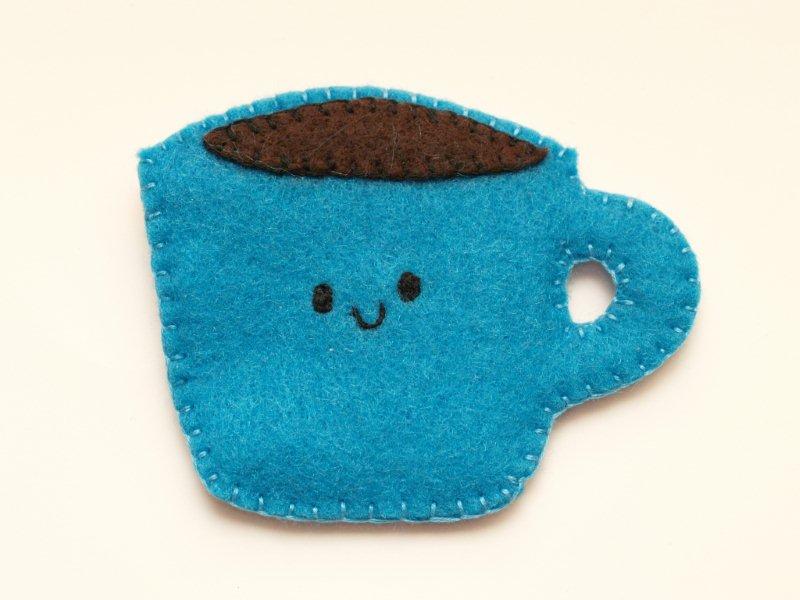
Sew together the mug pieces around the outside edge of the mug using a blanket stitch.
Make faces on two of the marshmallow pieces according to the pattern placement. Use french knots for the eyes.
Dab a tiny bit of pink paint on to give them rosy cheeks. :)
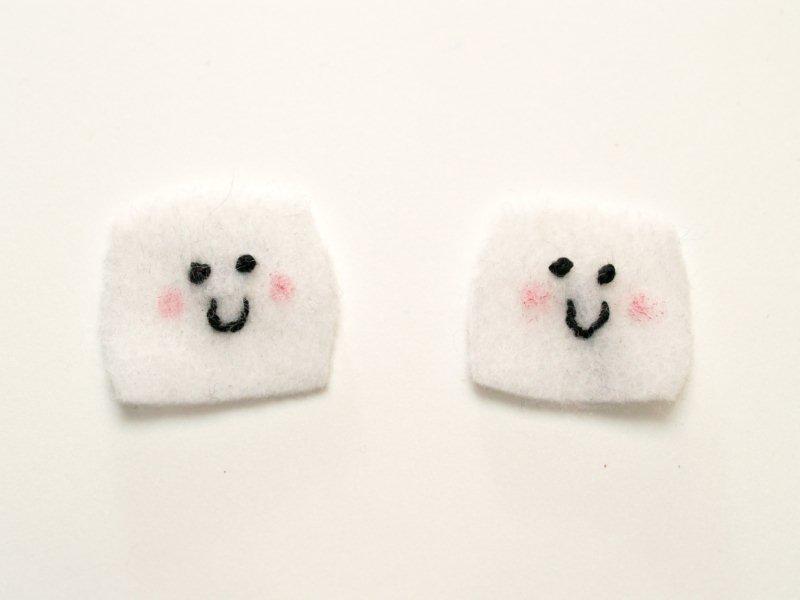
Layer together a marshmallow front and back with a piece of batting between them. Start sewing them together with a blanket stitch about halfway down on the right side. Sew across the top and down the left side about halfway.
Place the marshmallow on top of the cocoa section of the mug.
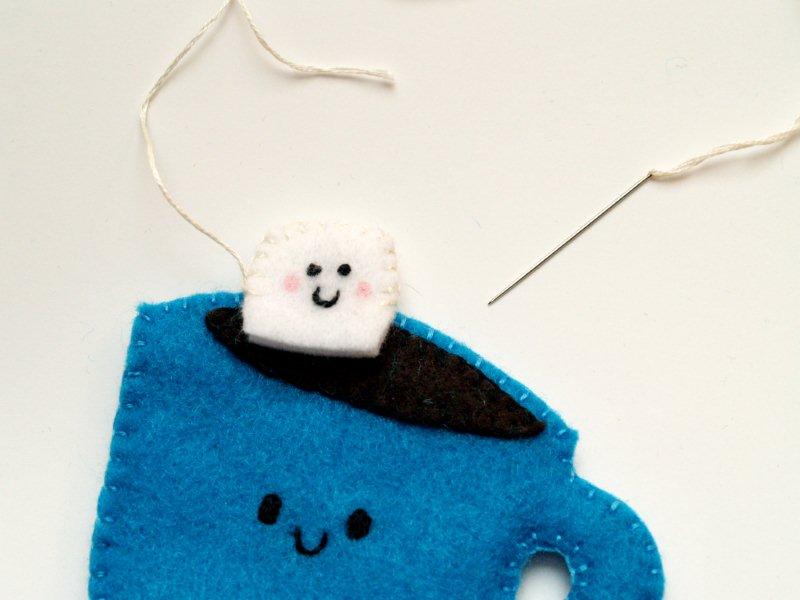
Finish sewing the marshmallow closed, but for the rest of the way around, sew it to the mug as you go.
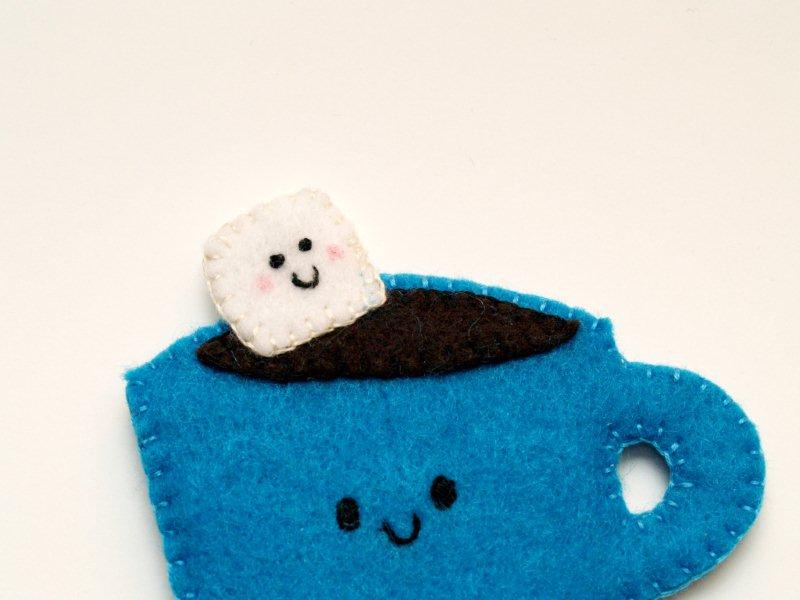
Repeat for the other Marshmallow.
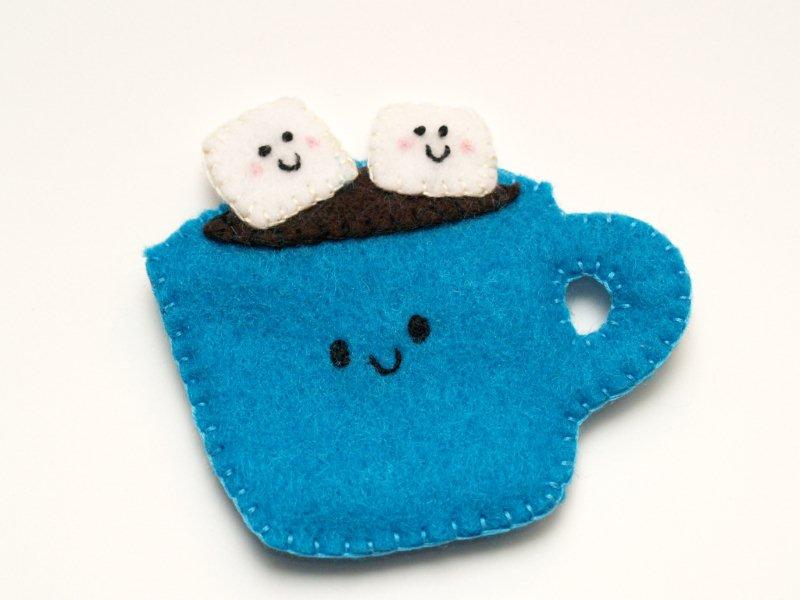
To make the steam “curls”, wrap a piece of wire around a pen or something handy like that.
This is my Party Pictionary pen. Yes, this was what was handy.
You never know when you’re going to need to draw a random doodle so someone can guess what you drew.
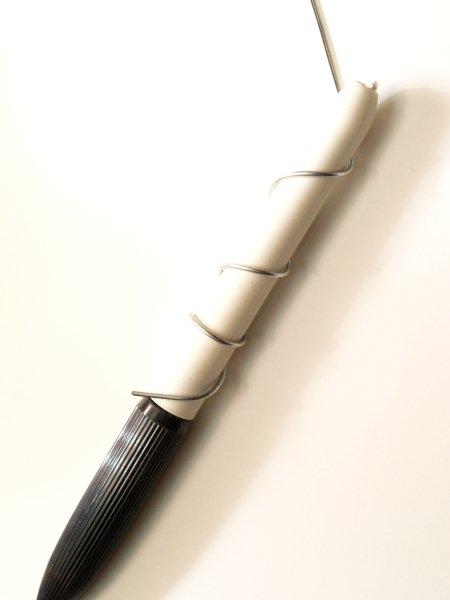
Leave a bit of wire (about 3″) on the end straight. Clip the wire.
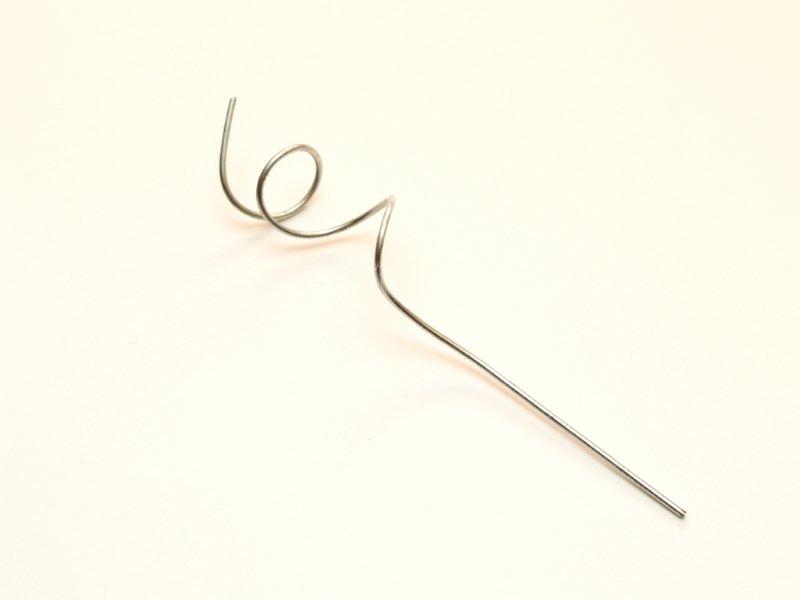
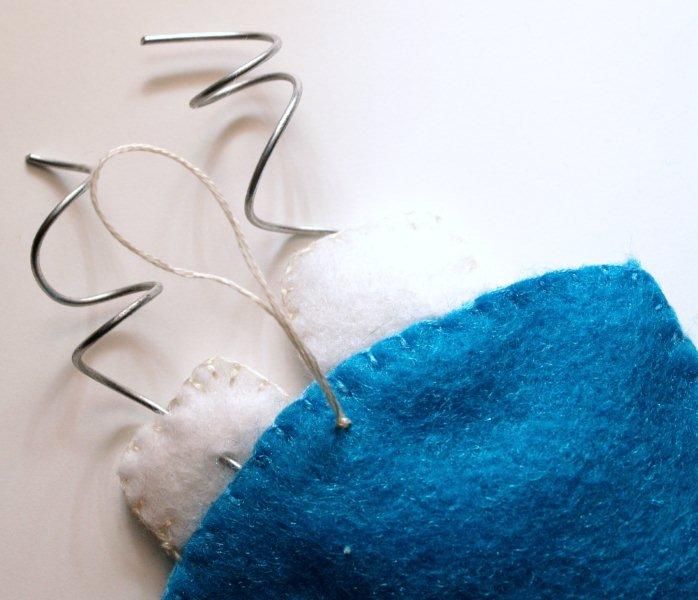
Feed the straight end of the wire down through the top of one of the marshmallows, between the felt pieces. Force it through the felt in the back just where the mug starts, then feed it into the mug pieces.
This will help it stay straight up. You can then bend and adjust the curl they way you want.
Repeat with the other marshmallow and another wire curl.
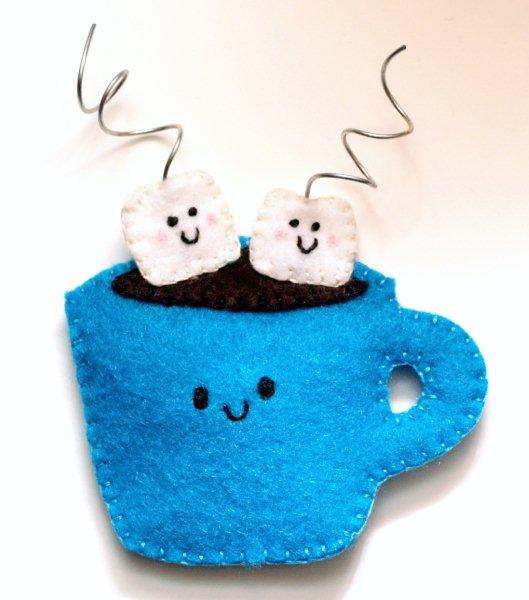
Make a loop with embroidery floss and sew it to the back of the ornament for hanging.
Admire your cute new little ornament!!

Doesn’t it just make you smile?
And want a mug of hot chocolate? :)

I hope you like it!!
(This was originally a guest post over at A Glimpse Inside)
I’m also over at Quilt Story today as part of their Holiday Gift Tutorials Series!
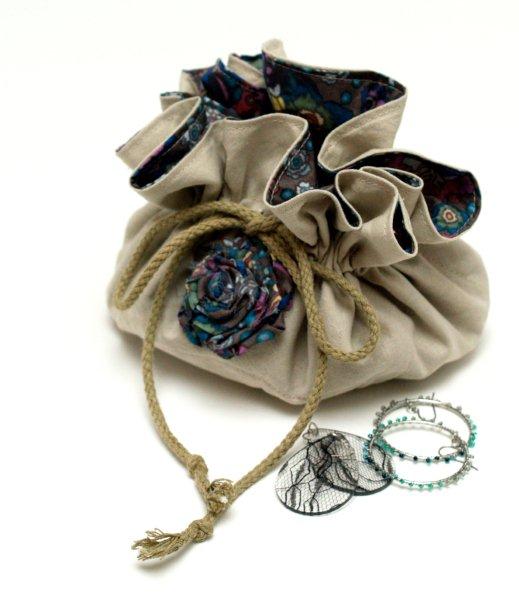
I’m sharing the tutorial for this Pretty Linen Jewelry Travel Bag!! It would be a great gift – I’d love for you to come see it!
Ok – so what do you think? White Christmas is the best Christmas movie right?? With Elf a really close second? :)
I’m linking to Sunday Scoop, Today’s Creative Blog, Met Monday, Skip to my Lou, Tutorials & Tips Tuesday, and the other fabulous parties on the sidebar – make sure you check them out!


Love it Bev! The little faces are adorable. CAUUUTE!
That is so cute!! This holiday season I’m learning to embroider. It’s a challenge. I think Elf is my favorite but mostly because the whole family will watch it and love it. I have to watch White Christmas by myself.
How cute!!!! I will definitely be sharing your link at my old-fashion christmas event I am hosting right now.
Oh, and I love the way you described winters in CA. *giggles* Yup, that definitely describes what it’s like to live in Central CA as well, although we get pretty cold whether with no snow. :(
I’m with you! Way to go mama!
Are you a Lumberjack too?!
This is darling. I am going to make a few for my tree! Thank you for a great tutorial and darling idea!
This is so adorable!!!! What a cute idea! ~ Barbara
This is beyond cute, Bev! I love their little faces. :) My son would adore one of these on our tree!
this is just adorable! I will now be following you!
A little jealous of your warm weather. I’d prefer that over Chicago winters! This ornament is SO darn cute! Love it!
My daughter knows that I am always looking for ideas that connect life skills (eye hand coordination and learning to use a needle) with holiday gifts. My students (Grades 7 and 8 Special Education) are going to make these for their family gift this year. Thank you for caring to share your ideas. They will be appreciated!
How cute. Another darling idea. I am so glad that I discovered your blog today and I am a new follower. I look forward to coming back and linking up to your link party. I would love for you to link one of your darling ideas up to my “All Things Wonderful” link party I have going on at my blog. Thanks again for sharing your talent and ideas with us!
Shauna
myshaenoel.blogspot.com
Can’t wait to make this! Featured this today at http://www.craftbuds.com/deck-the-halls-fresh-picks-for-11-27-11-winner. :)
Crazy cute! Love the “steam” and pinned this to hopefully make soon! Thanks for sharing!
So cute!! This would be a perfect addition to any Christmas tree!
I saw this and “awwww” came out of my mouth.. I’m alone. ha ha
How cute!! I will be making these for my two grandchildren this year!! Janet
Sooo cute! Love it!
Hi, I love this idea. I know (and understand) that you request that no one sell items made from the pattern. I wanted to ask – I was thinking of making these and donating them to a charity craft sale at church. The money raised would go toward charity. Would that be acceptable? If not, it is fine, I just wanted to ask. Thanks!
Hi Rebecca! Yes, you can definitely make them to sell at your charity craft sale. Thank you so much for asking! :)
Bev
Such a cute ornament. Great job on the Tutorial too! Might just have to make some of these for my family.
Thank you! I hope you give them a try!
This is so cute. I don’t celebrate Christmas, but I will be doing this one without the wire, replacing them with a loop of thin ribbon and fill it with lavender seeds in the middle as a gift to a friend who’s going through a tough patch. I may add the word Relax embroidered on the cup. She can put it in her lingerie drawer or under her pillow. In any case, thank you for this cute pattern!
This is the third time I’ve come across this cute little mug of chocolate, so I guess I should make one. The first time I saw it I thought it was a coaster. Would be the perfect gift set for a teacher, co-worker or the dreaded Secret Santa gift exchange: a coaster, and a mug with cocoa mix stuffed inside, all tied up with the ornament attached to the bow.
Thanks for sharing.
Jan
These are way too cute. I think I can make a few for treats for the table at a club gathering! I will mix and match the cup colors and — if I have time, add some holly patterns embroidery to some of the cups.
Just toooo charming !!!
OL.
Thanks for the pattern! I make a felt ornament every year for my husband’s stocking and this is perfect for this year!