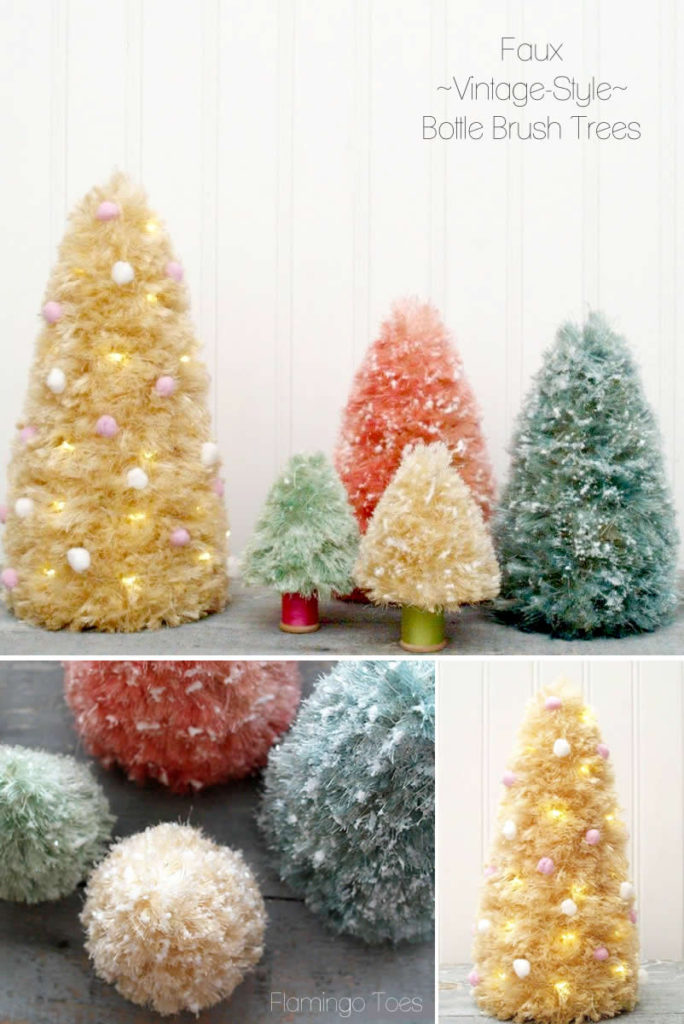
You guys. I had so much fun making this project!
I’ve been in love with those vintage bottle brush trees for ages. They can be a bit pricey though – especially those big, full ones that look all glittery and old and awesome. Or maybe you can find an ivory one – and you really want a pink one. Or a turquoise one. Or maybe a giant one!
Well I’m super excited to finally be able to make my own!
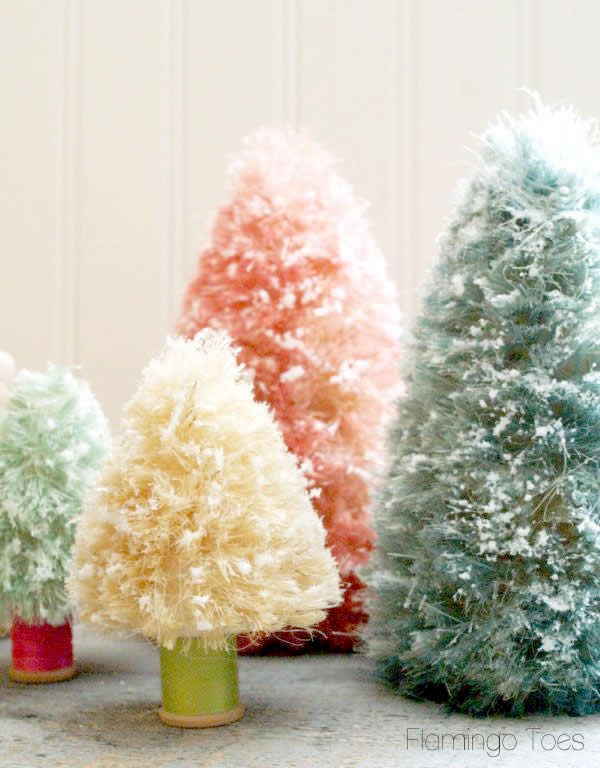
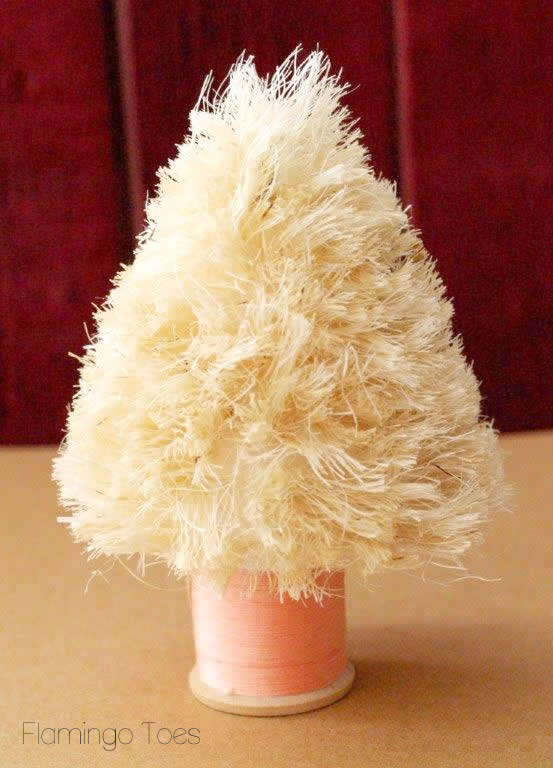
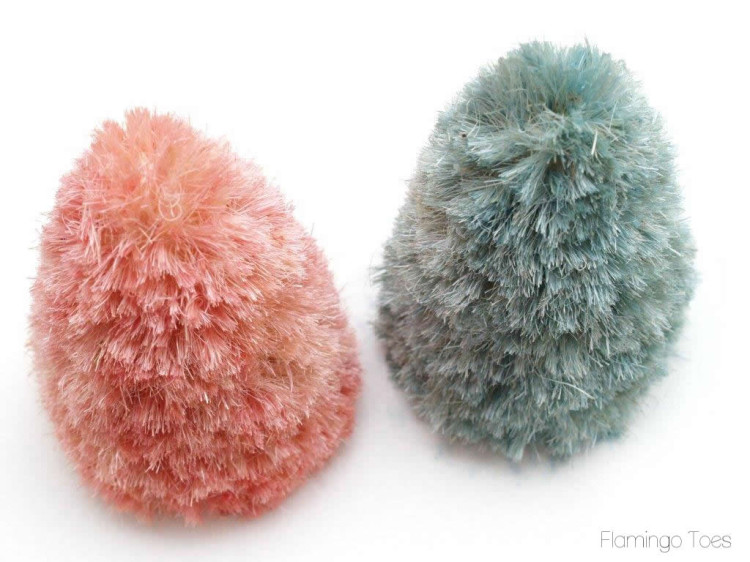
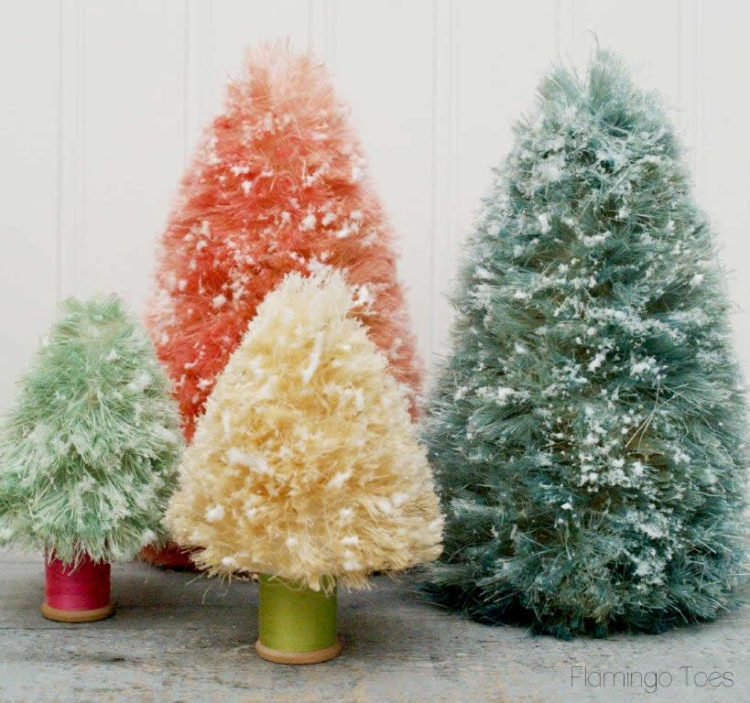
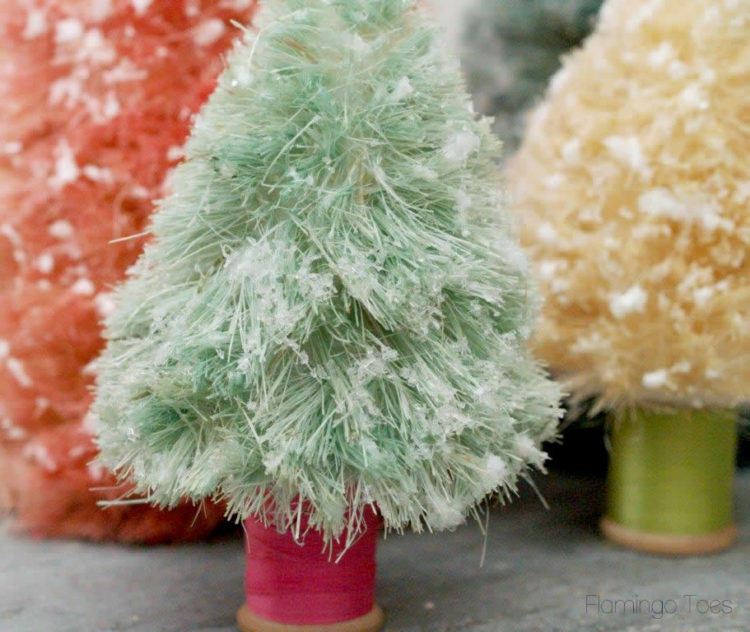
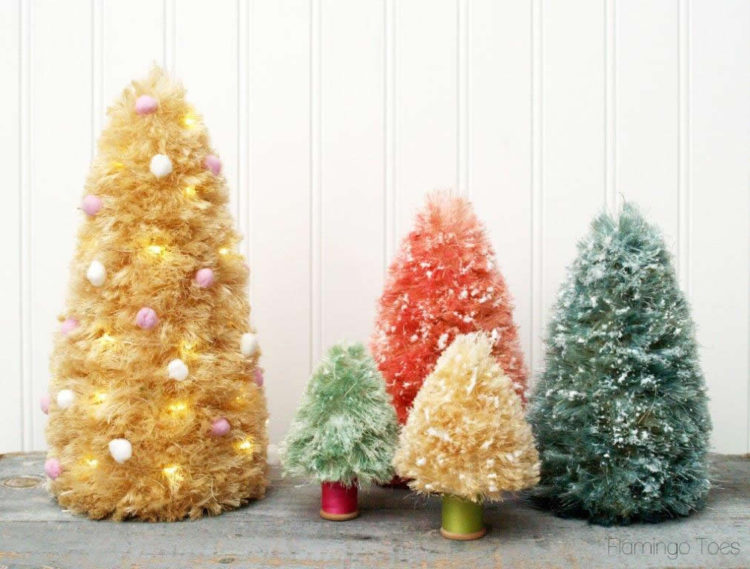
Aren’t they pretty colors? I love the spool bases the mini ones have too. Those were some vintage thread spools of my grandma’s!
They have a pretty dusting of Diamond Dust too – so they really sparkle in the light.
So here’s your handy dandy tutorial!
Materials:
- Assorted sizes of FloraCraft® Make It: Fun® Foam cones
- Sisal rope
- hot glue – lots of it
- fabric dye
- sharp scissors
- trims or lights (optional)
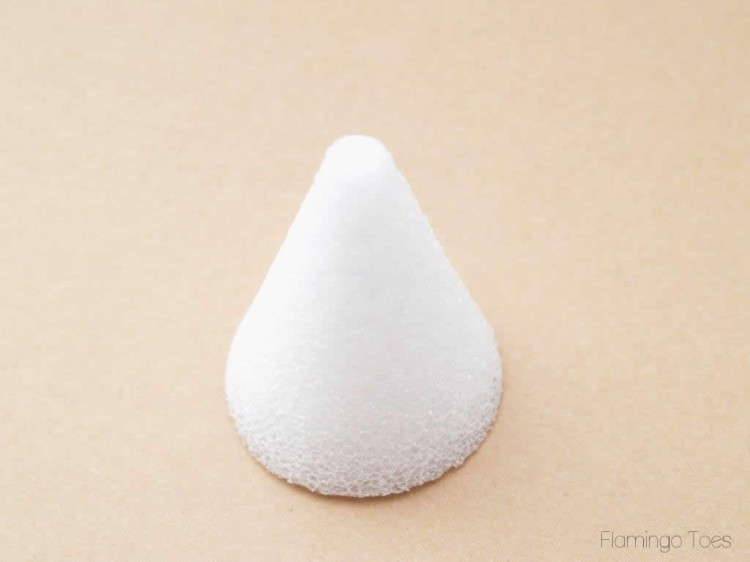
Start with a mini cone – that way you can begin with a small one and get your groove before tackling the giant ones.
Cut your sisal rope into 1 1/2″ pieces (ish). Unravel the pieces until you get to the small strands of rope.
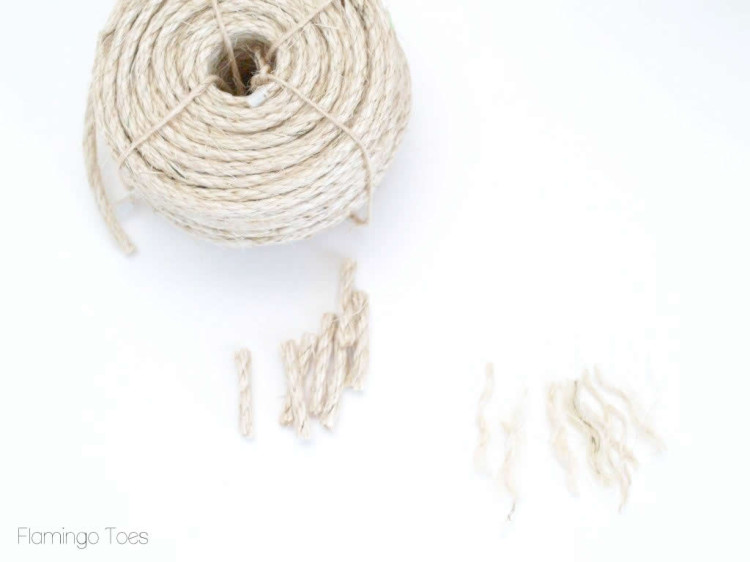
Fray these smallest strands even further, so they are completely loose. Fold the pieces in half. It helps to make up a bunch of these folded pieces at a time.
Begin by gluing the pieces along the bottom edge of the cone. Run a bead of hot glue and along the base and press the point of the folded pieces of sisal into the glue. The ends should stick straight out.
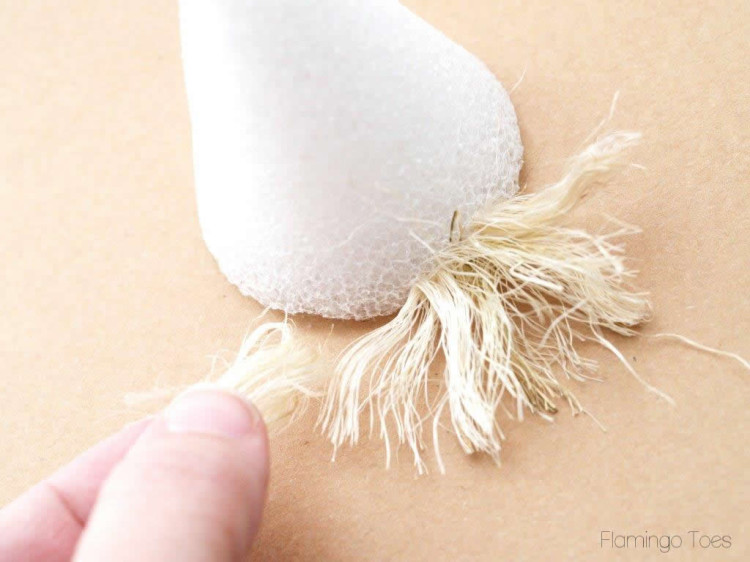
Keep adding glue and rope all the way around the base.
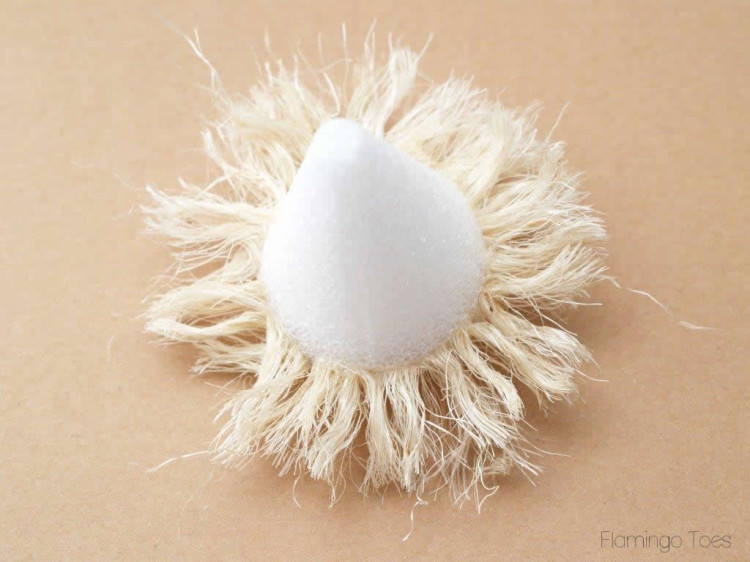
Continue gluing rows of sisal, working your way up the cone. This is after three rows.

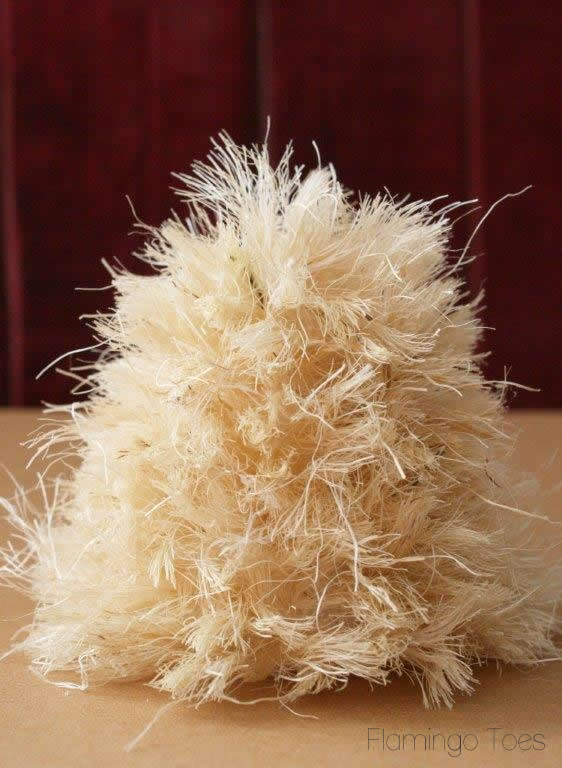
Finish gluing the sisal all the way up the cone. Point the top pieces of sisal straight up.
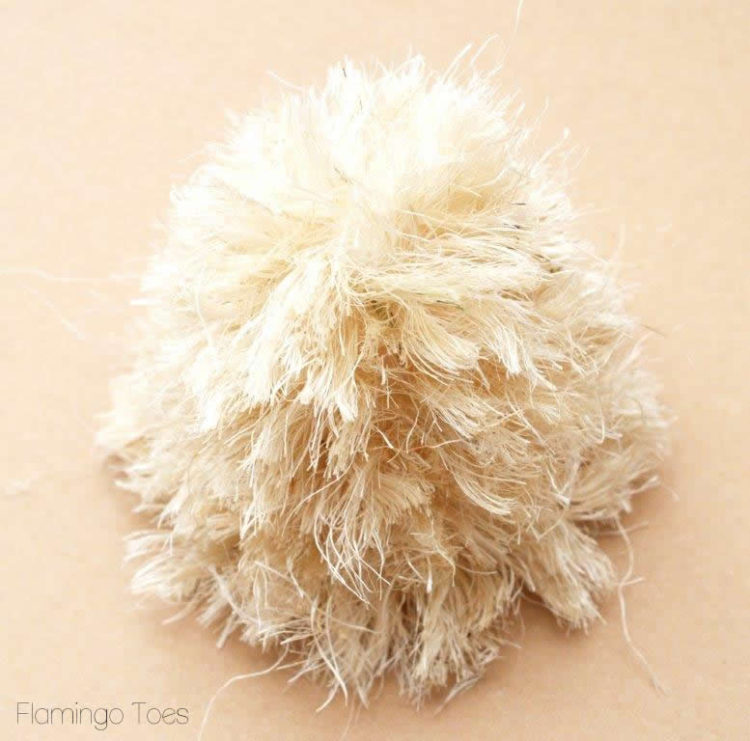
Ok. I know you’re thinking we’ve made Cousin It with a bad bleach job. Hang in there.
Grab your trusty sharp scissors, it’s time for a haircut. Hold your tree over the trash can or other mess catcher. Start trimming the tree along the shape of the cone.
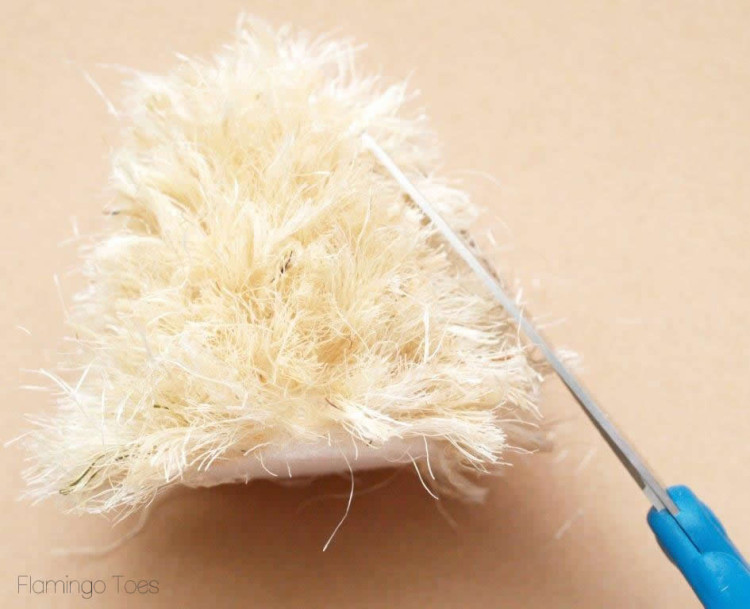
Work all the way around the cone, trimming so that the tree has a nice triangle shape and the bottom row is trimmed evenly and close around the cone.
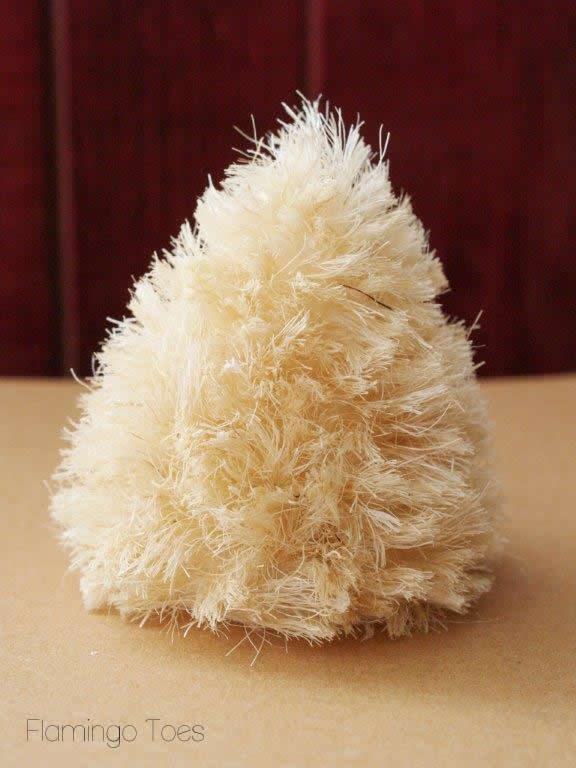
Ahhh. Much cuter.
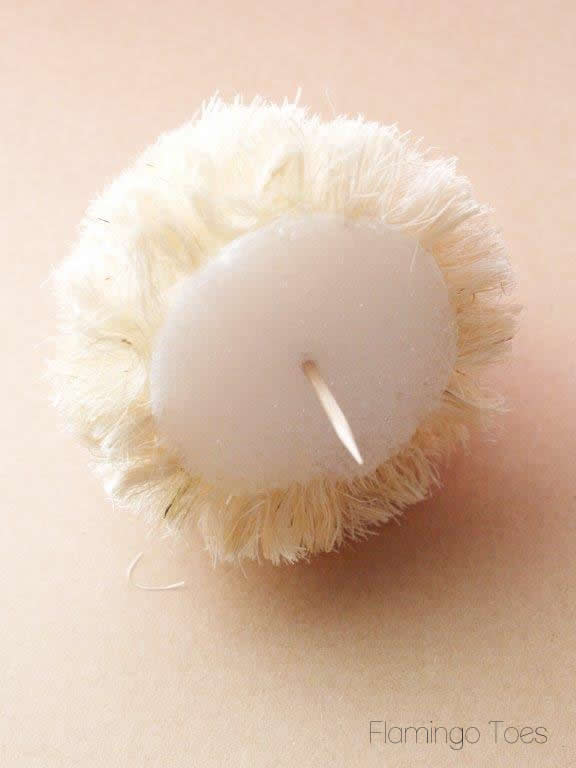
Now you can finish your cones any way you’d like. If you want to just place the cone in a base, you can add a toothpick into the bottom center to hold it.
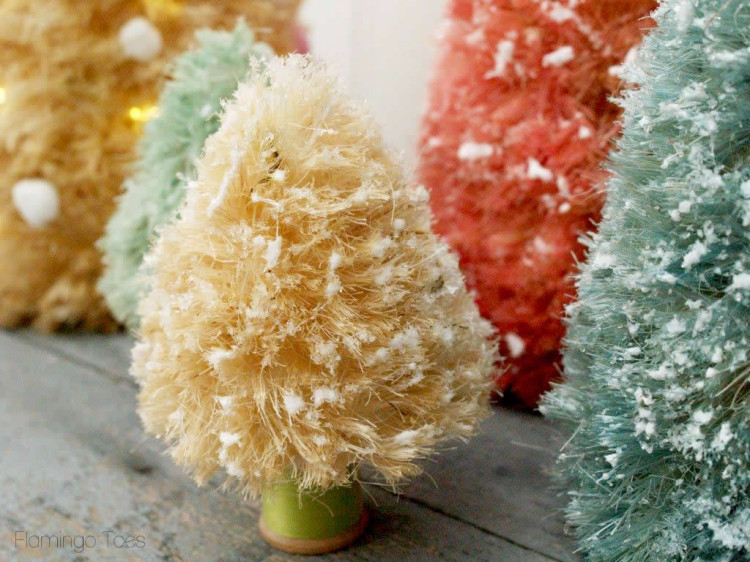
Pop your cone onto a thread spool for a cute display!
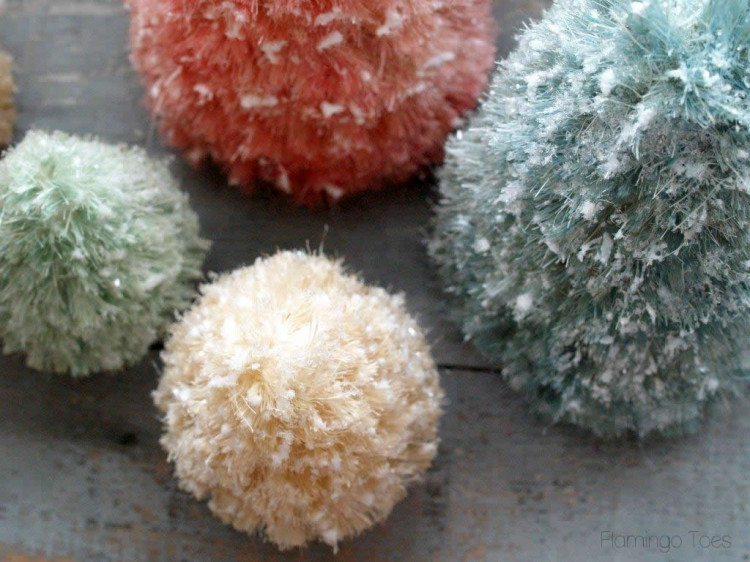
Dyeing your trees is super easy. Just pour about a teaspoon of dye into about a cup of water and put it in a spray bottle. Lightly spray the trees until they are the color you want.
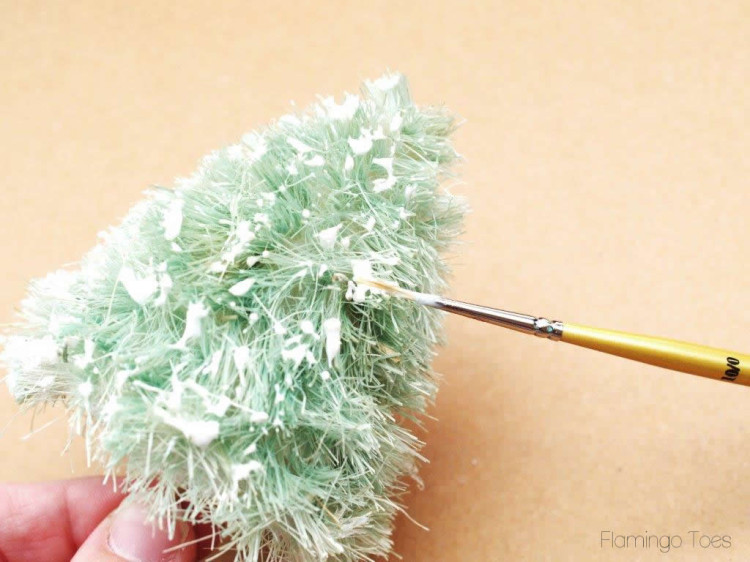
Adding glitter is super easy too. Dab some glue on the bristles and sprinkle the trees with Diamond Dust or glitter.
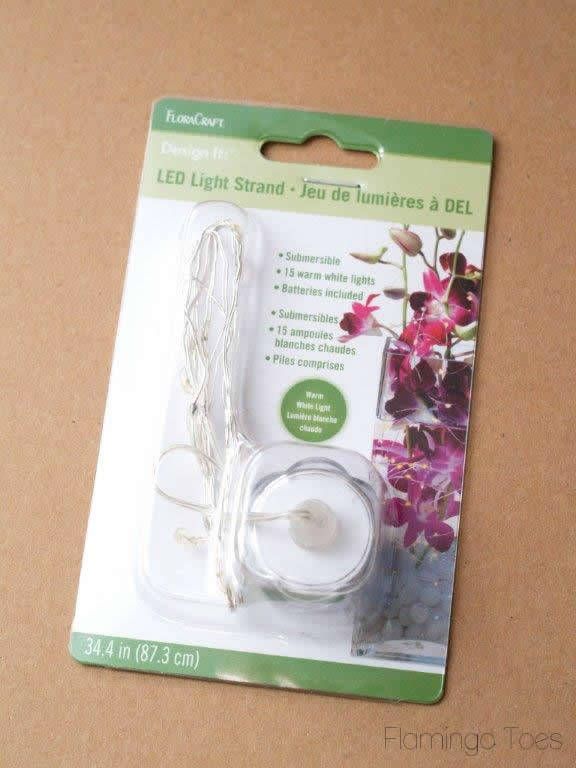
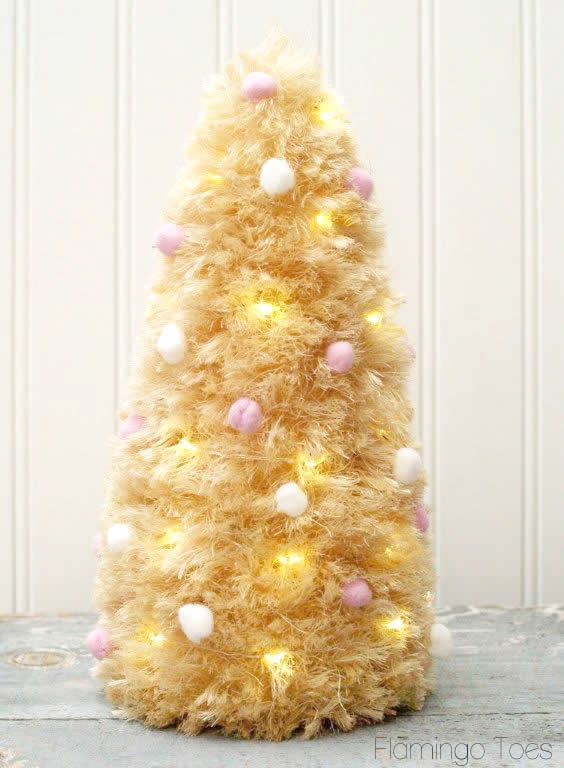
You can add lights to your tree too! These tiny wired LED lights are perfect for wrapping around your trees. My big tree took two strands.
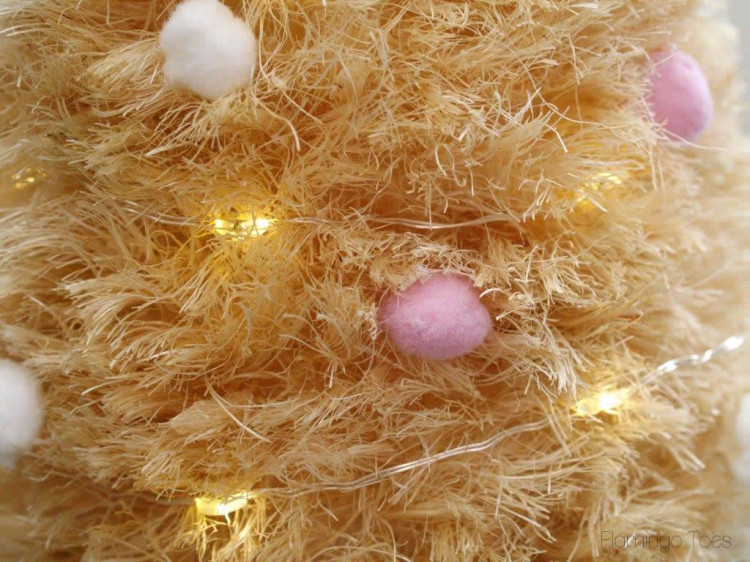
I wrapped them around my biggest tree and then added some little pom poms for color.
Here’s a super close up so you can see how thin the wire is.
That’s it!! Aren’t they fun?
Disclosure: This post is sponsored by FloraCraft. All opinions are my own! :)
If you want some more Christmas projects and fun craft ideas, you can check out MakeItFunCrafts.com and CraftsnCoffee.com!
So what’s your Christmas style? Do you decorate Retro? Modern? Colorful? I’d love to hear!
Linking up at Met Monday, Tutorials & Tips Tuesday, Shabby Creek Cottage, 504 Main, The 36th Avenue Party, Block Party, and the other fabulous parties on the party page. Make sure you check them out!


Absolutely gorgeous — and brilliant! I love bottle brush trees, too, and never thought about making them. Love this idea — you can make them any size you want. Thank you!
Thank you so much Sharon!! I love the size options too – now I want to make a giant one!! :)
Loved your tutorial! Beautiful& so easy!
Thanks Lisa!
I love these!!! All the other tutorials I’ve seen use bleach to make green trees white, and since I refuse to use bleach in my house I was bummed I couldn’t make them, lol!
Thanks for the tip! :)
Thanks Krysta! That’s why I liked them too – none of that bleach mess! :)
These are so awesome Bev! Love them!!
Thanks Denise!
These are beautiful! I love that you can make custom colors depending on your decor. Pinning and sharing!
Thanks Jen! It’s so fast to add the color – makes me want to make up a bunch more! :) Thanks for the shares too!
These are so cool – i’ve never seen this technique before! And they are so easy to customize!
Thanks Rebecca! They were so easy to make!
I feel like these are LIFE CHANGING. Seriously. I’m going to make an ARMY of these!!!
Thanks so much for the tutorial. I have always loved these trees. Can’t wait to get some made this week.
Oh oh oh, you did an excellent job, I love them so! I’m a child of the 60’s and we had those neat candles made with melted wax in a quart milk carton and they came out all lacy. I wish someone would make a tutorial on those, they were so pretty! I should google that, surely they are out there. Again, your unique bottle brush trees are great, and your tutorial is wonderful! I’m all inspired now!!
This is so cute! Lov it,Thx U for sharing!!♥♡♥ : )
i have been following you for a few months, love and am inspired by your work but, those trees are outstanding!!!!
Such a good idea. Thank you for making it easy.
they look so soft and fluffy and lovely. but before reading the DIY I thought that you had made them by fluffing out brushes (ones we use to clean bathrooms) or bottle brushes and hence the name…;)
OK… You have outdone yourself here Bev!!! These are so awesome I have to run right out and get some sisal rope and just “hole up” and play!!!
Um… can I just say “heck yeah”??!!! Every once in a while a DIY comes along that makes me wanna break into song…. WHAT a glorious tutorial!!! Gorgeous craft… truly innovative. I’m a lover of vintage bottle brush trees, and I’m a mad fiend for decorating tiny trees from Michaels and hand sewing little burlap + fabric xmas tree skirts for them and giving as gifts…. but your bottle brush trees are soooo much cooler to start with than a little store-bought faux tree! ADORE the cute ‘spool’ bases, and the diamond dust… its all just brilliant! Its a little late for me this year, but I’ll buy supplies in bulk post season and be ready to rock for next year! Thank you so much… what a fabulous feeling to have next years gifts conceived of before this holiday has passed. And seriously….. CUTE! (happy dancing my way to pin your lovely tutorial!)
Hugs & Hope,
rachel of OddModicum
http://www.OddModicum.etsy.com
This is nothing short of brilliant, Bev! You’ve made those charming vintage-style trees accessible to everyone. Love, love, love those soft pastel colors. Where did you find your sisal cord?
Jenn
UM this is amazing!! A-MAZ-ING!!! You did a beautiful job on the project and the tutorial… one of my Bev-faves and that’s saying a lot since I love your work!
Oh Malia you are the sweetest!! Thank you so much! I really had a lot of fun making them!
Thanks for this great tutorial Bev. I have been having fun this season bleaching the green trees but had not thought of making my own! Pinning.
Thanks so much Carol!! I think the bleaching sounds fun too! I’ll have to give that a try next year! :)
Beverly, These are darling! When I first saw them I thought you lightly spritz them with color after bleaching pre-made trees. I an definitely putting this on the list of projects for the future. I will share your link on my Facebook with credit to you because I know I have some friends who are going to flip for these special Christmas trees.
What a fabulous DIY! so clever, so cute.
Okay, these are TOO fun! I love the look and NEVER would have guessed how you made them! LOVE!!!
These are awesome! I was wondering what color(s) of dye did you use to get your tree to be a mint green/seafoam green color?
Love these. Can’t wait to make some. Thanks for the tutorial! xo
I love this craft! If I can find the time (a big IF) I am definitely making these!
These are absolutely adorable and i cant wait to make me some. Thanks for sharing!
These are so lovely. Thinking of making them for my daughter’s winter ONEderland birthday party!
Wow..so cute and creative..but my word I don’t know. How long does it take to make one?
You have the patience of Job!
Doesn’t the hot glue melt the styrofoam?
If you use a low-temp glue gun, you’ll be fine!
This is genius! I have been searching relentlessly for a ‘diy bottle brush tree’ tutorial and had given up hope of ever finding one, let alone one so simple and amazingly adorable. I stumbled upon this post completely by accident and I’m so happy I did! Thank you for sharing this, it is people like you who make diy possible for the rest of us!