I’ve been wanting to an initial project for a long time – but there are so many great projects out there – I just couldn’t decide what to do. Then I came up with the idea to make four – a personal initial for each of us!
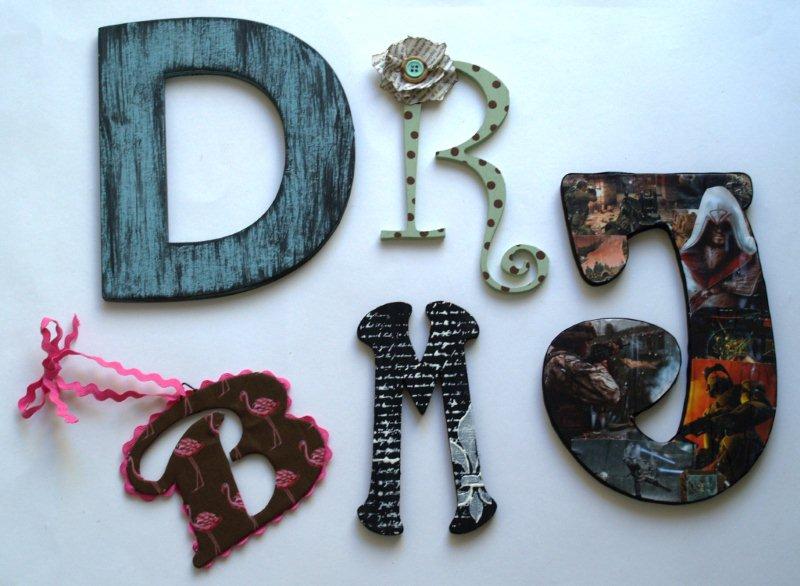
Want to see what they look like?
I have a mini tutorial for each of these. I didn’t go into tons of detail since there were 4 letters, 5 if you count the “M”, and I didn’t want to set any Long Post records. :)
Here’s a supply list for what I did – but you could use any materials that would be personal to you.
- Letters – Mine were metal, wood, chipboard and MDF – I got them at Hobby Lobby
- Paint
- Magazine images
- Fabric and . . . wait for it . . . Ric rac
- Black Grosgrain Ribbon
- Book pages and buttons
- Elmers or Mod Podge, Hot Glue
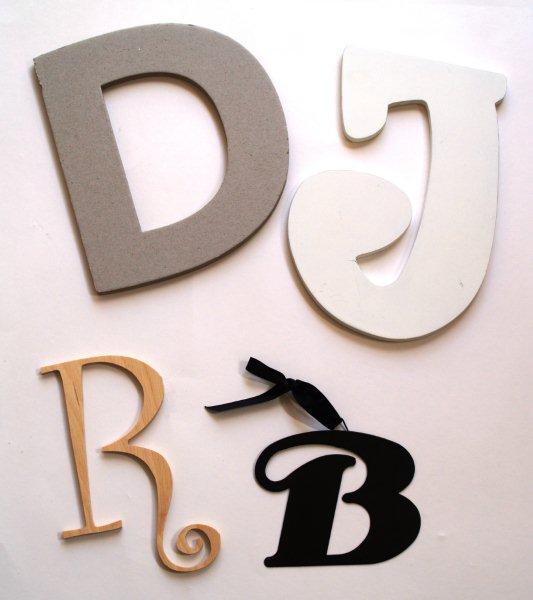
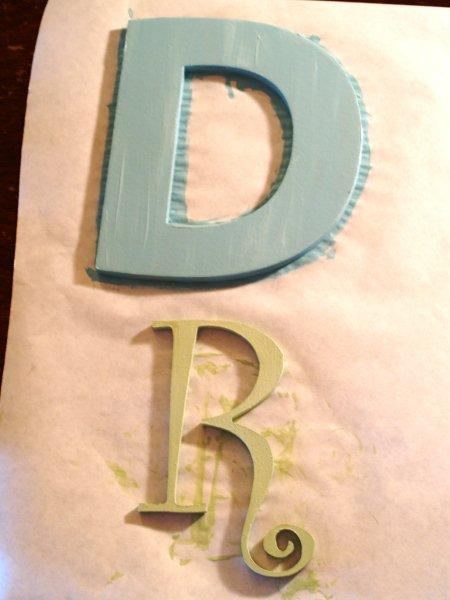
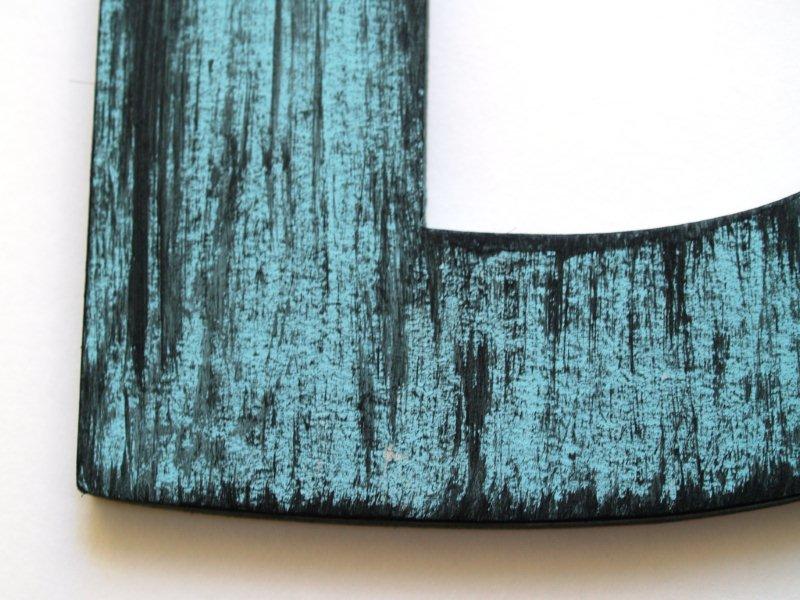
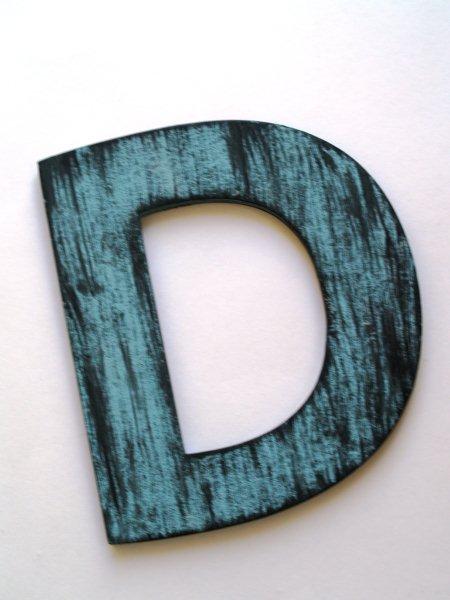
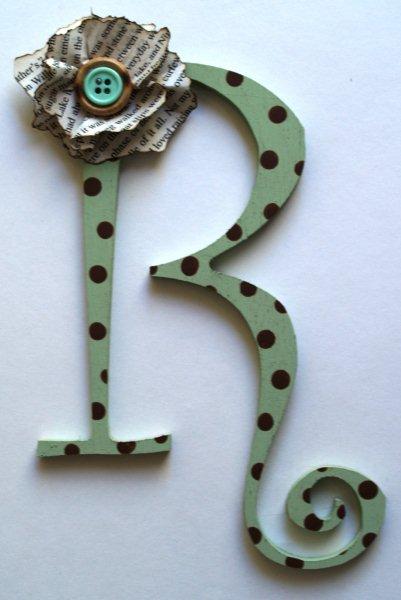
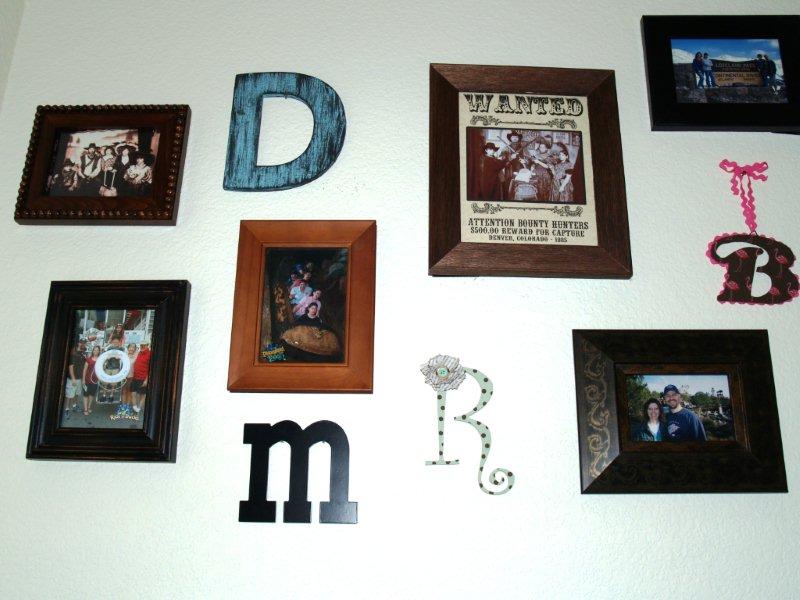
Let’s start with the painted letters. I painted the D (chipboard) a light blue and the R (wood) a light green.
The D is for Mr. F.T. (don’t worry, it will get more manly) and the R is for my daughter.
Once the paint on the D dried I used black paint and a dry brush to give it a wooden, antiqued look. Just put paint on the brush and wipe most of it off on a paper towel, then brush it lightly over the surface.
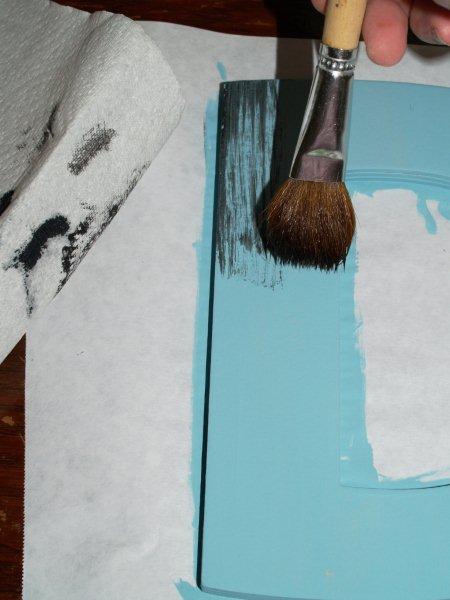
Hit the edges a little harder, and make sure you do the sides.
For the green “R” I wanted to do some brown polka dots. I used the bottom of one of my paintbrushes, dipped it in the paint and pressed it onto the letter.
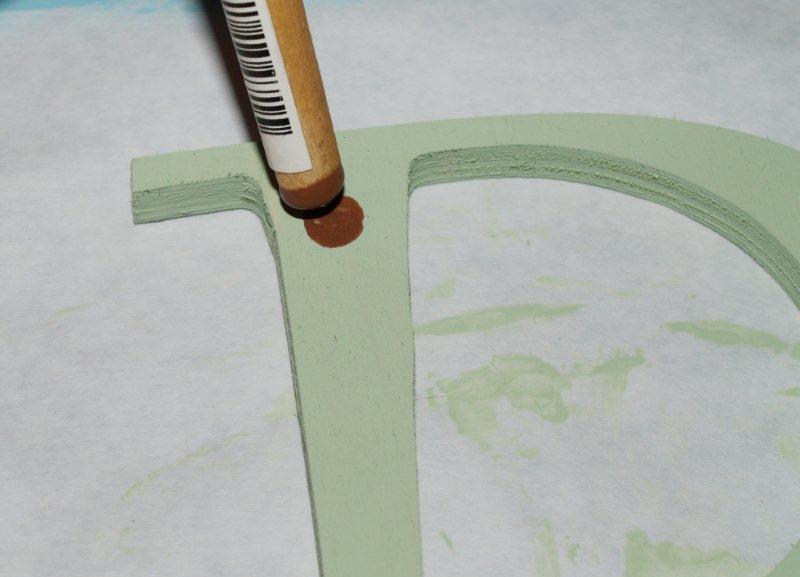
Space the polka dots over the letter, with some of them off the edges so you’re not just running polka dots down the center of the letter.
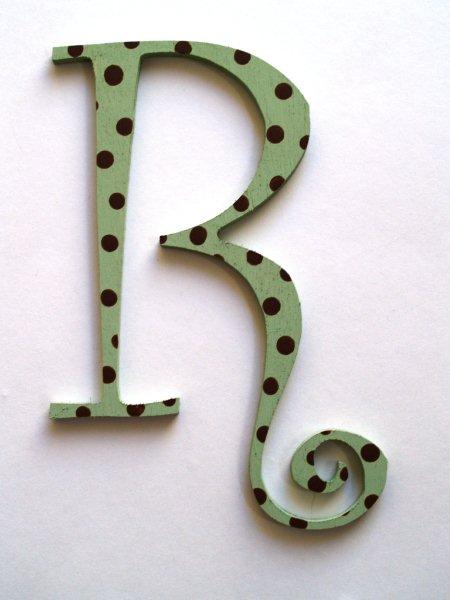
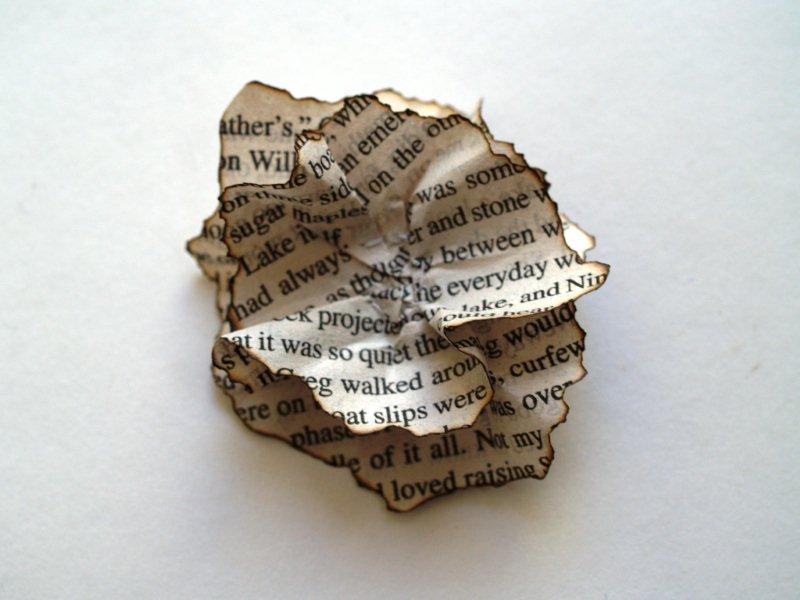
Our daughter is an avid book worm – so to dress up her letter I made a little book flower. I cut two flower shapes out of a book page and burned the edges just a bit. Then I pinched and folded the centers a little and sewed them together.
I glued two buttons on top of each other and glued the flower to the top corner of the R.
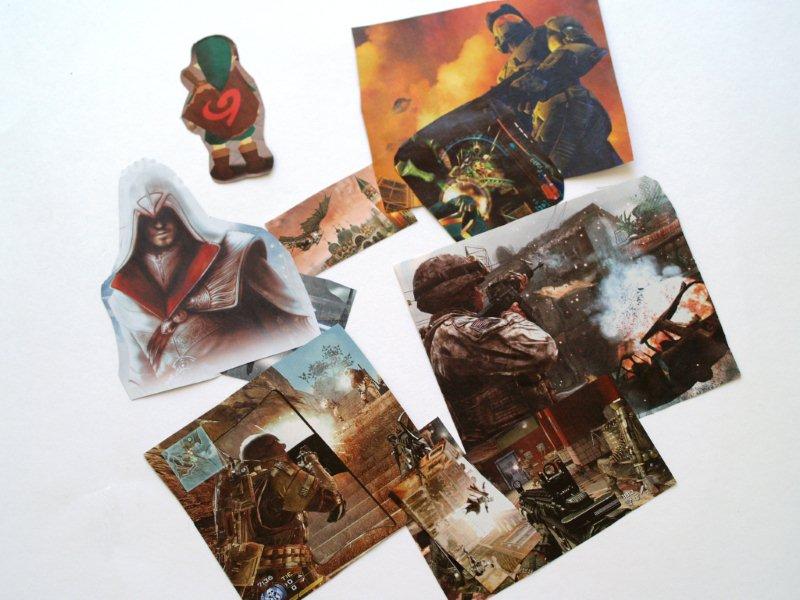
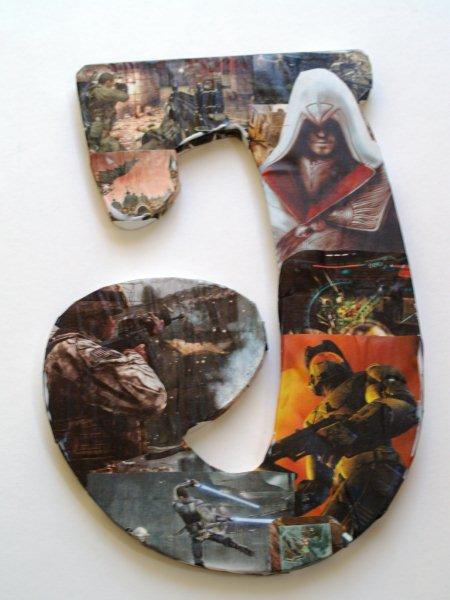
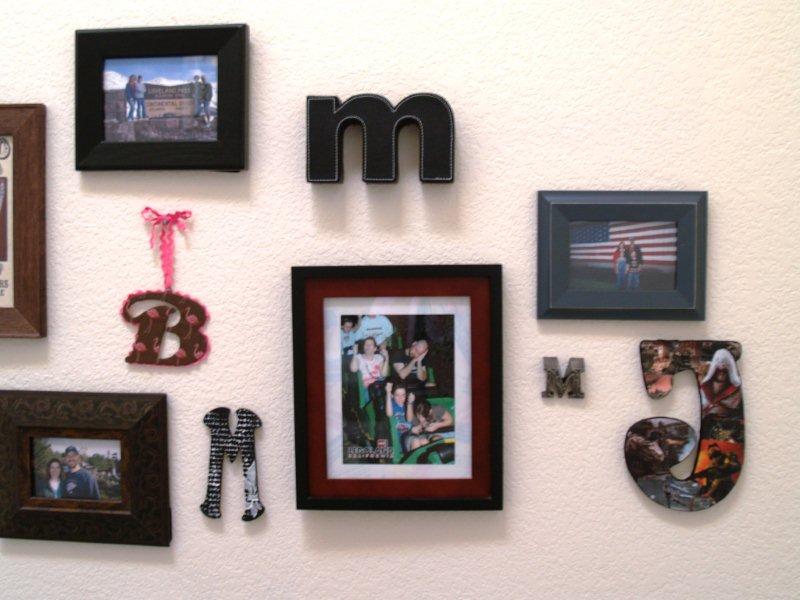
The J (made from MDF) is for my son – who loves video games. So I raided his Game Informer magazines, with his permission ;) , and cut out a few images of his favorite games.
I brushed Elmer’s on (I’m out of Mod Podge) and then placed the images on the J, like a collage. I clipped the sides all around the curves and glued them down as well.
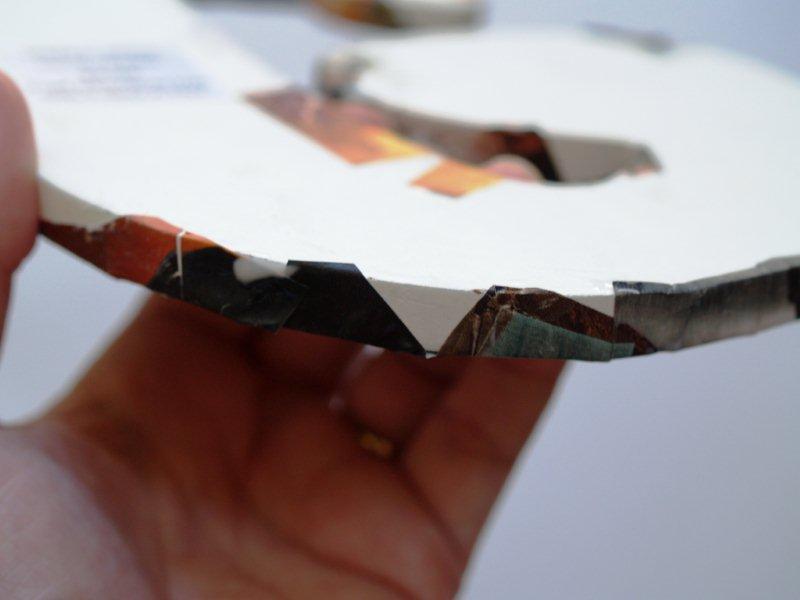
I covered the top with Elmer’s and let it dry.
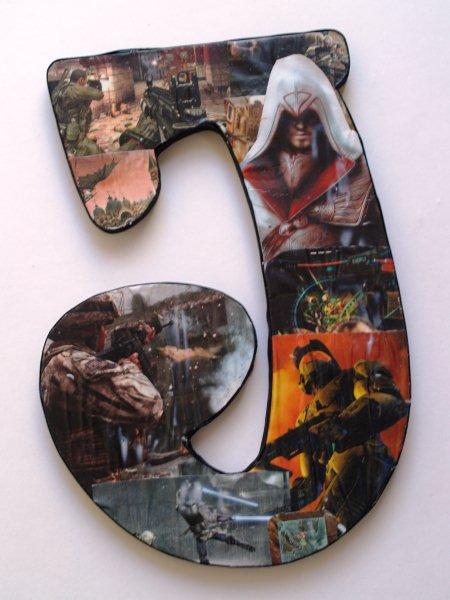
I don’t have a good picture for you but I covered the sides with black 1/2″ grosgrain ribbon to cover up all those uneven ends. I hot glued that down since it was faster.
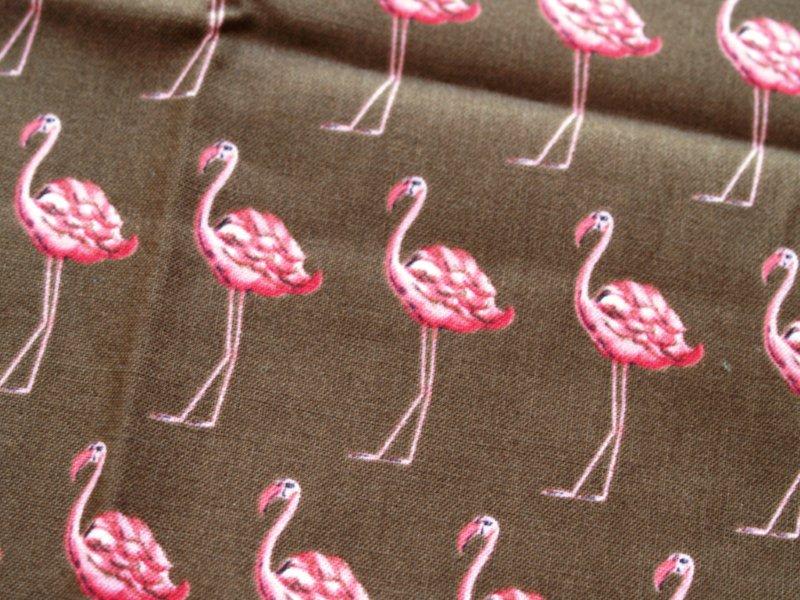
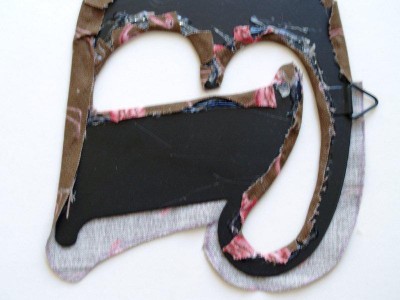
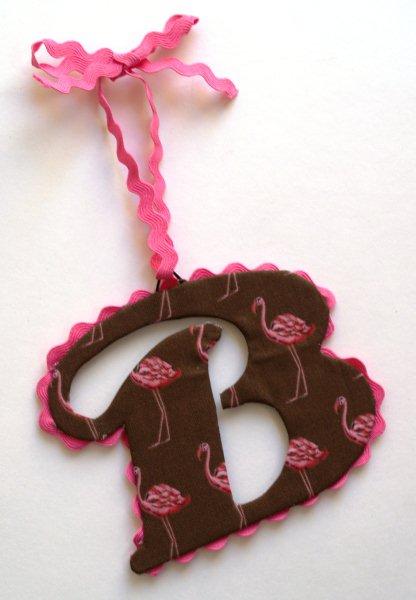
For mine(the metal “B”) I debated leaving it black but I wanted to dress it up a little. I decided to use this great flamingo fabric I found at the Long Beach Quilt Fair.
I traced the B on the back of the fabric.
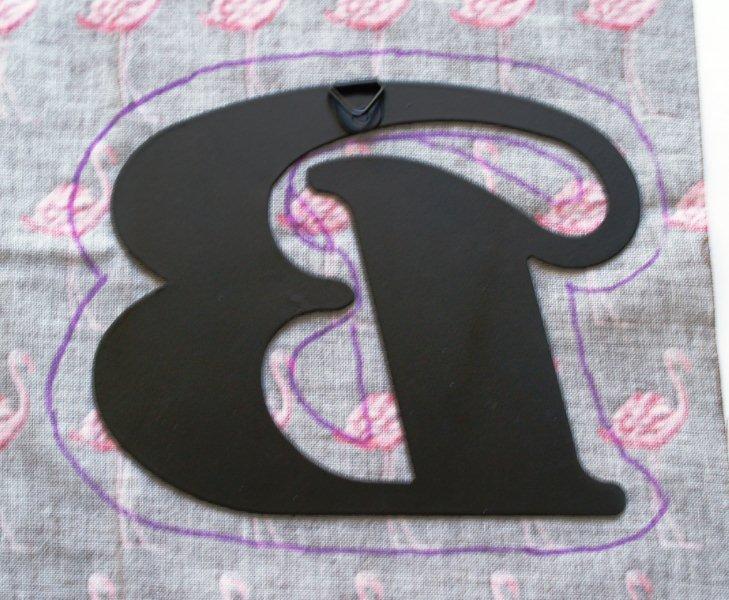
I cut out the B and started hot gluing the fabric on. I clipped around all the curves so they would look smooth.
I thought it needed a little something else so I glued pink ric rac around the outer edge. Shocking I know.
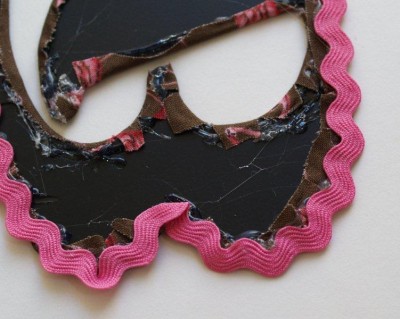
(I am obviously not a tidy gluer.)
I tied ric rac to the metal loop at the top for the hanger.
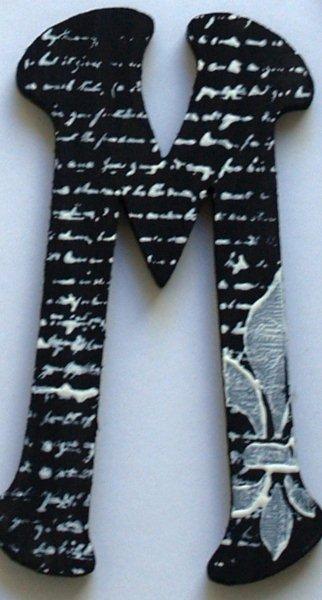
I added several M’s to our photo wall, but I only made one of them, the rest were store bought. For this one I painted it black and then stamped it with 2 stamps in cream paint. The first one is a lettering stamp and the second is a Fleur de lys that I placed off center. I think it looks like a big bow – I’m not sure if I’ll leave it or not.
So here they all are again. I realize these tutorials were all pretty brief – If you have any questions let me know.
The home for these little cuties is on the wall at the halfway point of our stairs. We have some photos there – an assortment of us traveling, on roller coasters, in Wanted posters, general silliness. I really love how they dress up the photos and make the whole collection more personal.
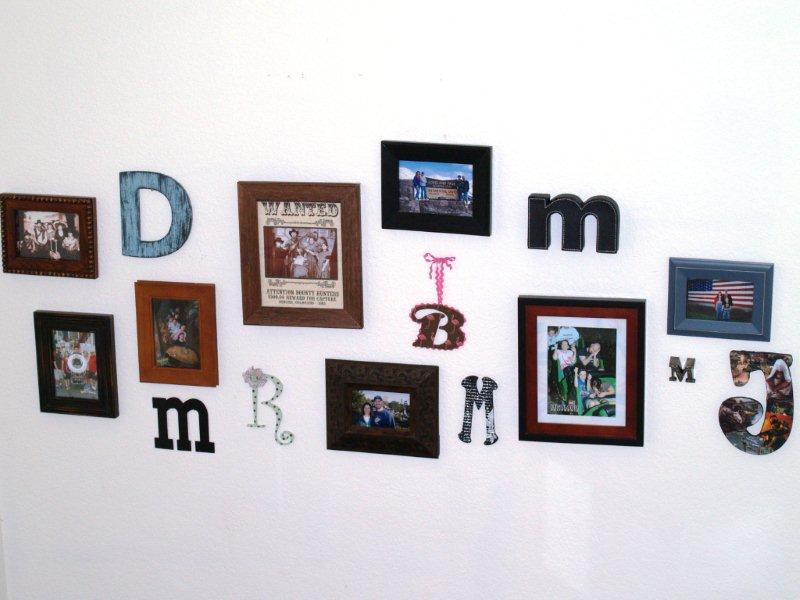
And more shots for you so you can see them better and because I tend to take a million pictures of projects. :)
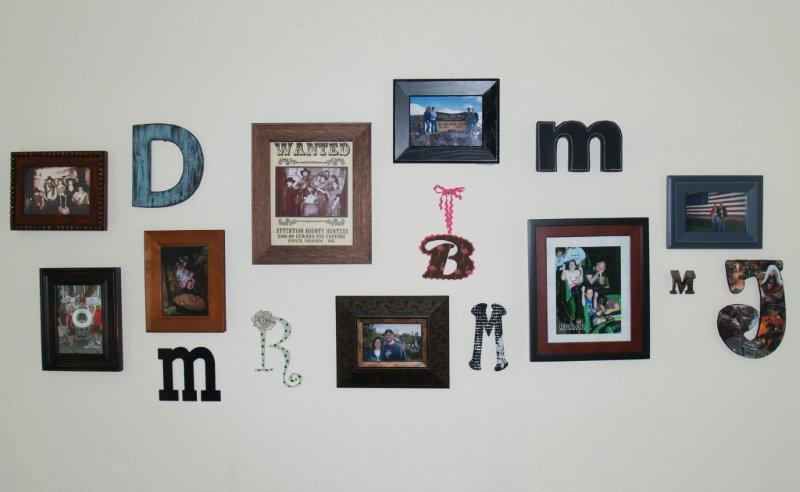
What do you think? I think I need more “M’s”.


Super cute! YOu Always have such great ideaS!
Bev, those all look super cute! Love the B with the flamingos and ric rac. It screams YOU! What a cute photo wall. I really like to add personal touches like that around the house. Those are the things that make a house feel like a home.
Very cute! I love the idea of everyone getting their own initial. Makes each of them feel more special! I love all the ways you covered the letters. I think the R is my fave. :)
You have some great ideas here! I love that flower with the book pages. It’s fun to think that you can reflect each persons personality in their letter :)
Lamb’s Most Recent Post: Come Link Up! 200th Follower Link Party – You’re Invited!
I LOVE it!! The ideas are starting to churn in my head.
Amy
I really like them. I have a similar wall but there are keys and crosses instead of initials…..I guess that isn’t too similar, hah.
Sooo cute!! Love those letters!
BTW, thanks for stopping by my lil ol blog today, and thanks so much for your vote:)
How funny that I am working on initials for my kids at this very moment!! LOVE what you did with all of them.. I especially love the book flower and would love to “borrow” the idea for my daughter’s letter…I will link back to you when I post!!
Those came out so well! I love the idea of hanging them with the pictures!
coming from santas…
love this idea!
They look great and add an eye catching feature to the family pic’s.
Each of these look great. I love your technique on the D, and I like how you personalized the decor by each persons character!
cool! i have a couple of initials in my house too :o) my hubby’s and mine are just white in our bedroom and my son’s is all blue and beachy, so cute!
I love what you did with those letters. I just bought the letters to spell my newborn’s name, but haven’t decided how to spruce them up. This is great. p.s. found you through Sew Much Ado:)
I love these. The D and the M are my favorites. I’m working on an alphabet wall and want to embelish just our initials (the rest of the letters are in a neutral color). I might use the D technique for my husbands initial. Great job!
I love what you did… they all look unique but great together.
Thanks for the tips.
These are so cute and imaginative. They really personalize your wall without looking too busy. Thank you for linking with Fabric Fun Thursday.
I LOVE the technique you used with your “D”. I am going to have to try painting with a dry brush!! This turned out so splendid. I am impressed!
These are great! So creative. I love the personality each one seems to capture.
This is such a great idea! I never would have thought of it. I love it!
love that you made one for each of your family members…i might need to do some of my own! my favorite was the polka dots!!!
WOW!! These turned out so very cute! Love you you personalized each letter. The tutorials were perfect..short and sweet but to the point and thorough :)
Found you on Frugal Friday!
Kara
I love these and have done some similar in my son’s room. I really like how you combined them with the pictures!
I love this! I like how all of the initials are unique and reflect each person, and I love how you hung them with the pictures! Visiting from Fireflies & Jellybeans.
All of these letters came out perfectly. I love it!!! You are so creative, especially with glueing the rick rac to the back of the letter, too cute! :D
Each initial is individual, just like the owners, I’m sure. You did a really great job. The tutorial is very helpful! Already a follower. Visiting again thru SNS at Funky Junk Interiors. Pam @ Sallygoodin
Wow, they all turned out really cute! Each different and unique in their own way. Hard to pick a favorite, but that R is really sweet!
gail
Precious! I love the D!
Soooo sweet! The personalization of each one really takes this cute idea over the top. Sidbar showoff time for you! :)
Donna
These are so cool!
I featured you here:
http://firefliesandjellybeans.blogspot.com/2009/03/sunday-spotlight-soys-39-favorites.html
So cute…love them all!
These are FANTASTIC!!! I love how unique they are!
I just found your blog and am now following you ;)
Those letters are so cute! I would love to make some of these.
What a great project!
I’m visiting from The Saturday Standstill. Have a great week!
LOVE THIS!!! Will be trying it soon!
Visiting from The Girl Creative.
leave the fleur de lis! i knew exactly what it was the first second i looked at the ‘m’…
I love it! You did a great job making each one individualized. I was going to tell you my favorite but they were all so unique I don’t think I can.
I don’t really think you need more m’s btw.
Elisabeth
Too darn cute! What a fun way to accent those photos!
First time I come on your blog and I really like what you create.
Thanks for showing how you do it
This type of project is really catching my eye lately – I’m thinking it’s going to someone on my handmade Christmas list this year. :>) I linked on my weekly roundup, post is under my name. Thanks for sharing!
I just wanted to stop by and let you know that I linked to this post today from the new Home & Garden channel at Craft Gossip. :) My hope is to share many of the fabulous projects I see everyday with the vast CG audience. I hope you will not only stop by and subscribe to CG, but will tell your friends about the new category! Hope you see some traffic from it!
Your feature will appear in the main Craft Gossip RSS feed, on the main home page and can be found directly here
http://homeandgarden.craftgossip.com/8-fun-letter-projects/
If you would like a “featured by” button, you can grab one here!
http://homeandgarden.craftgossip.com/grab-a-craft-gossip-button/
Wow, found you through Patchwork Pages. I am so happy to have discovered all of these amazing blogs. Thank you for sharing. I am inspired.
That’s so cute!
Beautiful letters, may have to try some myself! Thanks for all the great tutorials!