Today we have another fun Scrap Busting project!! Our special guest today is Amy from Ameroonie Designs and she has such a sweet project for us.
![]()
Amy has a great style – and she has such an attention to detail in her sewing. I have bought two of her wallets and they are amazing! She was also recently in the Cricut Design Challenge and she made such gorgeous projects. Just like what she has for us today!! This journal cover is so pretty and I love the way she is using it too!
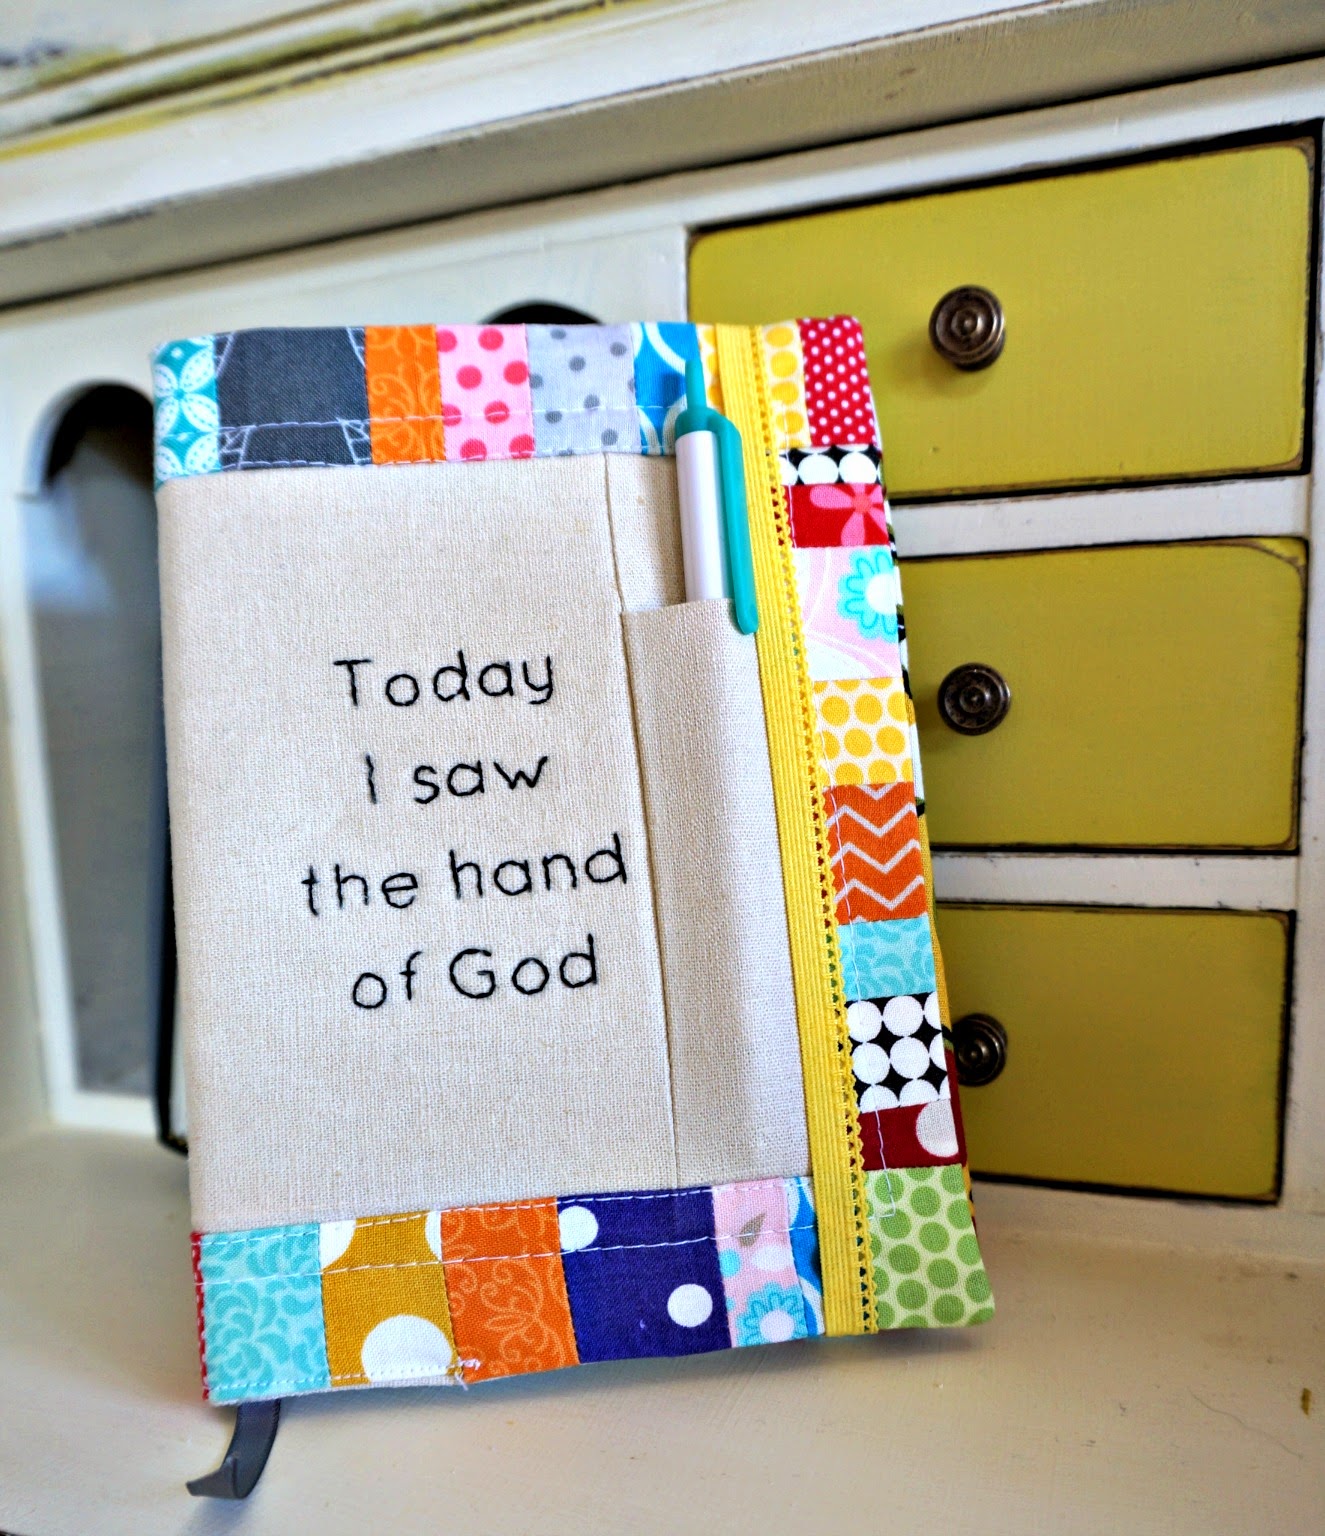
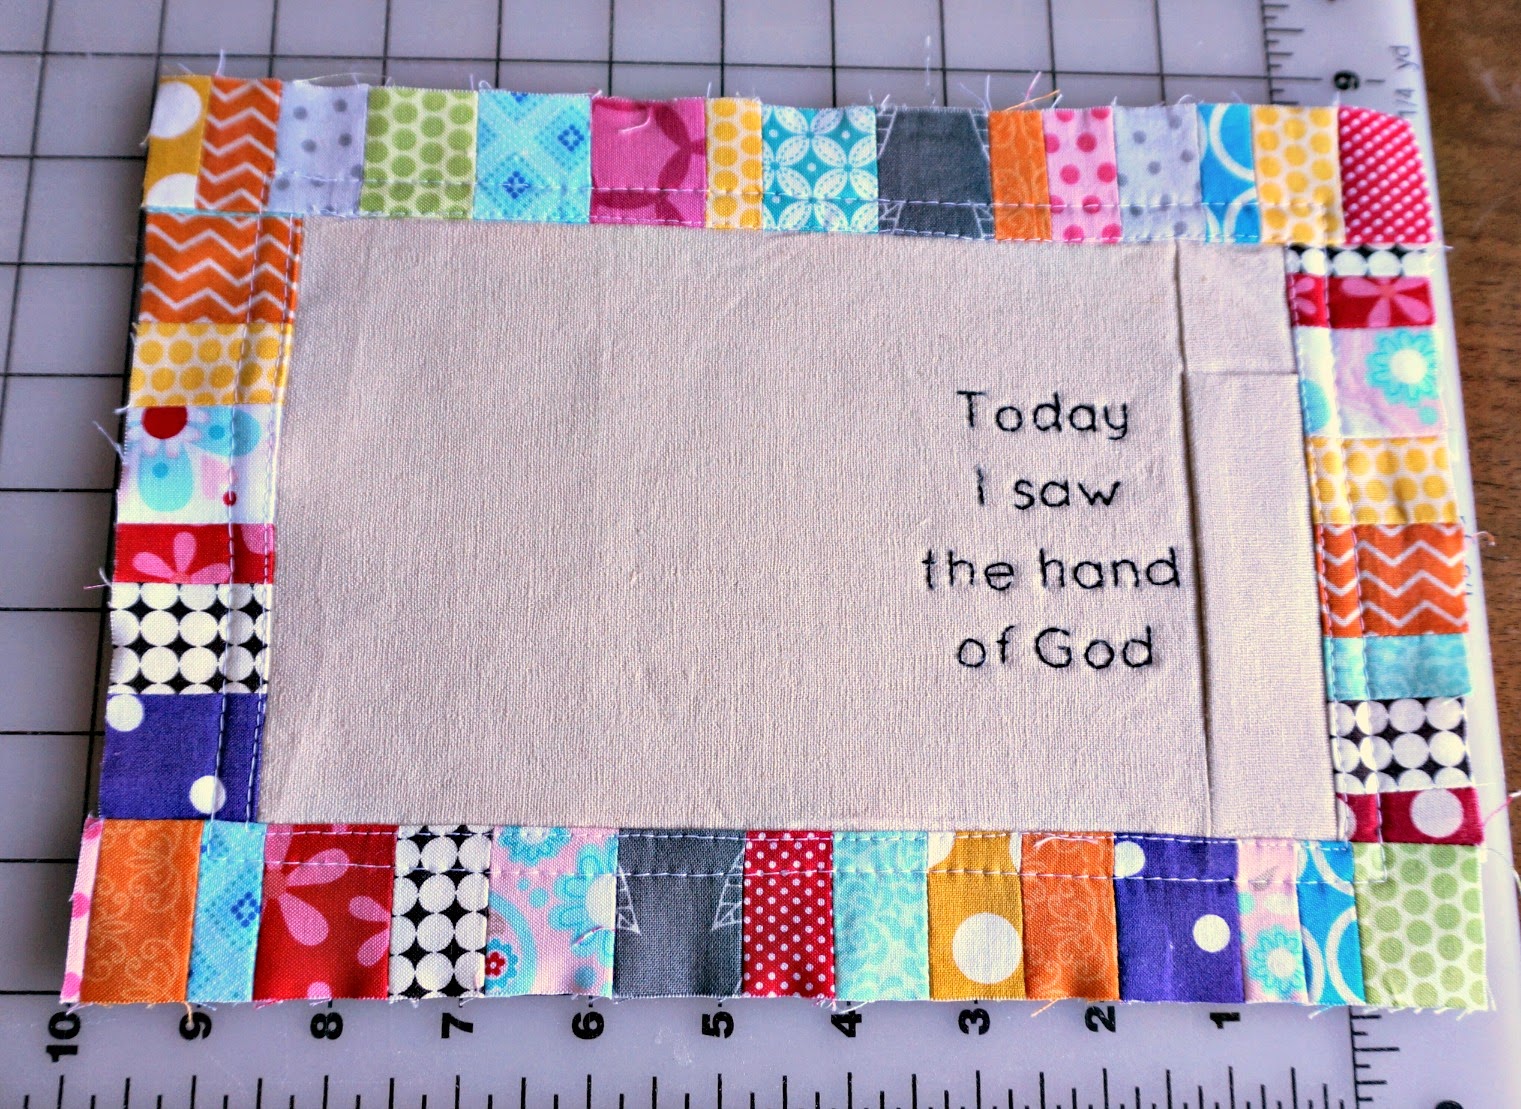
Hi! I’m Amy from Ameroonie Designs and I’m so thrilled to be here today sharing my scrappy project. I have been wanting to put a gratitude journal together for a while now, and this was the perfect excuse to finally get it done.Instead of putting something like “Gratitude Journal” on the front, I wanted to have something a bit more personal and powerful on my cover. I believe that all the wonderful and beautiful things that happen in my life are gifts from a loving God, and recognizing them is a great way to find happiness. So, my journey to happiness through gratitude begins with a fun scrappy notebook cover. :) You don’t have to a profound purpose behind your notebook, you could simply want to have a fun colorful notebook cover that uses up some of your scrap stash. Either way, it’s a win.
Are you ready to make your own?
My notebook is 5″ X 7″ and is 1/2″ thick. If you are using a different sized notebook, you will need to make adjustments to your piece sizes.
Scrappy Notebook Tutorial
Materials:
- scraps of neutral fabric for base of cover
- small scraps of colorful fabric for border
- scraps for side pockets and lining of cover
- scrap of batting or felt for inside cover
- elastic (optional)
- ribbon (optional)
- sewing supplies
- embroidery supplies, including disappearing ink pen to mark pattern (optional as well)
- embroidery pattern. You can find the one I used here, or you can make your own.
Cutting:
- 1- 11 1/4″ X 7 3/4″ piece for lining of cover
- 2- 5″ X 7 3/4″ pieces for side pockets of cover- press in half along the length to give you two 2 1/2″ X 7 3/4″ pieces
- 1- 8 1/4″ X 5 3/4″ piece from neutral fabric for base of cover
- 1- 1 1/2 ” X 5 3/4″ piece from neutral fabric for back of pen pocket
- 1- 1 1/2″ X 10″ piece from neutral fabric for front of pen pocket- press in half along the length to give you a 1 1/2″ X 5″ piece
various 4″ scraps of colorful fabric cut into widths of 1″ to 1 1/2″ to be pieced into border. (I used 1″, 1 1/4″ and 1 1/2″ widths, but you can add more or less variety if you like) - 1- 10 3/4″ X 7 1/4″ felt or batting for inside cover
- 1- 8″ piece of elastic
- 1- 11″ piece of ribbon
Sewing:
*we will be using a 1/4″ seam allowance throughout
1. Take your scraps of colorful fabric and piece together in strips.
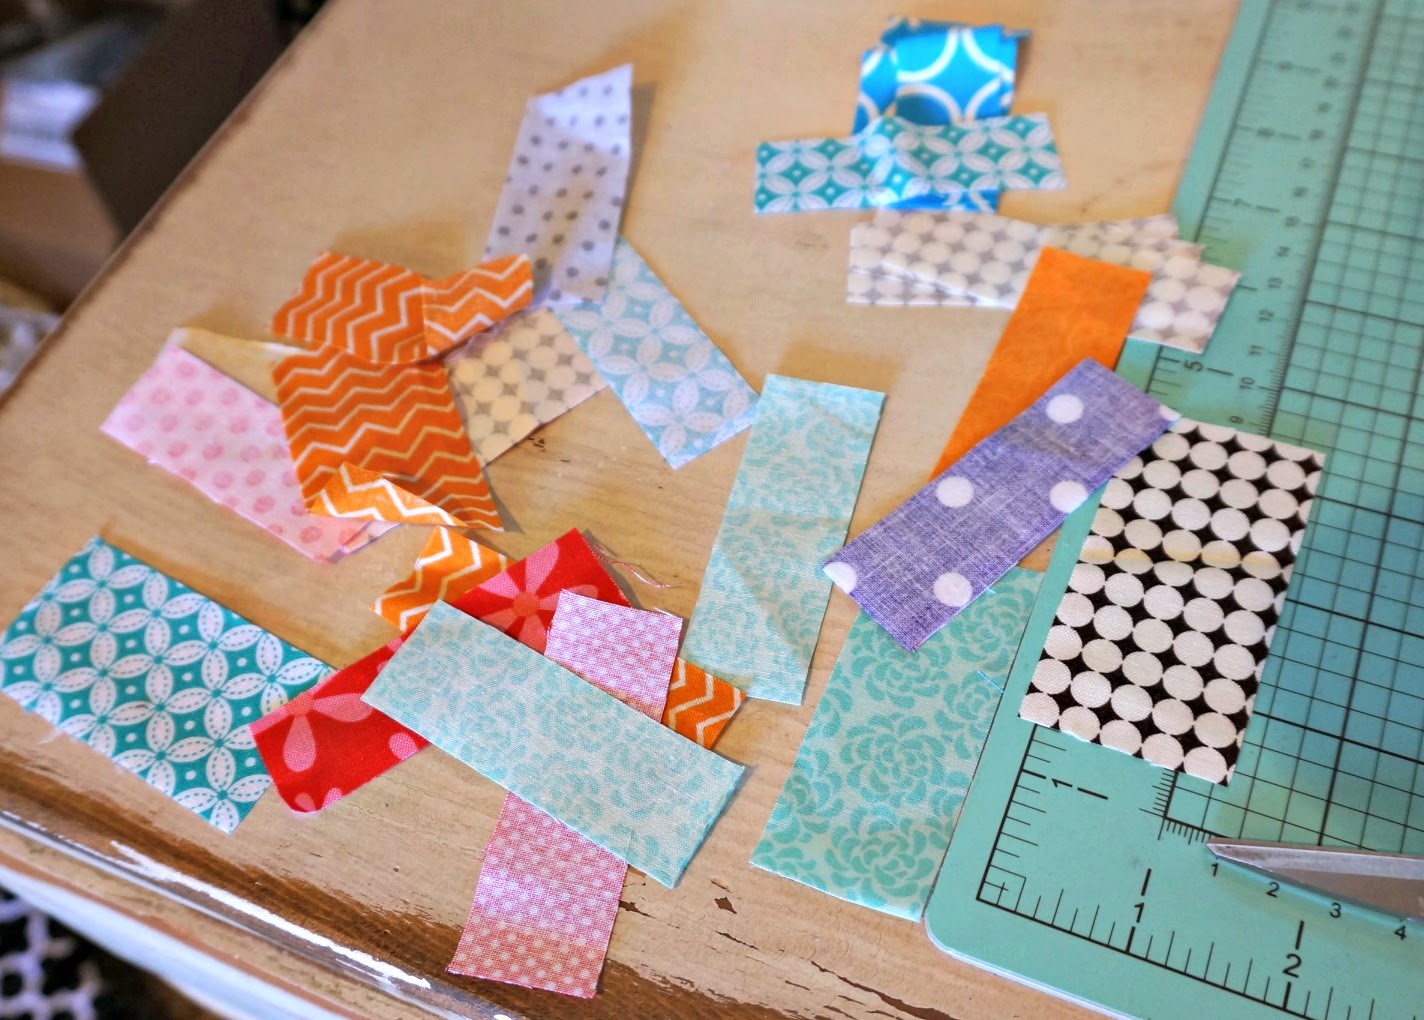
I just tossed them on the desk next to my sewing machine and tried to let them just be scrappy. I’m not that great at letting go of control, so I did make sure that it was a good mix of brights and cool colors, but do what works best for you. You will need a 5 3/4″+ long strip and then a 11 1/4″+ strip- make it a little longer than what you need so you have plenty of room.
2. Press your strips, with the seam allowance open.
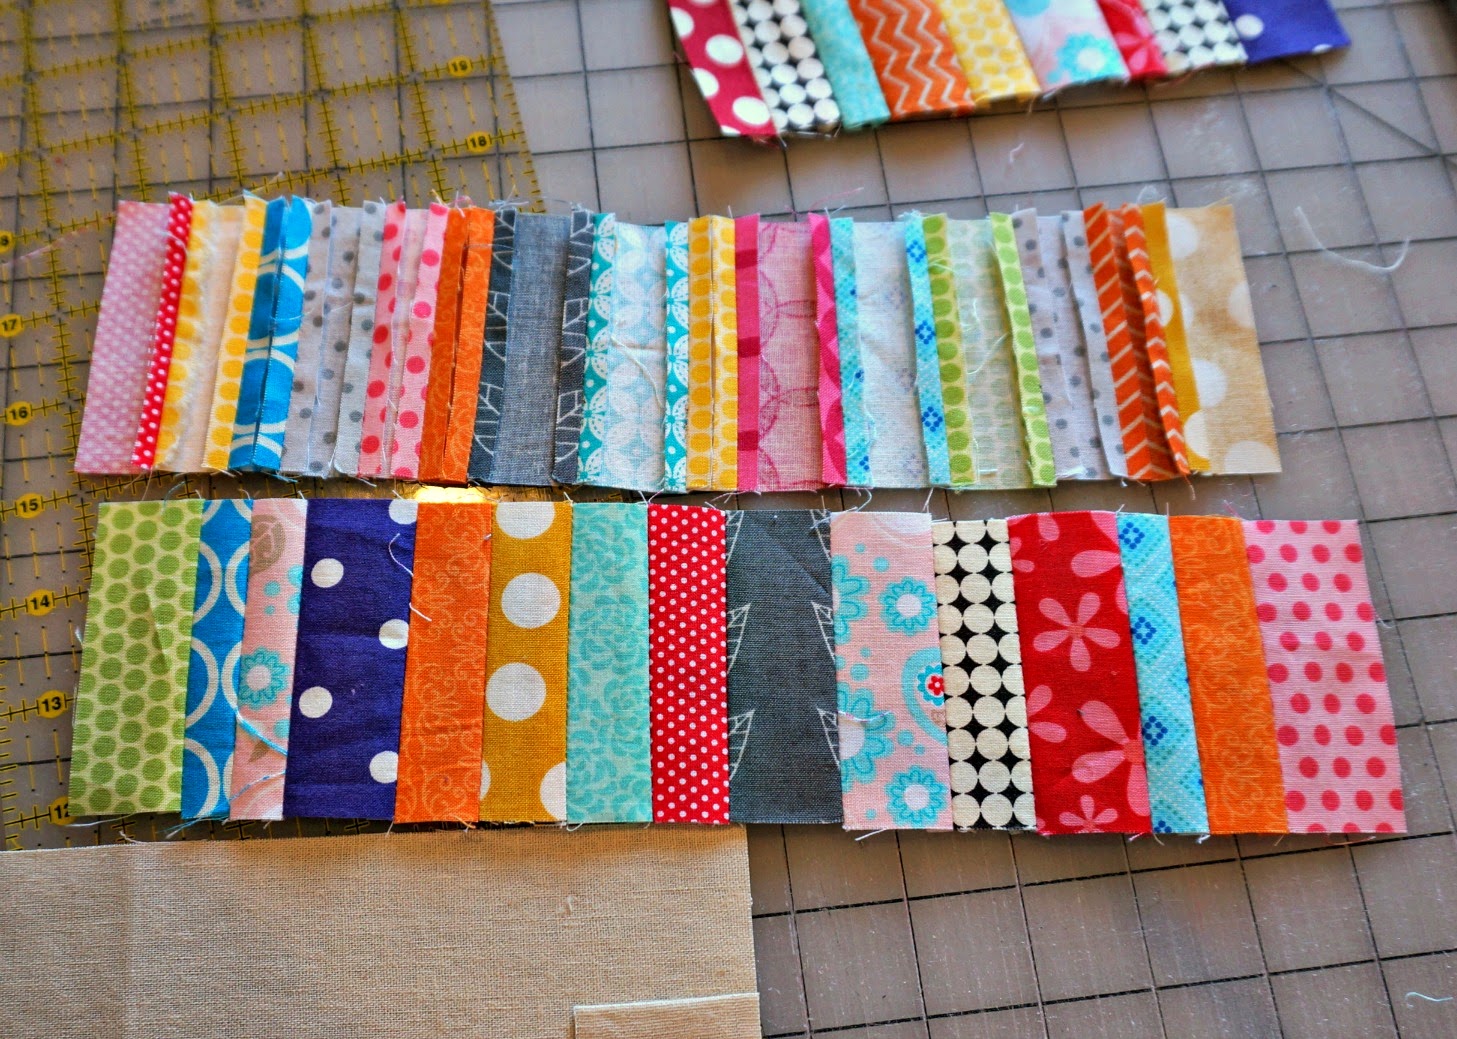
3. Cut your strips in half along the length so you have 4 strips all approx 2″ wide.
4. Now we are going to begin building the front of our cover. Take your 8 1/4″ X 5 3/4″ neutral piece of fabric and place it face up on your work surface. Now place the 1 1/2″ X 10″ piece (that is pressed in half) on top of the 1 1/2″ X 5 3/4″ piece- lining up the bottom and sides. Place this pocket face down on the right side of the larger piece.

5. Sew along the right side. Press the seam allowance toward the pocket.
6. Take your two 5 3/4″ X 2″ strip pieces and pin and sew them to the two short sides of your cover piece. Press seam allowances toward the pieced borders.
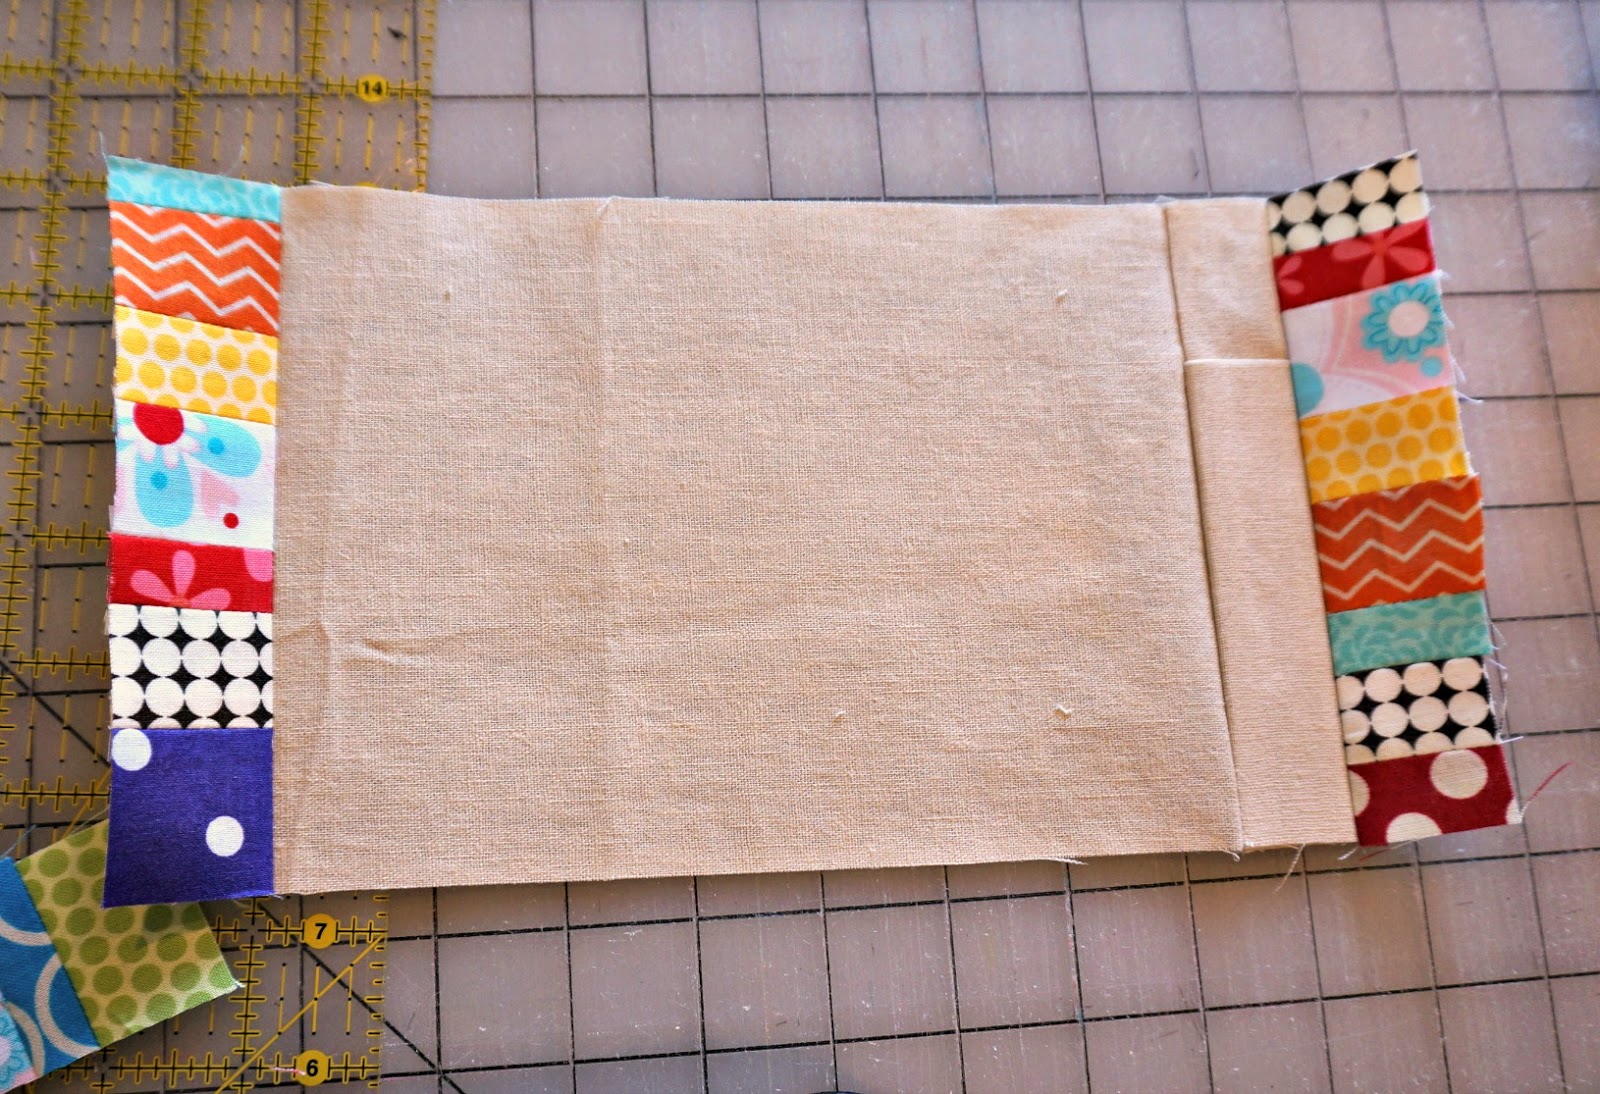
7. Trim the border pieces to 1 1/4″.
8. Take the 11 1/4″ X 2″ border pieces and sew them to the top and bottom of the cover piece. Again press seams toward the pieced borders and trim borders to 1 1/4″.
9. Prepare your piece for embroidery. Using a light box or window center your sentiment on the right half of your neutral piece. I used a pencil, but if you aren’t comfortable with that, use a water soluble pen to mark your pattern.

I traced it very faintly, but hopefully you can see it enough to get the idea.
10. Center your felt or batting on the wrong side of your notebook cover and baste in place with pins. Sew around the border to hold the batting in place. In the picture above you can see I did two rows of stitching- one at the edge of the border and another 1/4″ away from that.
11. Embroider your design into the cover.
Assembling the cover:
1. Place your cover front face up in front of you on your work surface.
2. Line the elastic up along the left seam between the neutral fabric and pieced border.
3. Take side pocket pieces and line up raw edges with the outer edges of the front cover.
4. Center ribbon on the top edge of the front cover.

5. Take inside lining piece of fabric and place, right side down, on front cover, lining up sides. Pin in place.
6. Sew around all sides of the cover, leaving an opening on the bottom to turn the cover right side out, back stitching at beginning and end.
7. Clip corners and turn right side out.
8. Press cover, turning under edges of opening. Sew the opening closed with an edge stitch.
Slide in your notebook and you’re done!
I have tons of covered notebooks, but I think this might be my favorite. I hope you make one of your own!
xoxo,
Amy
~~~~~~~~~~~~~~~~~~~~~~~~~~~~~~~~
I love this so much Amy!!
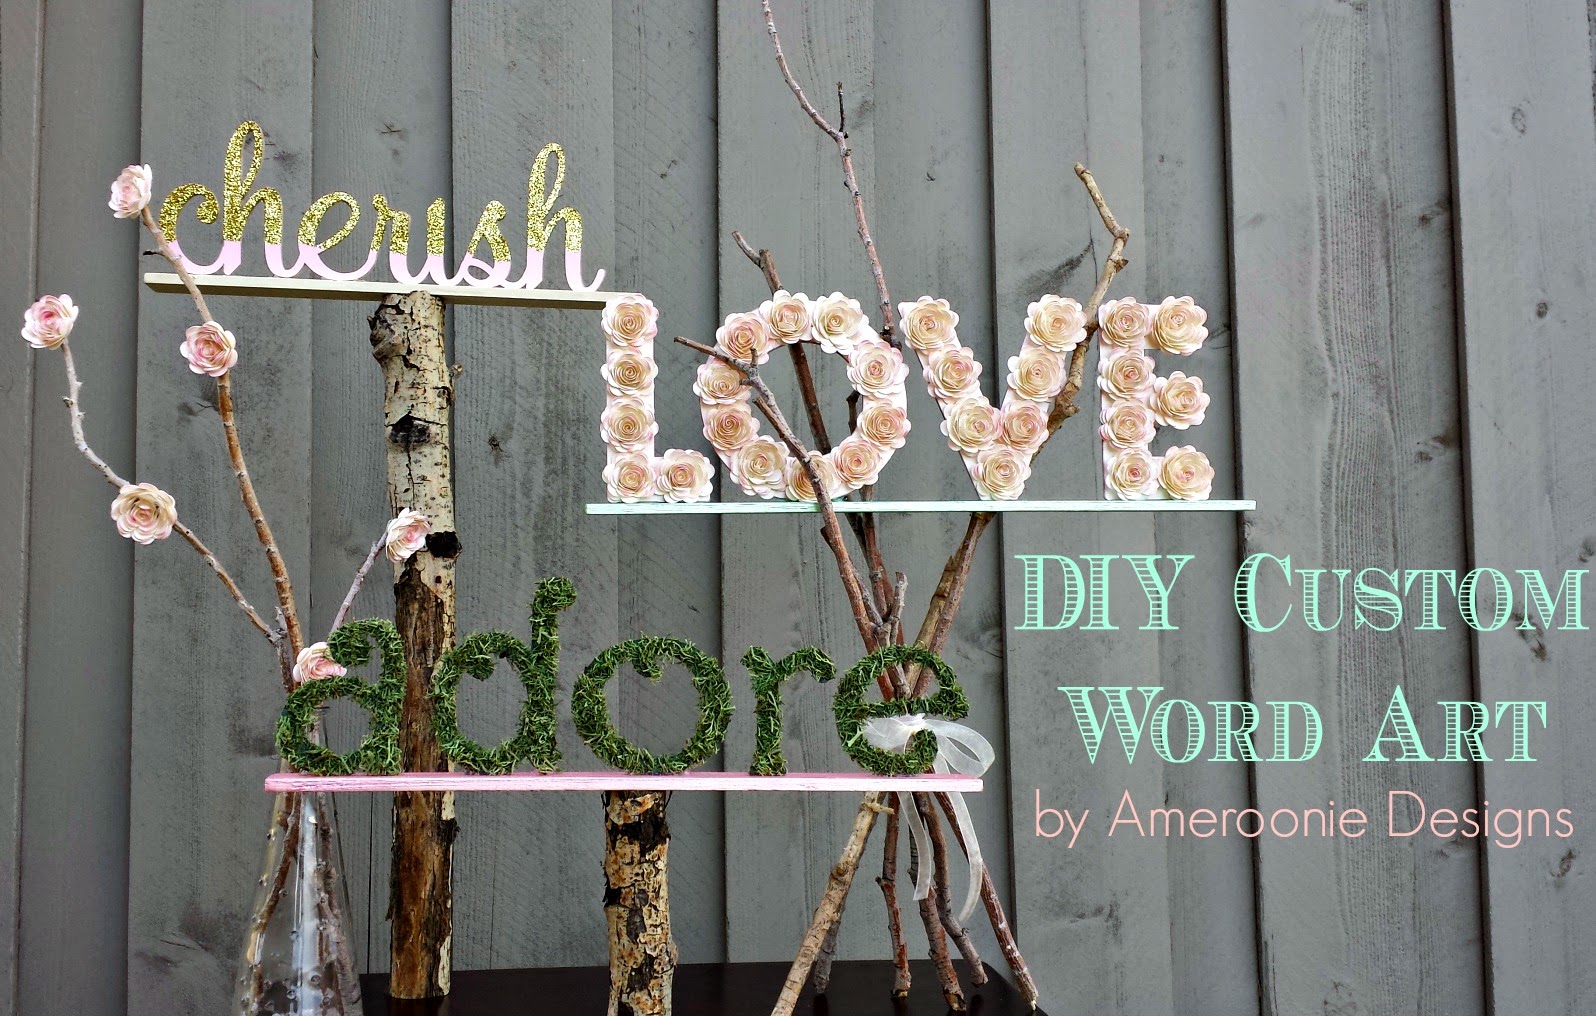
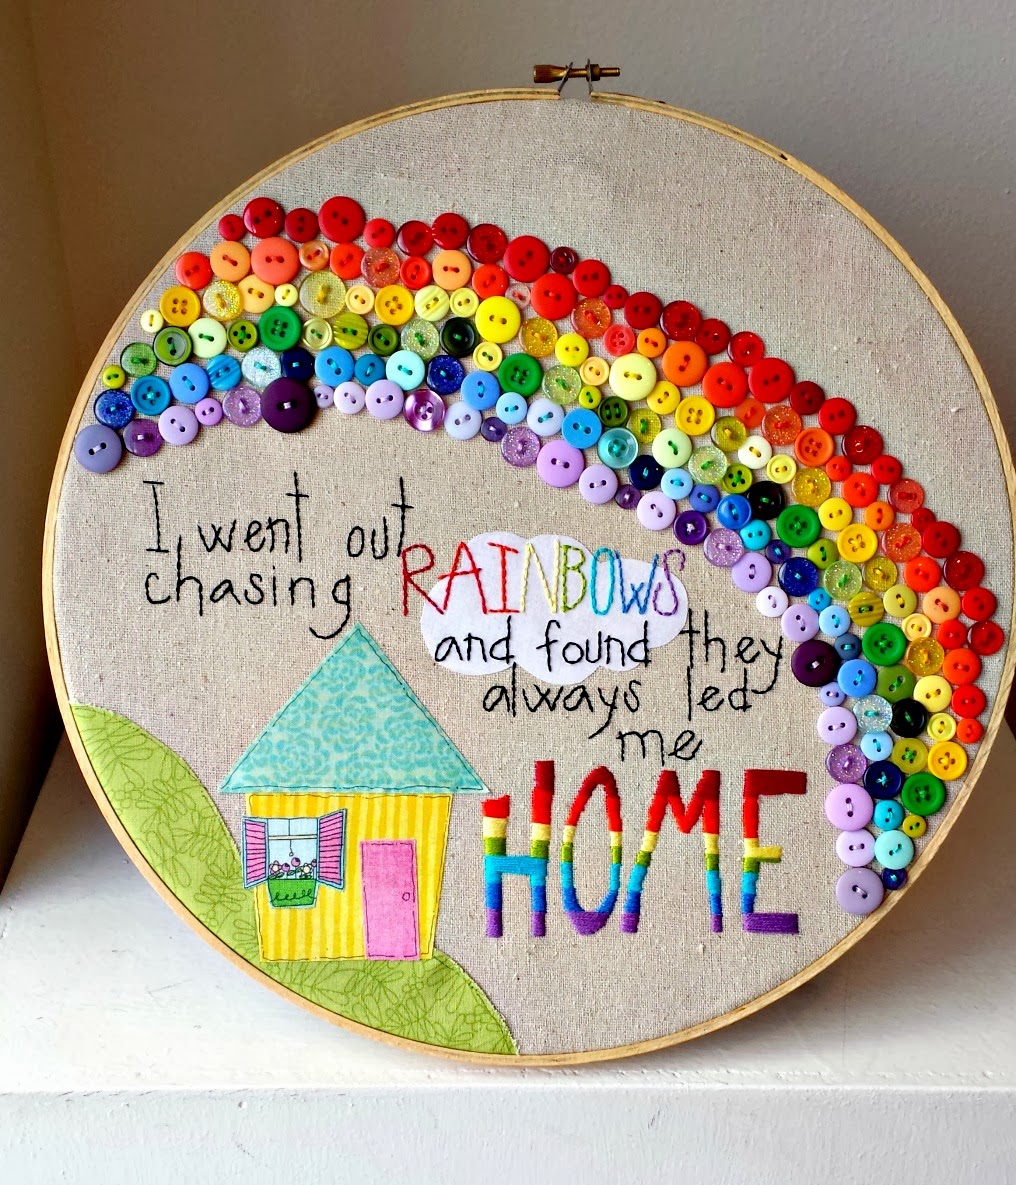
Here are a few of my favorite projects from Amy:

Thank you SO much for being a part of the Scrap Busting Extravaganza Amy!


Like the journal bunches!!
So cute! I always love the bright colors that Amy uses in her projects.