This post is a partnership with Plaid. All opinions are my own. ;)
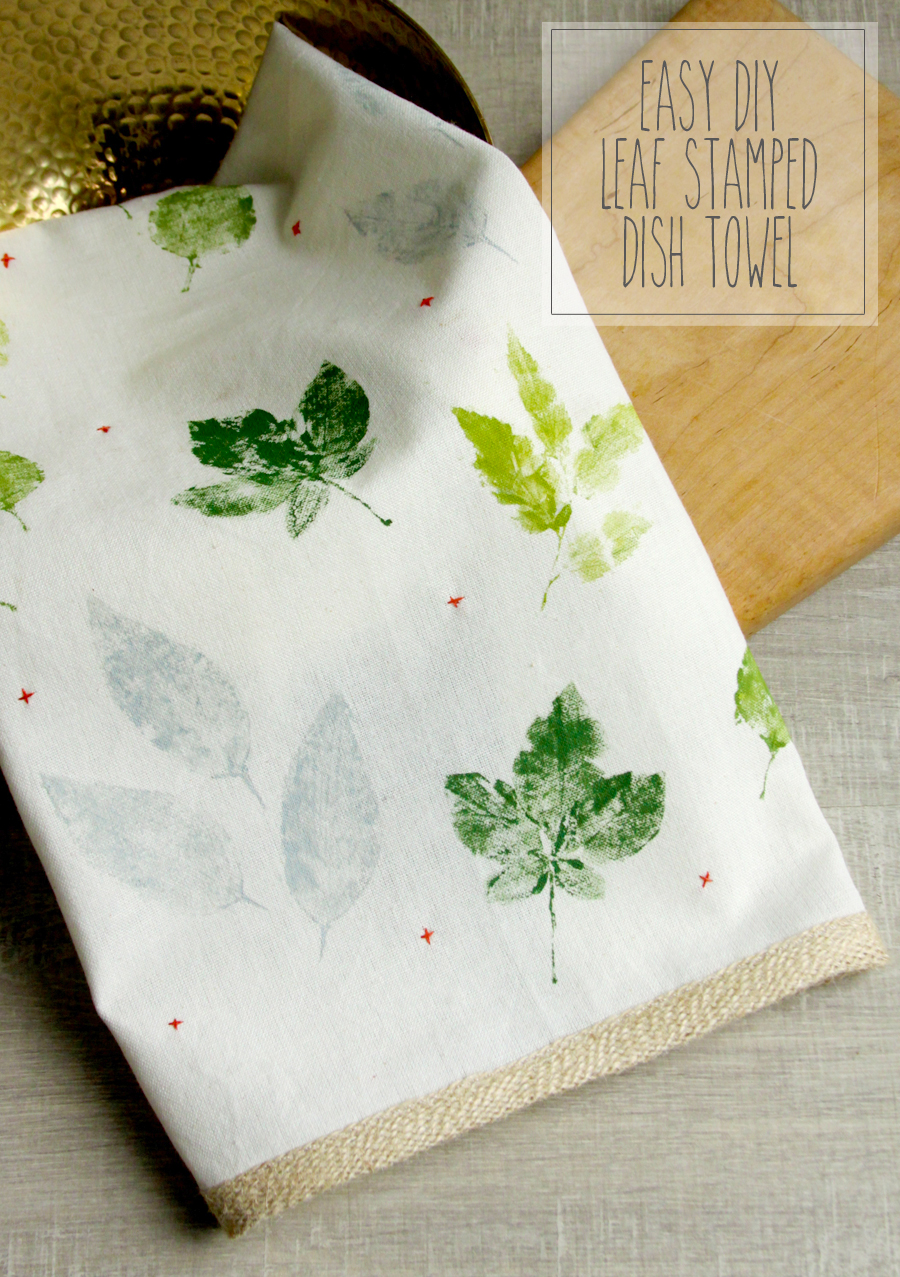
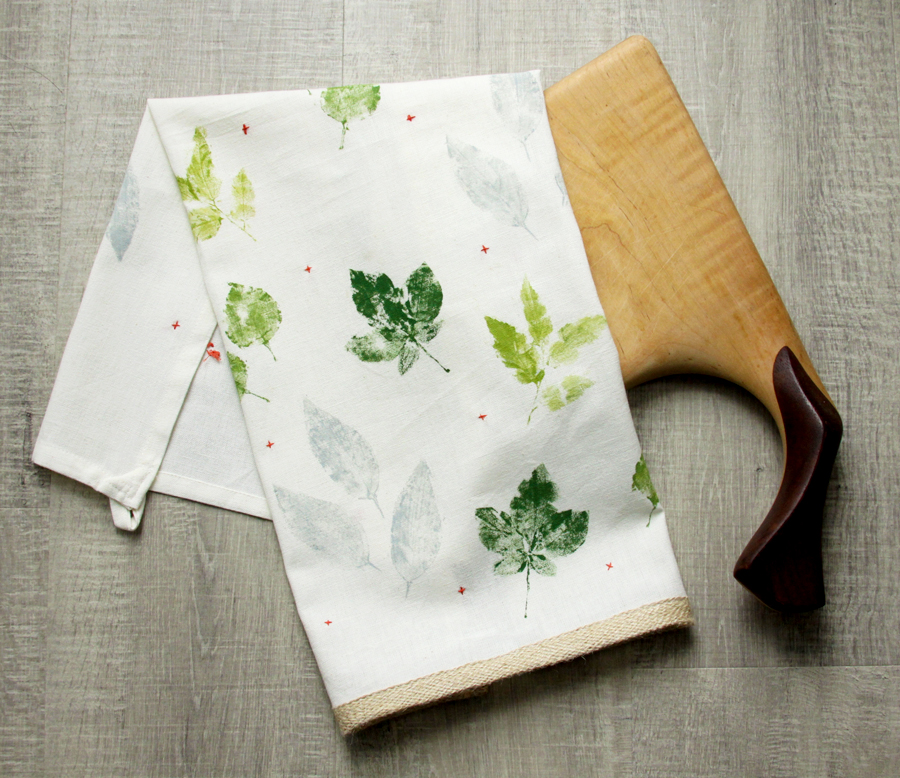
One of my very favorite things about living in Tennessee is all the greenery! After growing up in Arizona, I just can’t get enough of all our trees and plants. I decided to make up a little greenery inspired tea towel – before everything changes for Fall and falls off! :) This easy diy leaf stamped dish towel was so fun to make and you can really have fun with colors and details on it. I added some little embroidered crosses and fun burlap trim to finish it off.
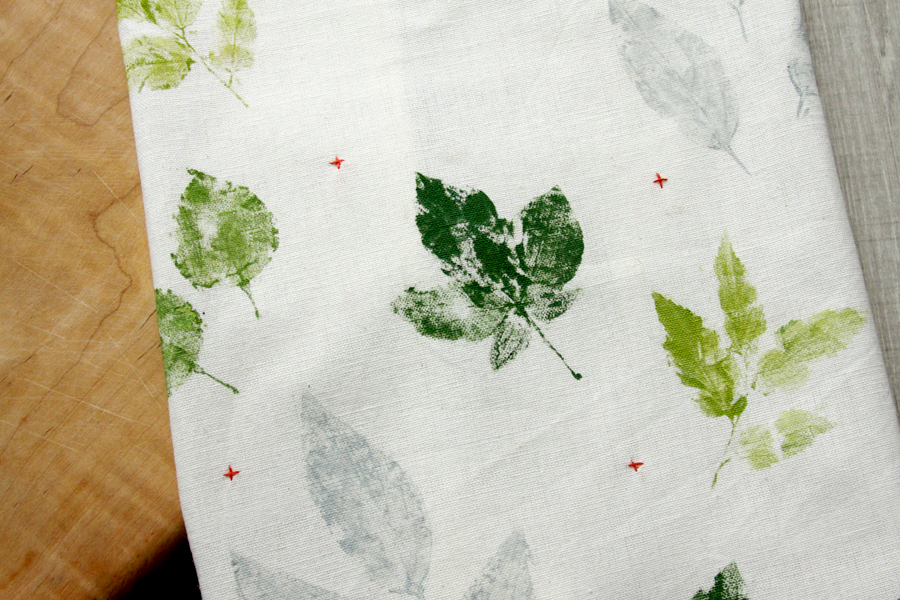
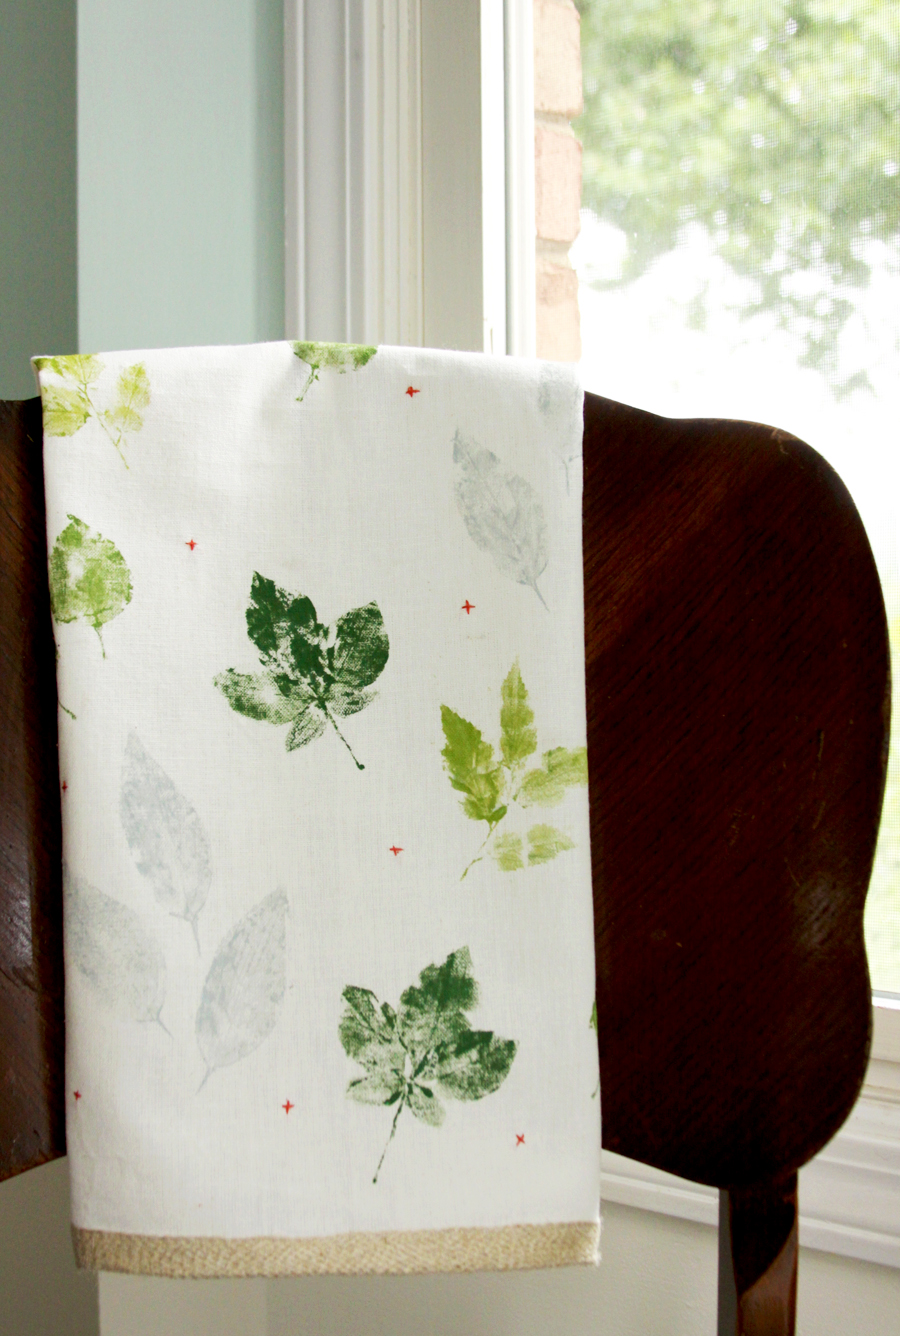
I had a lot of fun trying out a new paint technique with this! Here’s the instructions so you can make your own:
Easy DIY Leaf Stamped Dish Towels
Materials:
- FolkArt ® Multi-Surface Satin Acrylic Paints – (make sure it’s Multi-Surface – it is designed to be used on fabric as well as wood, ceramics and metal)
- I used Dove Gray, Citrus Green, Fresh Cut Grass & Classic Green
- Medium Paint brush and fine tip paintbrush
- Variety of leaves
- Pre-made Dishtowel
- DMC Embroidery Thread
- Trim or burlap bias tape for hem
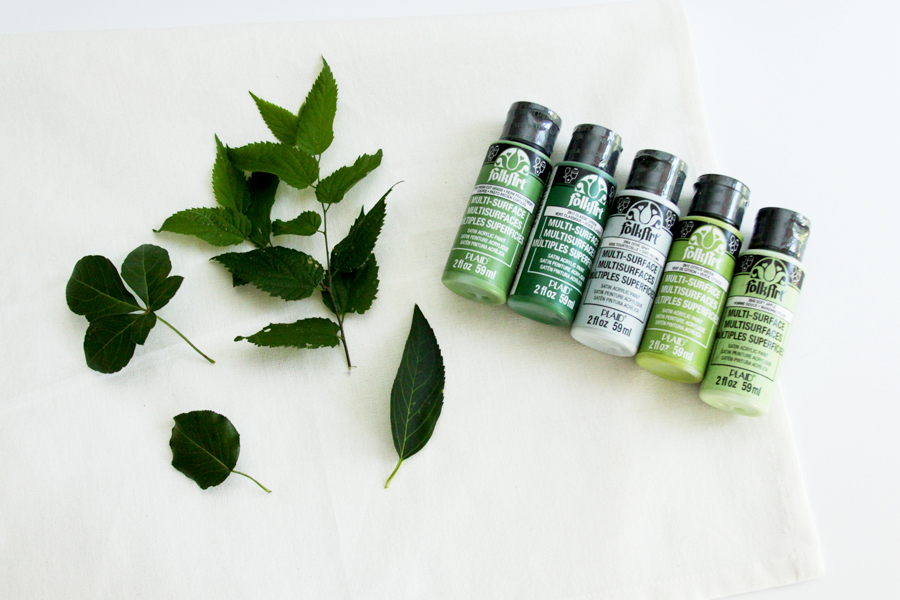
Tips for Leaf Stamping
- Pick your leaves right before you want to paint. If you do it even an hour early, they’ll curl up and get wilty. Trust me. ;)
- Practice on a piece of similar fabric first. You will find getting a good coverage and how to press the paint on is easier if you’re not doing it first on your main project.
- When you’re applying the leaf to the towel, press all over the leaf to transfer the paint, don’t press and move your fingers to the edges. This will transfer the paint that ends up on the back of the leaf to your towel and it will look smudgy. Trust me on this too. :)
- Try to pick leaves that are a little thicker/sturdier. They will hold up to being reused for your entire project. If you are careful as you apply them, you can use just a few leaves for the entire towel.
Before you dive in, prewash your material with soap and water and dry it thoroughly without softener or dryer sheets.
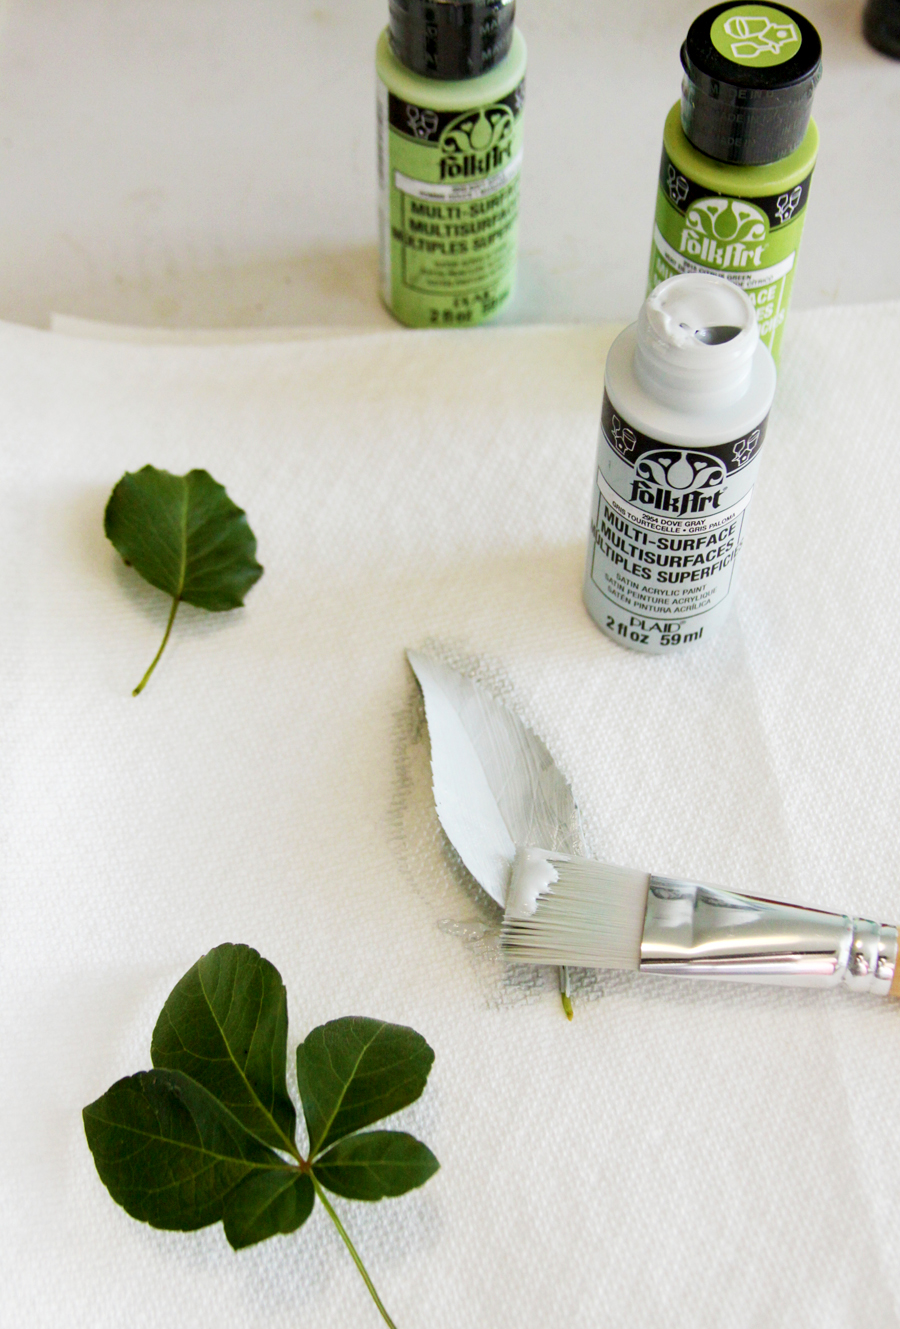
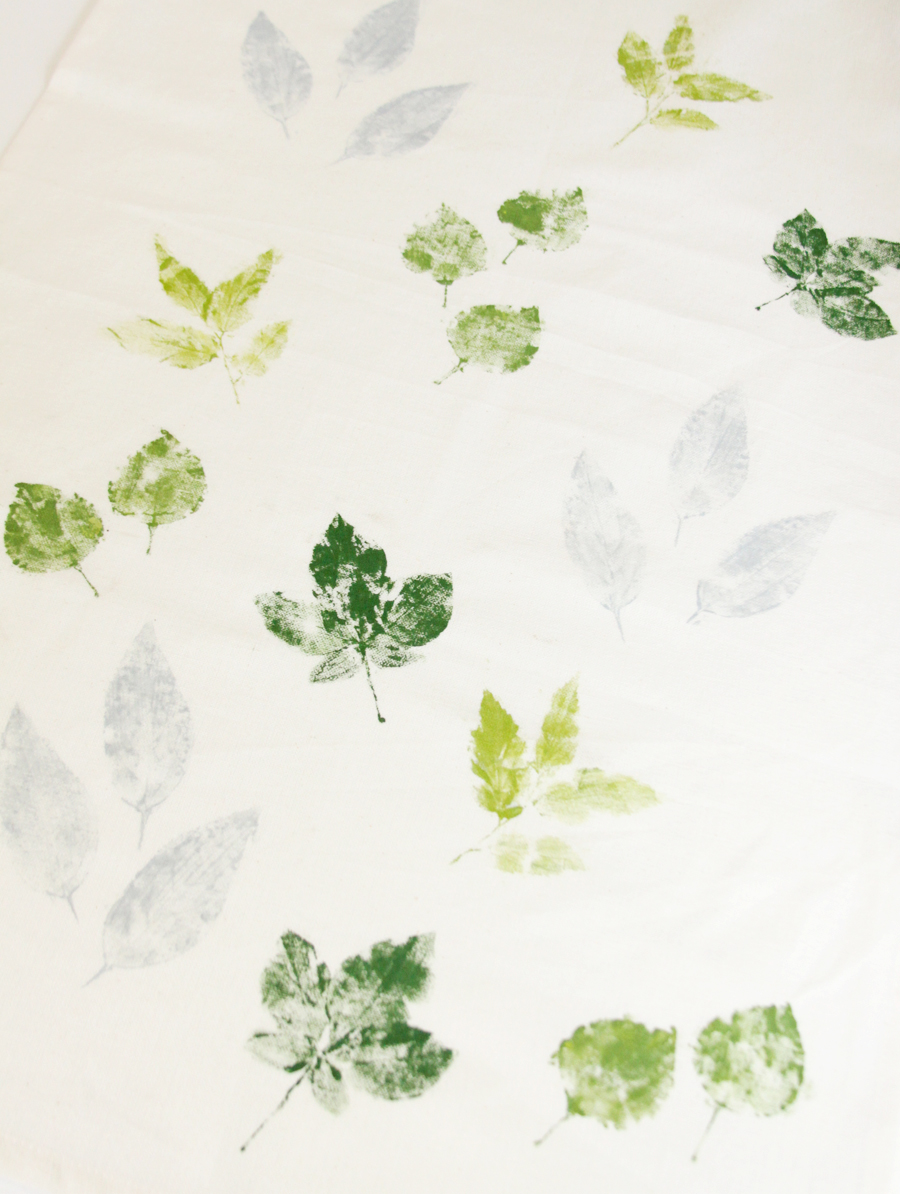
Let’s start painting! Choose a leaf and cover it completely with paint. You want a nice even coverage without a ton of paint so the leaf details show through. Again, this is where your practice piece comes in handy – you can see how much you need on a trial piece of fabric.
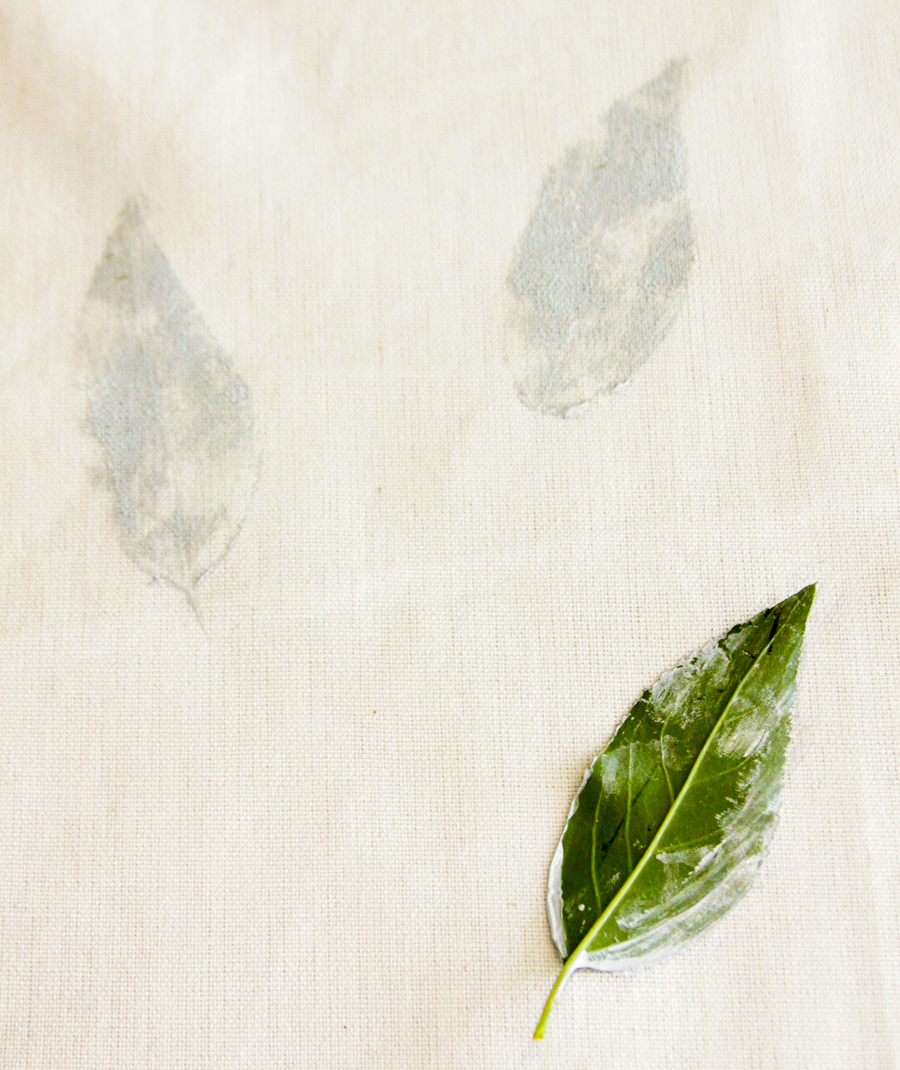
Press your leaves onto your tea towel, making sure you have pressed all the edges down.
You can use leaves that have a few leaves on one stem, but I wouldn’t do more than five leaves or so. As you apply the paint they kind of stick together and it’s a little tricky getting them to lay flat on the towel if you’re working with more than a few leaves.
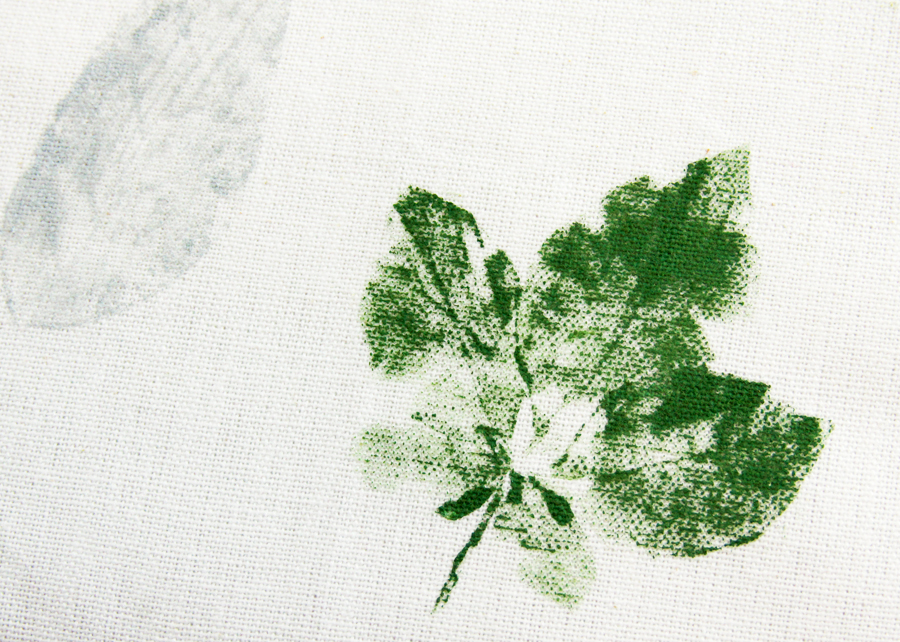
It’s kind of tricky getting the stems to stamp but it really finishes off the leaves if they are there. If you can’t stamp the stem, paint them in with a fine paint brush.
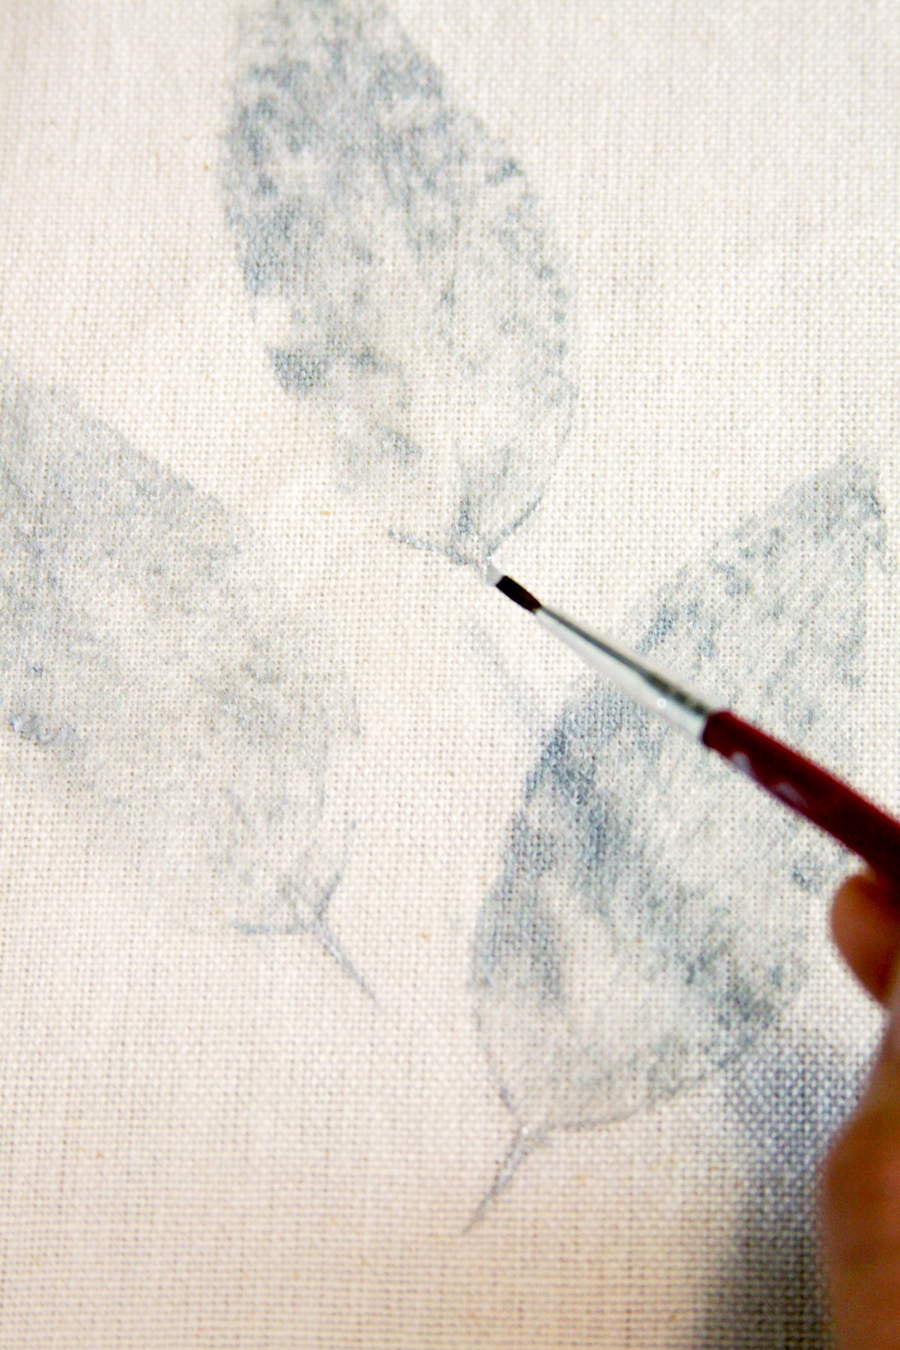
Apply your leaves all over the towel, or you can do a pretty row or pattern along the bottom or edges.
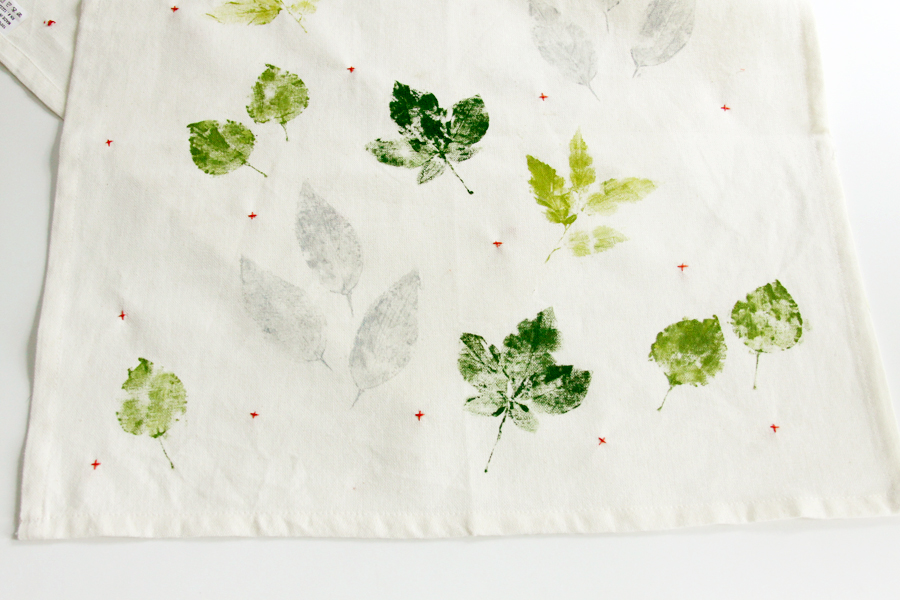
To finish off my dish towel and add a little more color, I embroidered small x’s in some of the white space on the towel in a pretty coral color.
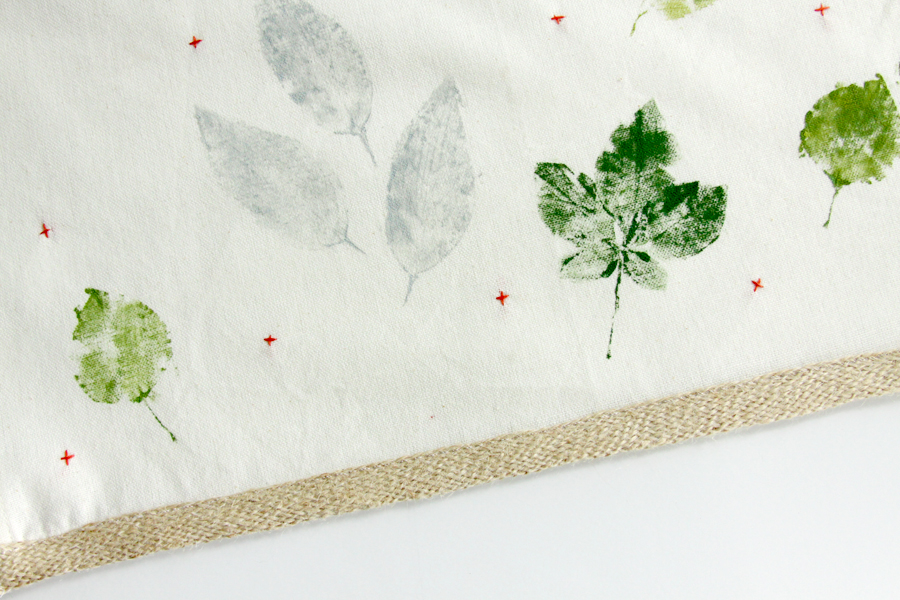
Finish off the towel with some fun trim – like this burlap bias tape!
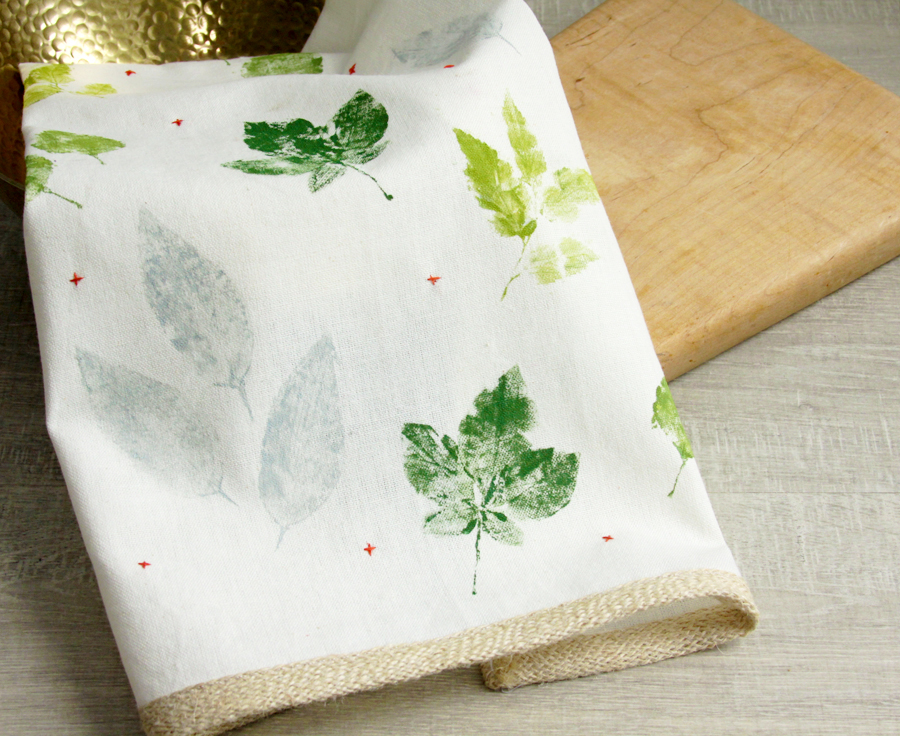
Now you have a pretty and unique dish towel to show off!

You can find lots more inspiration from Plaid on Facebook, Pinterest and Instagram!


I bought the August issue of Homespun from Google just so I could get your MEOWSKI PILLOW Pattern. It is adorable and I am anxious to get started on it. It must be very exciting to have your work featured world wide.
I love what you do . I do have to say that Homespun has a lot of other great projects and I may have to take a subscription. Congratulations Bev on another wonderful project.
What a fun project, Bev! I love it!
GREAT gift idea!!
Would love to have you share at Reader Tip Tuesday: http://www.jodiefitz.com/2017/09/05/reader-tip-tuesday-weeks-craft-recipe-party-2/
We’re open & growing all week long!
I like to use tea towels for napkins on my tablescapes and this is the perfect treatment for them. Thank you for the inspiration!
Love this idea to tea towels and easy to accomplish. Found you at Bloggers Spotlight
Thanks for sharing at Inspire Me Monday. You are one of my featured picks this week. Come check it out at http://www.farmhouse40.com/inspire-me-monday-146
nice DIY… perfect tips if you ask me…
I love this technique. Great, thorough instructions! I am thinking about trying it on a cotton blouse. I think it would be very pretty. Any suggestions I should consider prior to attacking a shirt? Thanks