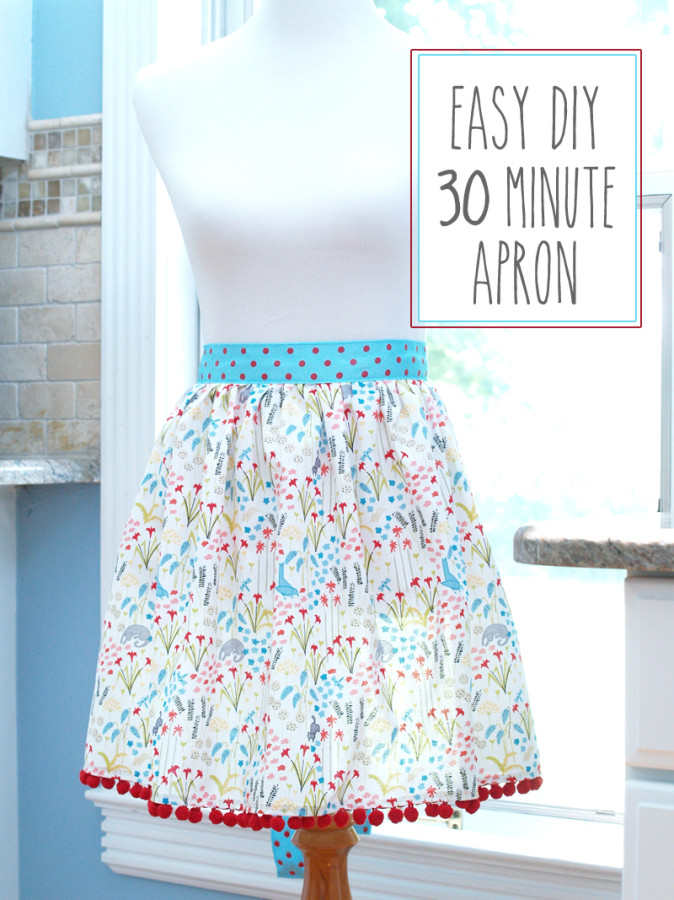
While I love adding in all sorts of details to my sewing projects, sometimes I also want a project that is fast and so super easy. Especially when time is running short and I need a gift or want to make up a quick project. That’s just what I have for you today!
This adorable and easy diy 30 Minute Apron is so cute and makes up so super fast! With just a little fabric and a few seams you can have a darling apron in just a half hour – so you can make one up by dinner or you could give one as a house warming gift! (I am always forgetting I need gifts like that until the last minute.)
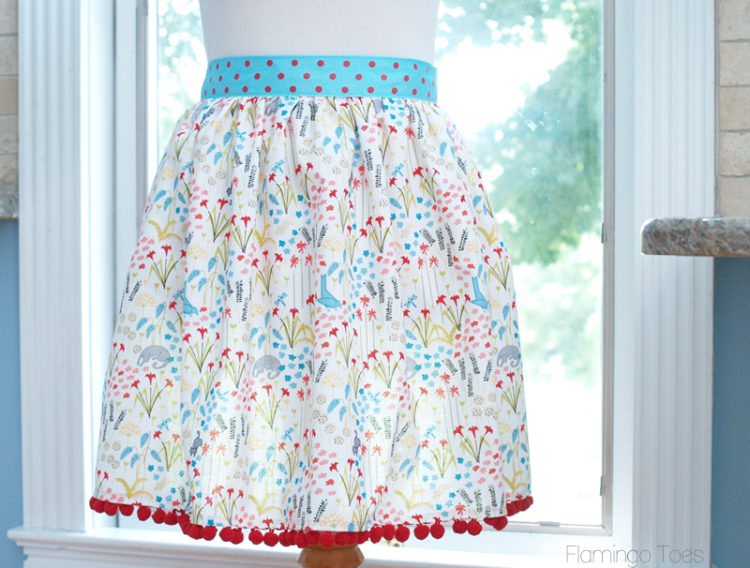
This cutie has an easy ribbon waistband and ties, and has some little pom pom trim to dress up the hem! It would be easy to change that out with any other trim – I think rick rack or even a pretty ribbon sewn across the hem would look sweet.
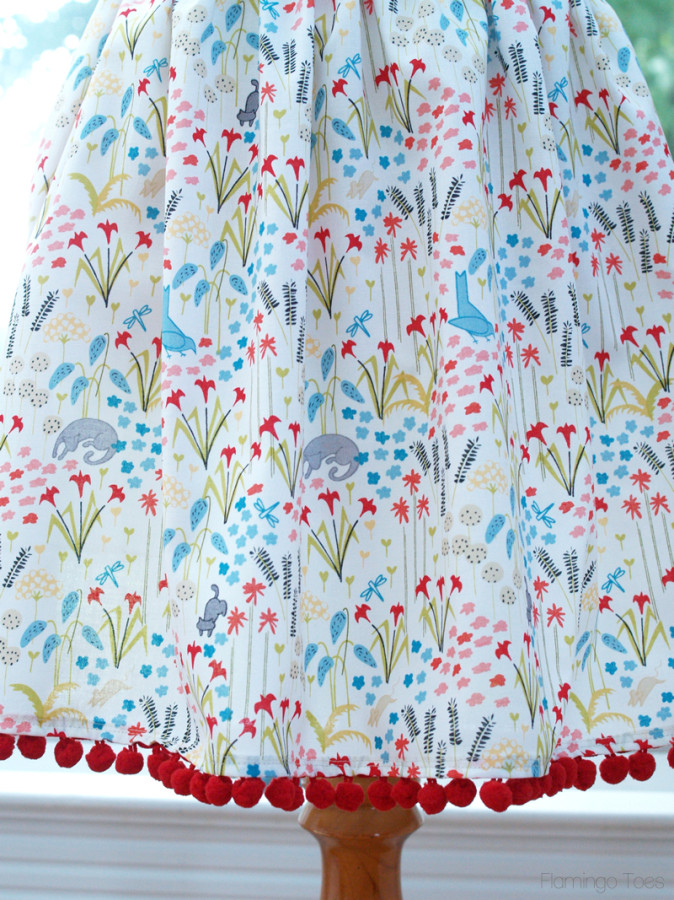
This is a great way to use up smaller pieces of fabric as well – or fabric that has a fun print. All you need is a half a yard! So let’s get started! Here’s what you’ll need to make your own 30 Minute Apron:
- 1/2 yard of fabric
- 2 rolls of 2″ wide ribbon that are 3 ft each (or 6 ft of ribbon if you purchase it by the yard)
- 1 1/3 yards of pom pom trim
Begin by cutting out your fabric – you’ll need 1/2 yard. Trim off the selvedges on each side.
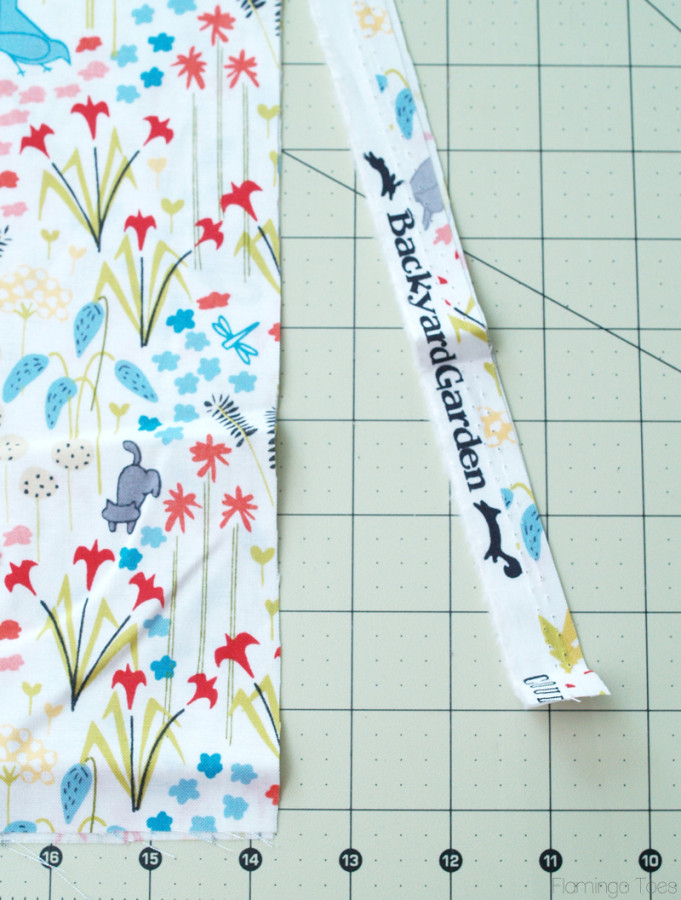
Hem the sides and bottom of the fabric by turning under the fabric twice and sewing close to the edge.
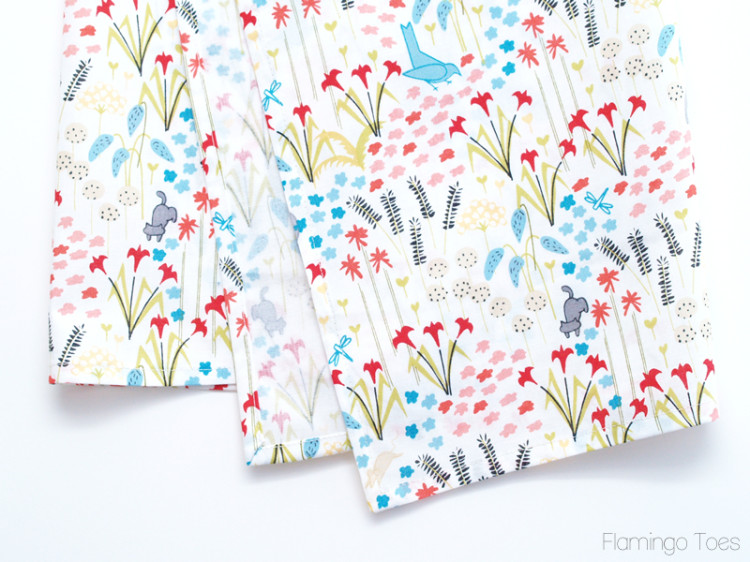
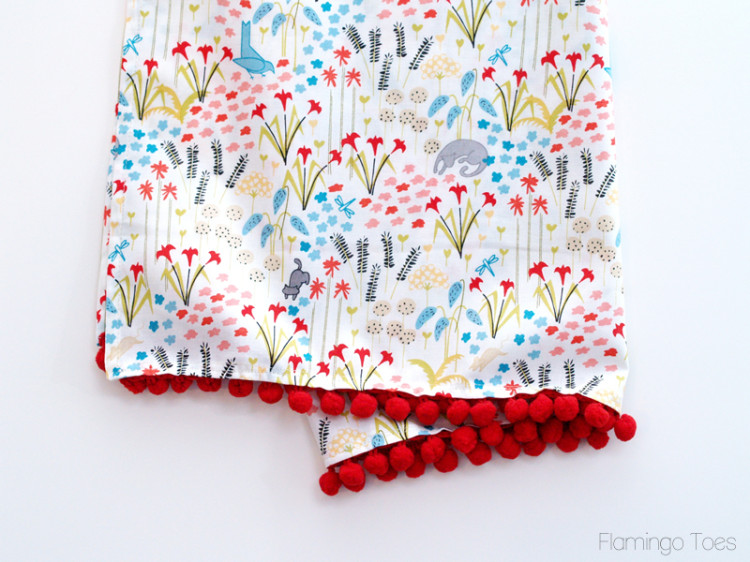
Sew your trim to the bottom edge of the apron by sewing the pom poms to the back side of the apron, so just the pom poms hang below the edge.
Sew a gathering stitch along the top side of the apron and pull up the threads so the top measures 18″.

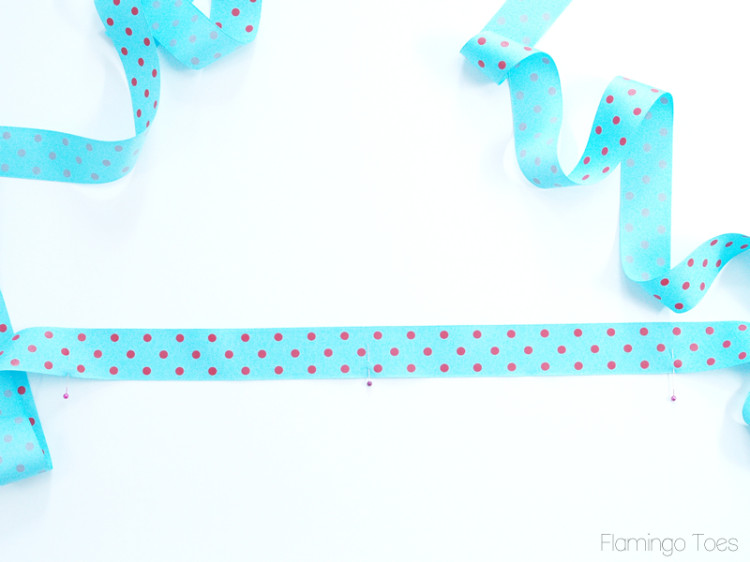
Measure out and pin the center of your piece of ribbon. Measure out 9″ on each side of the center pin and mark these with pins also. This is where you’ll pin the apron fabric.
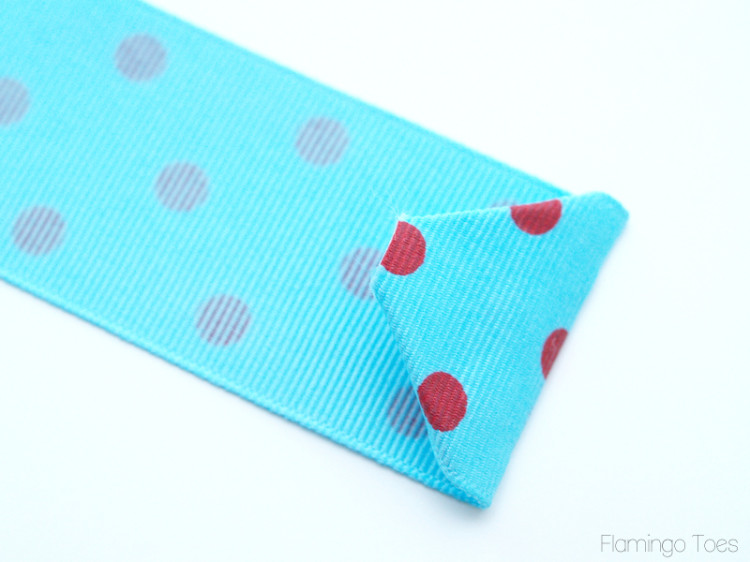
Before sewing, press the edges of the ribbon back 1″ and then press the corners in. If your ribbon is printed like this you’ll want to lay a little cloth over the ribbon before pressing. Or you’ll have little red polkadots on your apron. Cute, but not so awesome when it comes to pressing something else.
Pin the apron skirt in place between the marked pins so that the edge of the fabric is 1″ above the bottom edge of the ribbon. Pin the skirt in place along the ribbon. Lay the other ribbon piece over the first ribbon so the wrong sides are touching, matching up the centers and ends of the ribbon. Start sewing the top edges of the ribbon together just to the left of the apron skirt and continue sewing until you are about 3″ from the ends. Make sure the ends line up (adjust your pressed lines if you need to, and then sew across the short side. Continue sewing up the bottom edges of the ribbons, and sew across the apron skirt as you go. This should enclose the top edge of the apron in between the ribbons. Keep sewing until you reach the other end of the tie, matching up and adjusting your pressed ends if you need to. Sew across the end of the this tie, then sew along the top edge of the ribbons until you reach your starting point. Press the apron and ties (don’t forget your pressing cloth for the ribbon) and then you are all finished!
You now have a super cute new apron that took hardly any time at all!
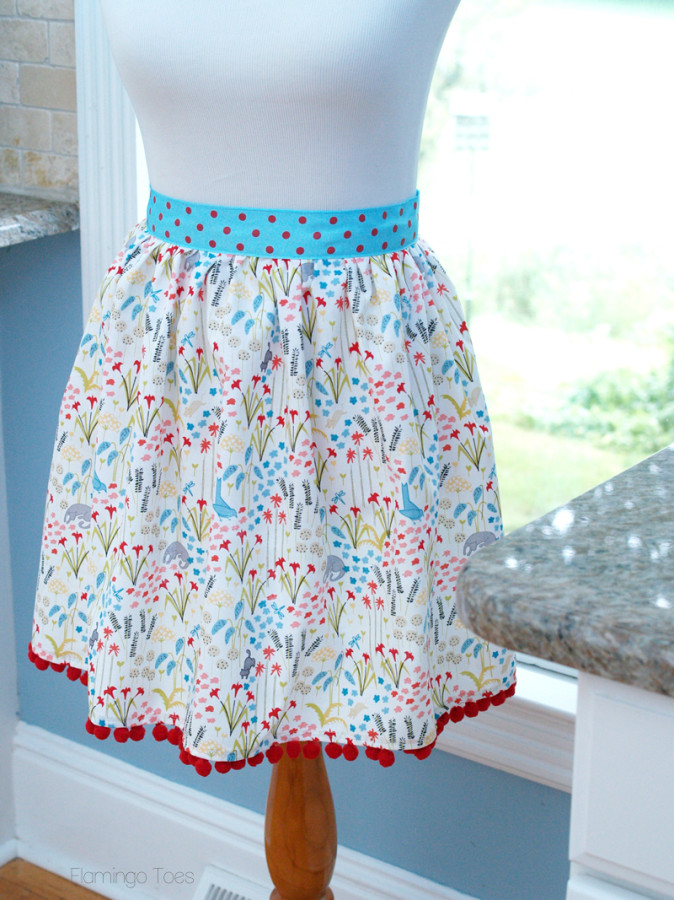
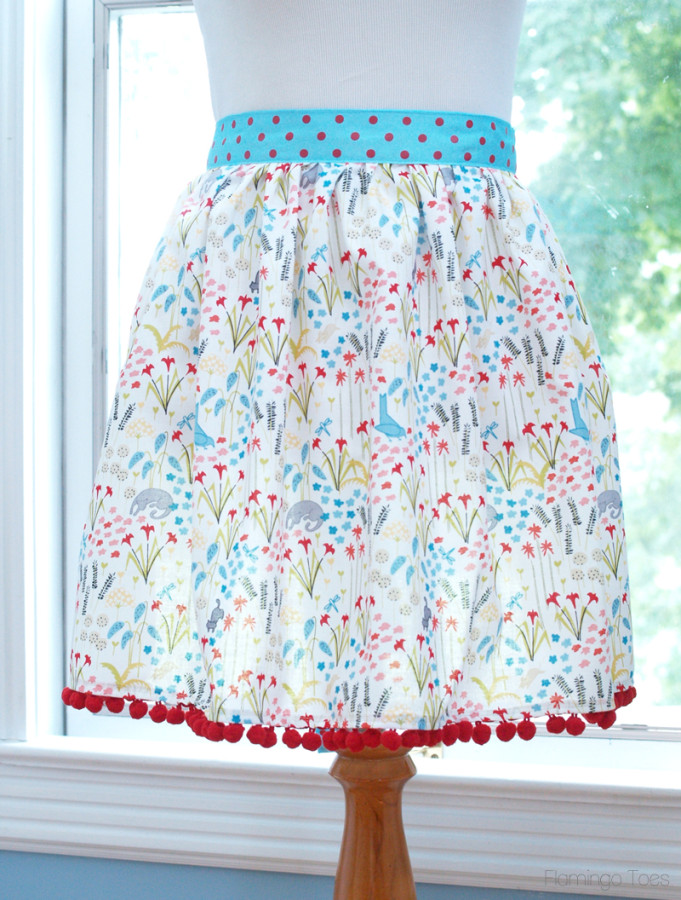
I hope you give it a try!


Soo cute! Especially the pom poms!! I’ve got a Craft Gossip post scheduled for tomorrow evening that links to your tutorial:
http://sewing.craftgossip.com/tutorial-easy-30-minute-apron/2014/08/15/
–Anne
Your apron with the pom-pom trim is so cute! Thank you for the tutorial :)
I am in the middle of making this and just realized that the 3-ft pieces of ribbon seem much too short. There will not be enough slack to tie the ribbon in the back. I noticed in your last picture the ribbon appears to be hanging down pretty low in the back. Should both pieces of ribbon be 6 feet (or at least in the 4-5 ft range) maybe? Thanks!!
I agree because 3 feet will not give you any room to tie. this pattern needs to be adjusted with the links of the ribbon because someone who is making this who knows no better will be sorely disappointed when there is no room to tie behind.
i agree! my granddaughter (age 10) just finished making this apron as her VERY FIRST sewing project! fortunately, we were able to tie the ribbon into a small knot on the back of her little waist. how i wish i’d read these comments before sewing. regardless, it turned out so cute and she will make additional aprons – next time with longer ribbon! LG Oct 2019
But that adorable cat on the graphic?? How do we do that?
Hi! Do you mean the cats printed into the fabric of the apron?
Fabric is 1/2 yard by ???? It is unclear what the width is. Is the 1/2 yard the length that goes around the waist or the length from top to bottom (waist to knees)?
I don’t know what it means to sew a gathering stitch and pull the threads. Is this a hand stitch?