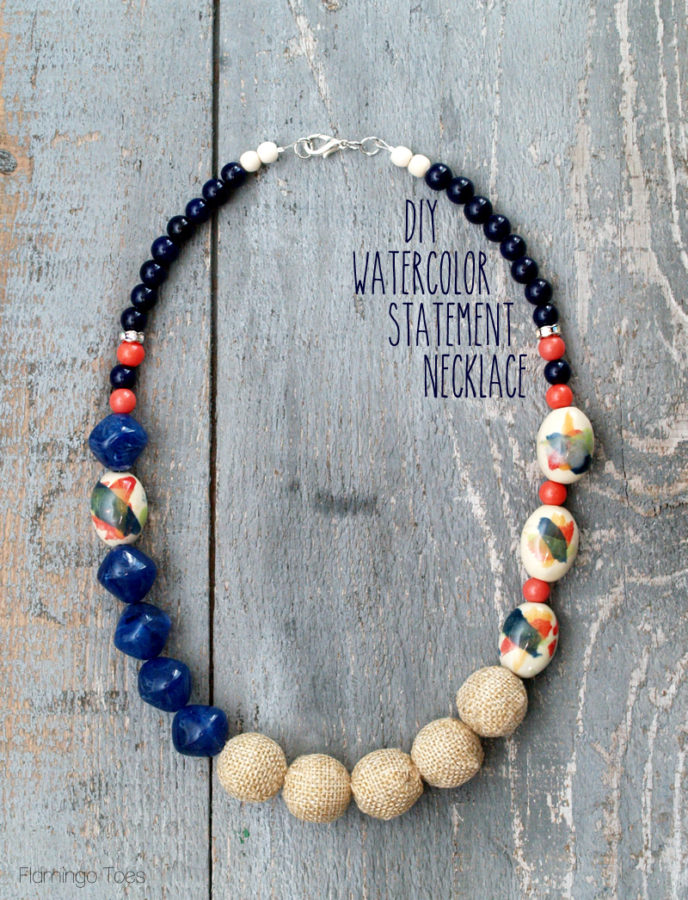
One of my favorite things about jewelry making is that pretty much anything goes. You don’t have to stick to using the same old materials, or have things be all matchy matchy – unless you want to! So even if you’re making a pretty straightforward beaded necklace, you can really have a lot of fun with the layout and mixing and matching beads and styles.
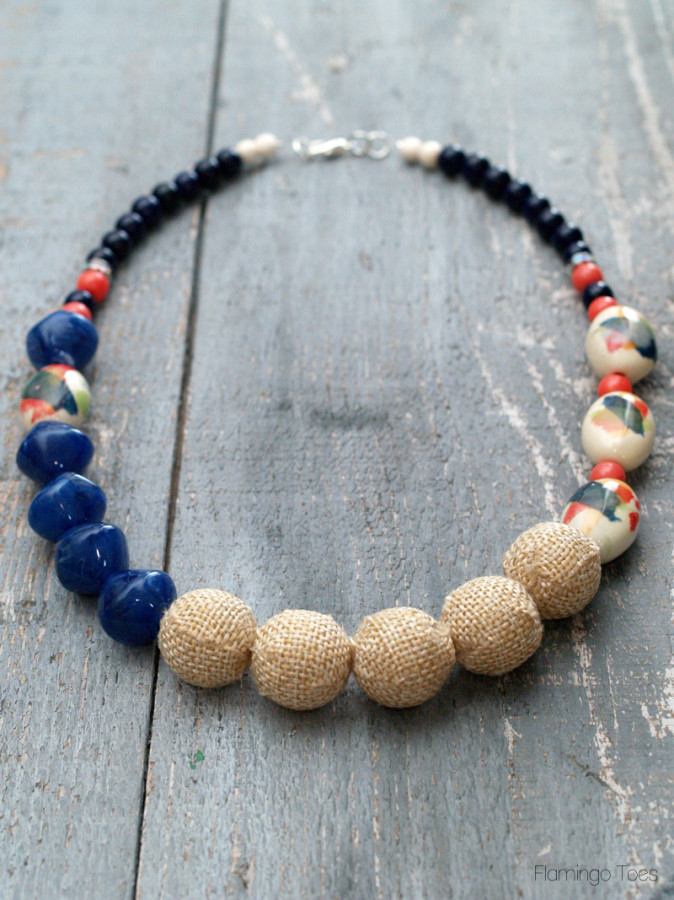
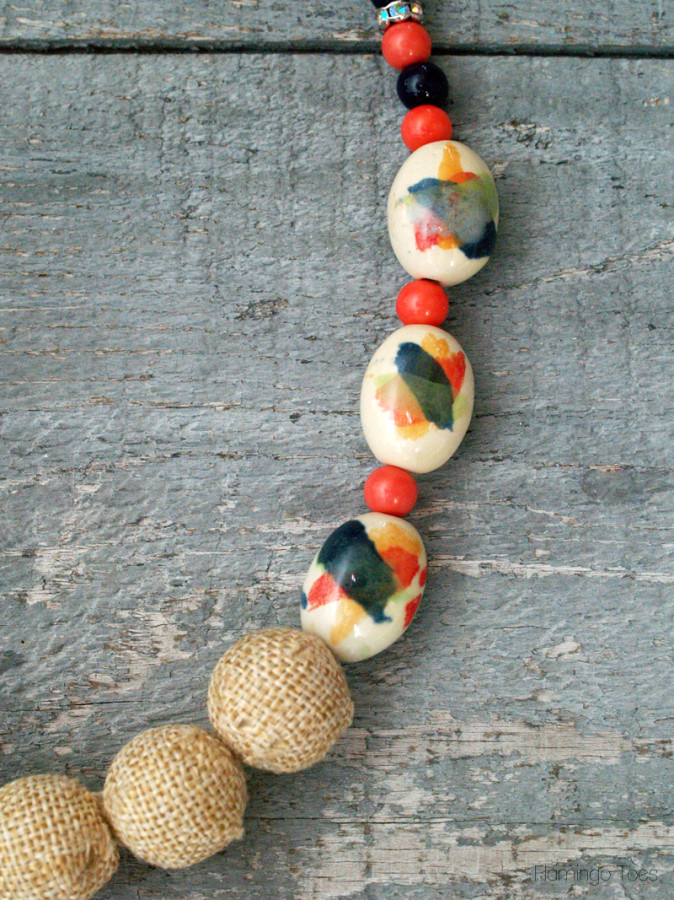
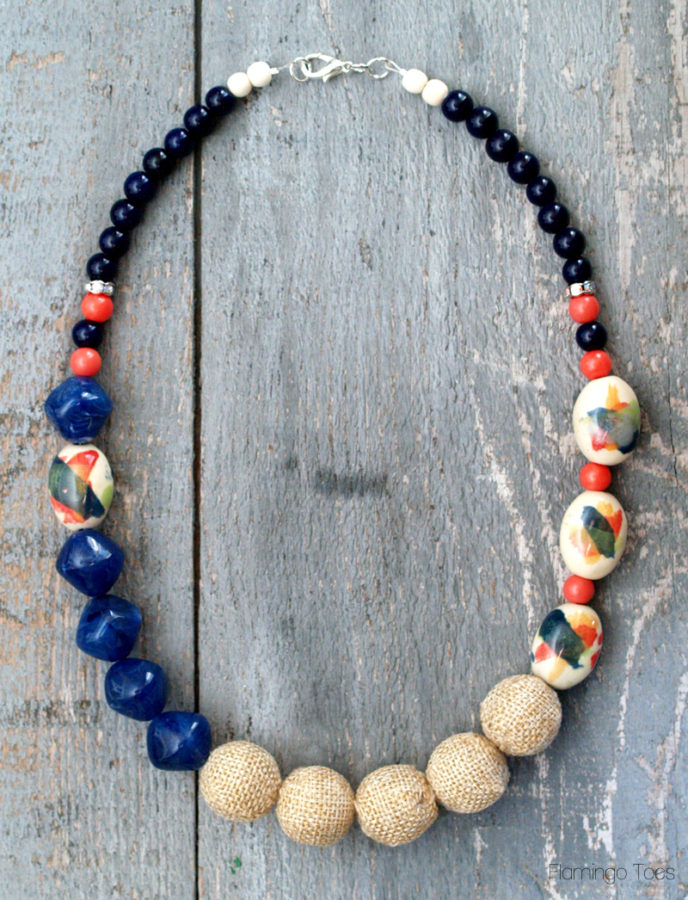
I found these awesome beads – all watercolor and burlap and bright colors and I knew they would be perfect to put together for a new Spring necklace.
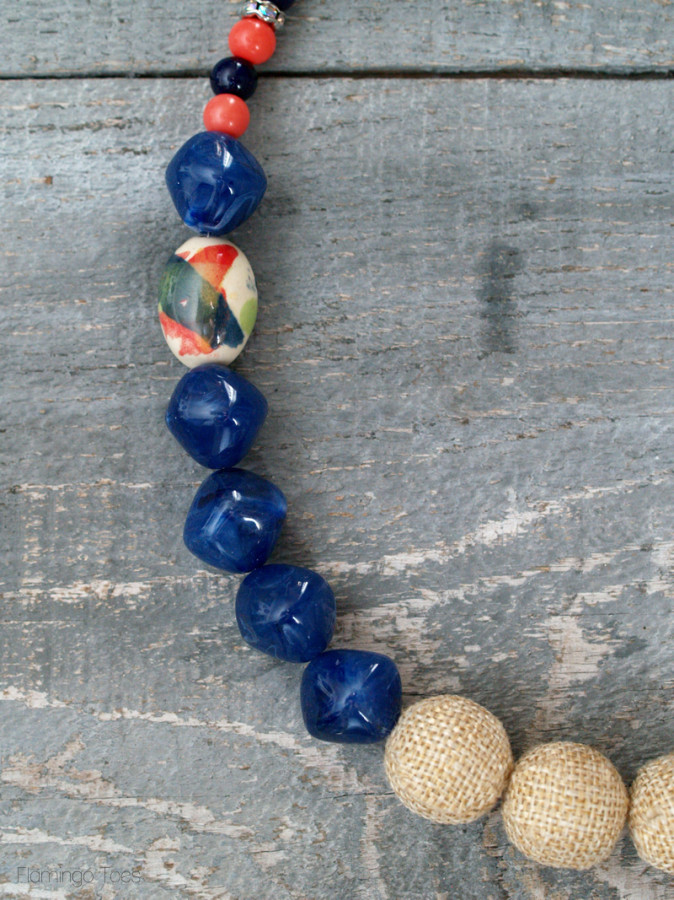
Even if you don’t like these beads, or want to mix in different colors, hopefully this can be a great inspiration for using different textures and changing up the layout of your necklace.
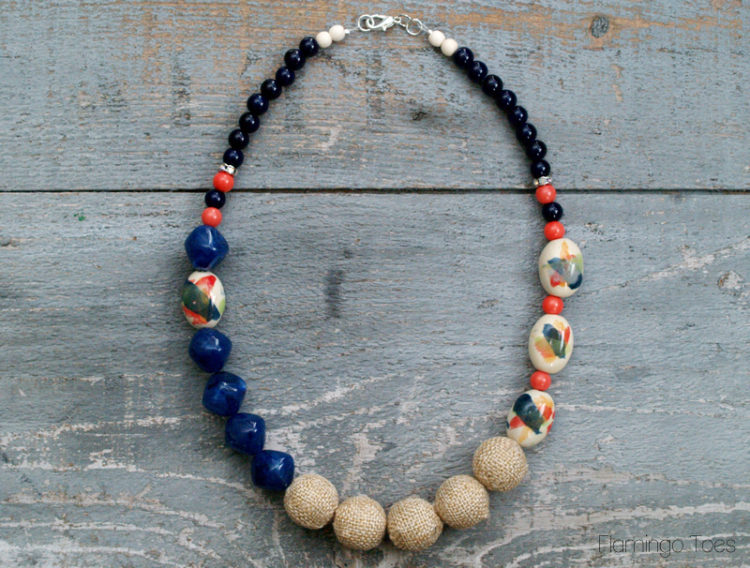
So let’s get started! This is a great beginner necklace.
Materials:
- beading wire
- crimping beads
- jump rings
- closure pieces (lobster clasp)
- assortment of beads in different sizes and textures (these all came from Jo-Ann’s I’m pretty sure.)
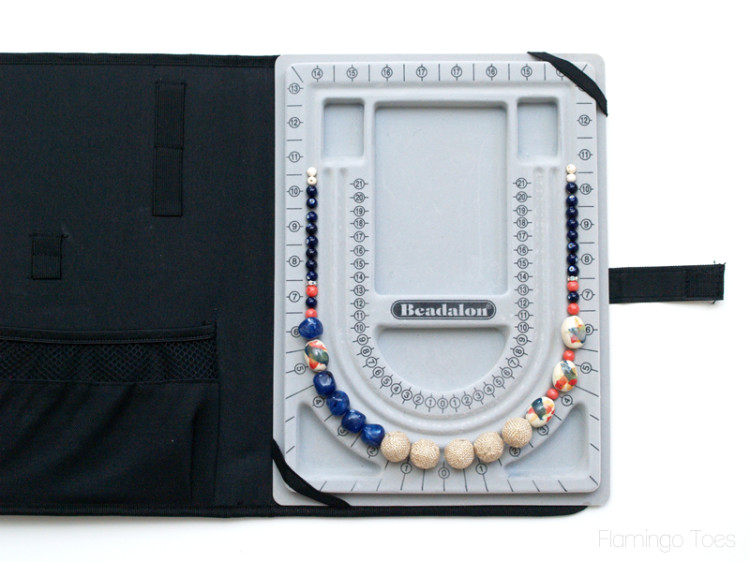
Start by laying out your beads in the style and order that you like. I’ve started using one of these handy dandy beading trays. It is way easier to lay out the beads in the little grooves, instead of on the floor where your cat can play soccer with them.
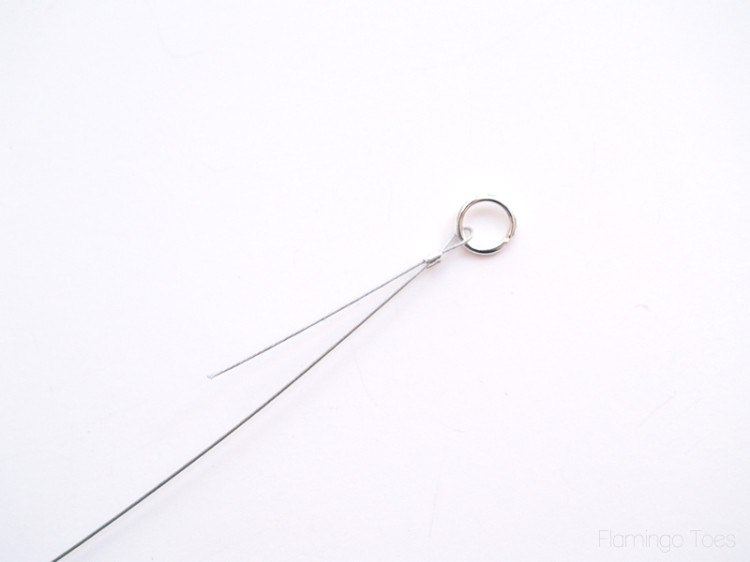
Cut a length of beading wire about 10″ longer than your finished necklace size. I cut mine about 32″ long. Use a crimp bead and loop the wire around a jump ring. Crimp the bead and leave about 1″ of wire on the short end. If you need help with that, check out the How To Do That: Jewelry Page.
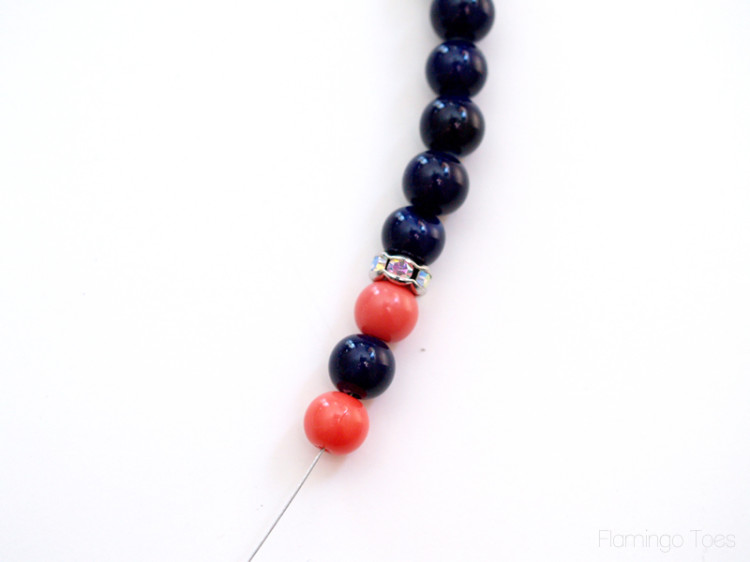
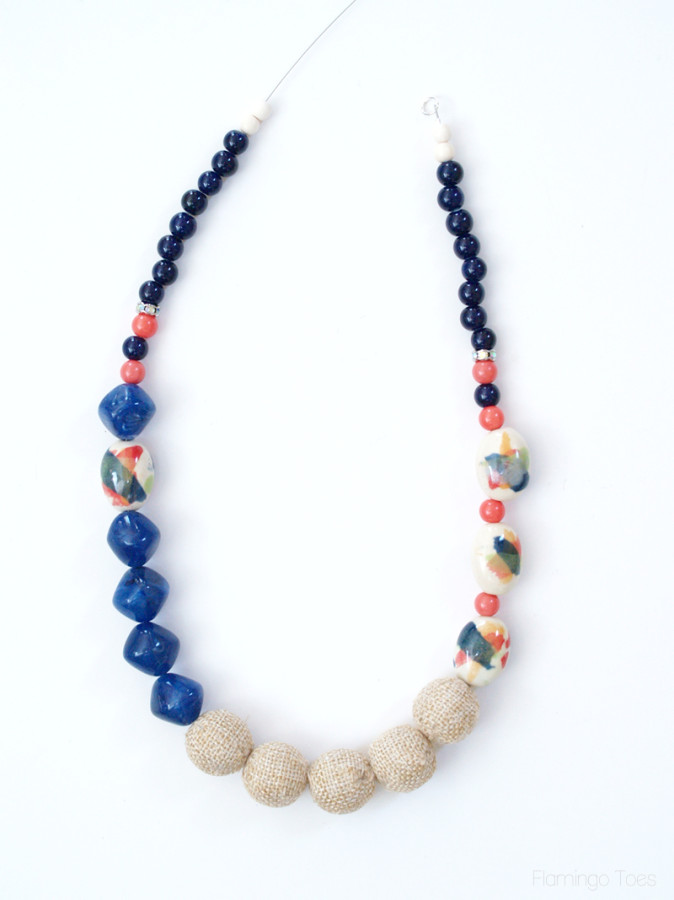
Start by stringing on your small beads. Mix and match them to coordinate with your bigger beads.
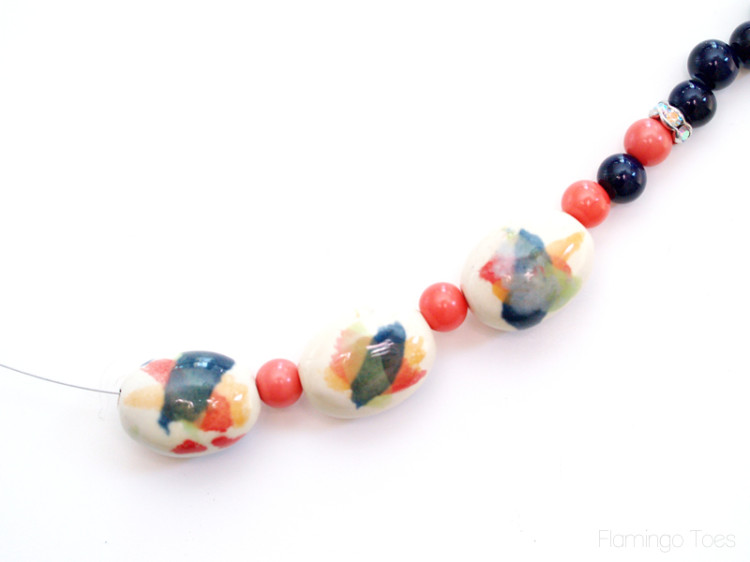
Start adding in your focal beads. I used these awesome watercolor clay beads, with little coral beads between them.
Continue adding on beads, keeping them approximately the same size so that the necklace feels balanced. You can change up your styles and beads, but you don’t want it too lopsided weight-wise, or it won’t hang straight when you’re wearing it.
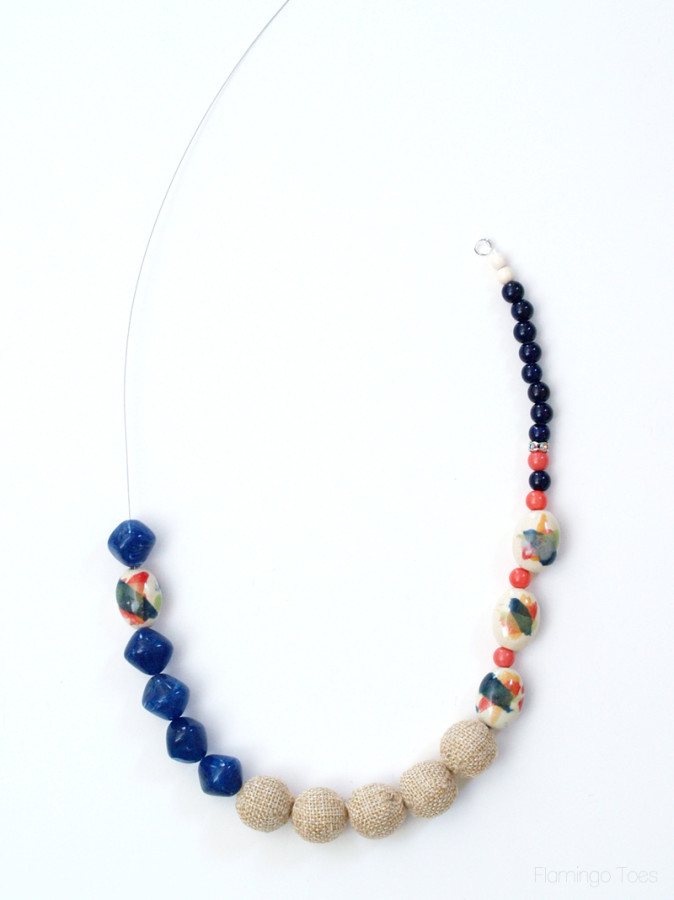
Finish off the rest of the strand. I mirrored the beads that were at the top right side, just to balance things out. Aren’t those burlap beads cool? I think they’d be super easy to make too! It’s just a little fabric glued around a large plastic bead.
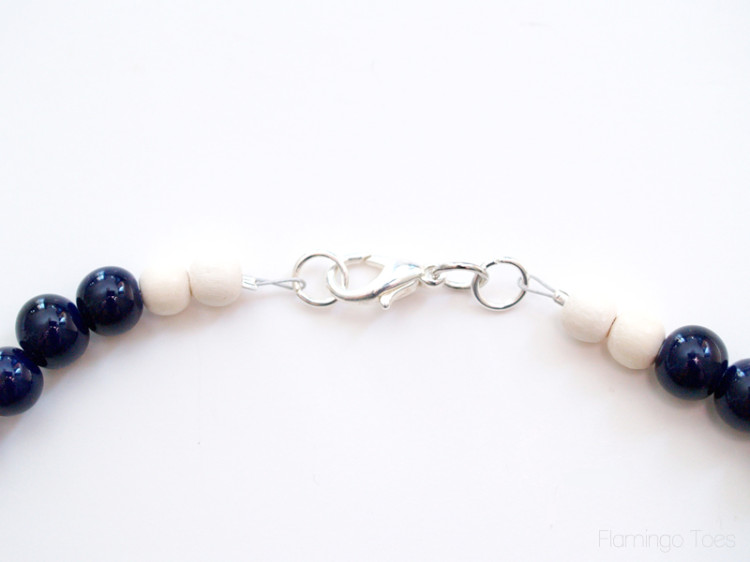
Finish off the necklace be adding another crimp bead and jump ring to the end. Feed the end of the wire back through a few of the beads and trim it. Add in your closure pieces.
And that’s all there is to it! See how easy it is to make something fun and unique? Super quick and fun!
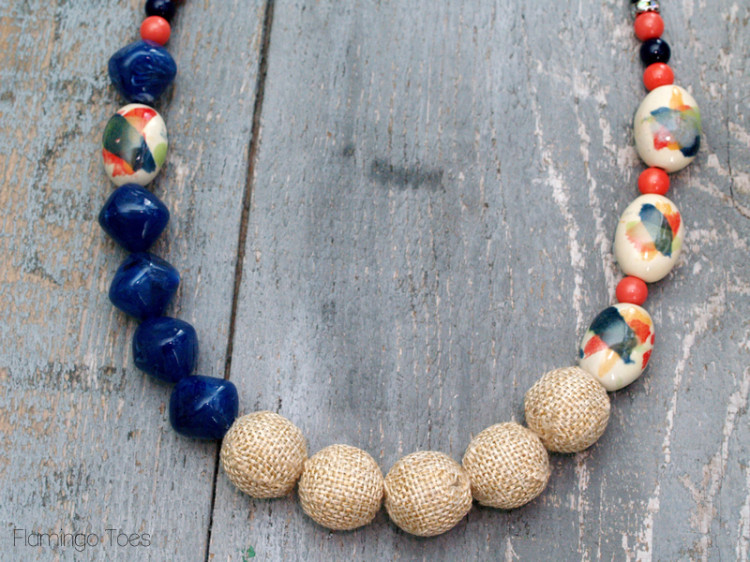
I hope you like it!


One of the coolest things about jewelry making is how different styles show – i never would have picked out those burlap beads and I’m a big sucker for symetry so would never normally make something like this, but i just love how this turned out!! Maybe I need to break out of conservative mold haha :)
Oooh, those watercolour beads are fab! So unusual!
Very nice. I like it.
Oh, Bev, I do love it when you create original pieces! This is STUNNING, my friend! Those watercolor beads are gorgeous, and you’ve paired them so well.
I’ve always wondered if those bead trays were worthwhile. Good to know!
What a unique piece! I love the color combinations and I’m so fascinated by the burlap beads. Never seen them before!
Where do you find the beads that you use?
I found mine at Jo-Ann Stores. :) Not sure if they’re available online as well. Hope that helps!