One of my favorite things to do when making jewelry is to mix and match different patterns and textures. I think it makes the jewelry so much more interesting and you have so many options for customizing!
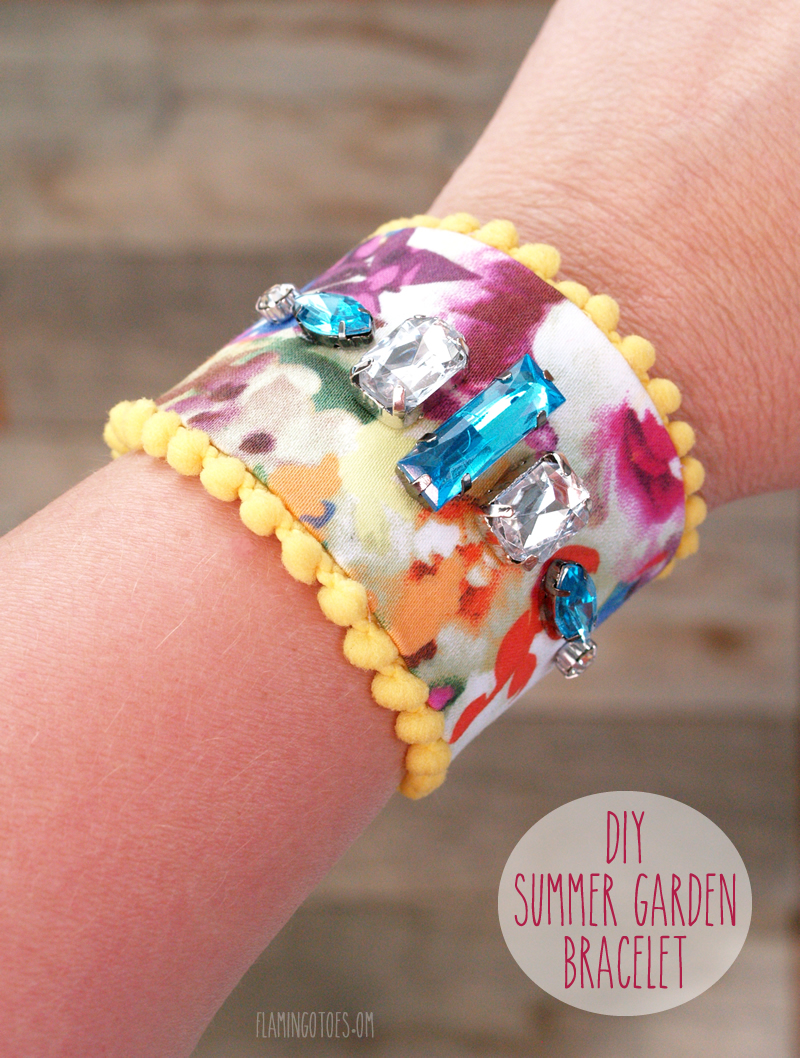
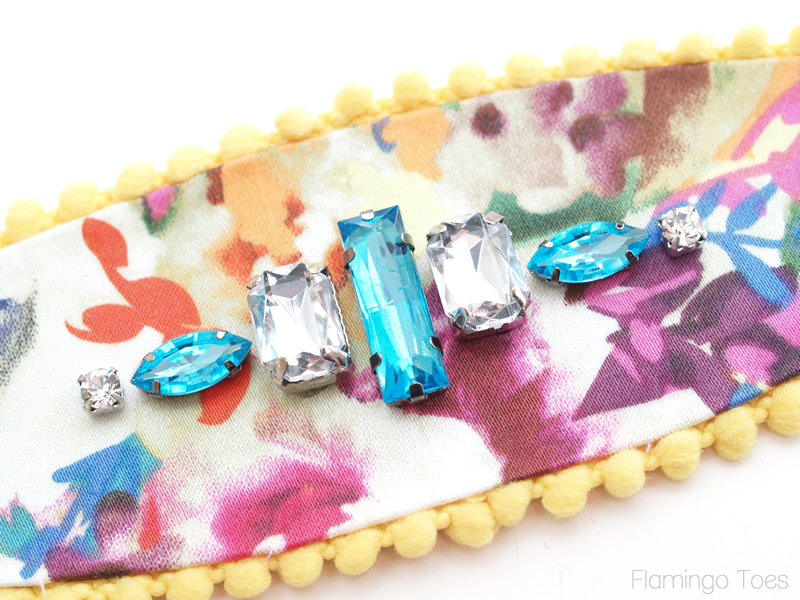
Today I am showing off my new DIY Summer Garden Bracelet and I love the combination of textures in it! It’s all decorated up with pom pom trim, rhinestones, and this gorgeous floral fabric. It has such fun colors for summer!
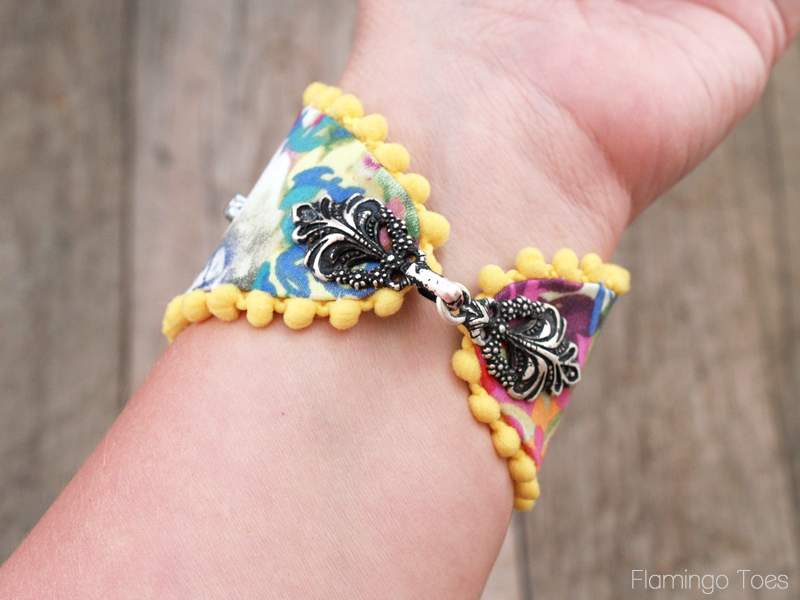
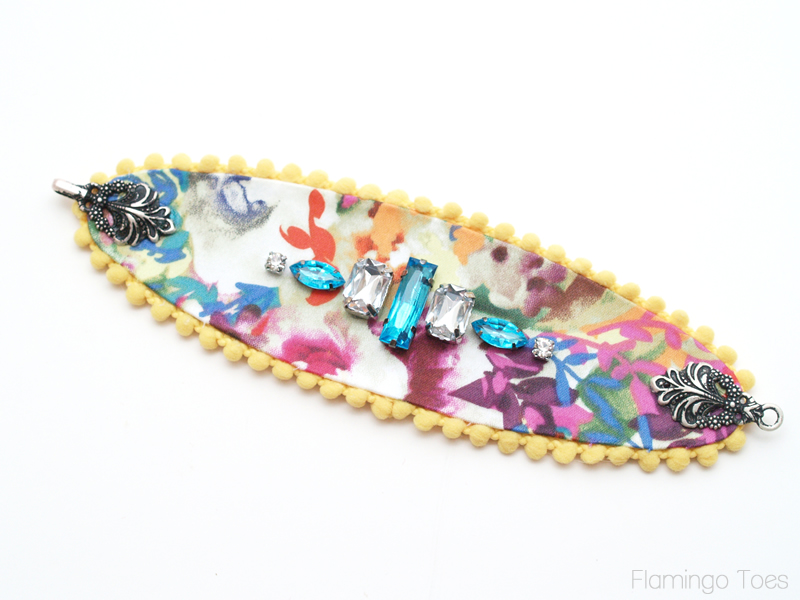
The cuff is decorated down to the connecting piece – this fabulous clip that has a vintage look to it.
It is a no-sew project too – so you can make one up easily and without a sewing machine or even without jewelry tools!
Here’s what you’ll need to make your own. All my supplies came from Jo-Ann Fabrics and Craft Store except for the leather backing. Though they do have leather pieces there.
- Floral Fabric – small piece 9″ x 4″
- Heavyweight Fusible Interfacing – 8″ x 3″
- Leather Piece (or a heavyweight fabric for backing) – 8″ x 3″
- Rhinestone pieces for decorations
- Connector clip (in the button section)
- E-6000 Glue
- Mini Pom Pom Trim
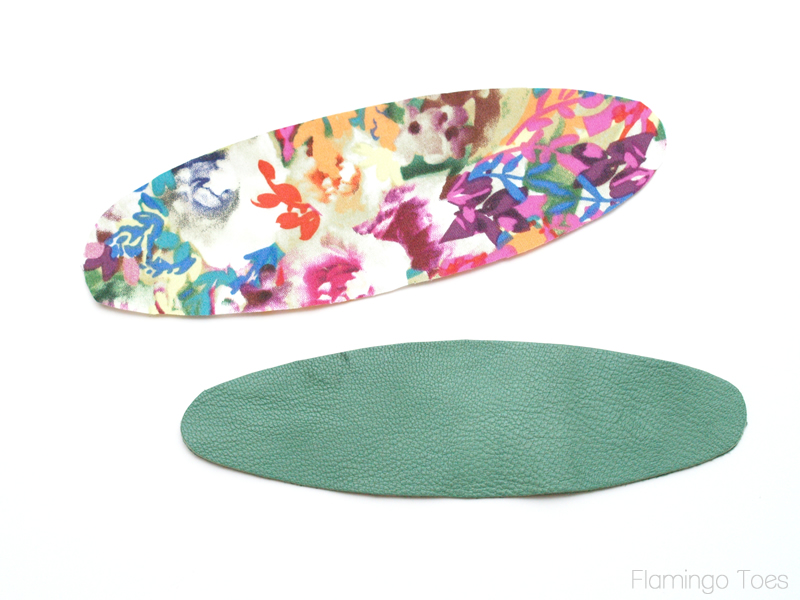
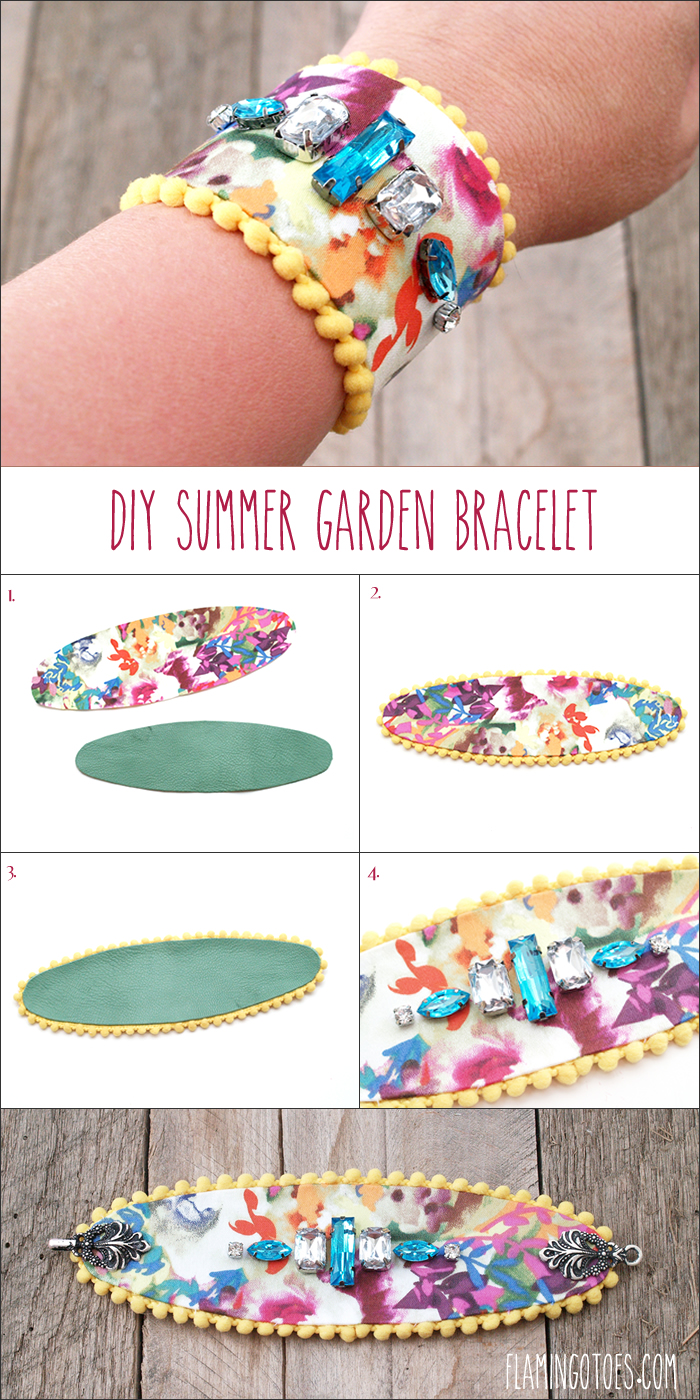
Begin by drawing out your bracelet shape. You will want a long oval that is the width of your wrist plus 1/2″ by 2″ tall. Cut out a piece of leather using this oval shape, and cut out an interfacing piece the same size. Cut a piece out of your floral top fabric that is about 1/2″ larger than the oval all the way around.
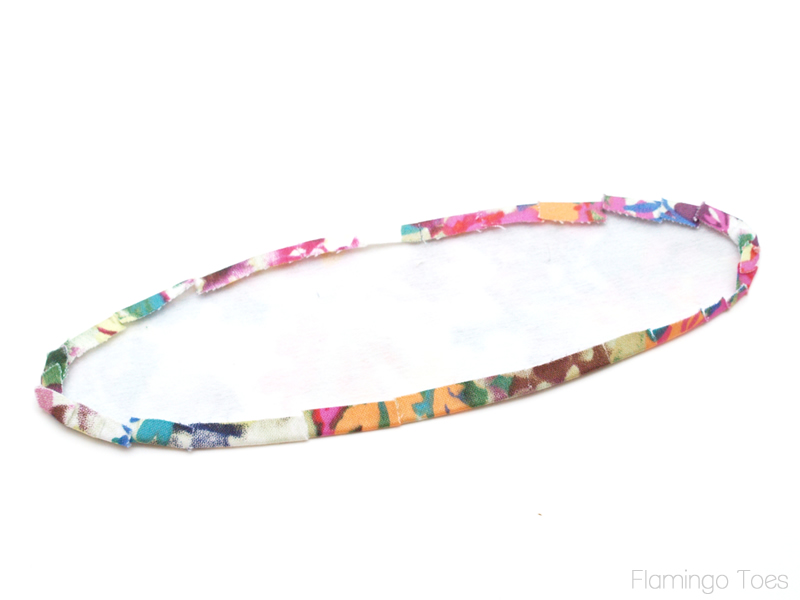
Fuse the interfacing to the wrong side of the top fabric. Clip the curves all the way around the oval almost up to the interfacing. Press the clipped edges to the back side of the piece. Glue down any pieces that don’t stay pressed down.
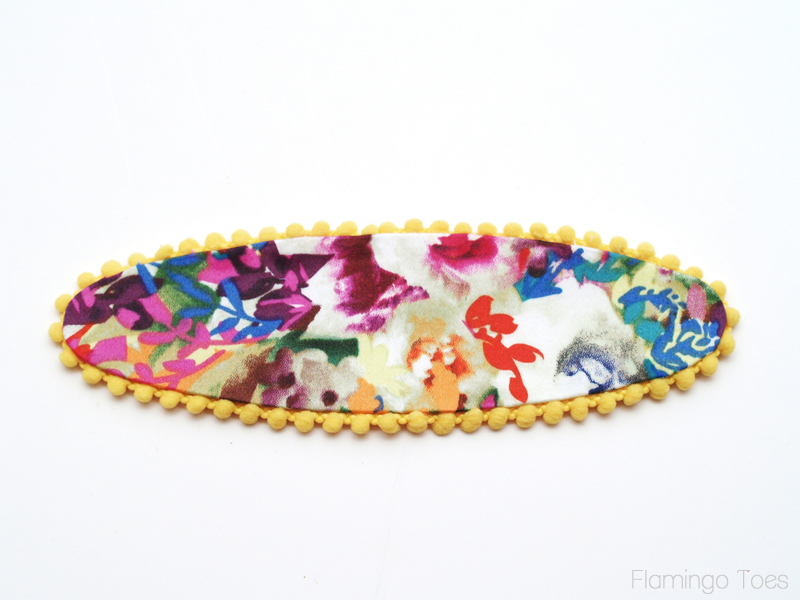
Glue your mini pom pom trim to the edge of the wrong side of the top fabric, just inside the folded edge so the pom poms peek out all the way around.
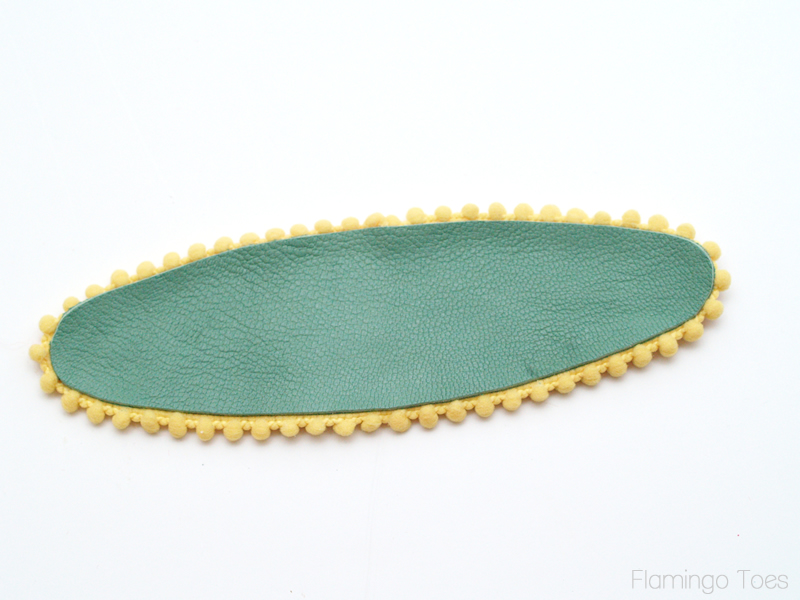
Glue the leather piece to the wrong side of the top fabric. Make sure the edges are glued down well all the way around. If you don’t want to use leather, you could also create a backing piece just like the front piece, with interfacing fused to the wrong side for stability.
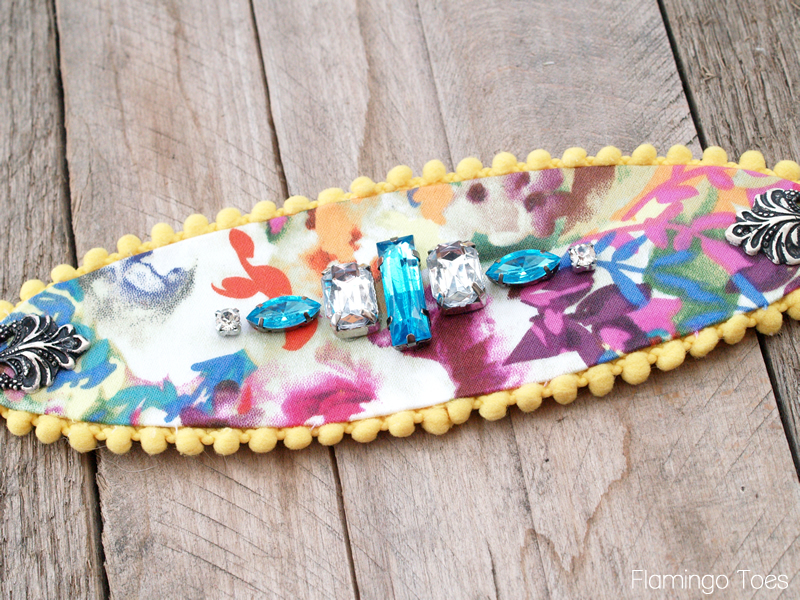
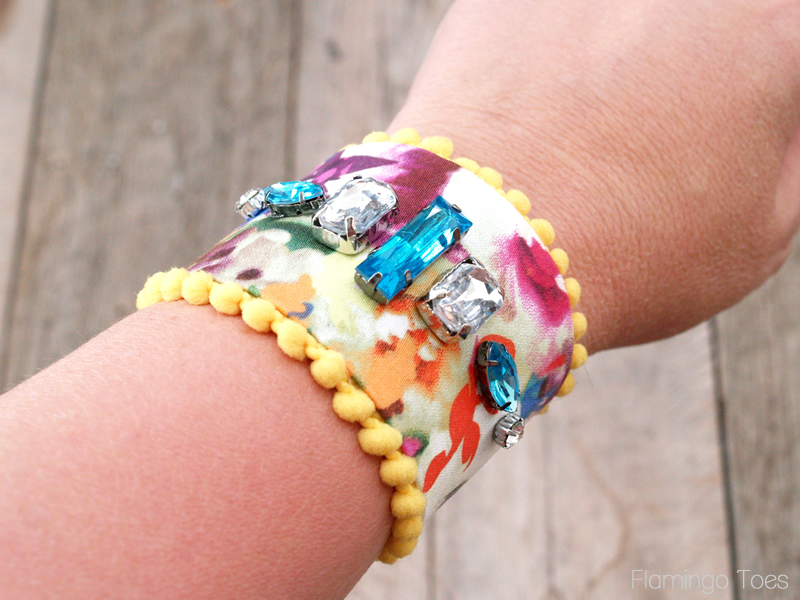
Turn your bracelet back over and glue on your rhinestone beads. You could also use buttons, vintage earrings, or any other cute decorative items.
Finish off the ends by gluing the connecting pieces on each end of the oval, so the hook and eye hang off the edge of the bracelet.
Let your bracelet dry at least 24 hours before wearing. And then you are all ready to dress up your summer outfits with your cute new bracelet!
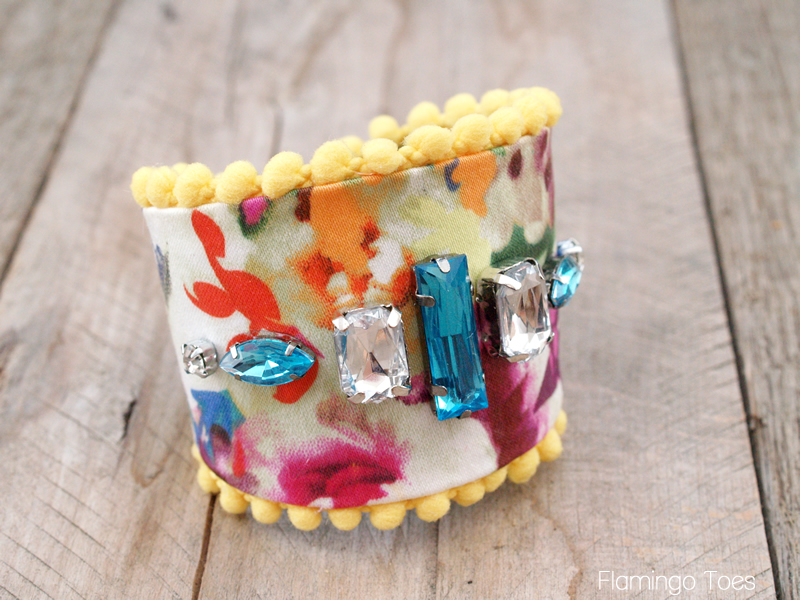
Those pom poms just kill me. So cute!!

This bracelet was created with supplies from the Jo-Ann group of Big Bling products. They are having a super fun Instagram Sweepstakes too – you can check out the page to find out how to enter!
![]()
I hope you give the bracelet a try!


Ooohhhh, I love this idea Bev! I’m thinking I need to dig through my stash and see if I can fashion one for 4th of July although I would probably have to break out at least a needle and thread because I don’t think I have any connectors like that and I’m trying not to buy any more supplies. Thanks once again for inspiration!
That’s super cute! Love the teal leather and yellow poms. Thanks for the detailed tutorial.
At first I read your blog name as “Flaming Totes” and wondered if I’d find a million tote bag projects. Flamingo Toes is SUCH a cute name. I’m attempting to crochet a stuffed toy flamingo. We’ll see how that goes. :) Happy Tuesday.
SO super cute, Bev! I love the fabric with the gems. Definitely fun for summer!
Gorgeous!
Where do you buy your rhinestones?