I will confess that I don’t have much a green thumb. Ok, it’s kind of blackish. I tend to kill the living green things. But despite that, I love the way flowers and pretty plants look, especially around the front of the house.
I have been loving seeing the return of retro hanging planters, and I thought that a DIY hanging planter would be such a great way to dress up the front porch of our house for Spring! I made up these easy Polkadot Hanging Planters and I love how much fun they add to the porch. They are sweet easy little plants to take care of too, so I have high hopes that I can keep them alive! And if I can’t. . . I spent a dollar on them so I can just get more if they die! Win win.
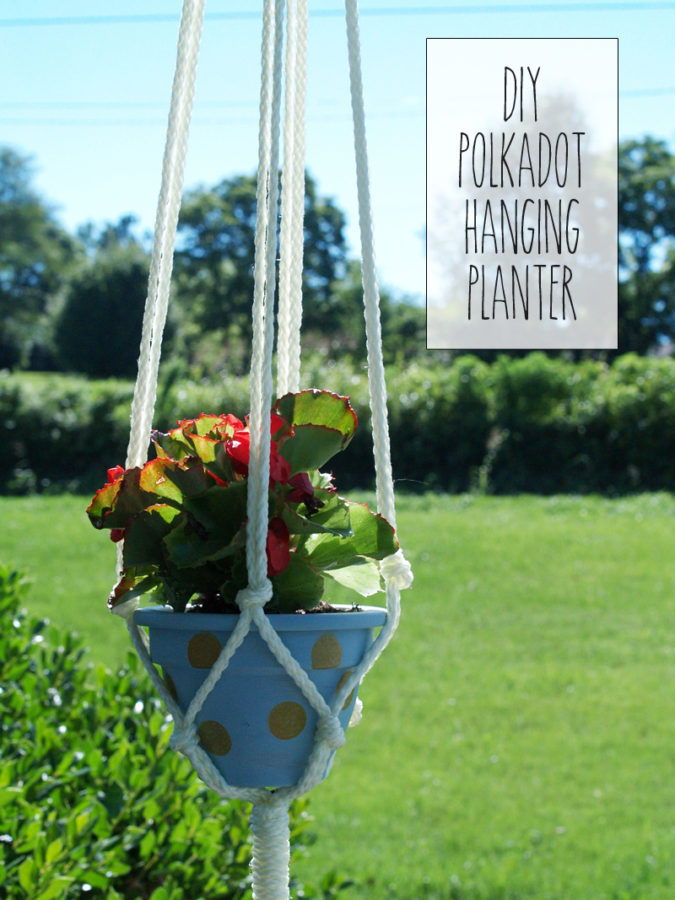
There aren’t a bunch of complicated steps or knots either – so you can make up these simple retro style hangers in just a little while!
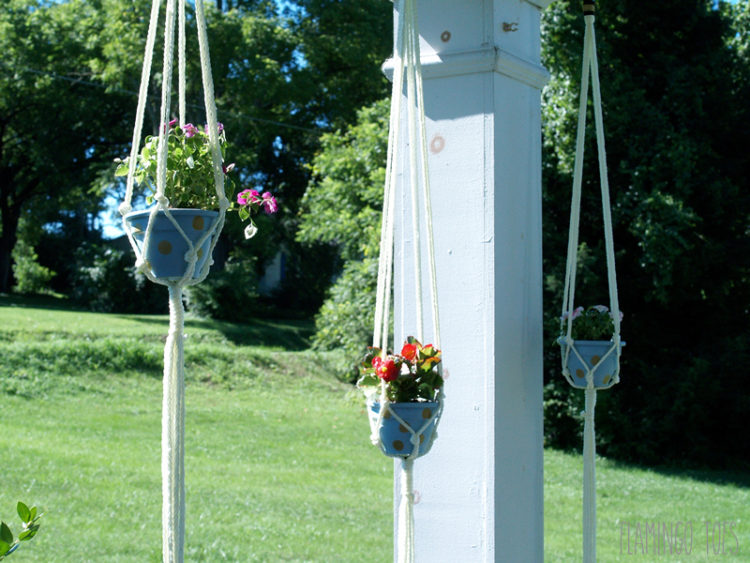
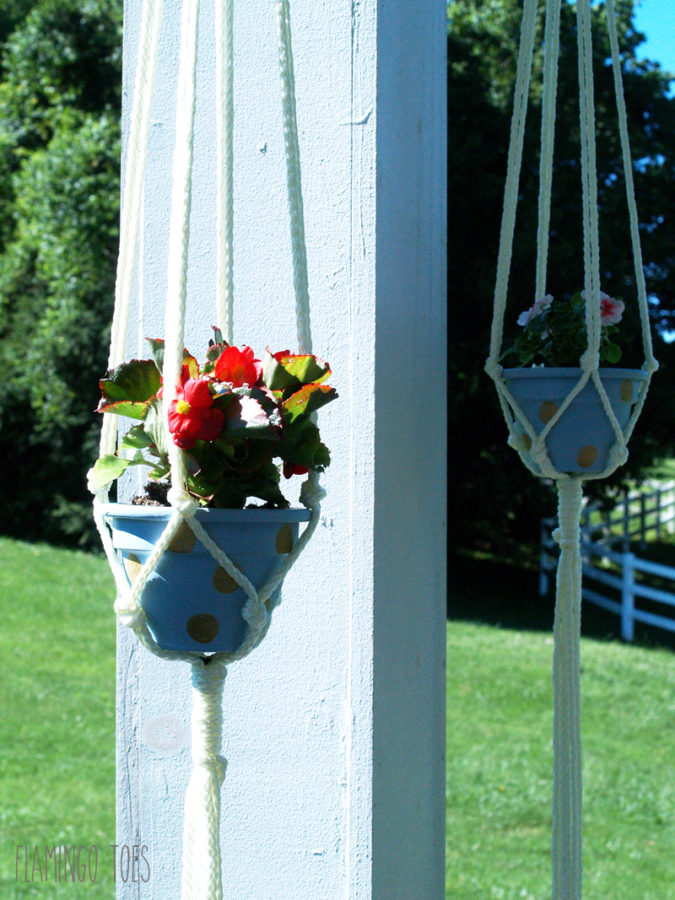
Supplies needed to make your own DIY hanging planter:
- Macrame Rope
- Three Rings for Hanging
- Black Embroidery Floss or Twine
- Gold Twine
- 3 small clay planters
- Blue Chalk Paint
- Gold Paint for Polkadots
- Round Sponge Spouncers for painting on dots
Begin your DIY hanging planter by painting your clay pots. The chalk paint has great coverage but since I wanted mine to be outside, I did three coats.
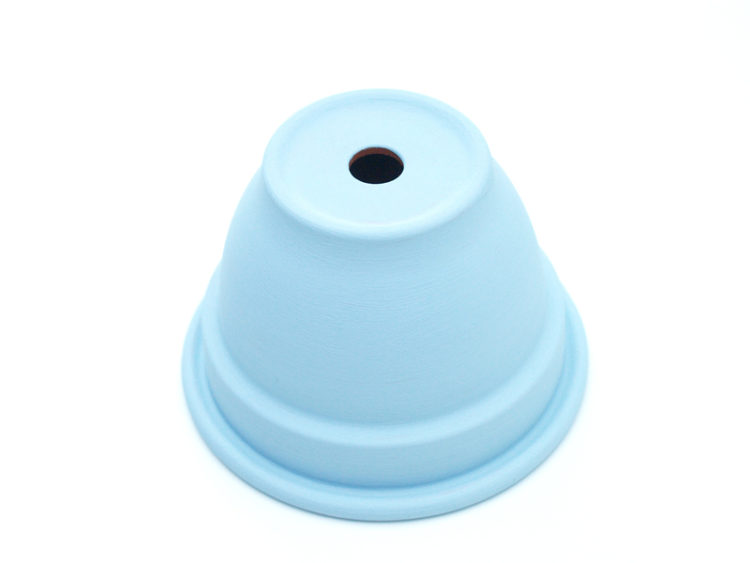
Dip your little spouncers (I just adore these little round sponges for polkadots!) and paint on some gold dots.
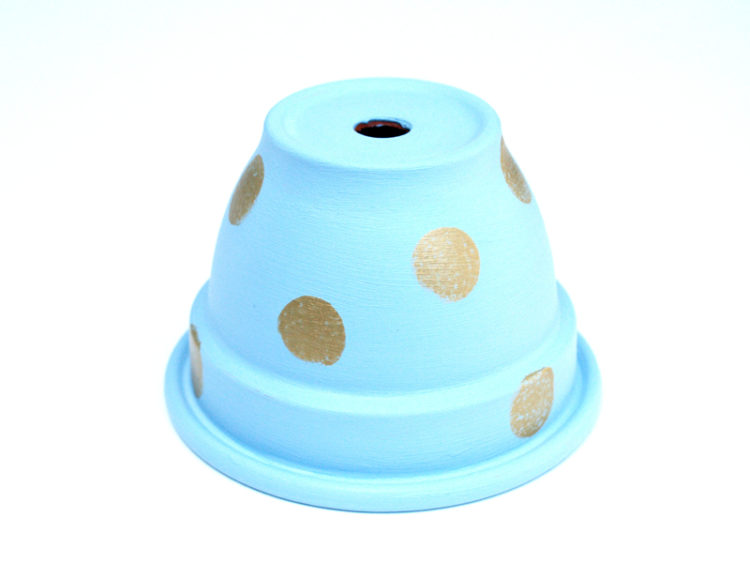
Finish off your pots with a sealant if you would like.
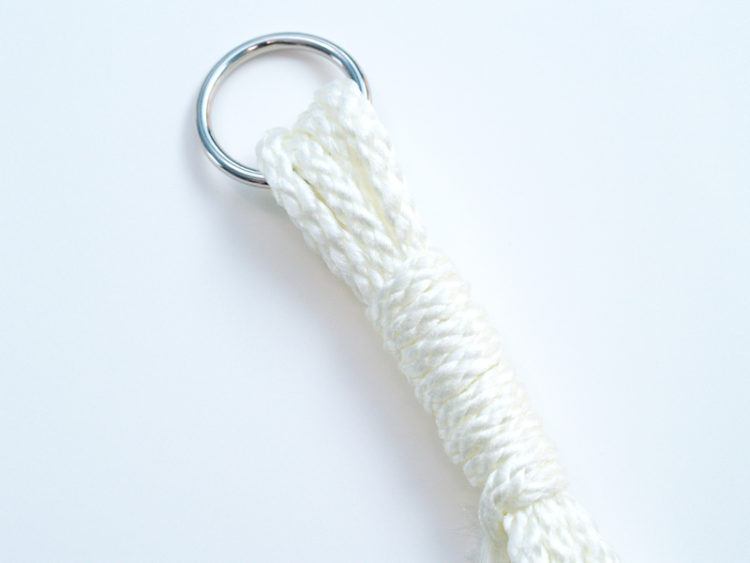
Now onto the hangers! For each hanger, cut four lengths of cording, each 144″ long. Loop the four pieces of cording through the ring so the ring is at the halfway point. Fold the cording pieces in half. About 2″ below the ring, begin wrapping another piece of cording around the four pieces. Wrap the cording tightly for about two inches, then knot the cording in the back. Trim off the extra piece.
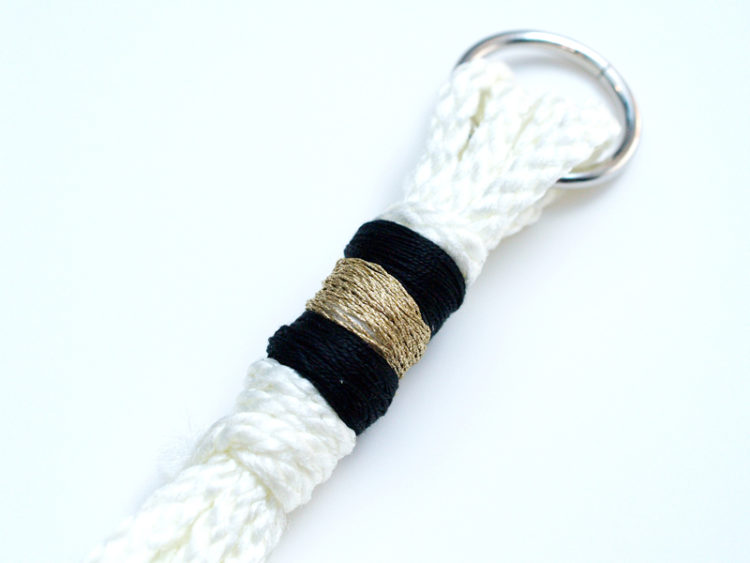
If you want, dress up the top wrapped piece of cording by wrapping some floss around section. I used black floss, and a layer of gold floss in the center.
Now measure down from below the wrapped section to make your first knots. I wanted my planters to hang at different levels, so my spaces are 20″, 24″ and 28″. You’ll want to double check where you are going to place your DIY hanging planter to see what length is right for you.
Take the first two piece of cording and make a knot in them. Grab the next two pieces of cording to the right and make a knot at the same height. Continue until you have four knots in the cording.
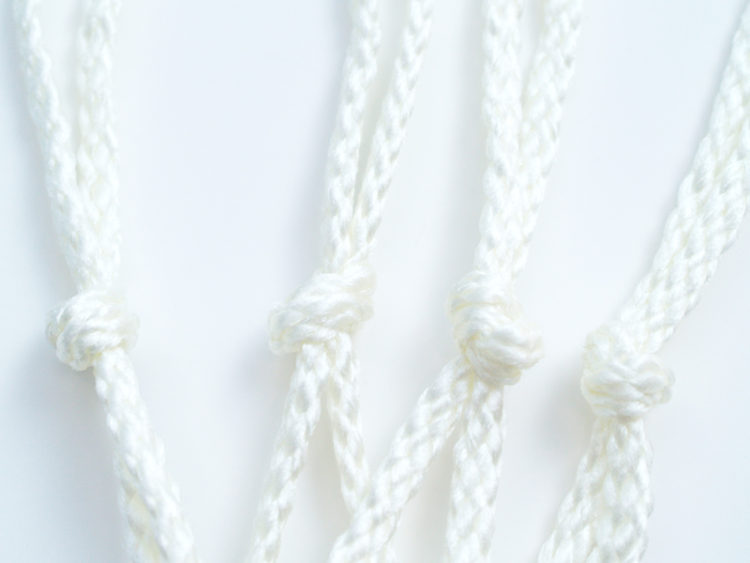
Measure down below this knot 3″. Separate the cording pieces knot the right piece of your front knot with the left piece of your right knot. Continue around until you have four knots.
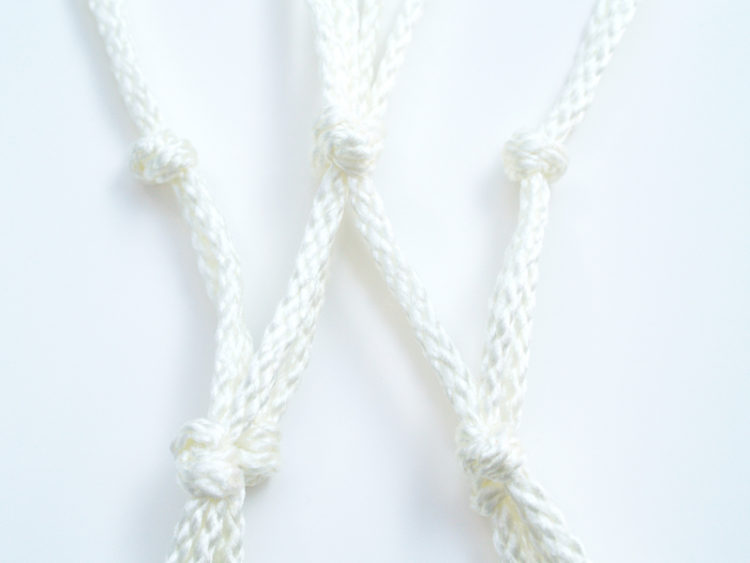
Measure down below these knots two inches. Wrap another small piece of cording below the knots, for about two inches. Tie off the cording in the back.
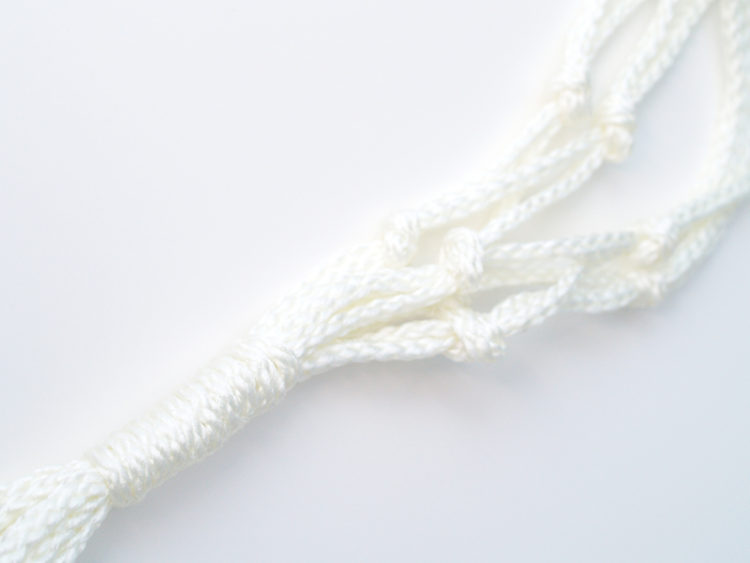
Trim off the ends so they are all the same length. You can leave these ends as long or short as you’d like for your planter.
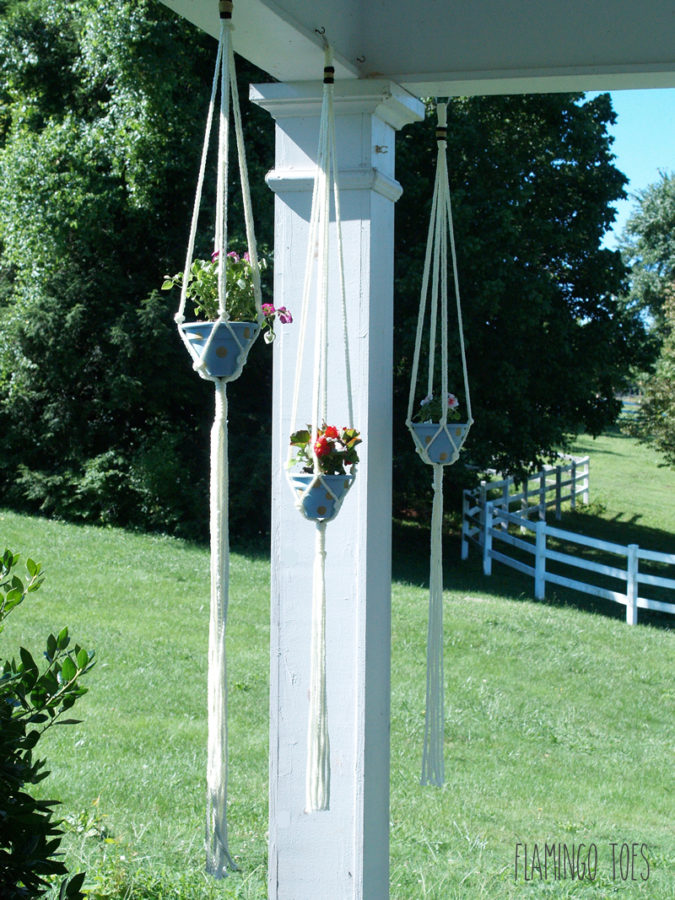
Create any additional hangers you’d like, then slip your planters in the center of the knots so the top set of four knots rests just above the planter’s edge, and the base is resting on the bottom wrapped section. Hang up your DIY hanging planter and enjoy!
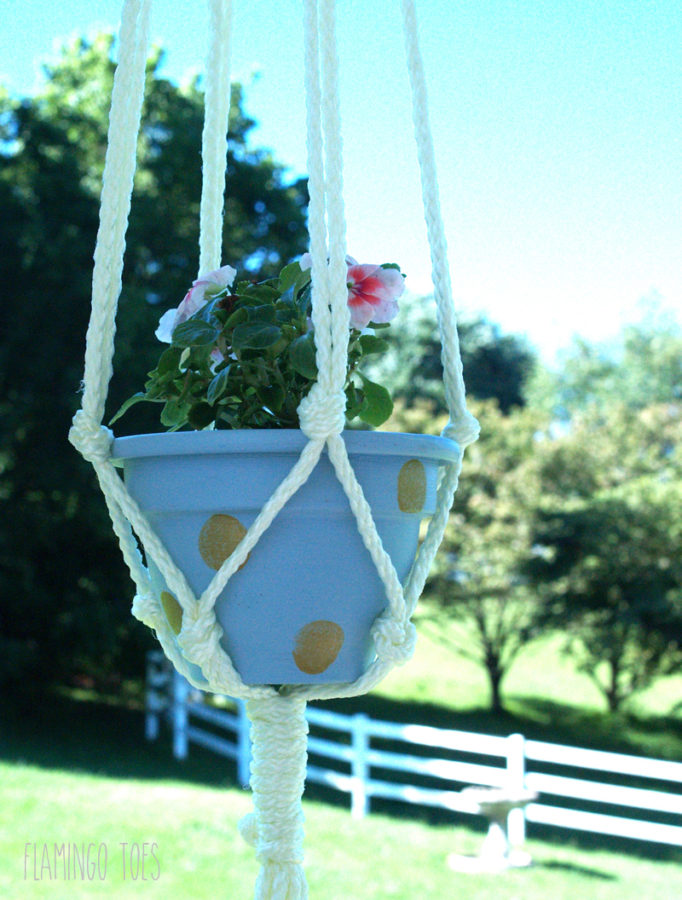
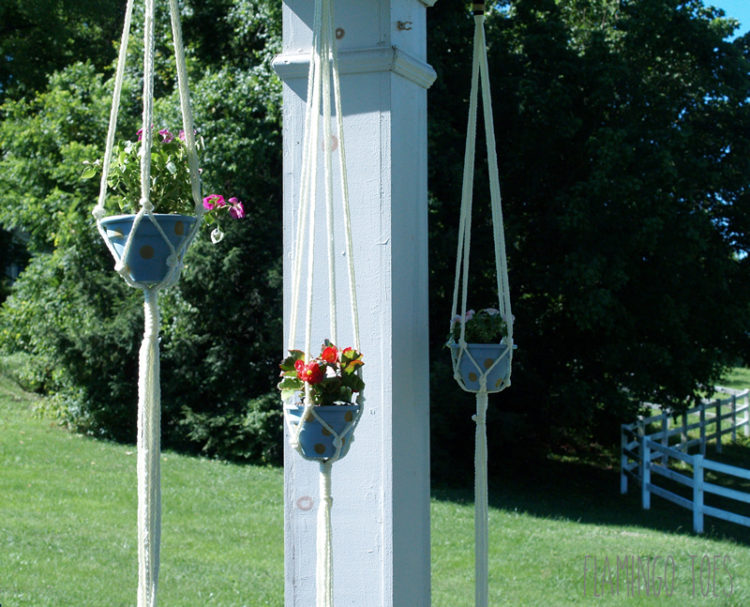
Have fun dressing up your patio or porch with these cute planters!


Oh my goodness. ..wonderful inspiration! I would love to put these on my porch with herbs inside. And, thx so much for the dauber hint…I had wanted to make polka dot planters for my petunias but, couldn’t figure out how to make them look good!
These are SO cute, Bev!! I bet they look fab from the street. I love the little polka dots, too!