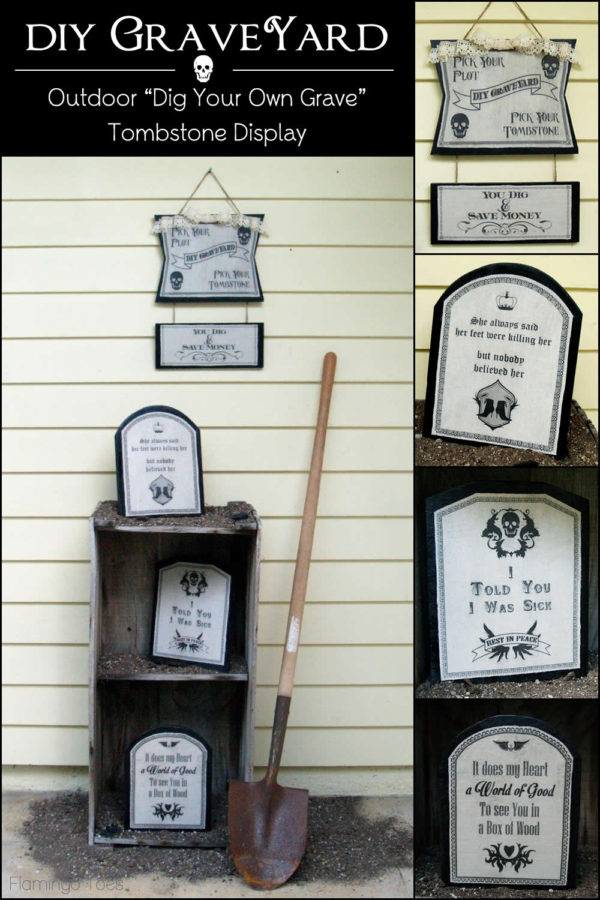
We’re on a Halloween roll here!
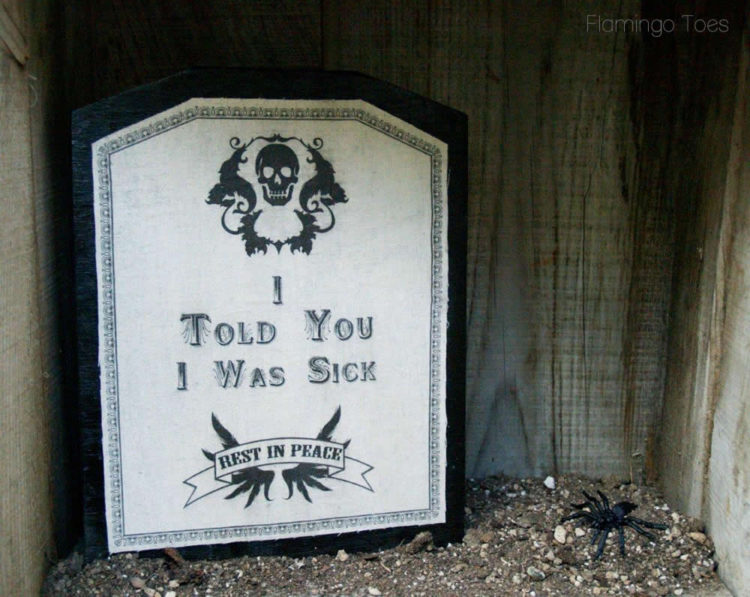
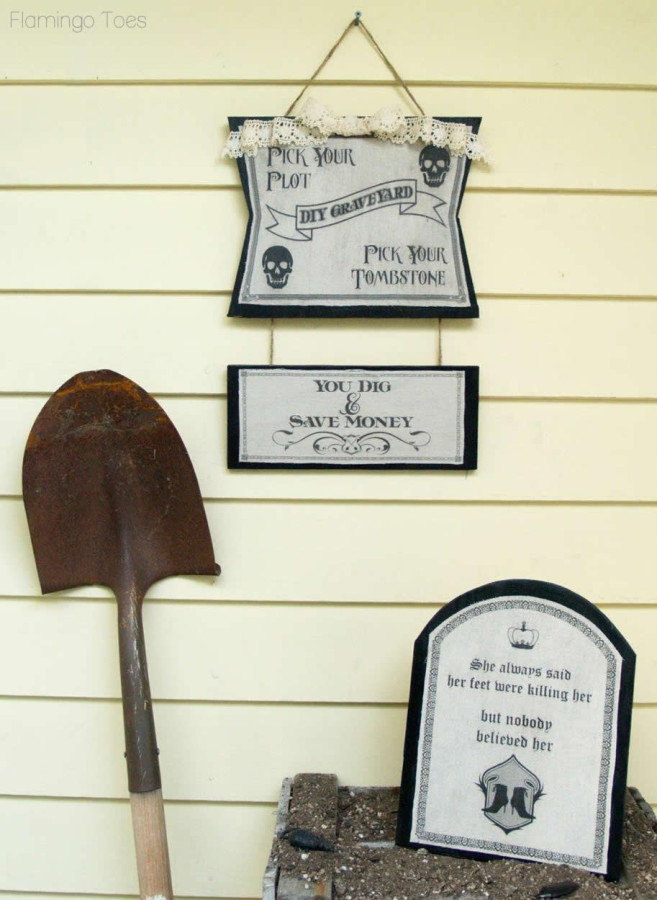
Today I’m sharing something for your outdoor displays! It’s my new DIY Graveyard Outdoor Tombstone Display and I am so excited with how it turned out!
The tombstones are super fun and so easy to do! All you need is a little paint, fabric, and Outdoor Mod Podge.
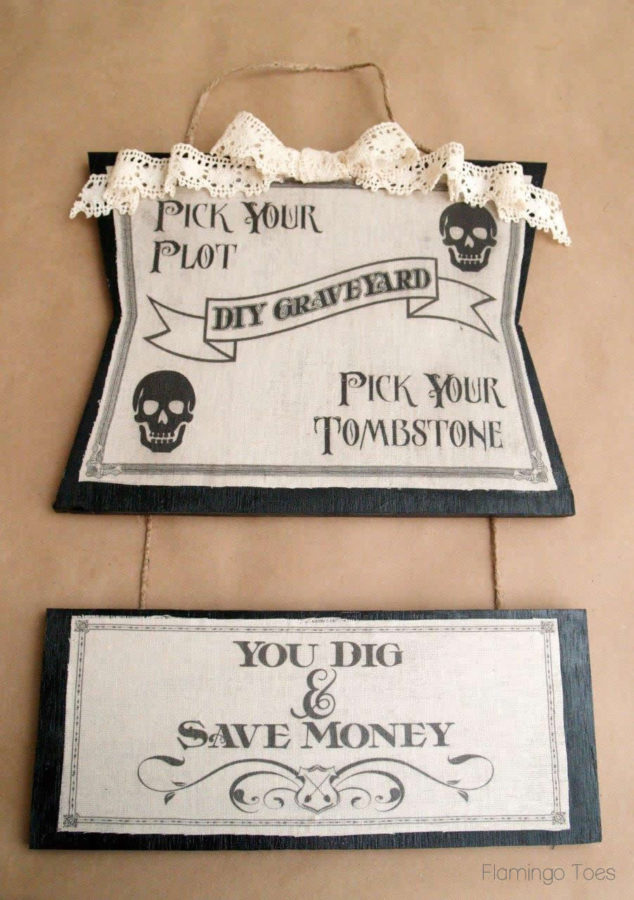
The sign sets the whole display off – it says “DIY Graveyard: Pick Your Plot, Pick Your Tombstone”. For those rare occasions that you want to dig your own grave. Or someone else’s. Ahem.
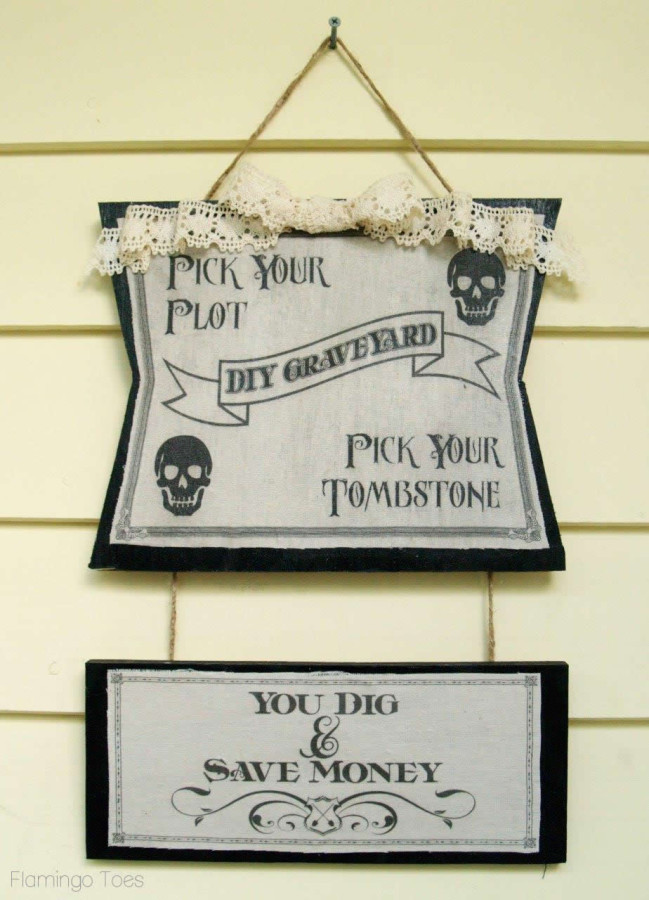
I’m so in love with the tombstones too – they are pretty fun. And maybe snarky. :)
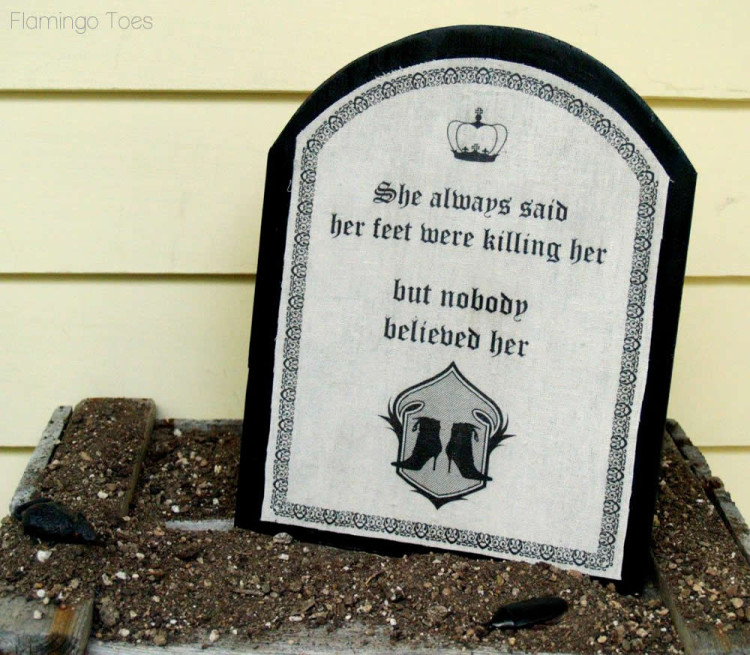
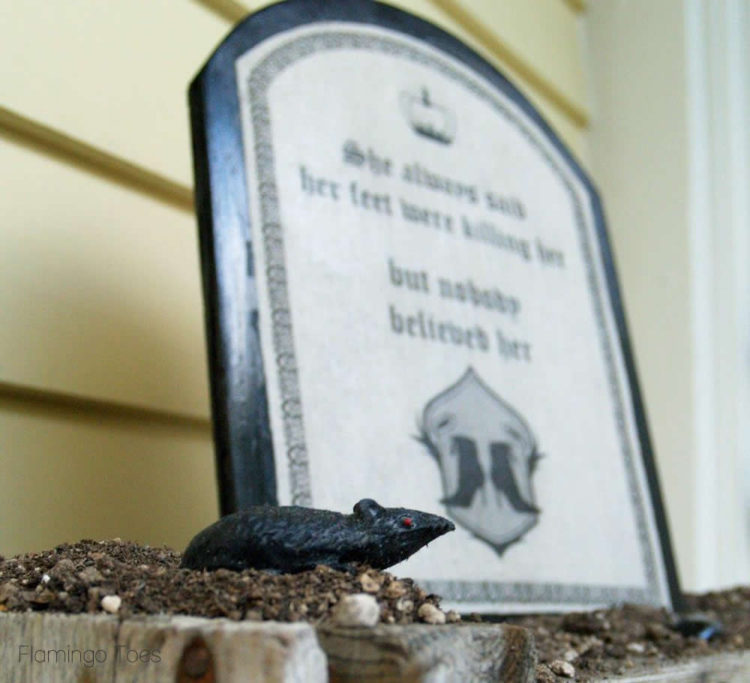
This one is me. But a cute pair of shoes is totally worth it of course.
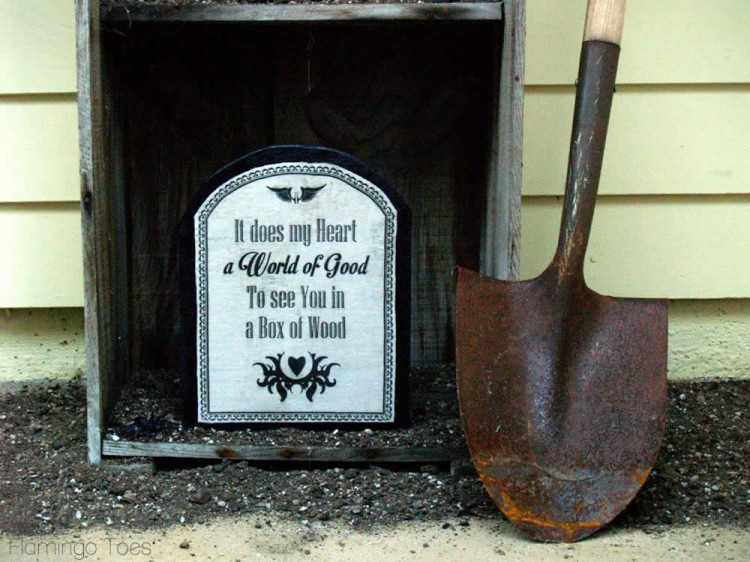
Know anyone that this would work for? Yeah. Me either.
So are you ready to get started?
Materials:
- Outdoor Mod Podge
- Stiffy Fabric Stiffener
- Linen or some other light colored fabric (about 3/4 yard of 44″)
- Freezer Paper
- Printer
- Wood – this is inexpensive plywood – you need about 30″ x 36″
- Crochet Lace for Bow
- Twine for sign
- Hot Glue
Printable Images for Sign and Tombstone. I used these on fabric but you could also print them out on paper and use them that way!
(This is kind of a biggish file since they are printed. Give it a minute to load, k?)
Start by cutting a piece of fabric and a piece of freezer paper that is about 9 1/2″ x 12″. You just want them bigger than a sheet of paper.
Iron the shiny side of the freezer paper to the fabric. Freezer paper can be found in most grocery stores in the aisle with the aluminum foil, saran wrap, etc.
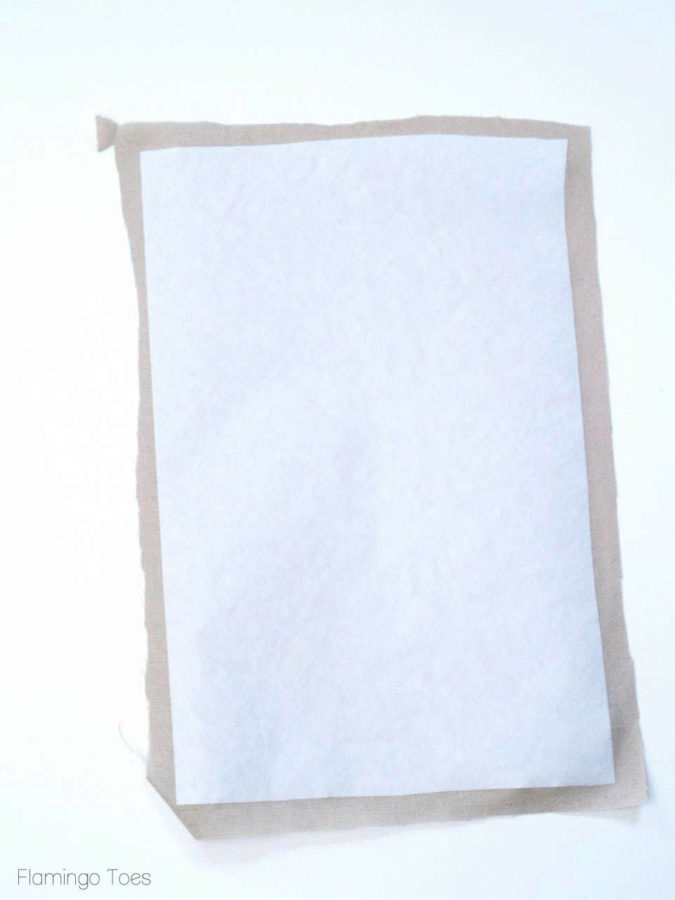
Using a sheet of paper (cardstock works great), trim the fabric/freezer paper to 8 1/2″ x 11″. Feed it into the printer so the fabric side will be printed.
*Tip: I printed these on Normal, and set my printer to “Specialty Paper”. It printed a little more slowly than normal, which prevented the fabric from getting jammed up in the printer.
*Tip 2: I have never had a problem printing fabric and I’ve done it A LOT, but please don’t get mad at me if your printer sucks up your fabric like it’s a banana split shake.
Print your tombstone pattern onto the piece of fabric.
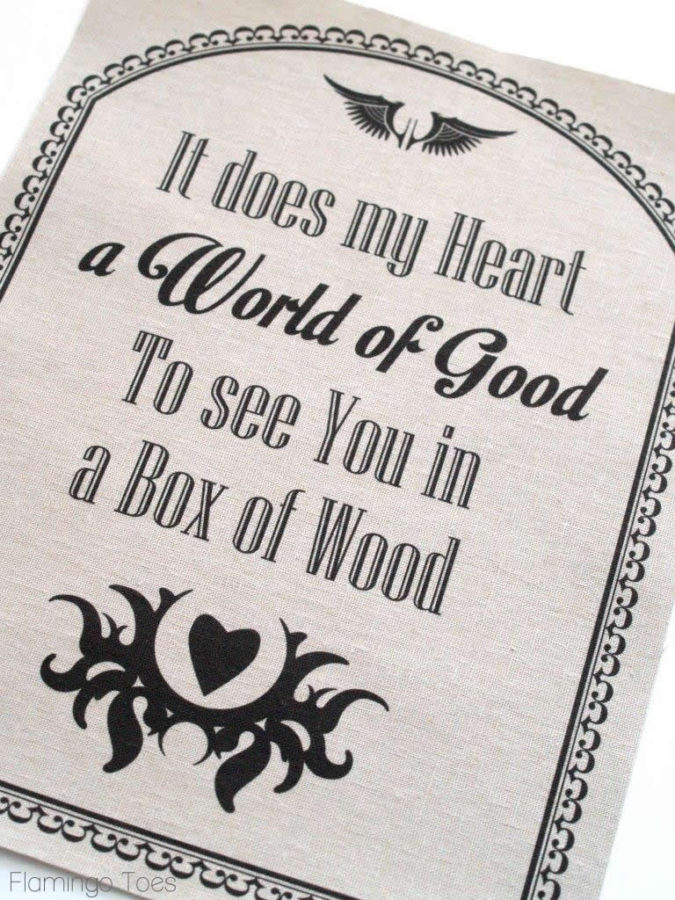
Use the printables to trace your wood shapes. You’ll want them about an inch bigger than the fabric for all the pieces. Cut out your wood (or have a handy assistant do it) and spray paint the pieces black.
Peel the freezer paper off your fabric and you are ready to go!
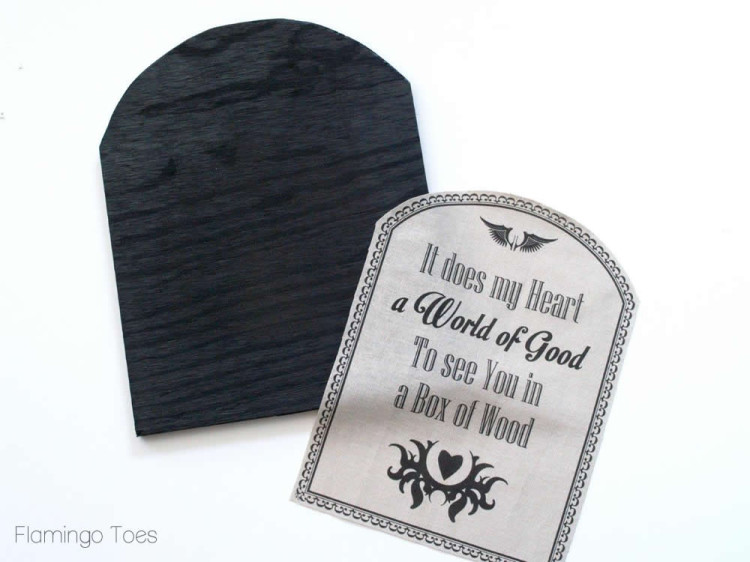
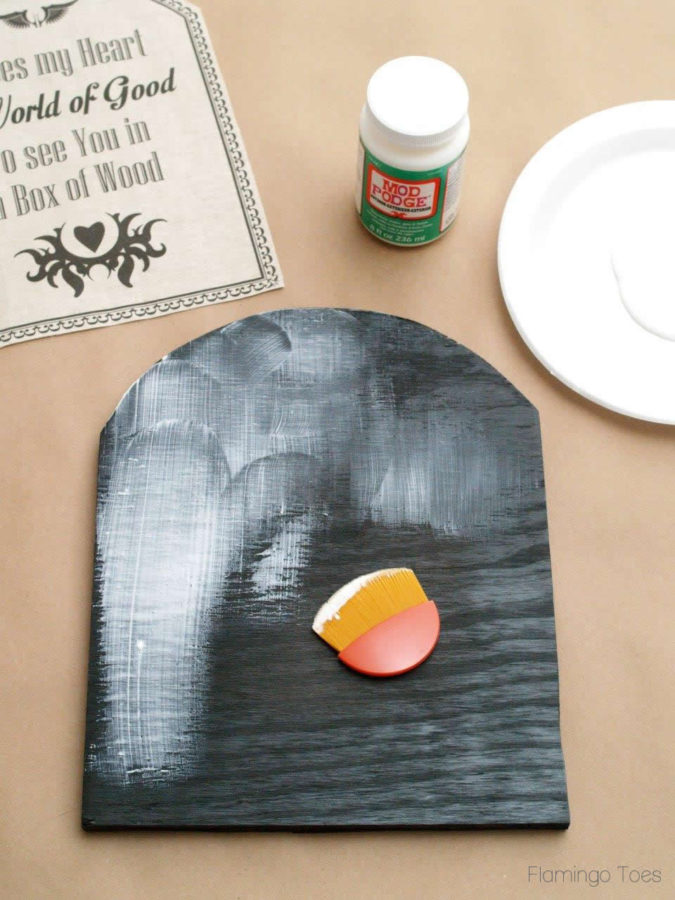
Cover your tombstone with a light coating of the Outdoor Mod Podge.
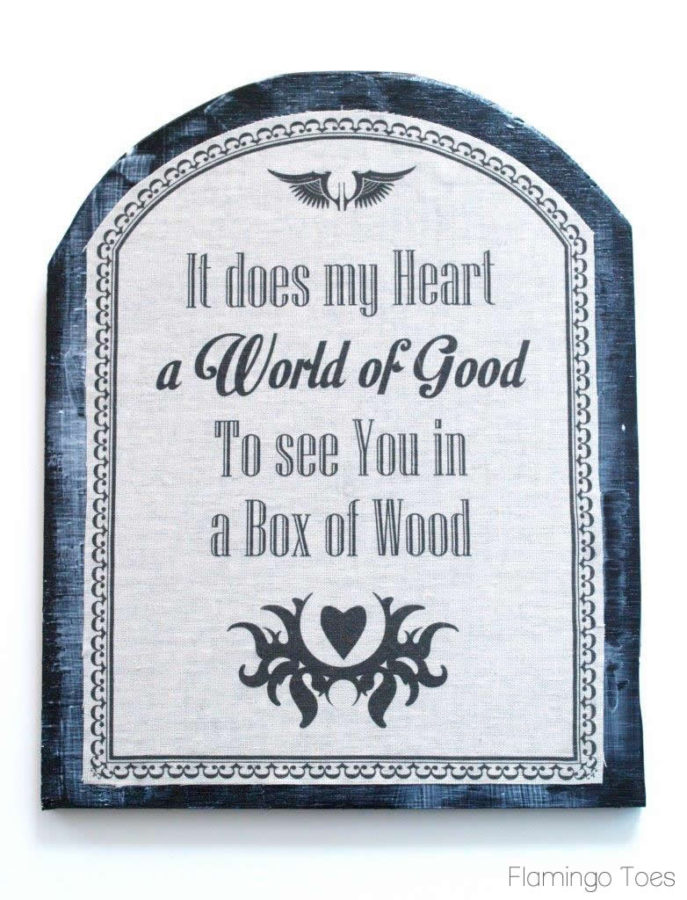
Center the fabric onto the wood and smooth it out. Make sure to get out all the bubbles.
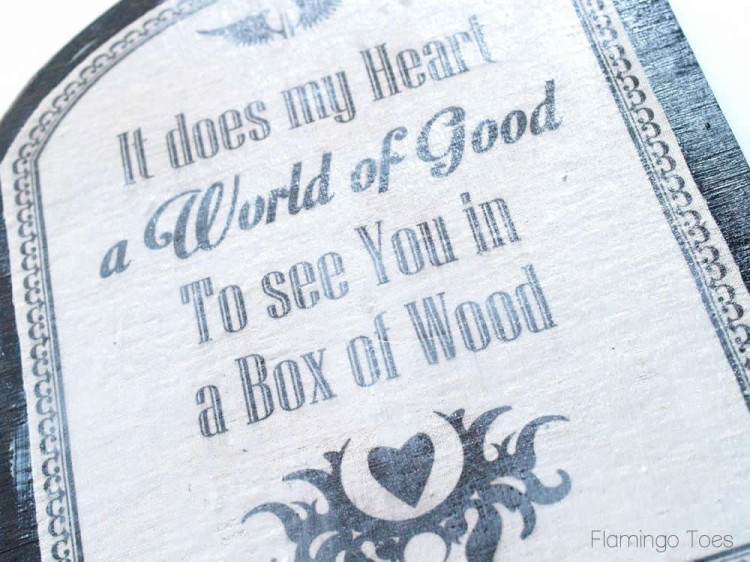
Once the first layer of Mod Podge is all dry, brush another light coat over the whole piece. This will seal the fabric and make it perfect for the outdoors!
Repeat these steps for your other pieces.

While those are drying, let’s make the crochet bow.
Pour the Stiffy onto a plastic plate and run the lace through it, making sure it is all covered.
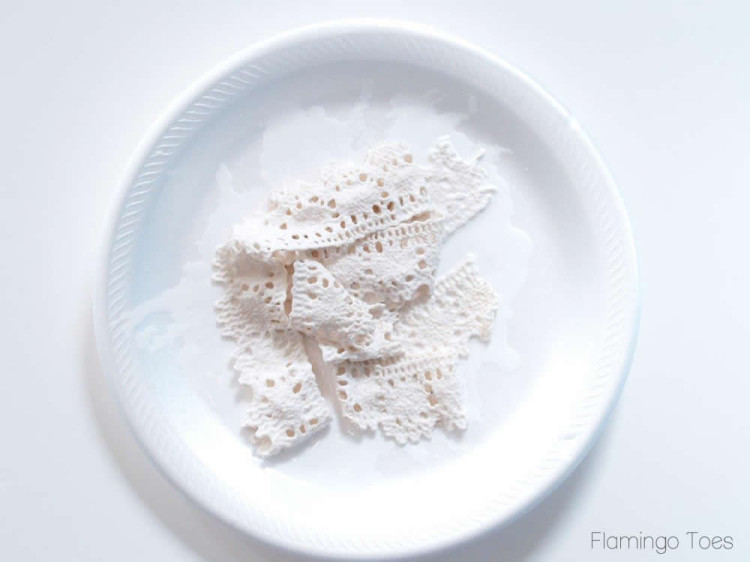
Wipe the excess off the lace but don’t wring it out, it will get it all wrinkly.
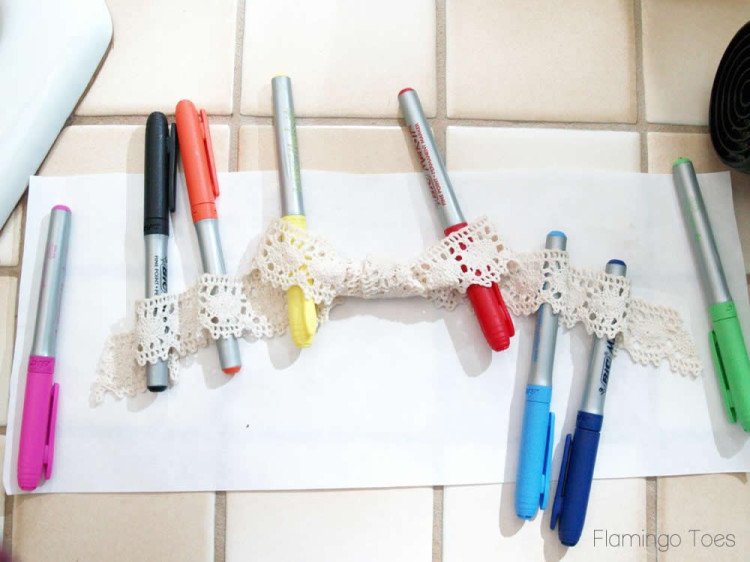
Lay out the lace in a bow shape. I laid mine out on the glossy side of a piece of freezer paper. It worked great and I didn’t have any trouble with it sticking to the paper. I had never used the Stiffy before but I was totally shocked by how great it worked! There is no moving this bow now. So awesome.
Here’s a shot of my fancy set up and how I raised the bow and ends to have the little ripples in them. Sharpies are my friend. Also – don’t be jealous of my fancy bathroom tile.
Living next to the beach, things take MUCH longer to dry than the average times on the bottles. So I brought out the hairdryer and sped up the process a little. It worked great!
Once your signs and bow are dry, cut two short pieces of twine to connect the signs, and one longer piece to hang it from. Hot glue these to the back of the two signs. Hot glue your crochet bow to the top of the sign.
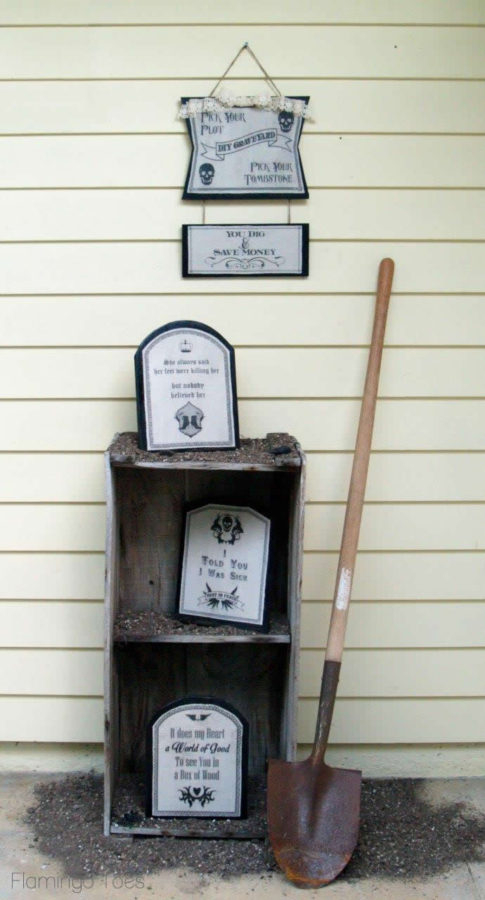
Now you can put your display together! I used this two shelf crate I’ve had for years. And you have to love a display that lets you pile a bunch of dirt around and call it good. Spider webs and leaves? Those are good too. Nice.
I added in a few bugs and a little mouse too, just for the extra ewwww factor.
I really love how it all turned out. It has a vintage feel, which is totally my thing, but it’s spooky and fun too!
I hope you like it too!
If you want more fun Halloween ideas – Plaid has some great resources.
You can check out ideas from other crafters on their Facebook page and follow along on Pinterest for tons of inspiration!
Here are some more fabulous Outdoor projects too!
Disclosure: This is a sponsored post for Blueprint Social and Mod Podge. All ideas and opinions are my own. :)
Linking up at Met Monday, Tutorials & Tips Tuesday, Shabby Creek Cottage, 504 Main, Everything Etsy, The 36th Avenue Party, Block Party, and the other fabulous parties on the party page. Make sure you check them out!


Good morning Bev. These are very clever. Thanks for sharing. I haven’t tried to print on fabric, but one of these days I am going to give it a whirl.
Ok silly question. I don’t often use freezer paper so…
1. What’s it’s purpose?
2. Do I print on it or on the fabric?
Any help on this would be awesome! I’d like to make these this weekend and let my boys learn to use a saw! And they love spray paint, little criminals!!
Oh my goodness, these are funny. I love it! Pinned!
oh I love this idea so much! ANother reason I wish I had a bigger porch
Ha! These are cracking me up! I love how the tombstones turned out. And the dirt and shovel are the perfect accessories!!
STOP.IT. How stinking cool are these??? Like I said.. youre the queen of halloween this year girlfriend. LOVE these. Not only are they hilarious but SO cute!