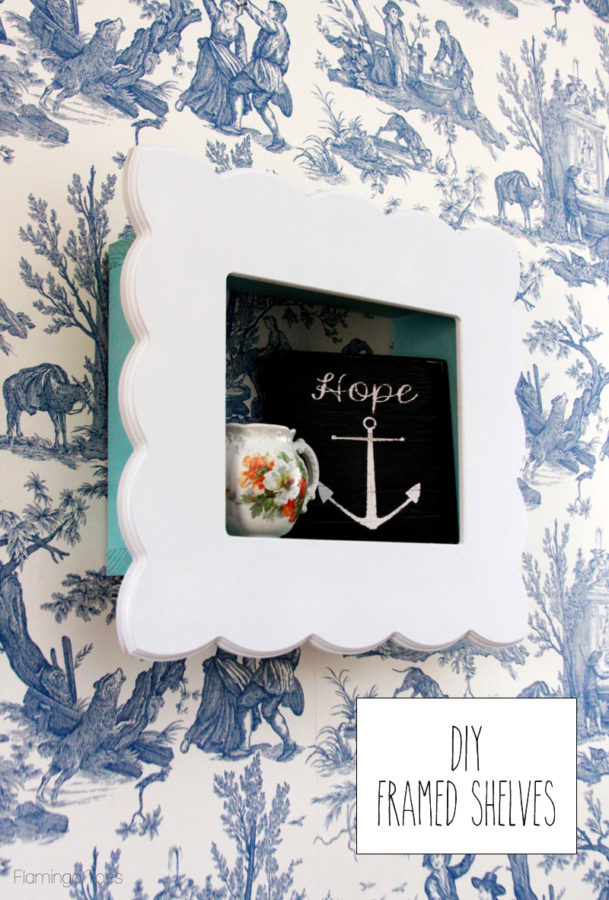
I have such a fun – and super easy – DIY for you today! I’ve created these DIY Framed Shelves and I just love how cute they turned out – and the extra storage!
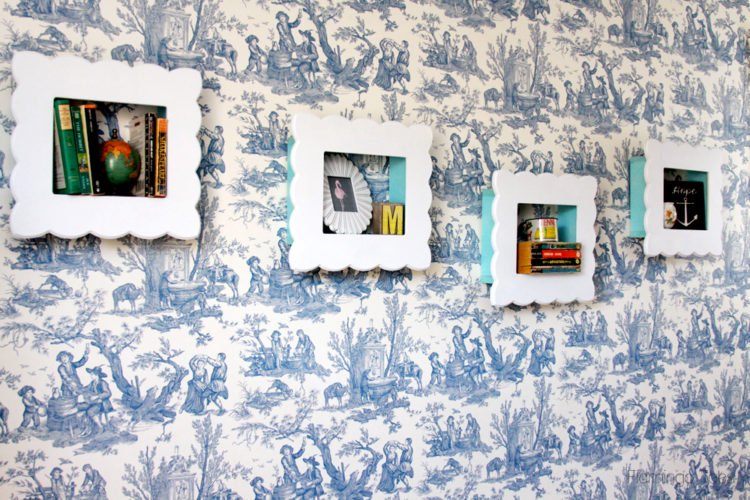
Now that we’re in Tennessee we are living in the cutest little old farmhouse. And I love all the antique touches around here – the wood floors, the doors and crazy cute doorknobs, all the different stairs and angles – it is so fun and unique. One thing I’m coming to realize though is that I don’t have near the storage I used to. So I’m having to find new, creative ways to display the things I had on shelving in California!
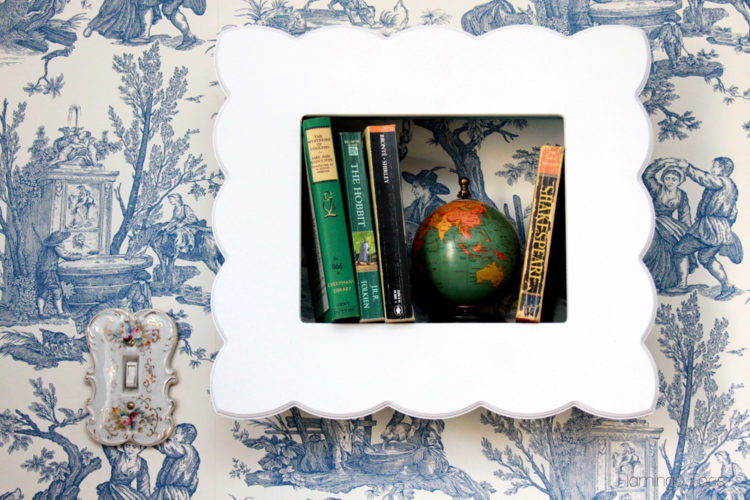
I created these really easy and cute little Framed Shelves to hang in the upstairs hallway. They are the perfect size for displaying just a few small books or knickknacks – and they’ll be easy to change out when I find new cute things or if I want to dress them up for the holidays!
You can get a little peek at the sweet built in cabinet up in the hallway too. I’m using it as a display cabinet – it’s holding all sorts of my decorative plates, teacups and my colorful punchbowl.
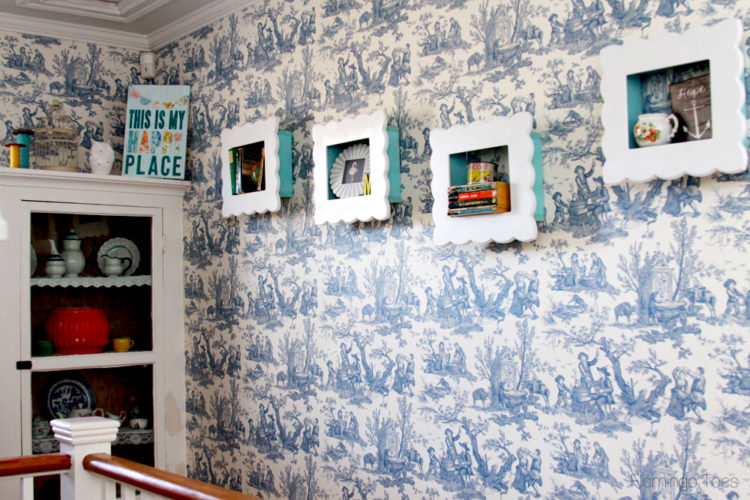
So let’s get started! Here’s what you’ll need for ONE Framed Shelf. You know you’ll want to make up more than one though. ;)
- 1 8 x 10 Cut It Out Frame – I used the Brooklyn for these
- 2 – 8 1/2″ pieces of 1 x 4
- 2 – 12 1/2″ pieces of 1 x 4
- Nails or nail gun
- Wood Glue
- Picture hanging hooks, screws
- Spray Paint
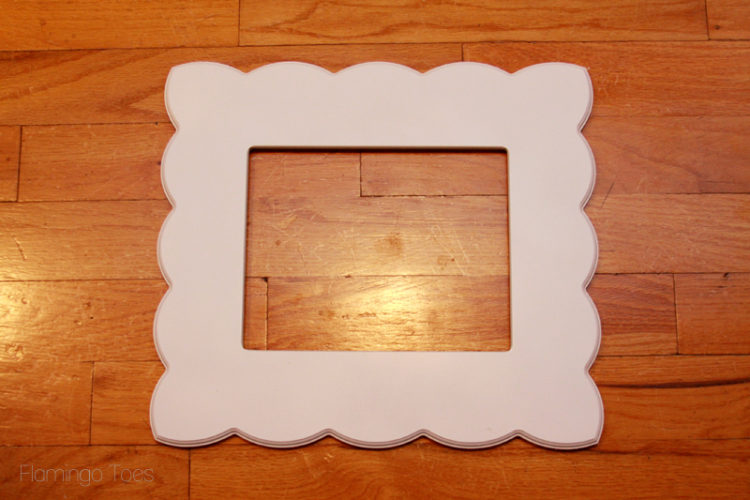
Begin by painting the outside of your frame. Taking a photo on your old wood floors that look smudgie is entirely optional.
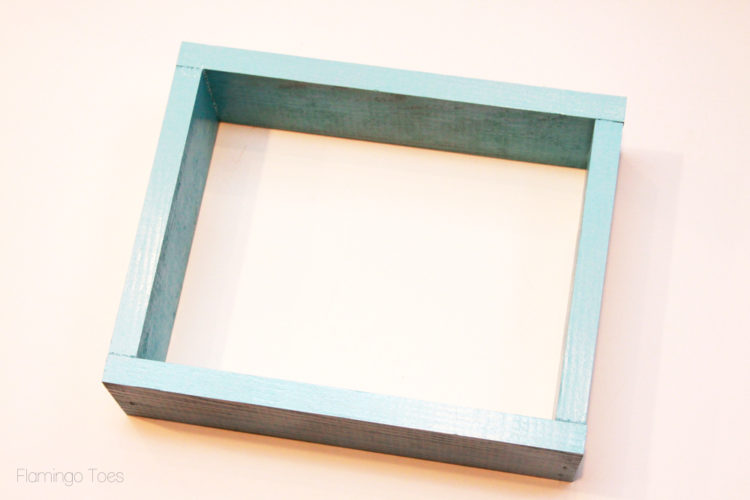
Put together the box using nails, or a nail gun. Place the two shorter pieces inside the longer pieces for assembly. Spray paint this as well.
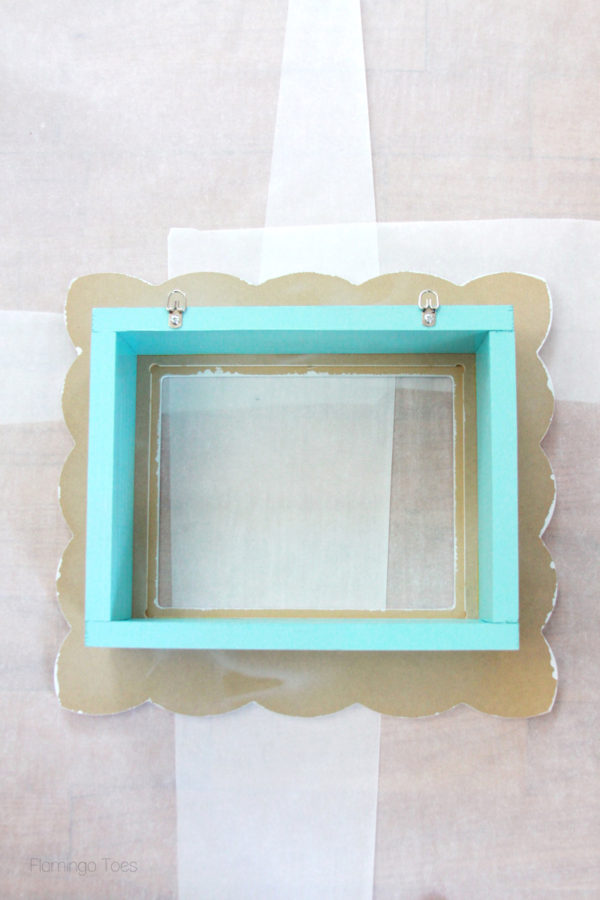
Once everything is dry, place the frame face side down and glue the box to the back of the frame. (Note – I didn’t paint the backs of my frames – if someone wants to crane their head around to check the back of my frames now that they’re on the wall they are welcome to do so.) Place a bunch of heavy things on the box and frame after they’re glued so they will have lots of pressure holding them together. Leave overnight.
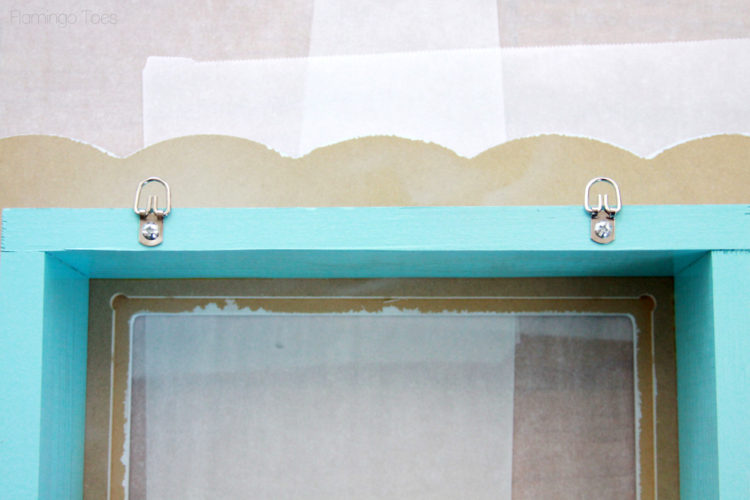
After your pieces are glued together, add the hanging hardware. We used these little d-ring plates that came with screws. They worked perfectly.
Now you can hang your shelves on the wall! See? So easy peasy right?
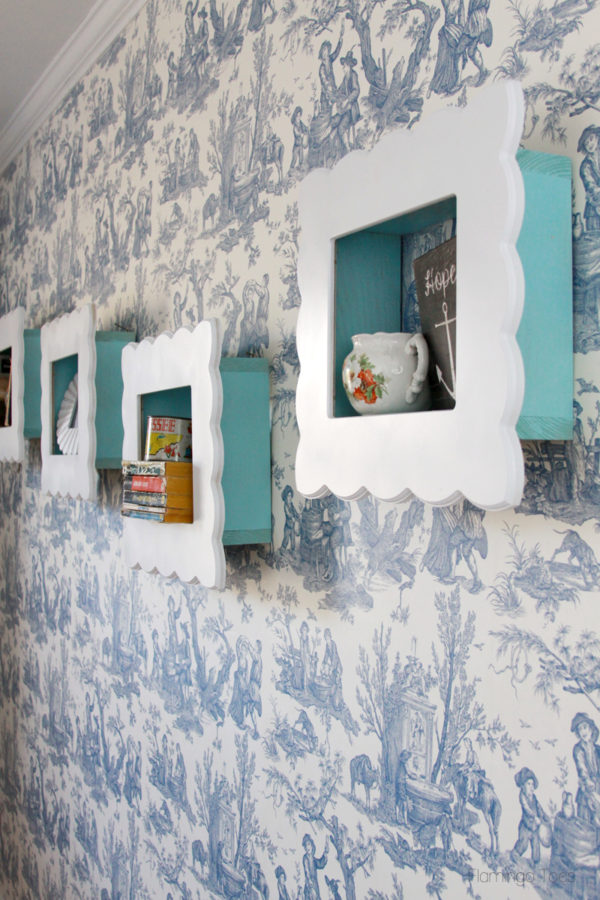
I think they look so sweet paired up with this wallpaper in the hall – but they’d look great on a painted wall too! Oooh – or next to your bed for little nightstand shelving! That would be fun!
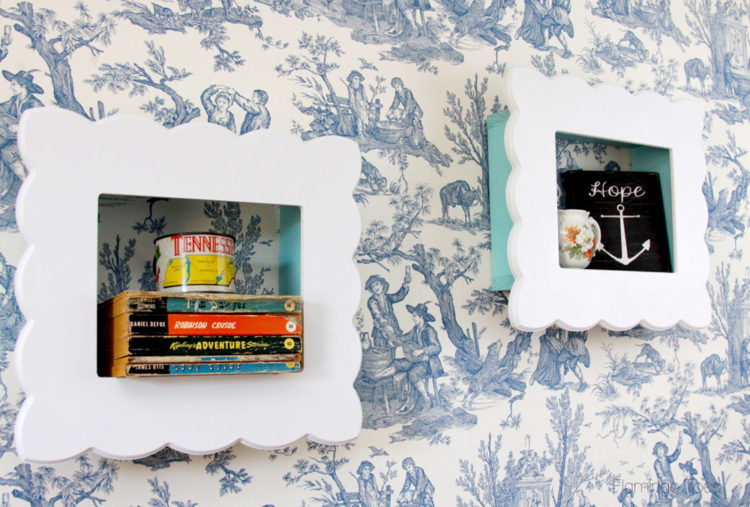
And of course the scalloped frames are so great. I love how they set off whatever is inside them.
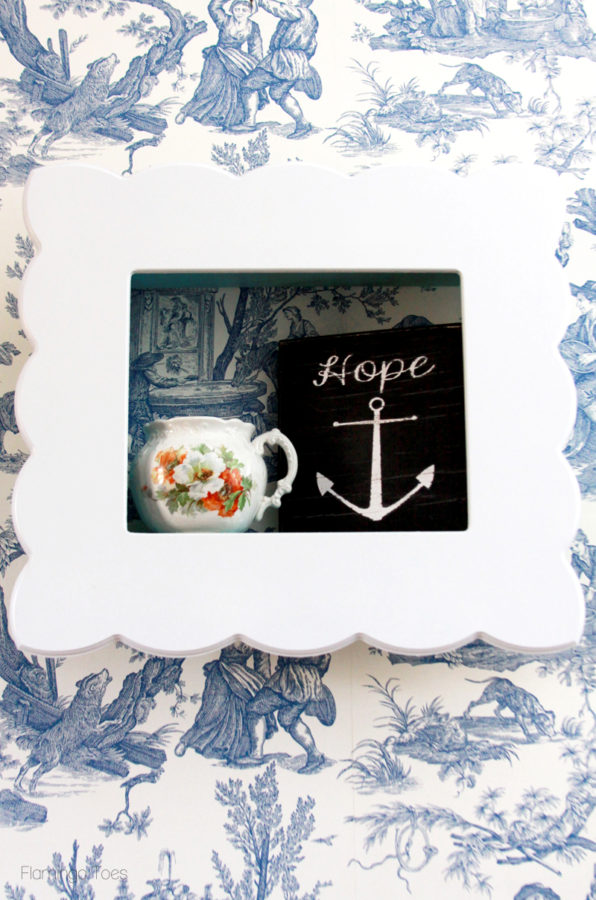
I hope you give them a try!
You can check out more frames from Cut It Out here – or on Facebook or Instagram!
This was a sponsored post for Cut It Out but all opinions and ideas are my own. I’ve worked with Cut It Out in the past for the SoCal Social and we have always been so impressed with them as a company and their frames are always the highest quality. I think you’ll really love them too! :)


These are such a neat idea! They turned out beautiful! Thanks so much for sharing the how-tos!
This has to be the most creative, beautiful unique goodie (that’s what I call works of craft that are so beautiful I want to eat them) I have ever seen! You should receive some kind of award for thinking of this! I’m telling you I keep looking at your work and wish I were in my 20’s again (I’m 65 in too much back pain) and I would do this all over my house. You are blessed to be so creative. Thank you for sharing your gift with us.
Totally charming. I absolutely love those shadow box shelves. Inspired. I have a bunch of ugly modern boxes that could be transformed into looking retro vintage using your idea. These shelves are a super way to display your collectibles.
These turned out super cute! I love the color contrast between the box in the back and the front frame. Adorable!
Great idea Bev. One of the simplest and effective shelves I’ve ever seen. Thanks for sharing.
Totally adorable! I could sure use some of these! Thanks for sharing on craft schooling Sunday!
These are adorable! I’m going to pin these for some inexpensive shelving for our new home!
What an absolutely smart and cute idea! I love how you left the back exposed to show off your pretty wallpaper.
Bev, so cute… and I love that wallpaper! ha… I had it in our former house hallway. ;)
These are so great! Love something cute that is actually practical, too. Thanks for linking up at #SaucySaturdays.