Have you tried weaving before? I have done just a bit but I’ve been dying to do a whole project for a while now! I finally got the chance to set some time aside this week and I made up this DIY Colorful Weaving Art and I’m in love!
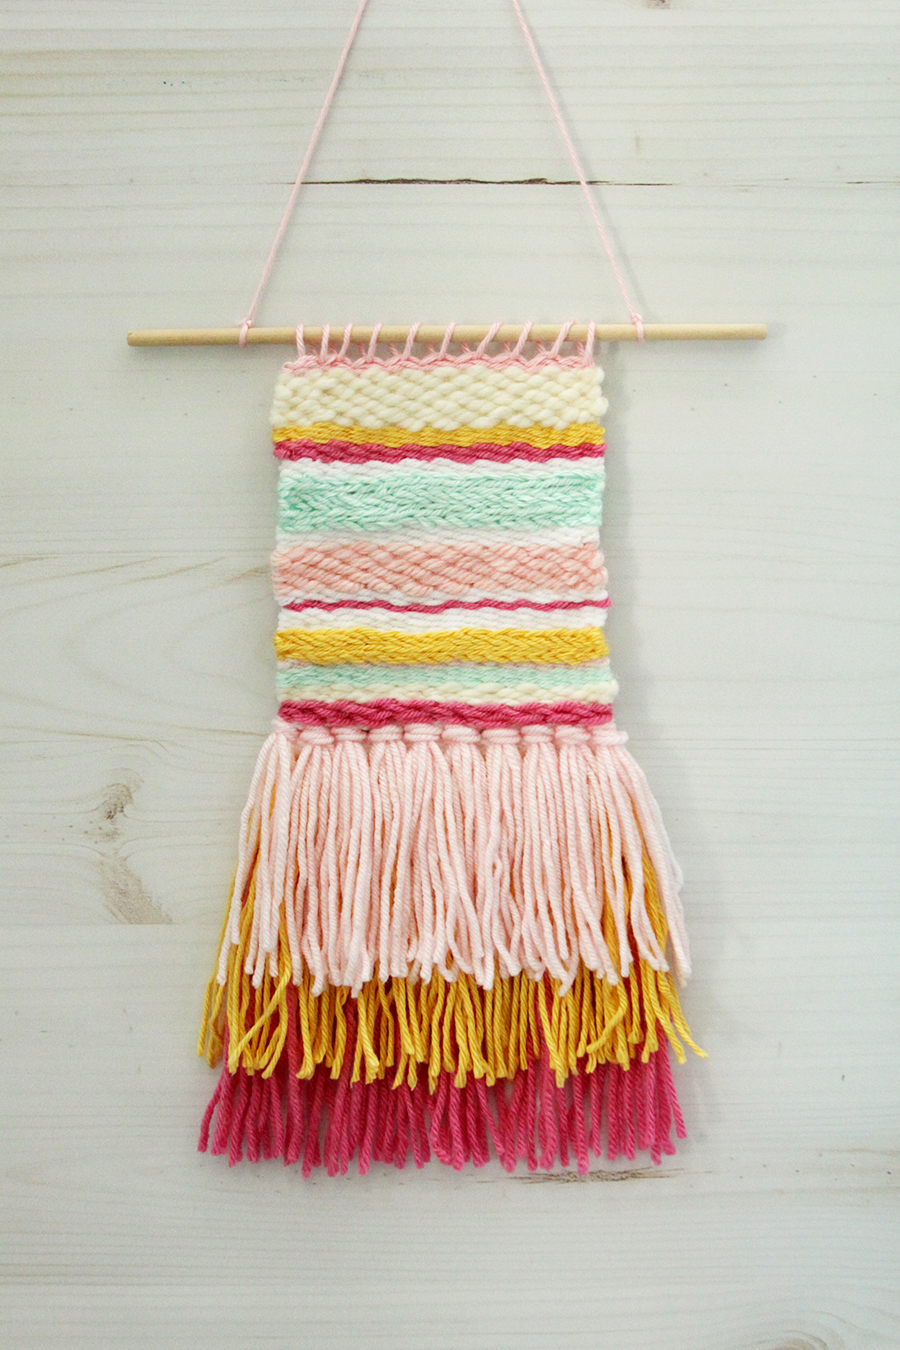
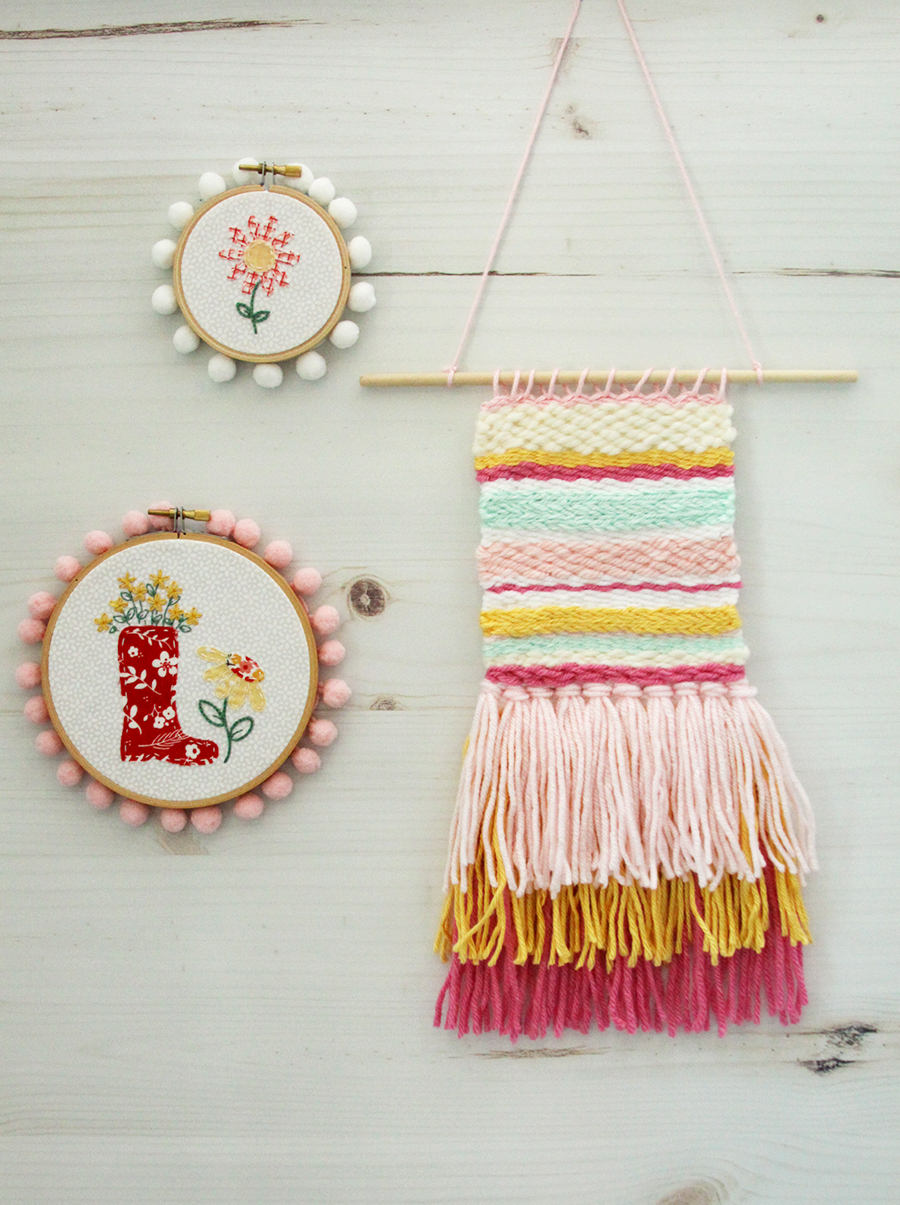
It was so much easier to make than I thought it would be and it was just a blast picking different colors and textures to use in the project. Just look at those different yarns and weaving styles!

I used this new all-in-one Weaving Loom from Bucilla! It comes with the loom plus 7 tools, all in one package. I love that you can customize it with your own yarn for quick and easy weaving projects – that way you can make it to fit your own style and decor. Isn’t that cool?
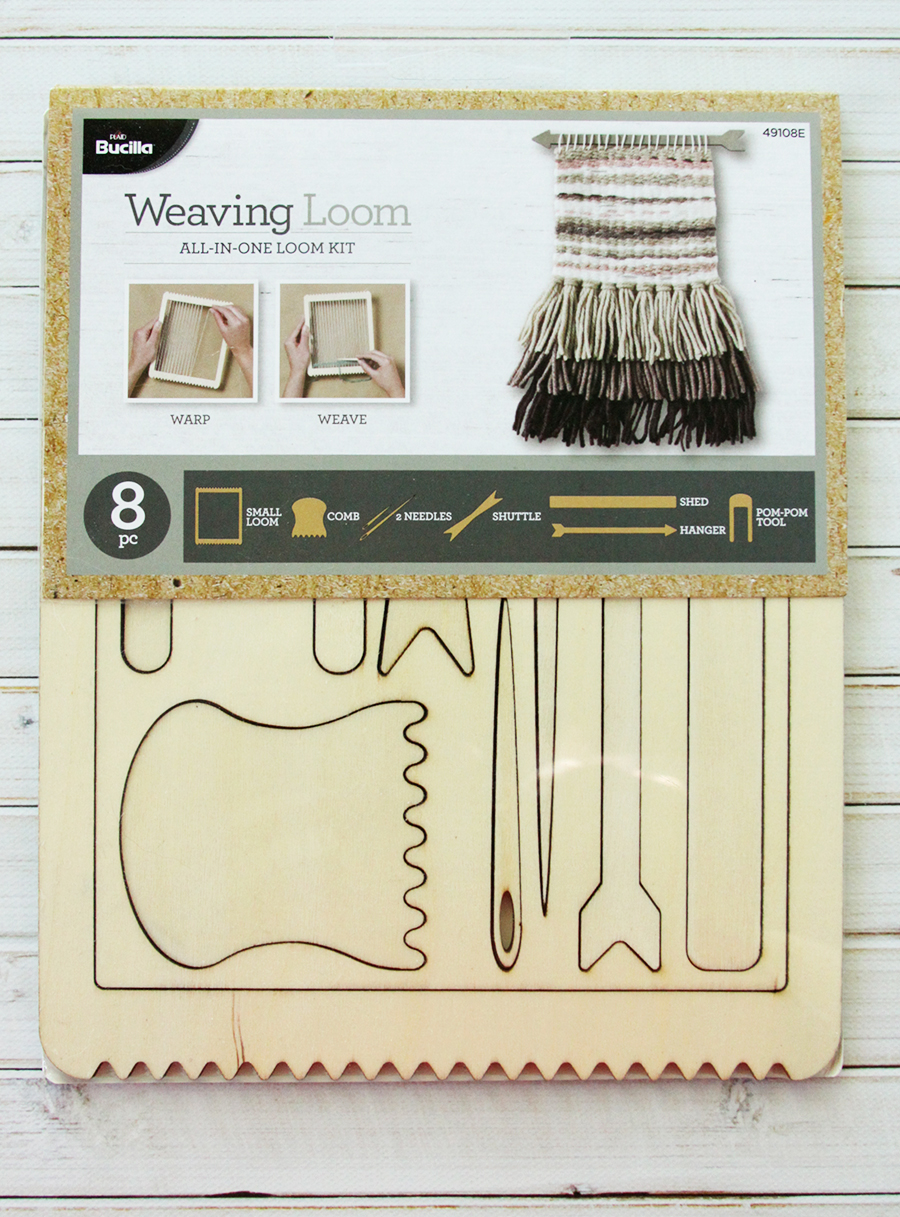
The kit comes with all the instructions you need for creating a weaving but it gives you the skills to make up any design you’d like. There are a few different weaving “stitches” plus all the info on how to start and stop a project.

In addition to the loom you get a comb, two needles, a shuttle, a shed, a hanger and even a pom pom tool! So you can really just go crazy with different yarn projects.
To start you need to add the warp threads to your loom. These are just the threads that you’ll be weaving your thicker yarn in and out of. I used some DMC Pearl cotton for mine and it worked great.
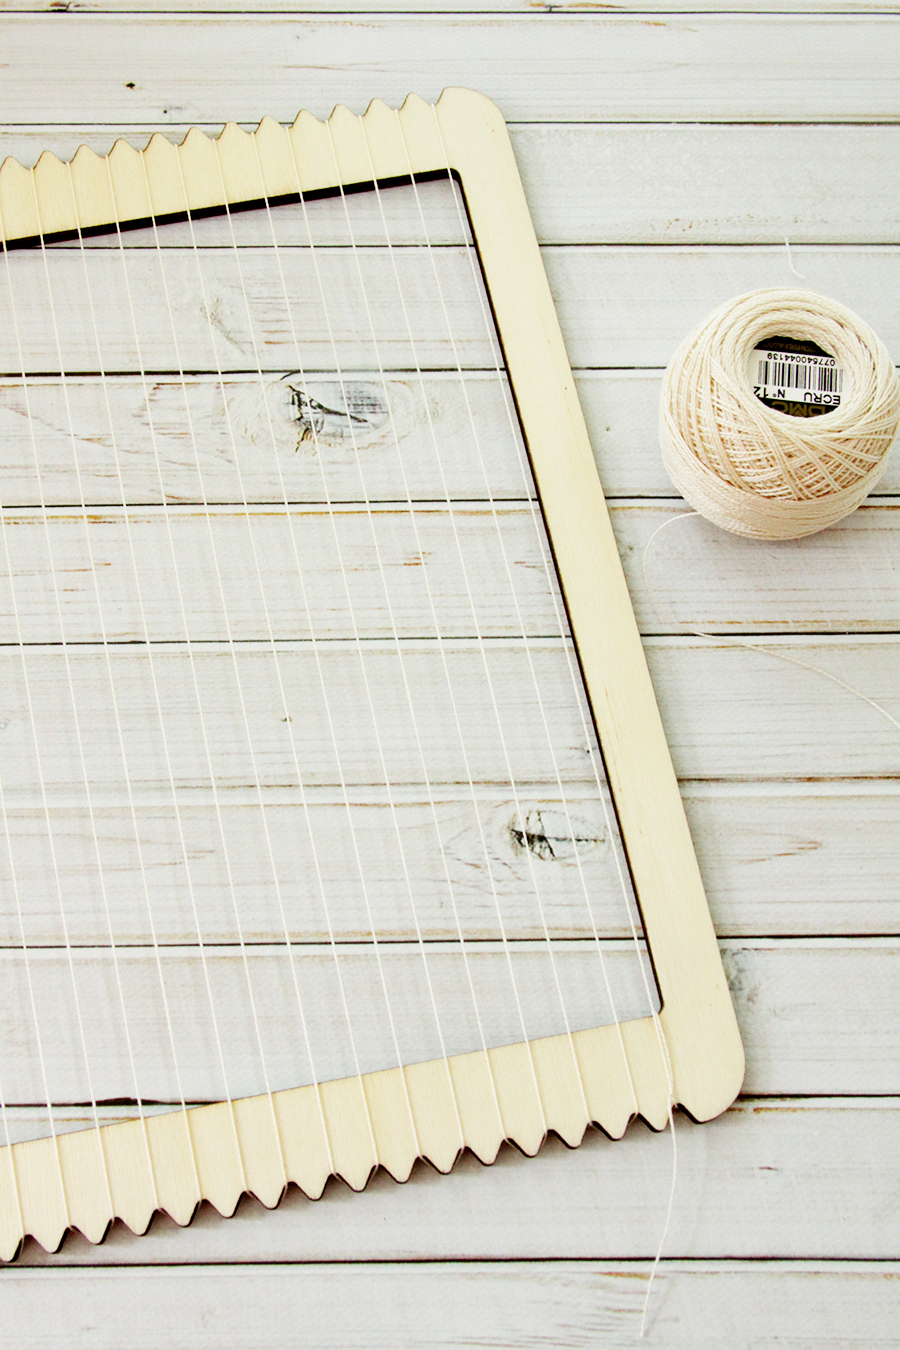
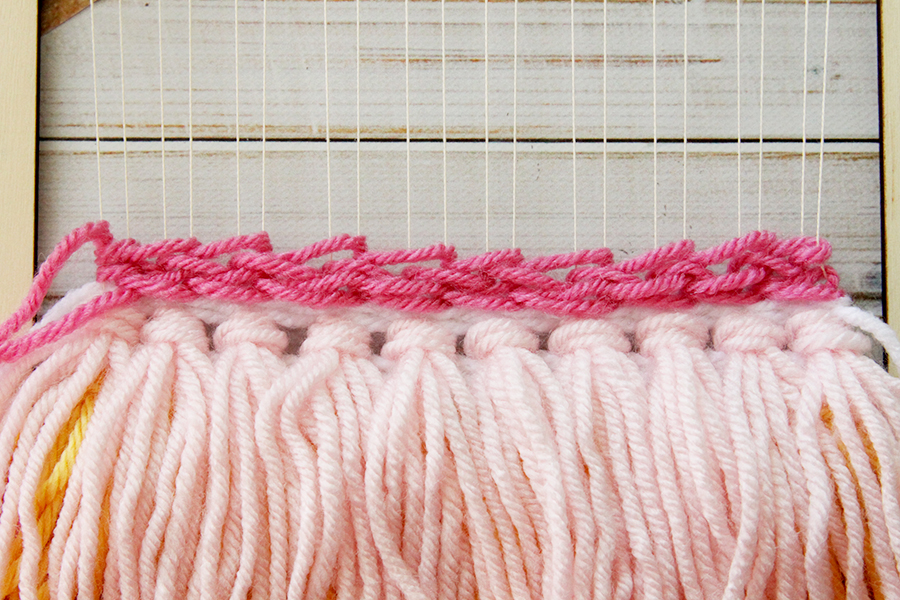
I started with a basic row of plain yarn. I wanted the ties with fringe along the bottom, like the example on the packaging, so the basic first couple of rows won’t show anyway.
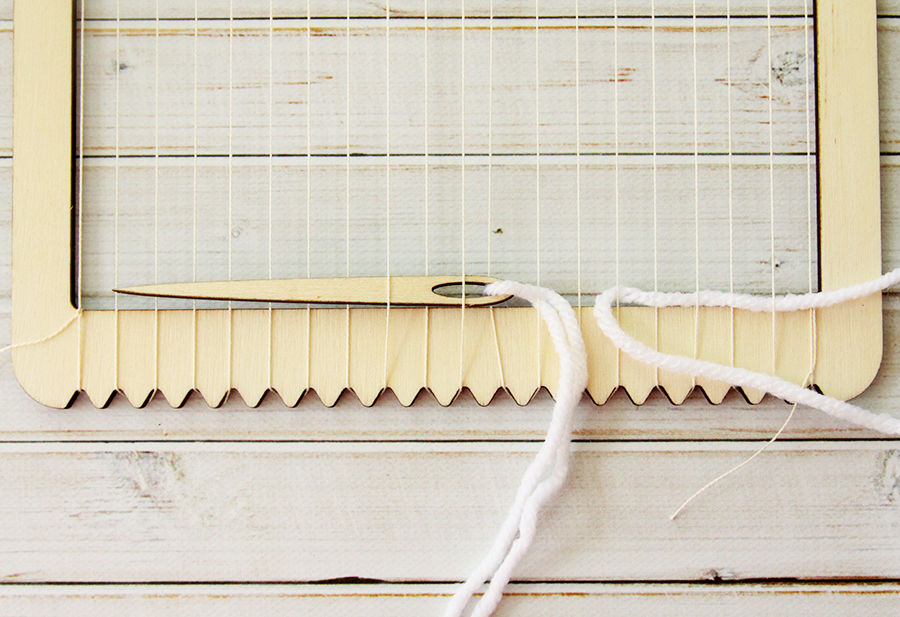
The comb helps you push the rows together so you have a nice tight weave. Doing this also helps to set or “lock” the rows before it.

The booklet contains the instructions for the RyaTies. You can make these as thick or thin as you’d like.
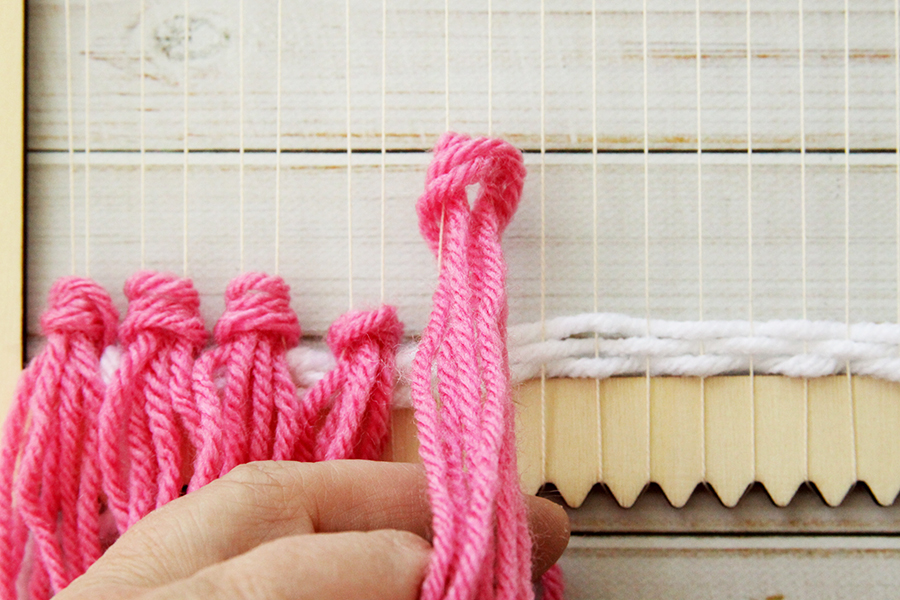
Tip: My yarn was a bit curly since it was coming from the center of the skein. I wanted it nice and smooth so I put a pressing cloth over it and hit it with a bit of steam from the iron. It took all those curls right out! For my fringe rows, I cut the lengths a little longer than I wanted them, then trimmed them so they’d look straight.
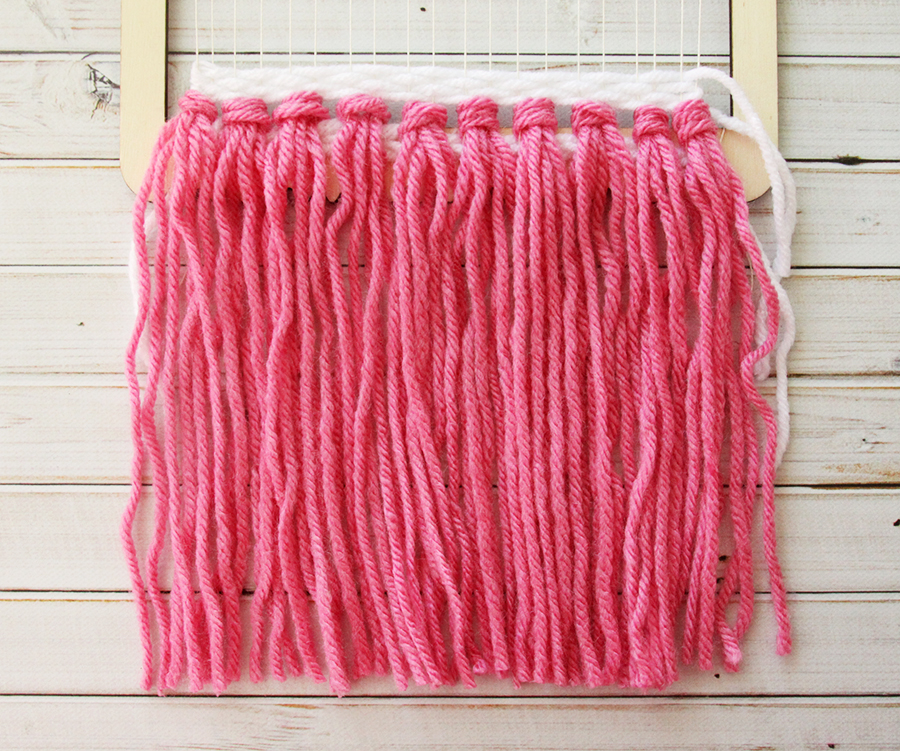
I added two more rows of fringe with plain weaving rows between them.
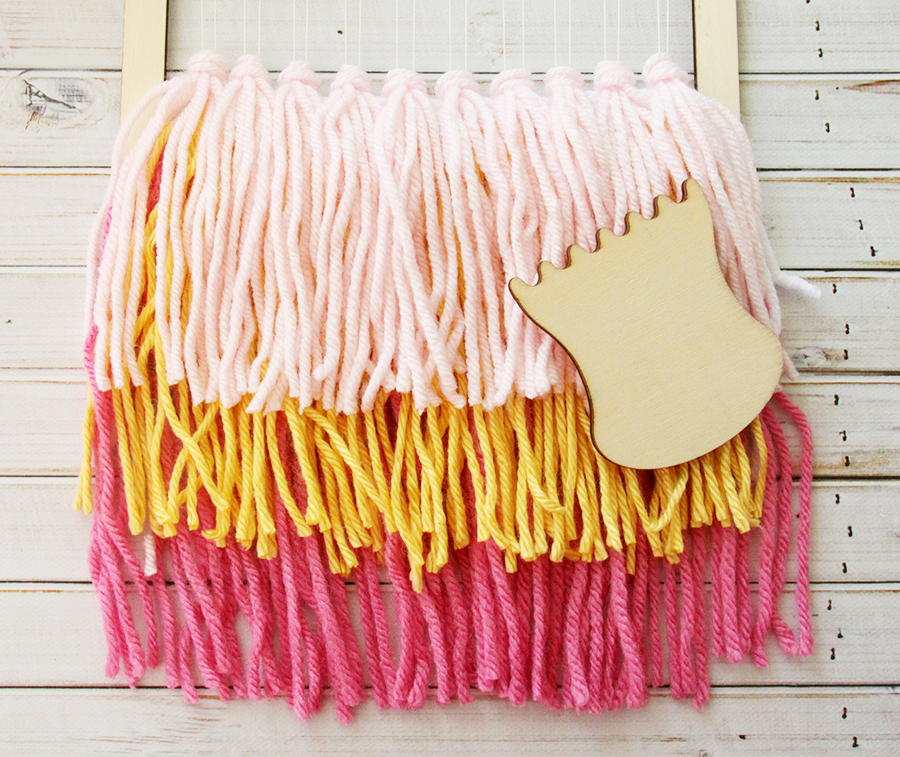
Once my fringe rows were done, I alternated different colors, textures and a few of the different weaving styles in the booklet.
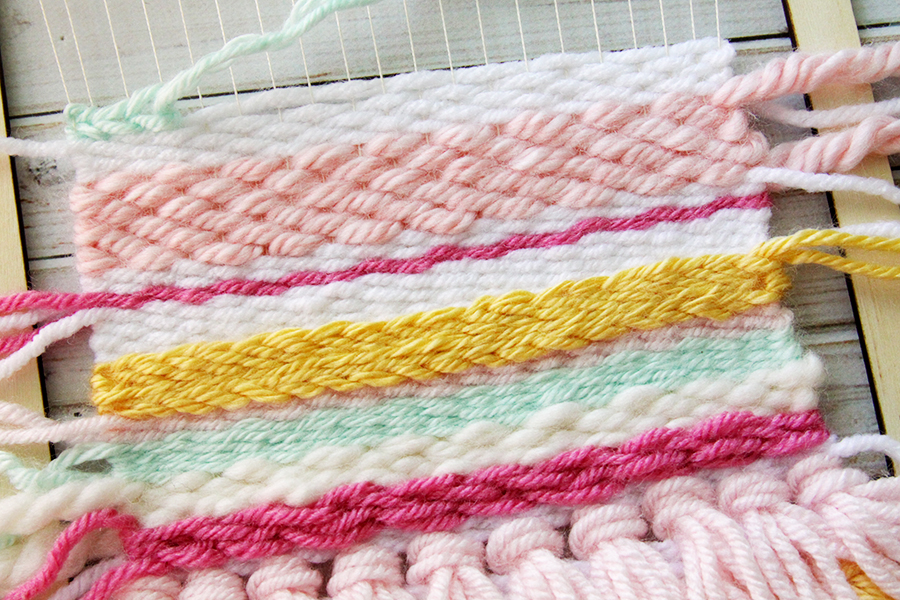
You want to leave at least 2″ at the top so you can tie everything off. But you can make the weaving shorter if you’d like too!

Follow the instructions in the booklet for weaving in the ends and trimming the loose tails. Here’s what the back of mine looks like. Make sure when you weave in the ends you can’t see those tails from the front.
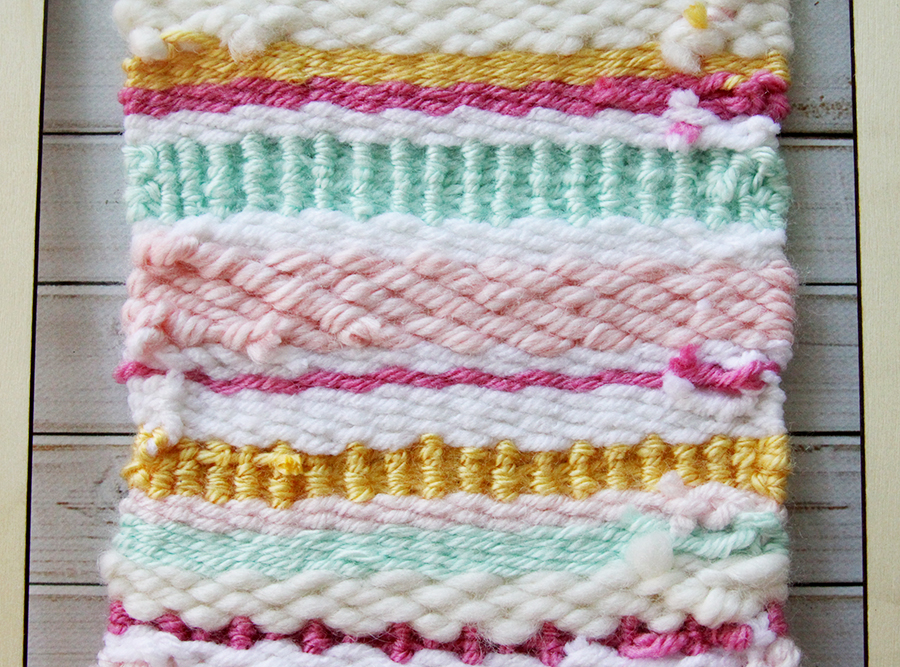
The booklet also has instructions on how to remove your weaving from the loom by tying the threads. It was a bit tricky to do the lower threads, but you can move up the weaving and fringe to help out.

You can use the hanging piece in the kit or you can hang your weaving from a dowel or even a straight branch for more texture. I chose a small round dowel. The great thing about the kit is that you can use the loom over and over!
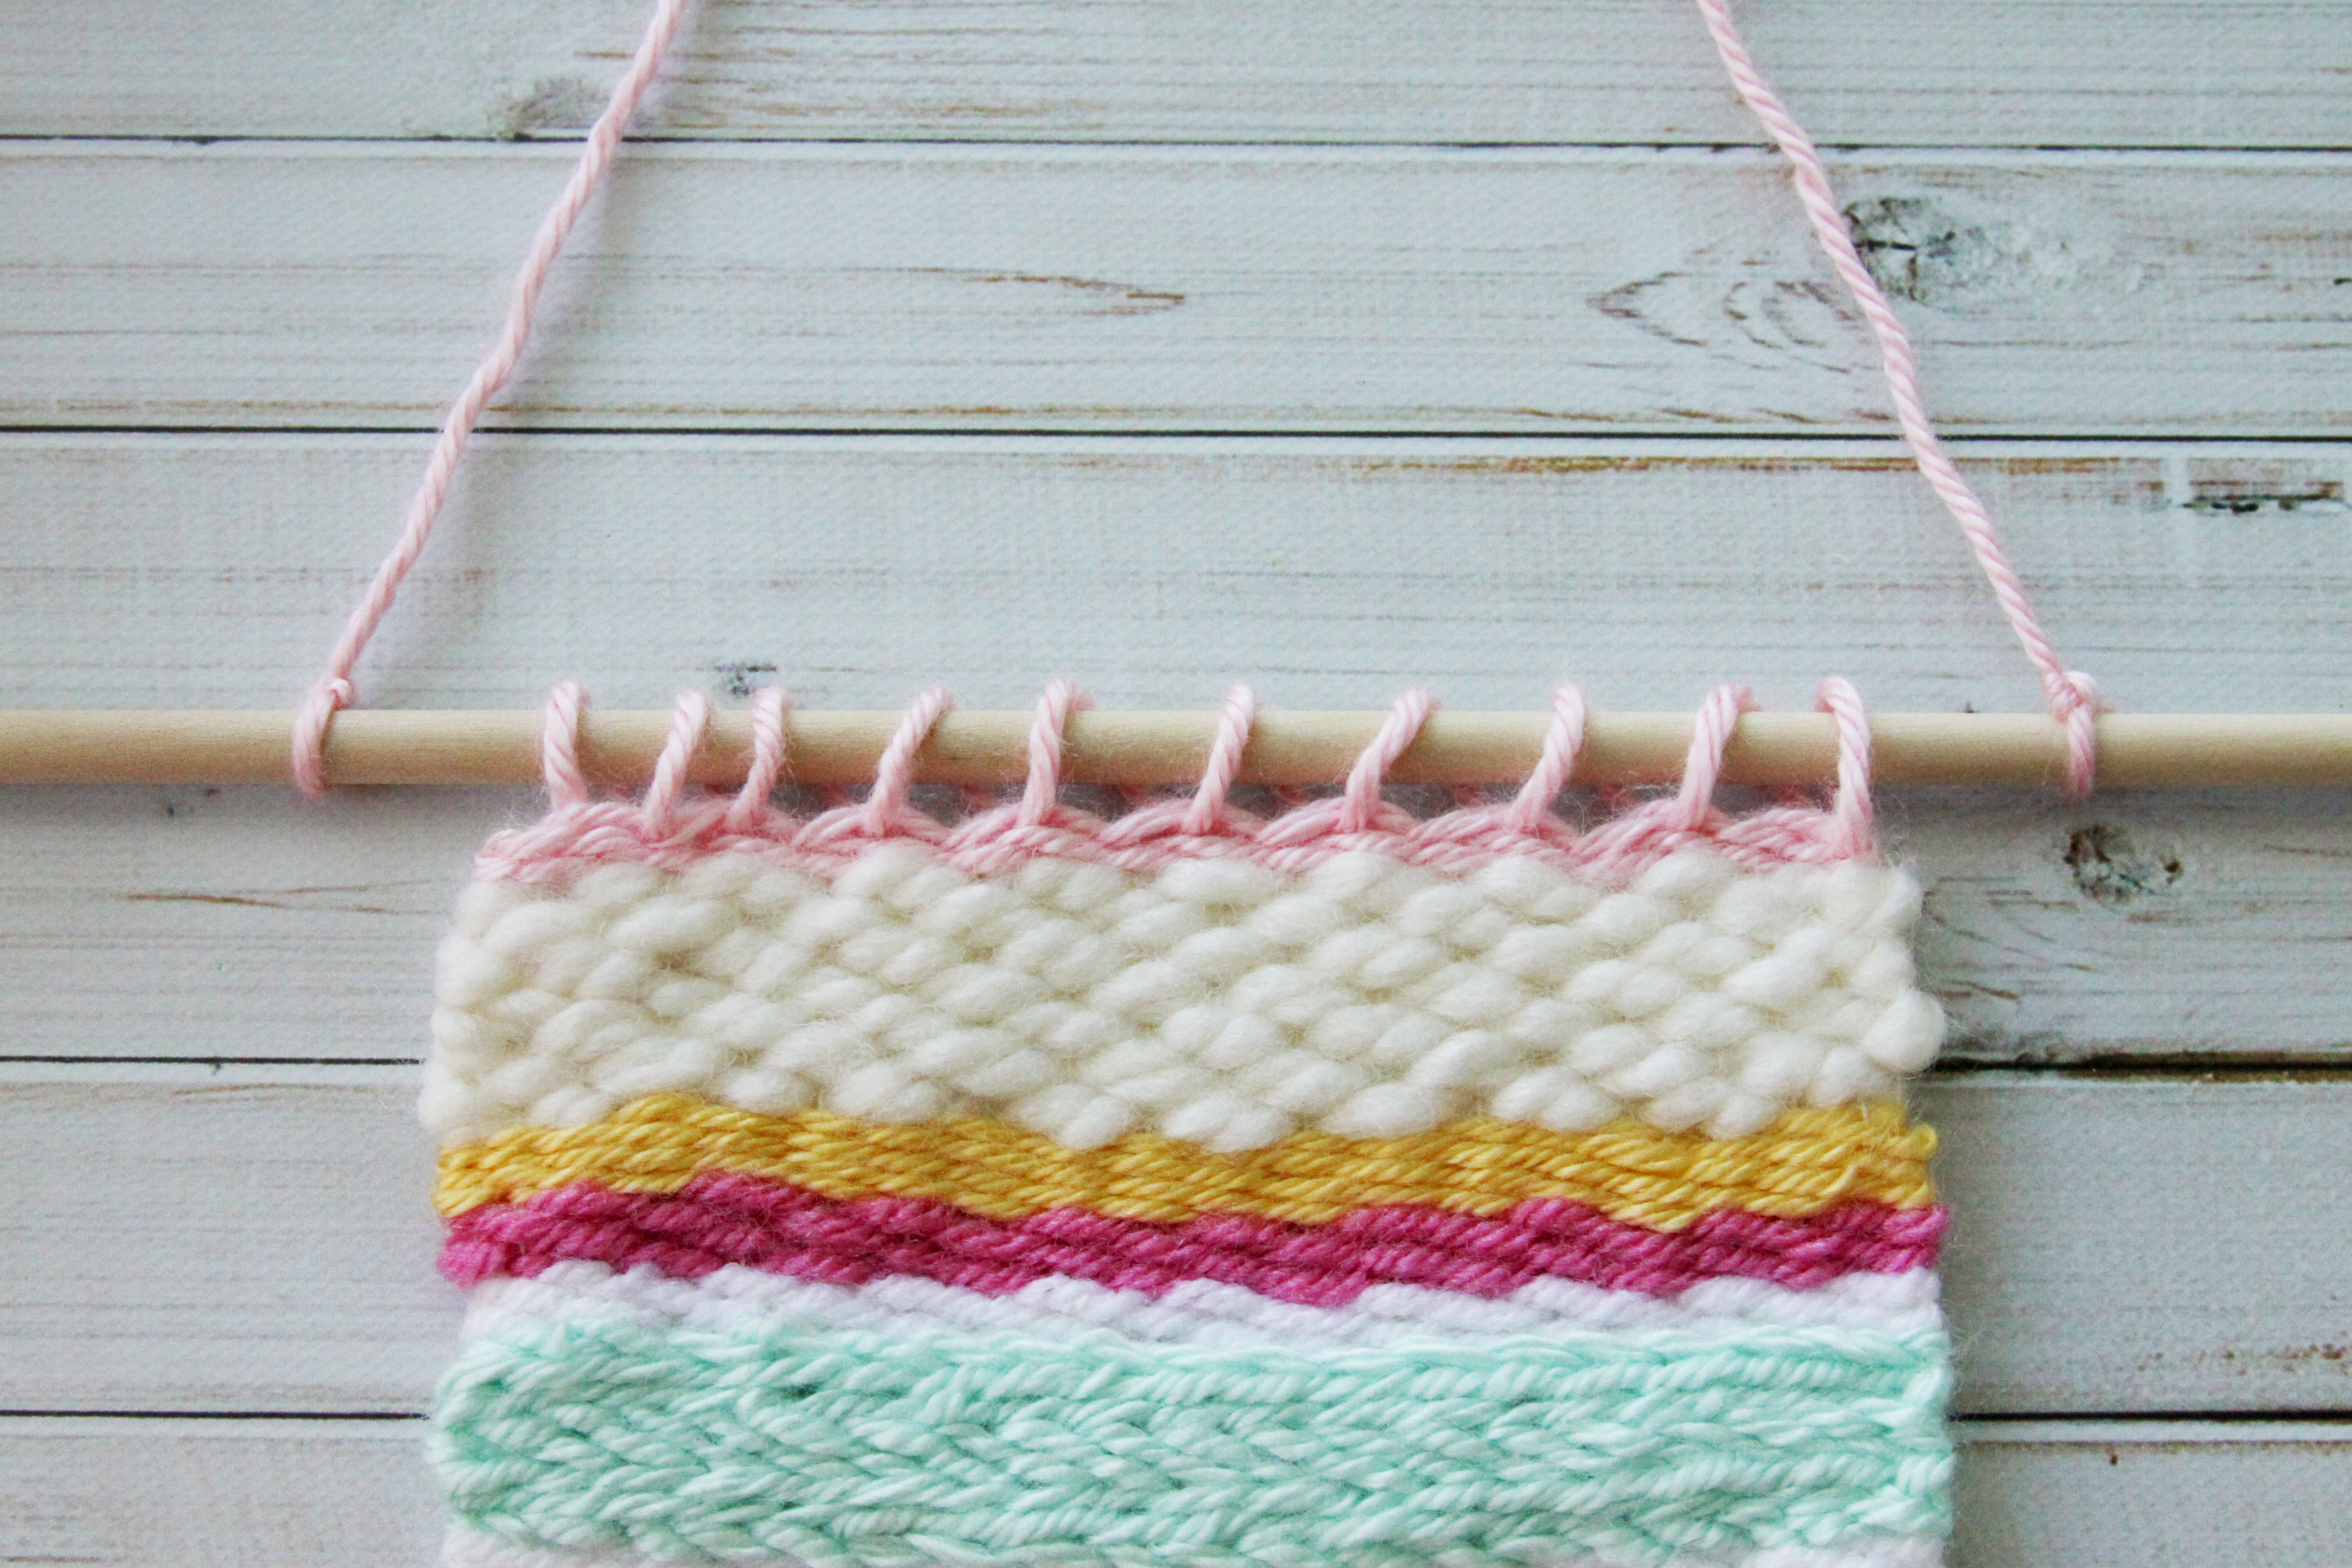
Now you can hang up your cute weaving and show off your mad skills!
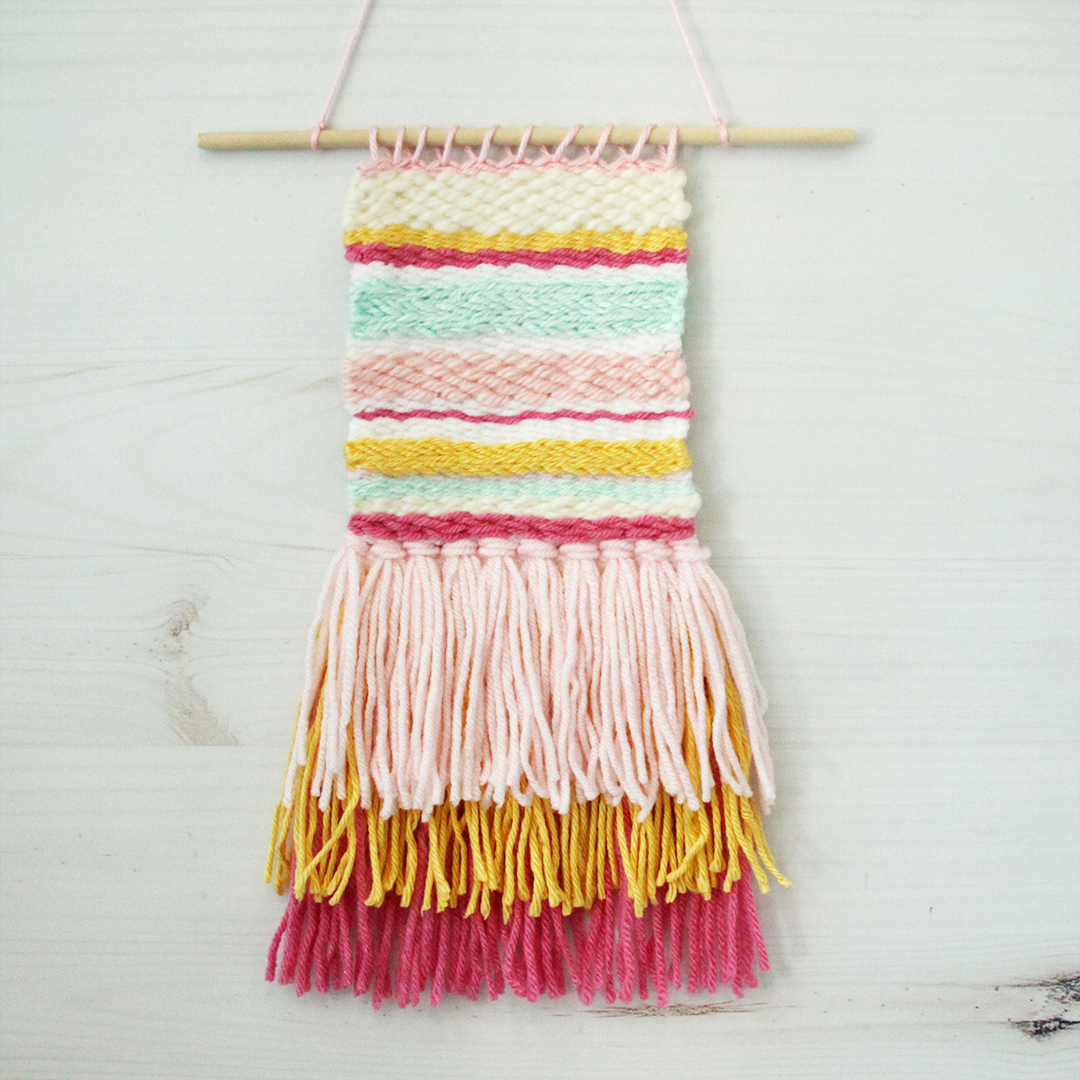
The looms come in a rectangle or round shape, and you get all the tools with both kits. The finished size for the rectangle loom is 7″ x 6″ but that’s just for the weaving part. Mine is longer with the fun fringe. You can find the kits at Plaid Online or Hobby Lobby!


I love all the texture in this project. I think this “kit” would make a great gift for my daughter who also likes to do string art. Thanks for such a great idea!
I absolutely adore this! I crochet a lot and have so many colors, this would be a great way to use up scraps and make something lighter for summer! Would you mind if I used a picture from here to include in a roundup of “crochet for the summer” projects? I’ll link back to you of course for the full tutorial!
What a fun project and I love how easy it is to make. Thank you for sharing at Dishing it and Digging it link party. You are one of the features for this Sunday’s party. Thank you for sharing.
This is such a great woven crafting kit and the finished weaving is wonderful. Manufacturers are getting so clever they lead us into the world artistic crafting with little effort.
Thank you for sharing on Friday Features #omhgff this week!!
Hope you have a lovely weekend!
Karren
I love this project. What a great kit idea. I have some much left over yarn and this would be a great way to use it up.
Stop by Over The Moon Party tomorrow since you are being featured.
Hugs,
Bev
Hi,
I just wanted to let you know I featured this great DIY project at Merry Monday this week! I hope you will stop by to check it out when you have a chance and please link up with us again! Michelle
https://ourcraftymom.com/15-creative-summer-diy-projects-for-your-home/
That is so pretty! My son and I just tried our hand at weaving when we visited a local alpaca farm. It was so much fun! Thanks so much for sharing with us at the Summer Time Fun linky party. Pinned.