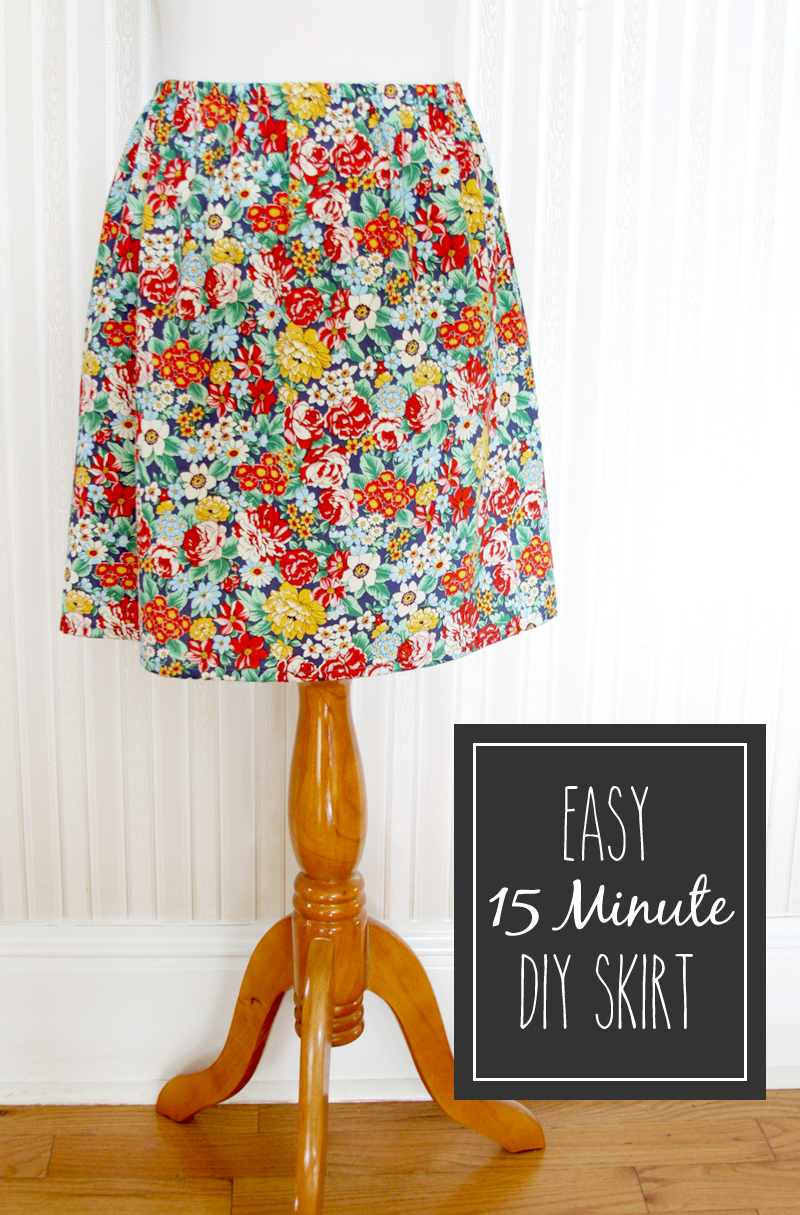
I just love fast and easy sewing projects – and when those quick projects are also sweet additions to my wardrobe – even better!
This Cute and Easy 15 Minute DIY Skirt is so super fast to sew together – and easy to make up in your favorite fabric! You could whip this up in a cute cotton or a comfy knit – either would work and look so great.
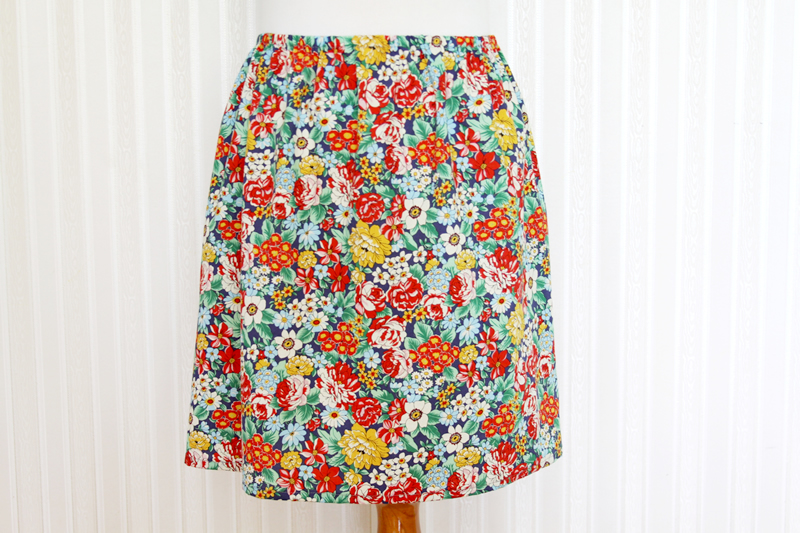
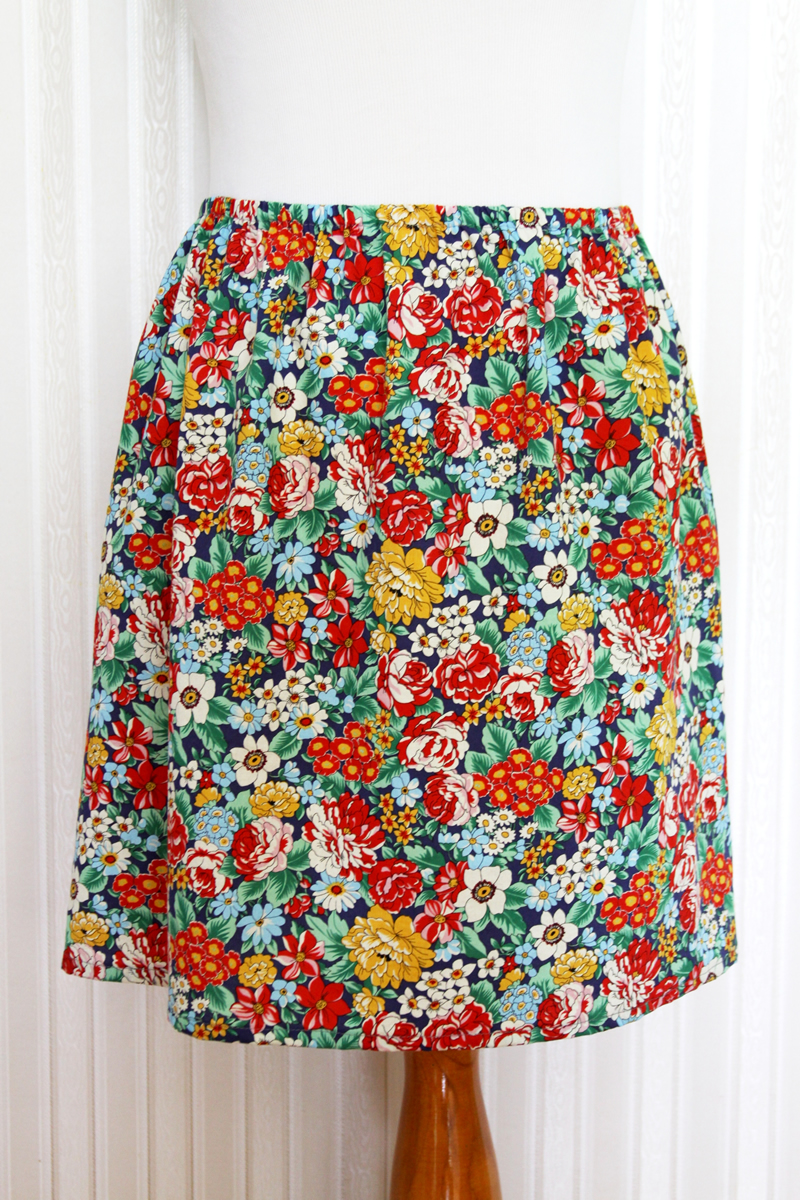
I had this sweet Robert Kaufman fabric in their London Calling line that I’ve been dying to use. It looks a little like a Liberty fabric without having to take a loan out. Win win in my book! This quick little skirt was the perfect project!
So let’s get started:
EASY DIY SKIRT SEWING TUTORIAL
Quick DIY Skirt Supplies Needed:
- Fabric for skirt
- Elastic for waistband – 3/8″ wide
- Other usual sewing stuff: Sewing machine, thread, scissors, ruler
Quick DIY Skirt Directions:
Begin by taking your measurements. Measure your hips and add 11″ and then divide that number by 2. So if you’re hips are 38″ you will have 38″ + 11″ = 49″ / 2 = 24.5″. That will be the width of the rectangles. You can add or decrease that measurement (the 11″) it will just make your skirt fuller or narrower. Don’t make it too narrow – you won’t be able to sit down and that isn’t any fun.
Measure out the length you’d like your skirt. Add 3″. That will be the length of the rectangles.
Cut out two pieces that are the length and width of your measurements.
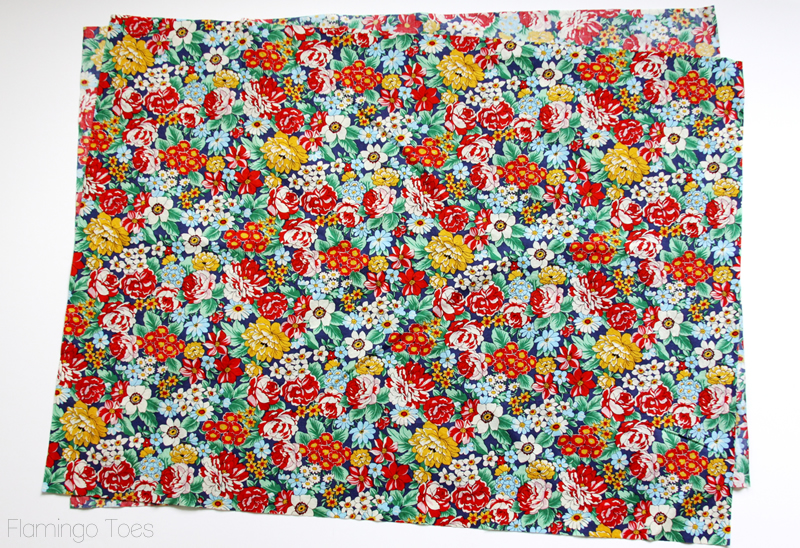
Place your fabrics right sides together and sew up the side seams. Take an extra minute and zig zag along the raw edges of the seams – this will make it so your seams don’t fray when you wash it up.
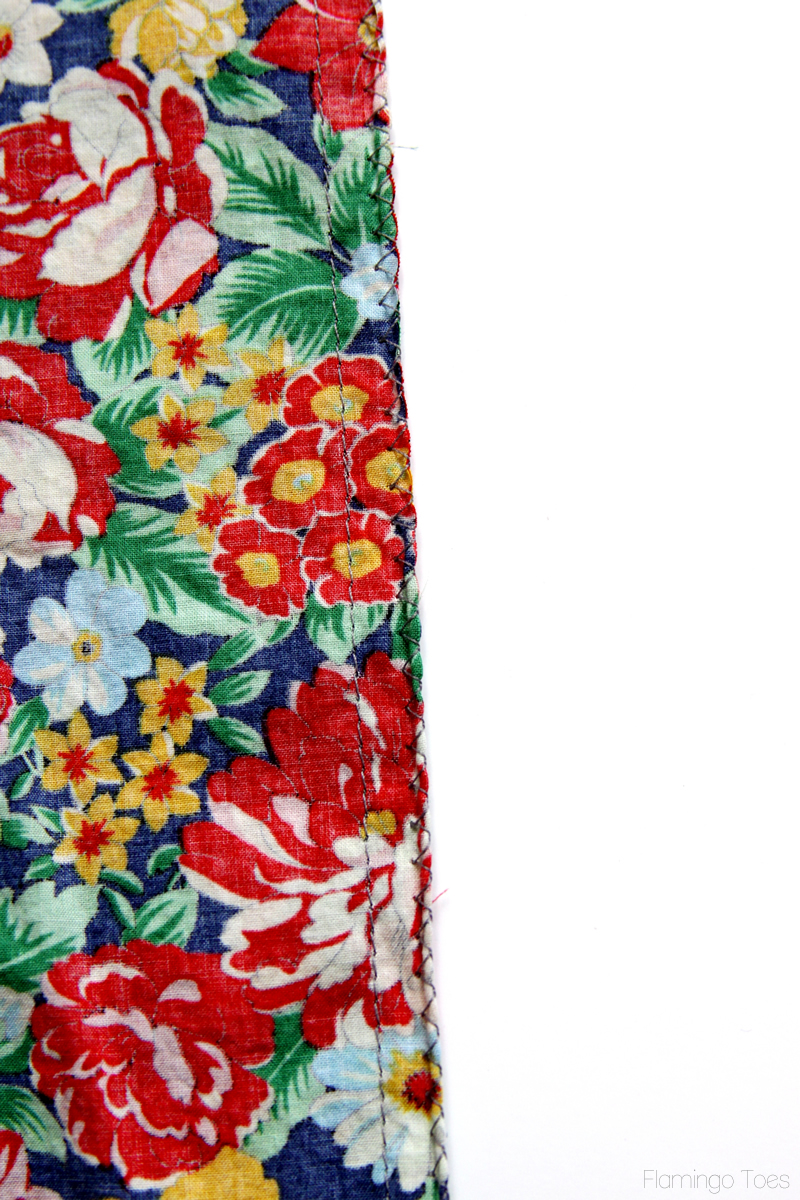
Hem your skirt by turning the bottom edge up twice. Sew all the way around. I mean seriously – how great is this print?? I love it. I think I need to use it for a scarf too.
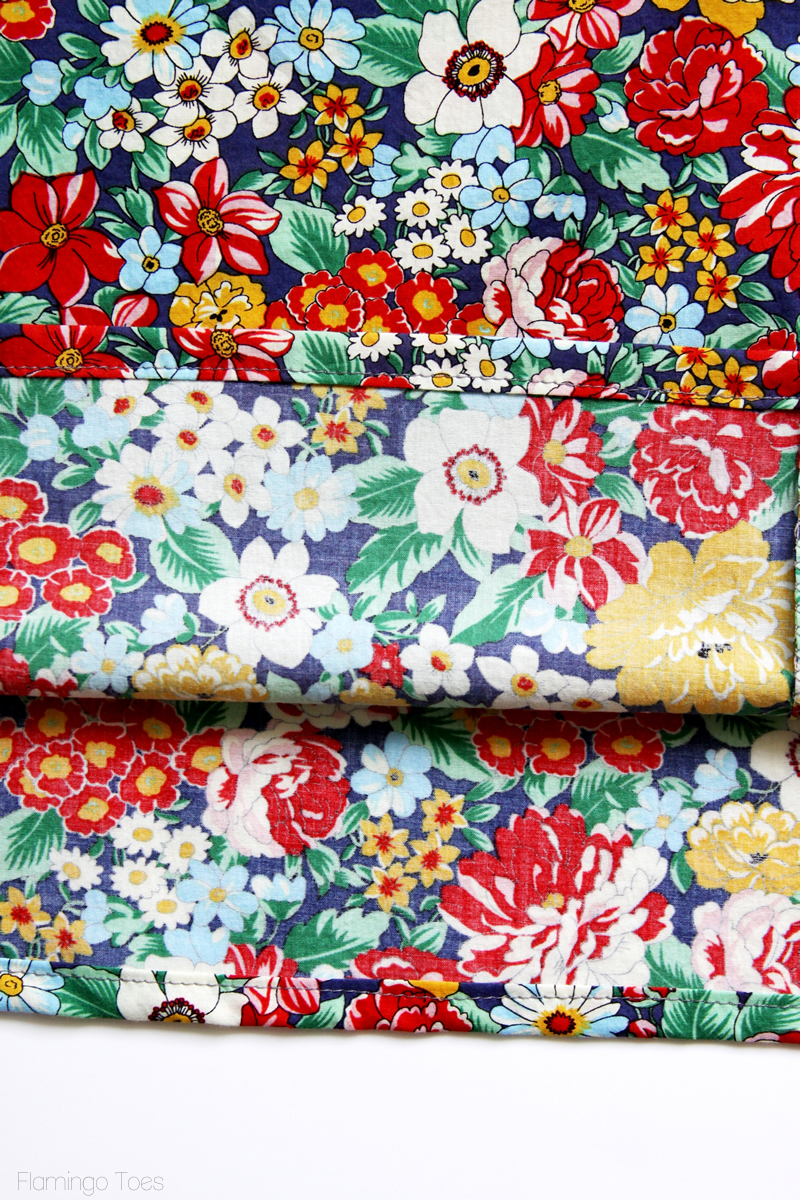
Do the same thing at the top of your skirt to make a casing for your elastic. You want your casing to be about 5/8″ if you are using 3/8″ elastic. Leave an opening of about 1″ in the casing.
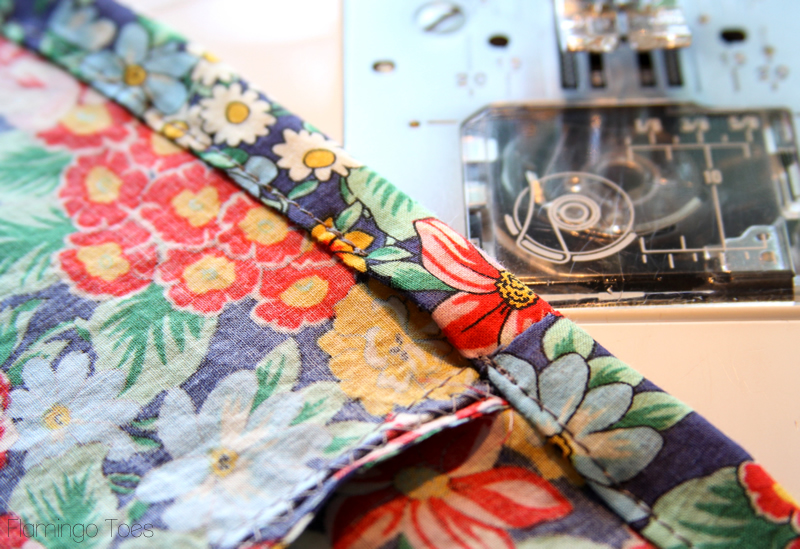
Cut a piece of elastic the size of your waist. Add a large safety pin to one end of the elastic. Feed the elastic through the casing, but keep the other end of the elastic out of the casing.
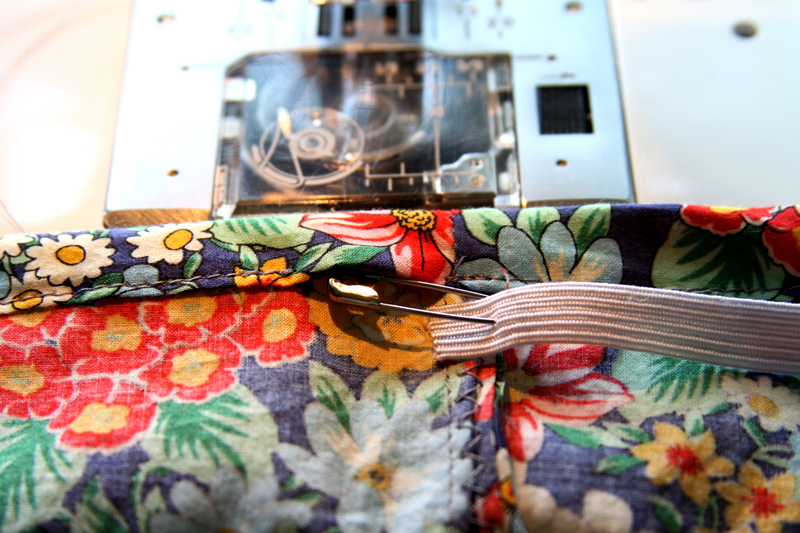
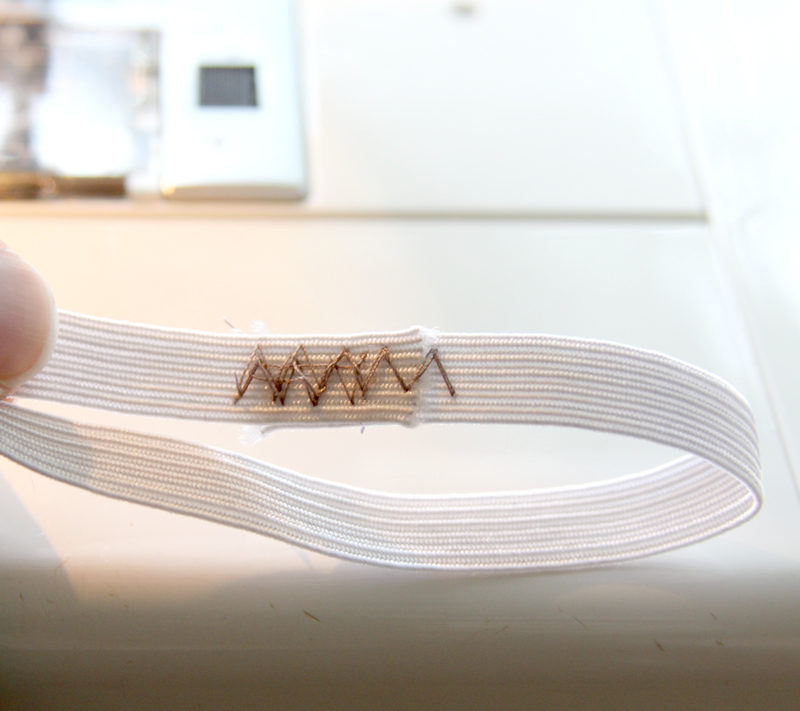
Overlap the two ends (make sure the casing isn’t twisted) and zig zag sew over the overlapped section. Go over it a couple of times – you don’t want your elastic coming undone some day when you’re wearing your skirt. Awkward!
Stretch out the skirt waist a little to get the elastic to go all the way into the casing. Sew the opening in the casing closed.
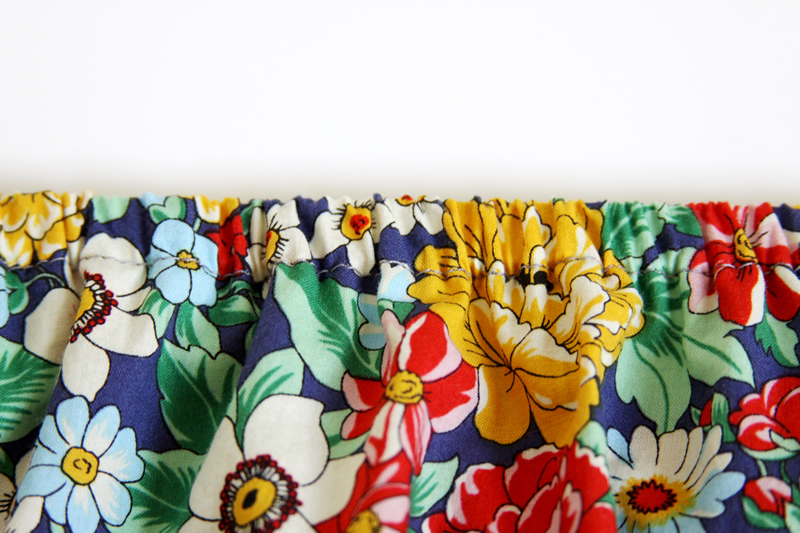
And that’s it!! So super quick and cute right?!
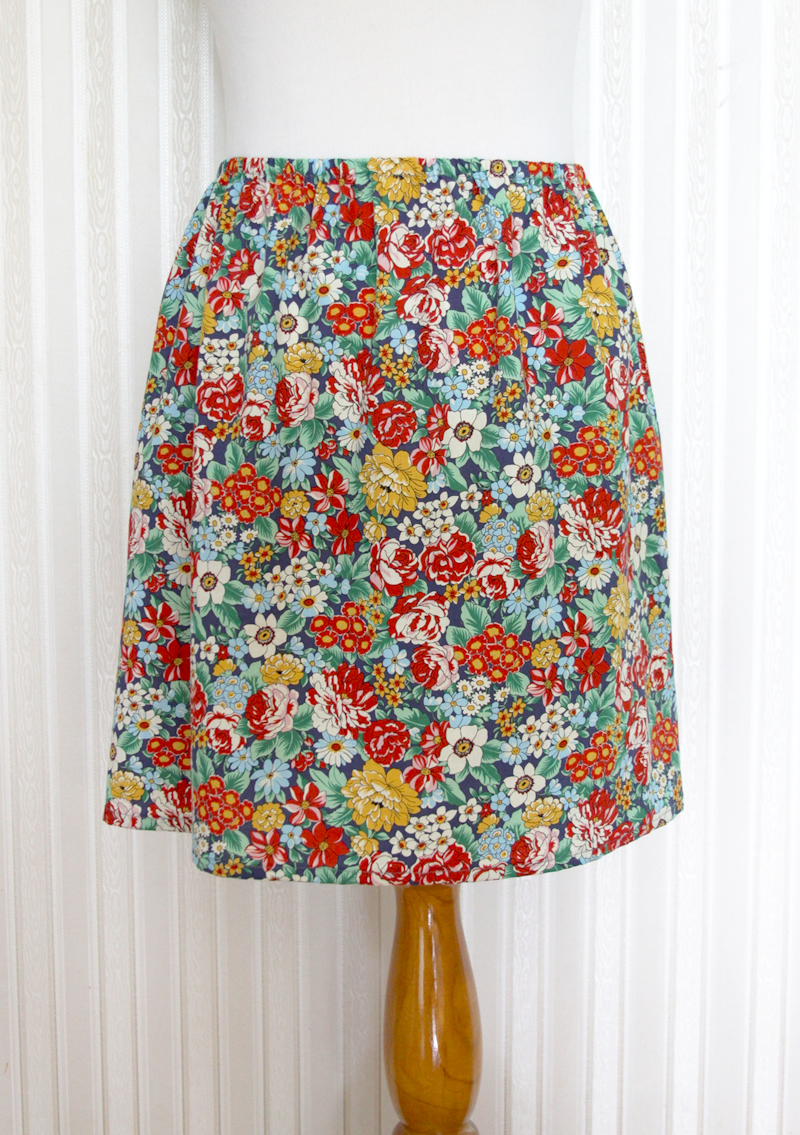
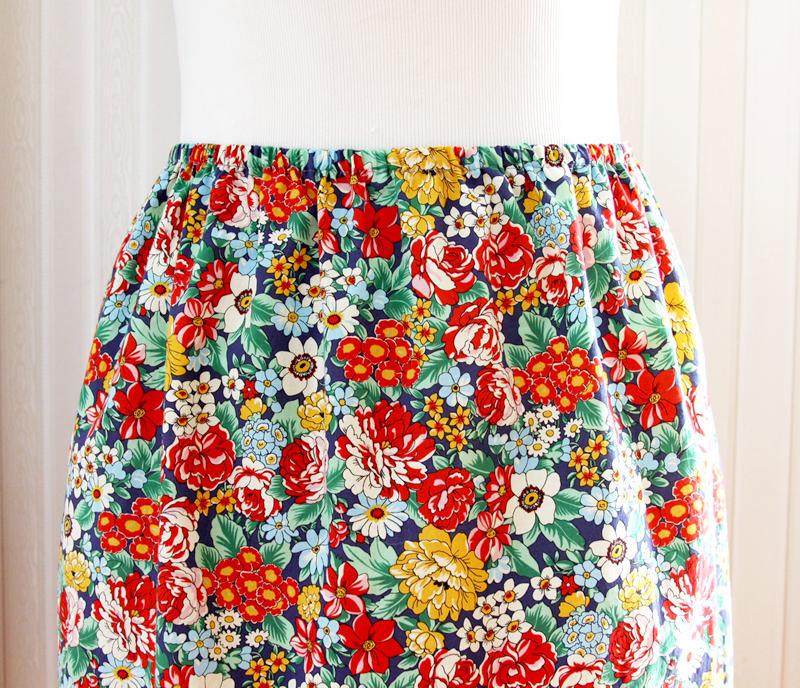
This DIY skirt is for any season – wouldn’t it be cute with some tights for Fall?!
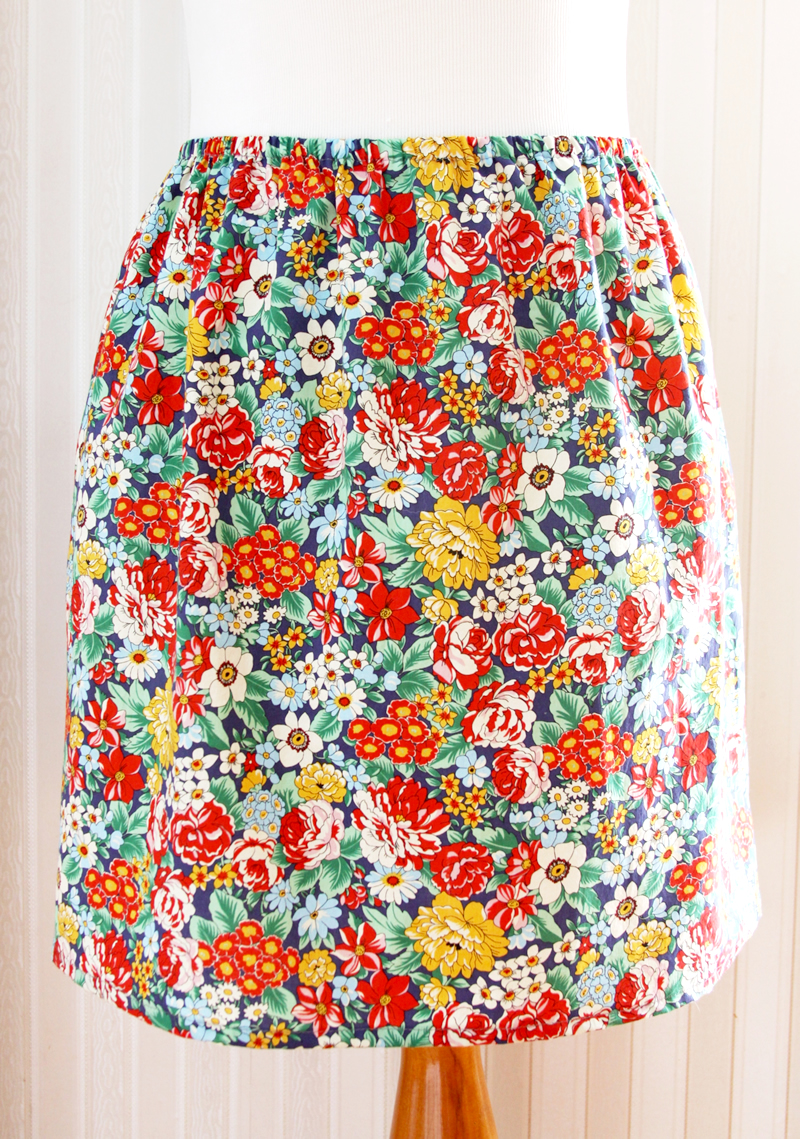
I hope you give this DIY Skirt tutorial a try!


Thanks for the easy tutorial, I washed and ironed fabric yesterday and was looking for an idea…today it will become a skirt.
Love the fabric!! I’ve got a Craft Gossip post that links to your tutorial here:
http://sewing.craftgossip.com/tutorial-15-minute-easy-skirt/2014/10/29/
–Anne
Thank you … I like quick and easy. ^^
You’ve inspired me to make 2 skirts today (so far) for my daughter, the first wasn’t quite right but the second looks great. Thank you!
Thank you.. I have used this idea to make a slip to wear under my favourite skirt – it moved in the wrong places!? Now with the slip the underneath the skirt looks wonderful and no embarrassing looks!?
Such a versatile pattern.. Big thank yous
Great pattern. Thank you. Do you add 10 or 11 inches to the hip when measuring? Sorry I’m a bit confused.
I wish i could upload a photo of my new skirt here! I added some stand-out pleats, looks amazing in a beautiful floral :)
This seriously helped me so much! I made a 4th of July skirt out of it and it turned out so good! The measurements really helped how you added an extra 10″ I had no idea you were suppose to! Thanks for this
Thanks to you I made my first skirt today (made your aprons for my son’s teachers:)! Before you cut out your fabric, do you square it up or just start cutting? I’ve started sewing by way of quilting and was just wandering if it mattered in clothes making. Thanks!
It worked! This is the only success I have ever had from sewing something, i’m so excited! I have so many ideas now for making more. Thanks for the info!
What kind of fabric is best to use? Knit? Cotton?
Very cute skirt. Love the print. Thank you for the tutorial.
Bev I just want to say thank you!! This is the first article of clothing I have ever made. It was so easy and it’s incredibly comfortable! I personally used a jersey material and could not be more excited. Thank you!!
That is so great Tiffany! I am so glad your skirt turned out great and it was easy to do! Thanks so much for letting me know!! :)
Awesome basic tutorial. I just made 3 skirts lickity split to fill out my summer wardrobe. Changing up the fabrics and lengths, as well as tinkering a little with the width makes them look totally different. Thanks so much!
Hi ,
Can this be adapted the same way for my two 8year old girls??
Super cute indeed! Thank you.
So cute! My daughter has a ton of fabric and this would be a great way to use some it up! thanks for the very simple idea!
When I get some time to sew, I’m going to make one of these. Looks so simple. Pinning for Later.
Hi Bev,
I have to tell you I just found your blog which I absolutely LOVE ! I am so excited about your easy (I hope) skirt tutorial. I have never sewed before although I have always wanted to. Due to some unknown health condition in the past 2 months I have gained 40 lbs. making all of my clothing too small to wear. I don’t want to go out and buy a new wardrobe, so this is perfect for me! Bless your heart for sharing your talent and ideas! Wish me luck. Sincerely, Krista
I can see how that fabric inspired you! So fresh and fun and I think this would look lovely wiht a light knit twinset cardigan or pretty t shirt!
Thanks for linking up with us on Throwback Thursday!
Mollie
Hi Bev I stumbled upon your post today and just wanted to say – thank you! This is the first piece of clothing I’ve made as a novice sewer and I’m so proud of myself! Thank you for your inspiration, onwards and upwards! Ella x
Do I fold the fabric down around the elastic and stitch waist or do I stitch fabric first and thread the elastic through? Sorry this is a first time job lol
Thank you for this tutorial, made a skirt last night. Is there any way to make it less poofy? I think I may have made it too big unfortunately.
I am a beginner and this was the easiest, most confidence instilling project I’ve tried. Instructions are a cinch to follow and the result is gorgeous!
Hi Bev, I’ve had many of my students (beginners) go here, follow your instructions and make a skirt for themselves. I’ve only been receiving very positive feedback about your tutorial. Thank you for sharing it.
I’ve included your tutorial on my list of fun and easy sewing projects for beginners on my website, I hope you don’t mind it. Below is the link to the article:
http://www.sewsofine.com/tips-and-guides/15-fun-sewing-projects-for-beginners
I’d love to hear your feedback.
Cheers,
– Leanna
That is so great Leanna! I’m so glad the tutorial has been working out! Thanks so much for sending yoru students here and including it on your website as well. Yay!
Bev
Thanks for the idea. I was looking of a pattern that would work for all the females in my family that wouldn’t cost me an arm and a leg! With 12 ranging from 4 to 66 yes it was a pain. I picked a favorite color for each. Did them all in 2 days. I even made matching hair bows.
Is this formula the same if you were making a skirt for a child of 7-10?
Very Nice!
I want to make a skirt like this with a lovely fabric I have laying around.
Thank you!
I made this skirt as my first ever sewing project and I cannot believe how well it turned out!! Your easy step by step instructions and photos made it so easy to understand for a novice and not using a set pattern made it less intimidating. I was fed up with skirts in shops either being waaaay too short, not the right fit, lousy fabrics etc etc so decided to take matters into my own hands and am so happy with the result I am really inspired to make more!!
Thank you so much x
People have laughed when I tell them I learned to sew from an encyclopedia but I did and it was a skirt very similar to this one. This was before I was “double digits” and it’s still an easy favorite.
Hi. I’m from Europe and i don’t understand these instruction:
Measure your hips and add 11″ and then divide that number by 2. So if you’re hips are 38″ you will have 38″ + 11″ = 49″ / 2 = 24.5″
What mean ” ? About centimeters? Thanks
Hi Ane – that is the symbol for inches. Sorry for the confusion. You’ll need to find your hip measurement in centimeters, then add 28 centimeters. Then divide that number by 2. Hope that helps!
LOVE your fabric and the a lift is absolutely lovely. I’m going to give it a try. Thanks !
Could you possibly link some fabric to show an example of what kind of fabric works best? Thanks!
Thank you! A billion times thank you for this pattern tutorial! Can this pattern be tweaked to make a half circle skirt?
I love this DIY skirt & I plan to make it this weekend.
Do you also an easy DIY top pattern. I can see me doing tops to match for outings & casual dress day at work.❤️❤️
What seam allowance would we be using here? Also, is this same formula applicable for a 18 inch doll?