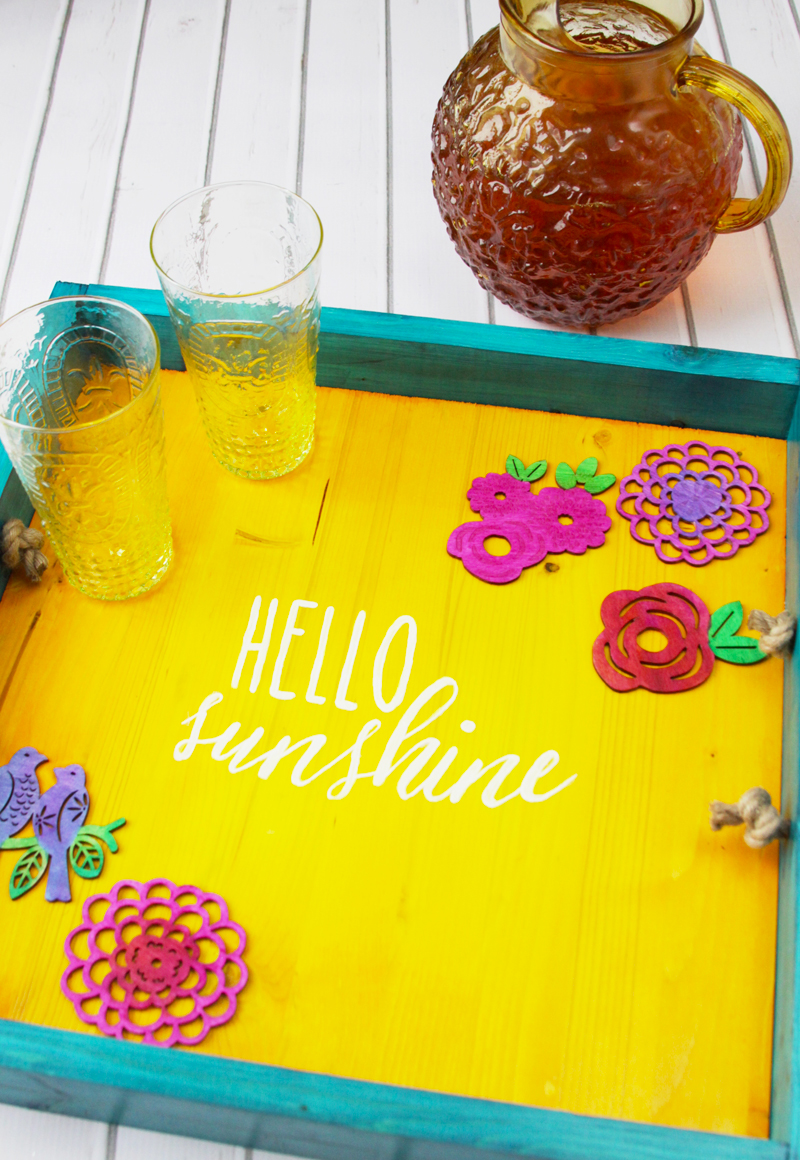
I’m a huge fan of vibrant colors. I look through all those gorgeous photos of neutral rooms and I admire them – but for me, I always go back to fun, colorful decor!
This new colorful summer serving tray fits in just great here – and I had so much fun making it. I used FolkArt® Ultra Dyes and they have the most beautiful vibrant colors!
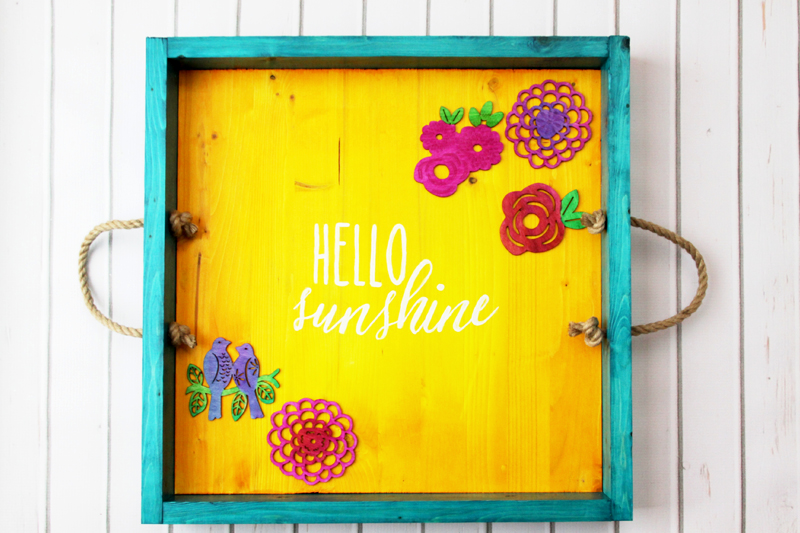
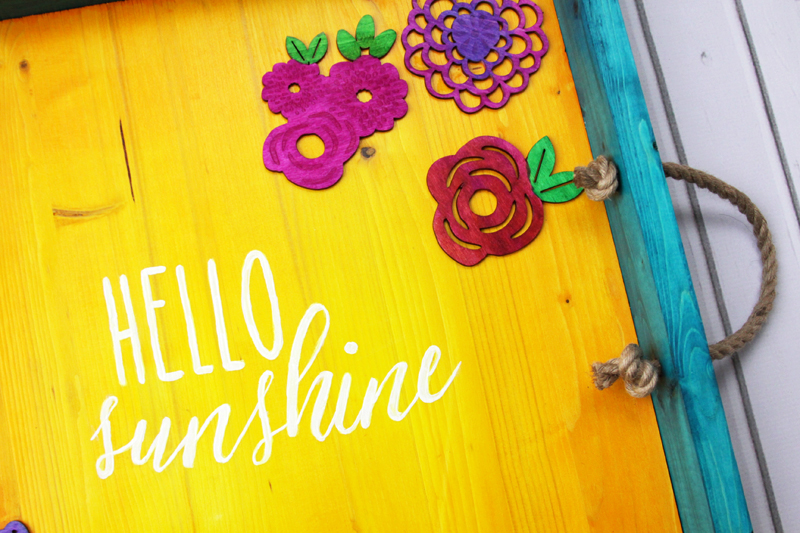
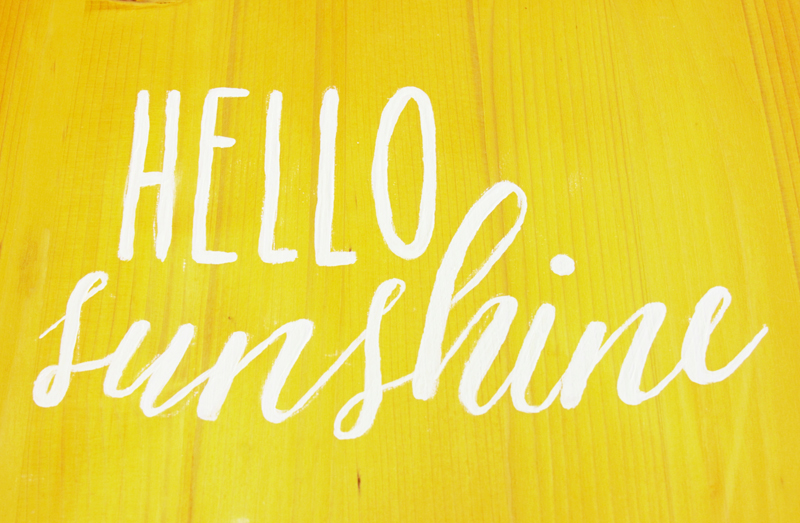
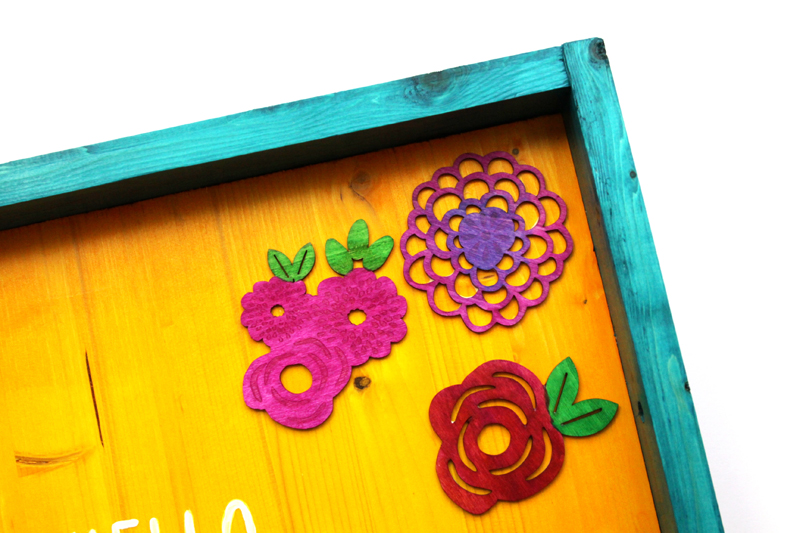
I painted my tray with Hello Sunshine – I thought it went great with the bright yellow of the base! I also found these darling little wood cutout flowers. They were so easy to dye and add some bright colors to the corners of the tray.
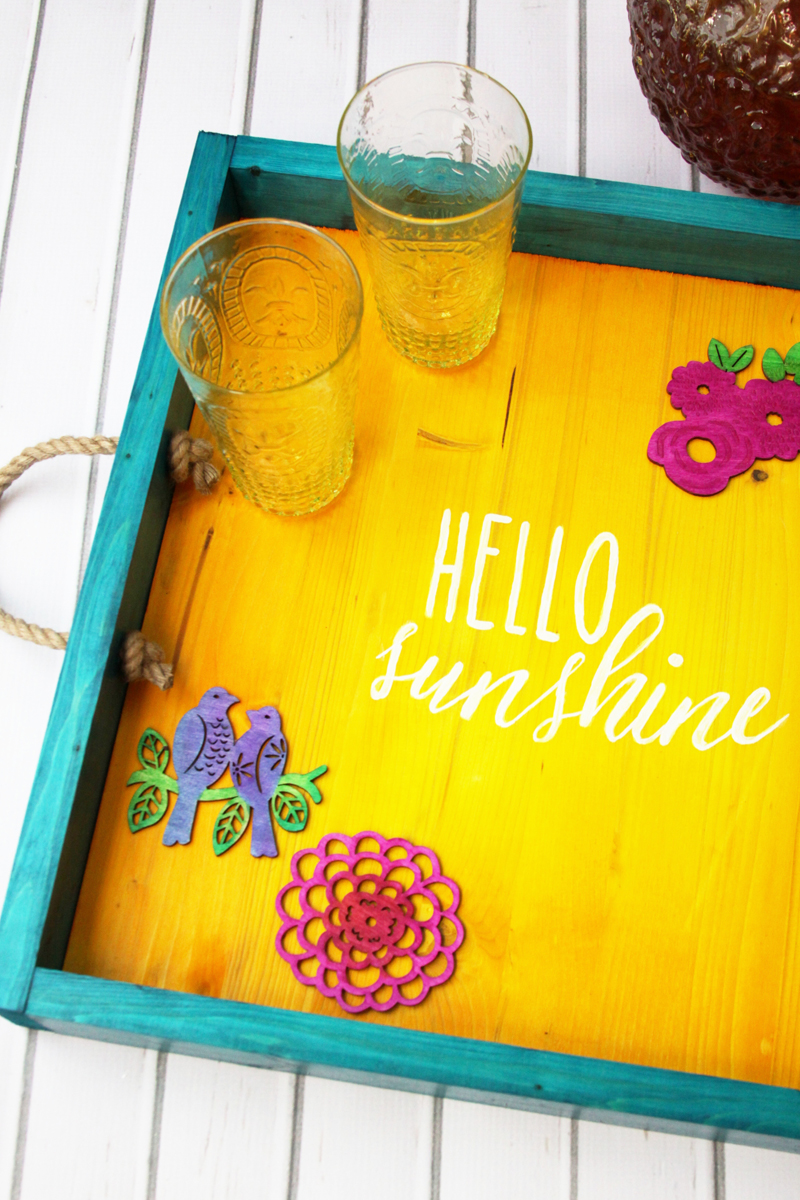
Now I’m all set for some fun summer get togethers! This will look so cute on my table holding some plates or other dishes.
So let’s get started!
You’ll need:
- 16″ x 16″ piece of wood for the base
- one 6′ 1 x 4 board, cut into 2 16″ pieces and two 15″ pieces
- assorted wood cut outs
- FolkArt White Wicker acrylic paint (for lettering)
- .2 thickness rope
- Wood Glue
- paint brush for hand lettering
- Hello Sunshine Pattern
- assorted tools for cutting wood, drilling holes, and nailing tray together
- FolkArt Ultra Dyes, Brush, and Satin Varnish
The FolkArt Ultra Dyes come in amazing colors!
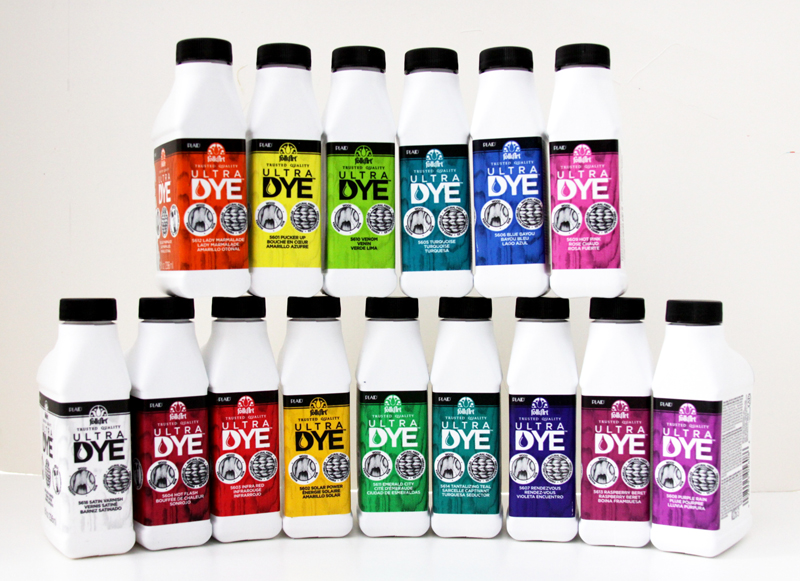
I used the two yellows -Pucker Up and Solar Power, for the base, Turquoise for the sides, and an assortment of Hot Pink, Raspberry Beret, Hot Flash, Emerald City and Rendezvous for the flowers. (How much do you love those color names??
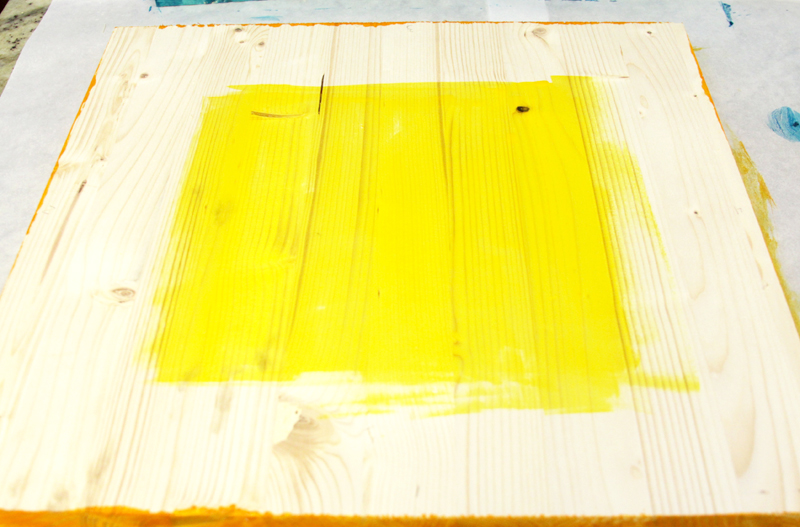
For the base, I started with the Pucker Up in the center of the board in a slight square shape. You want to make sure you cover your surface area and wear old clothes. These are dyes – and they will dye porous surfaces and clothes.
For the edges of the base, I used the Solar Power. The dyes blend really nicely so you can get a really smooth switch from one color to another.
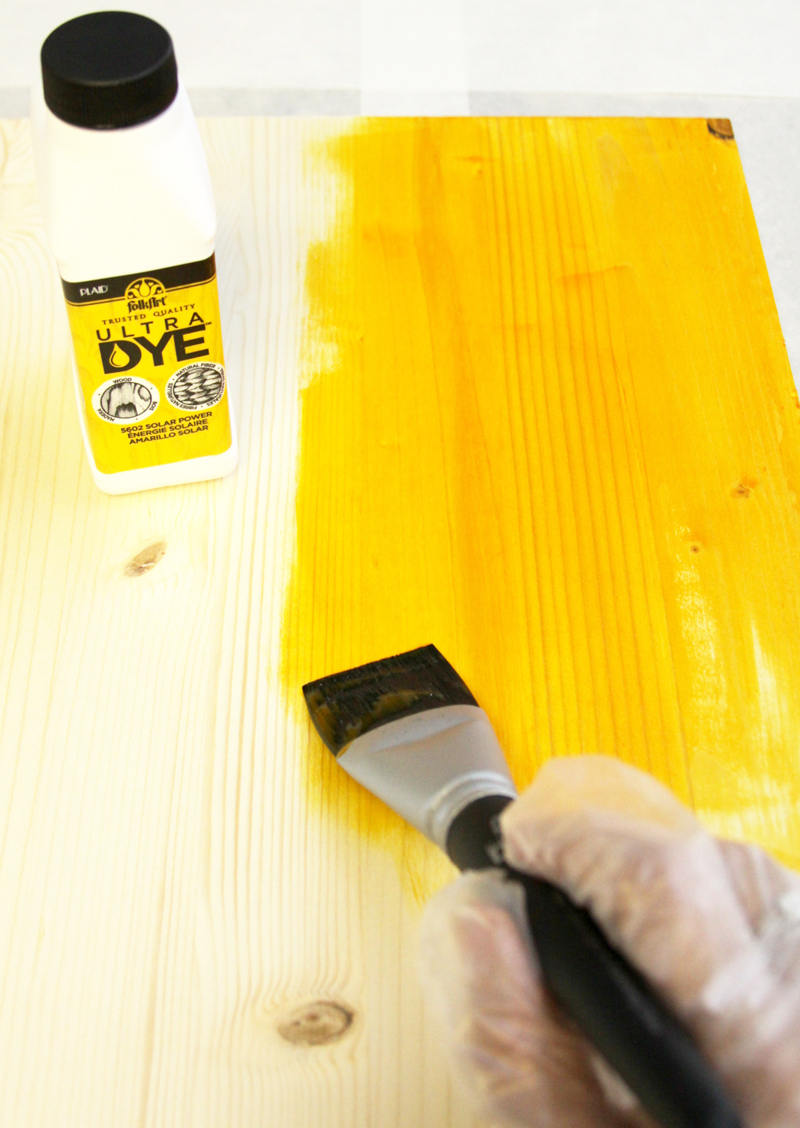
The brushes are great too! They’re made specifically for the FolkArt Ultra Dye so they apply the dye nice and even. I also love that the bristles are black so they still look nice after you’ve used them with a bunch of different colors. :) The brush pack comes with two different sized brushes, and two sets of gloves to protect your hands.
So once the dye dries, you have a nice subtle ombre on the tray, from the center outward. That works great for our lettering!
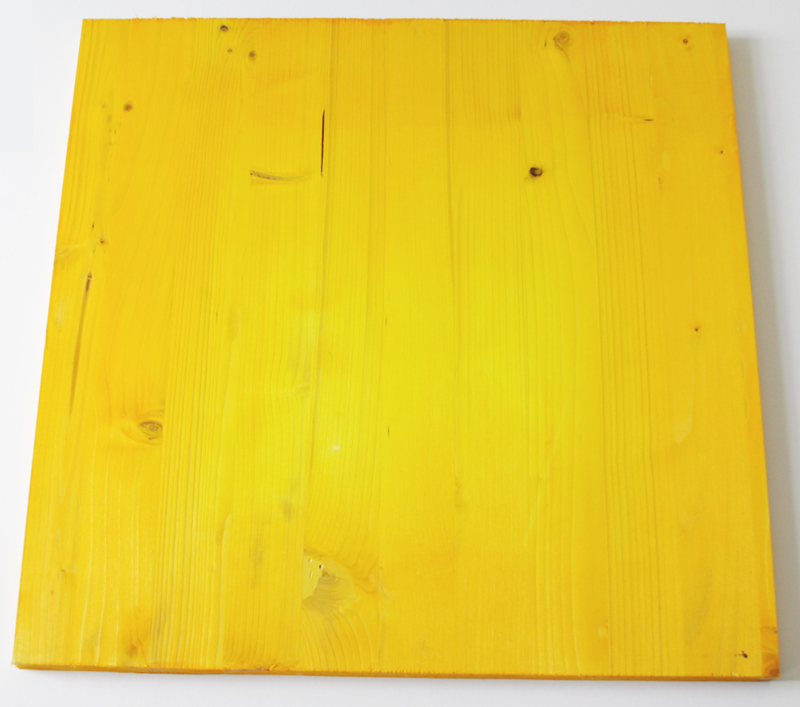
I dyed the sides turquoise, then covered both the sides and base of the tray with the FolkArt Ultra Dye Satin Varnish. This has a nice satin finish and works great for sealing and protecting the wood.
Once the varnish was dry on the base, I traced the lettering in the center of the tray. I painted the letters with FolkArt Wicker White acrylic paint, using a small brush. You could also create a stencil and paint the lettering on that way. You can also use FolkArt Ultra Dye with stencils – they work great for that!
Once everything is dry, use a nail gun to adhere the sides to the base of the tray. If you don’t have a nail gun, you could use small screws with pre-drilled holes. Nail guns are more fun though. :)
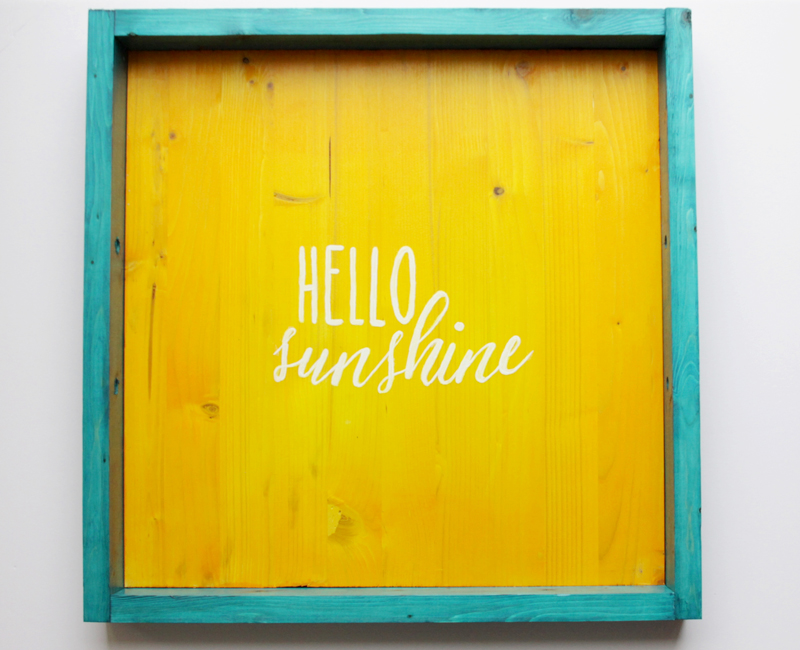
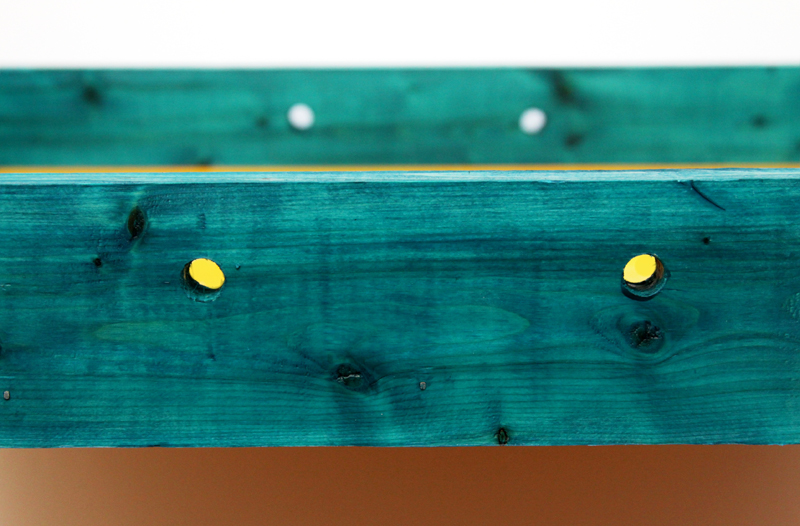
At that time, you’ll want to drill the holes for your rope handles as well. Place these in the two sides, with the holes 4″ apart.
For the decorations, I used little wood cutouts. They come in a variety of shapes and styles.
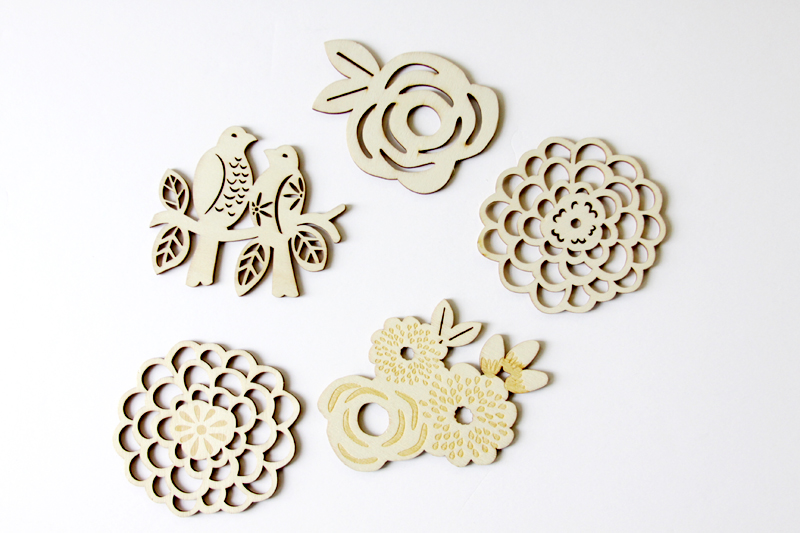
I brushed these with the pink and blue FolkArt Ultra Dye colors, mixing and blending colors on each flower. These are fun to play with – you can really get creative with how the colors go together. When these have dried, seal them with satin varnish as well.
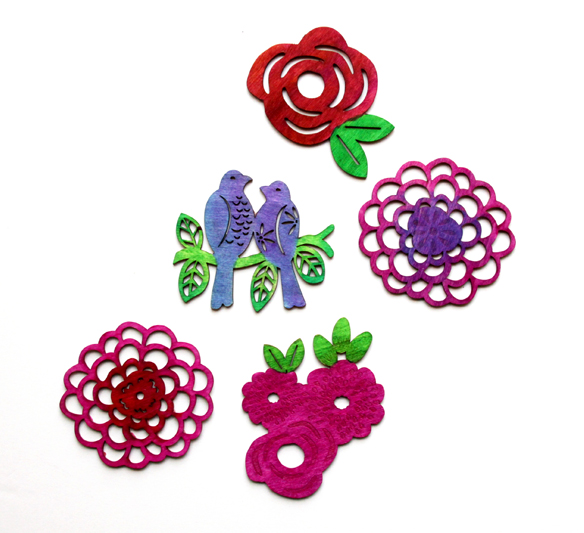
Glue these in place on the tray with a light coat of wood glue.
For the handles, put one end of the rope through the bottom hole in one side, from the outside in. Tie a very tight knot in the rope, leaving a bit of end.
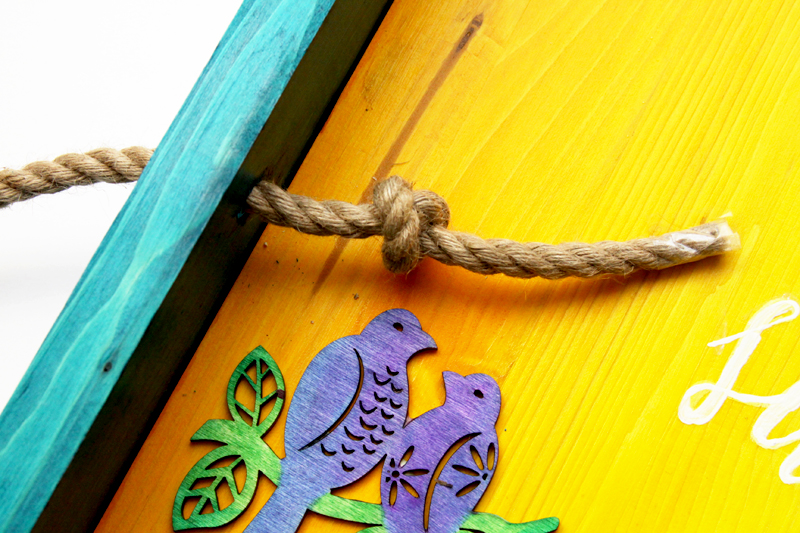
Trim off the end, leaving a tail of about 1/2″ past the knot. Cut your rope about 16″ long, then feed the other end of the rope through the other hole.
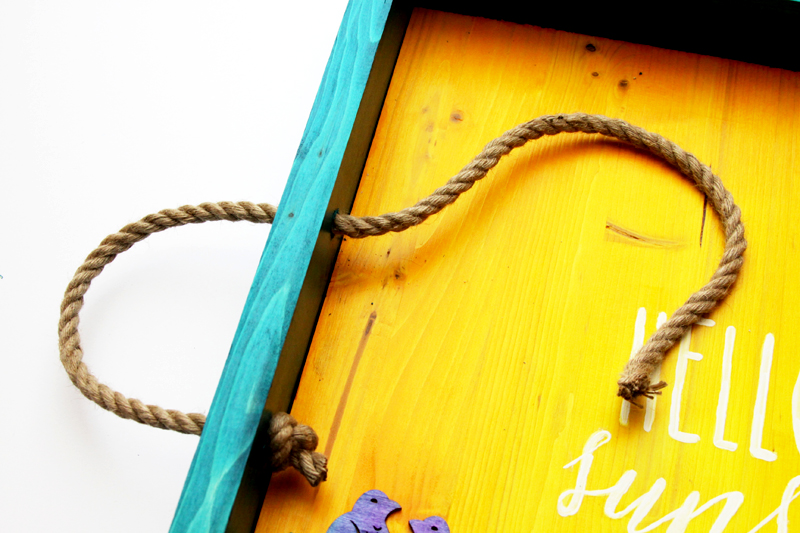
Decide the length of your handles, then tie a knot on the other end of the rope. Trim the end the same way as the first. You can also finish the ends of the ropes with some glue so they don’t fray.
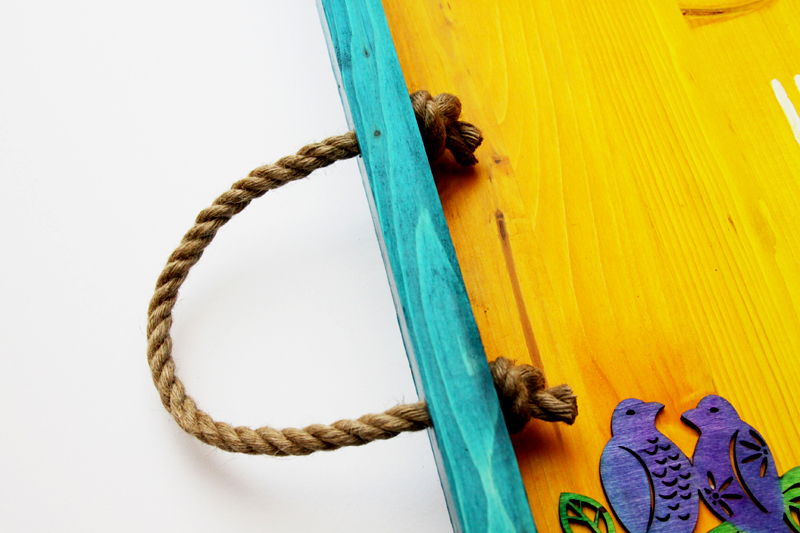
Repeat for the other handle to finish your tray.
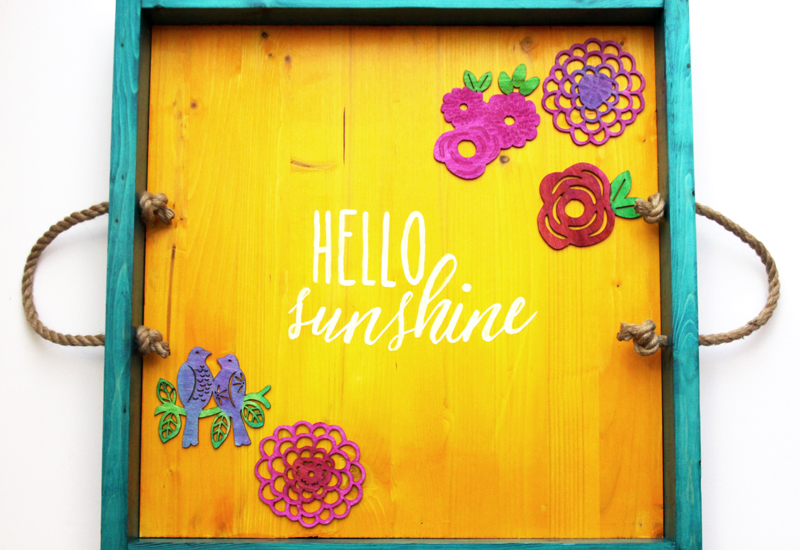
So fun right? I love projects like this – they add such a personal touch to your decor!
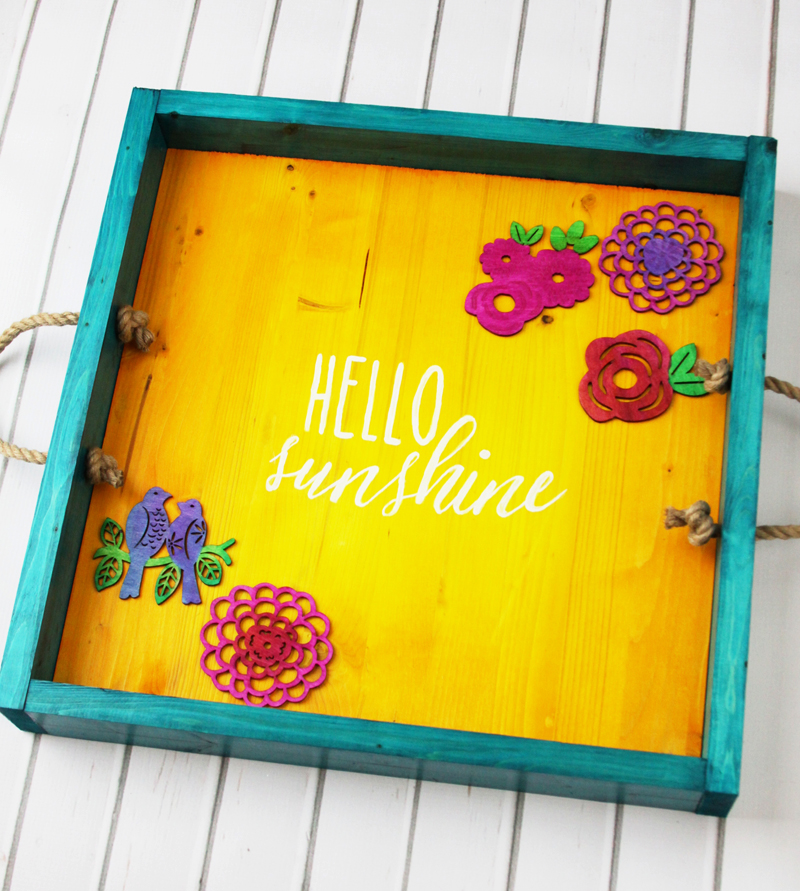
It’s great for summer entertaining don’t you think?
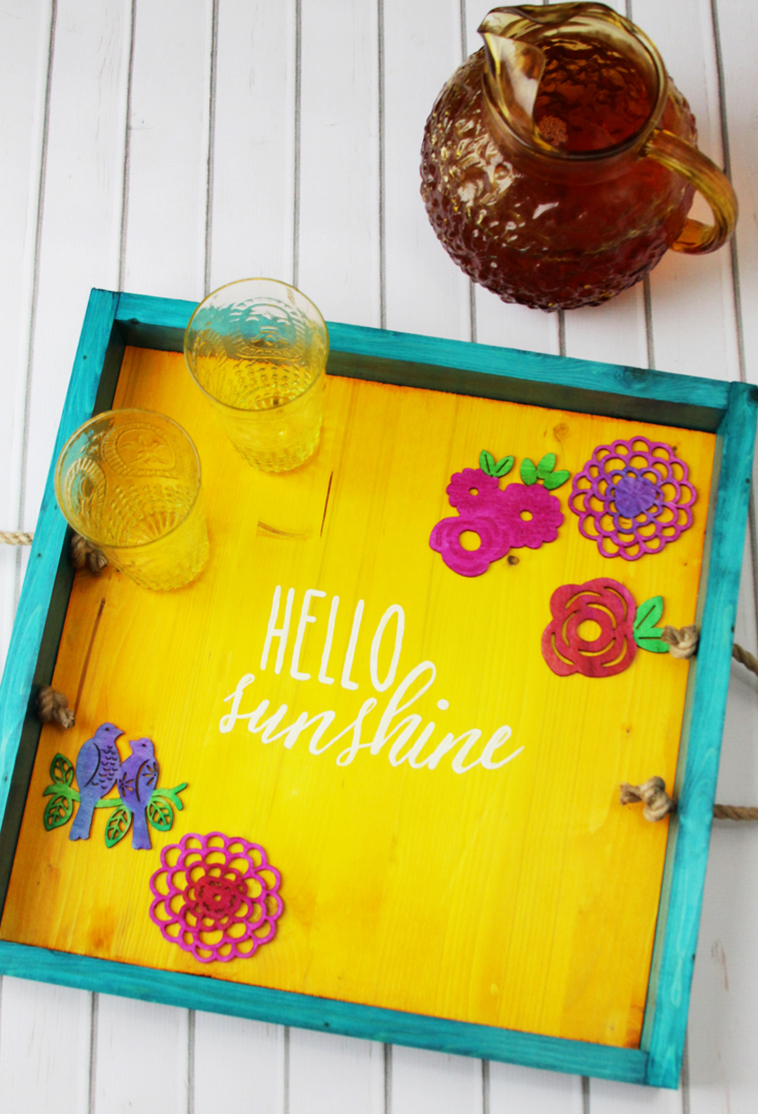
You can find the FolkArt Ultra Dyes in all the major craft stores – they are brand new! You can find them on the Plaid website as well!
You might also like


Oh, I just love the yellow + turquoise! So sunshine-y!
I am the same as you with the neutral decor. It’s lovely, but I would have to add more color. The color is what makes me happy!
I love the idea of the little wood cut-outs! So cute and creative! The colors you chose were great, too! :)
Absolutely stunning such a pretty serving tray!
Beautiful! I love how you used the dye so you can still see the wood grain.
I’ve never used this dye, but WOW those colors are really amazing! I need to find some and give it a try for sure! Thanks for the inspiration!
Such a fun idea. I love how you chose such happy colors.
I colors are perfect – it just shouts “summer fun!”. :)
This is so festive, Bev. I love that you used wood dyes as well. It gives the piece a more 3 dimensional look because you still see the grains of the wood, but the colors show up brilliantly as well. Thanks so much for sharing this craft with us on #shinebloghop100! Always lovely of you to join us :)
This is so cute! I’ve got a boring wood tray that I was about to donate, but this seems like a much better option–thanks!
That’s absolutely darling and perfect for summer!
Thanks for sharing with us on Throwback Thursday!
Mollie