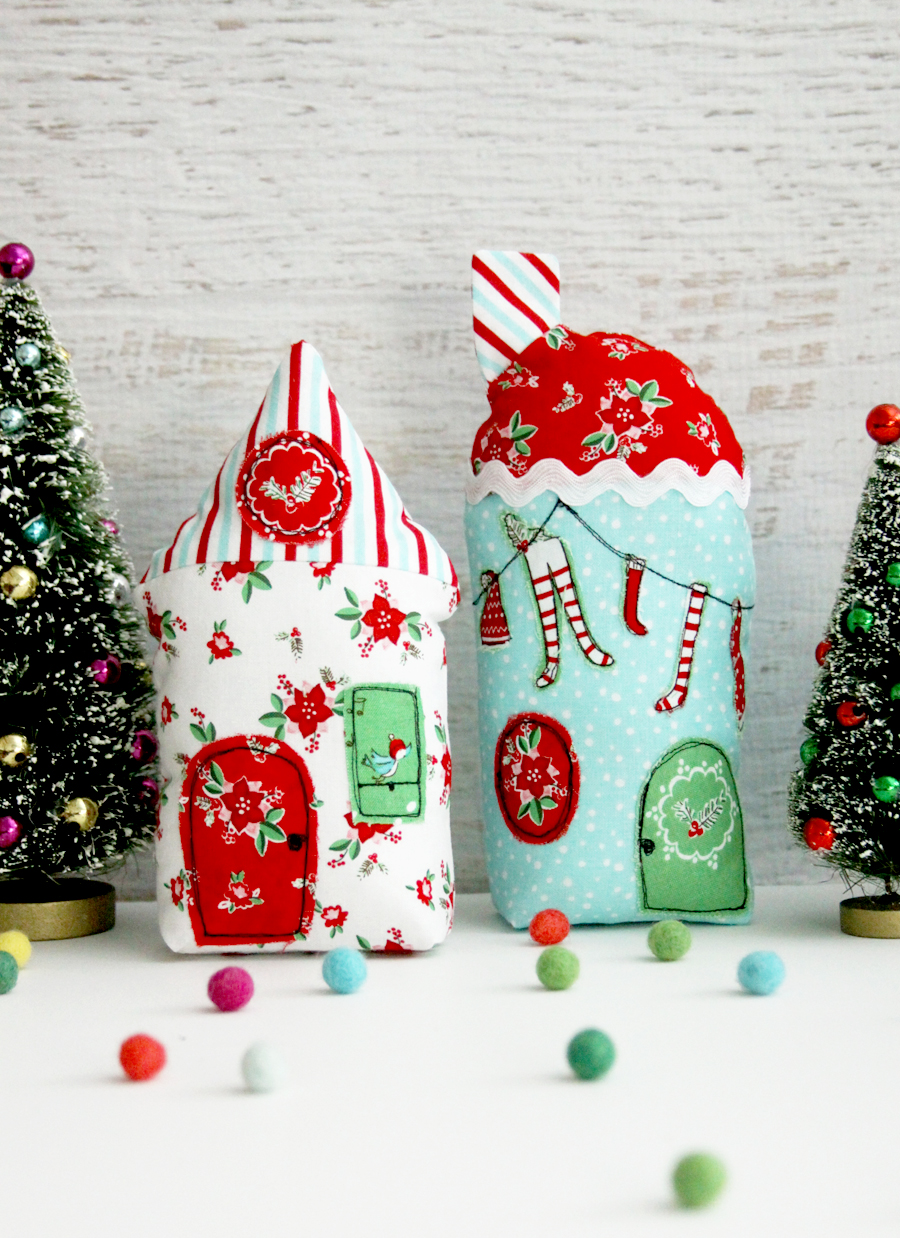
Hello!!! I’m so excited to be here today with this fun and whimsical Christmas Town fabric village! I just love projects where I can do a little fussy cutting and this Christmas village made with Tasha Noel’s fabric line, Pixie Noel was so fun to sew up!

I made a whole group of little houses for my village – all decorated with cute florals, trims and even little striped stockings! All the details on the houses are pieces of fabric cut out for the designs so it’s super easy to decorate and customize them.
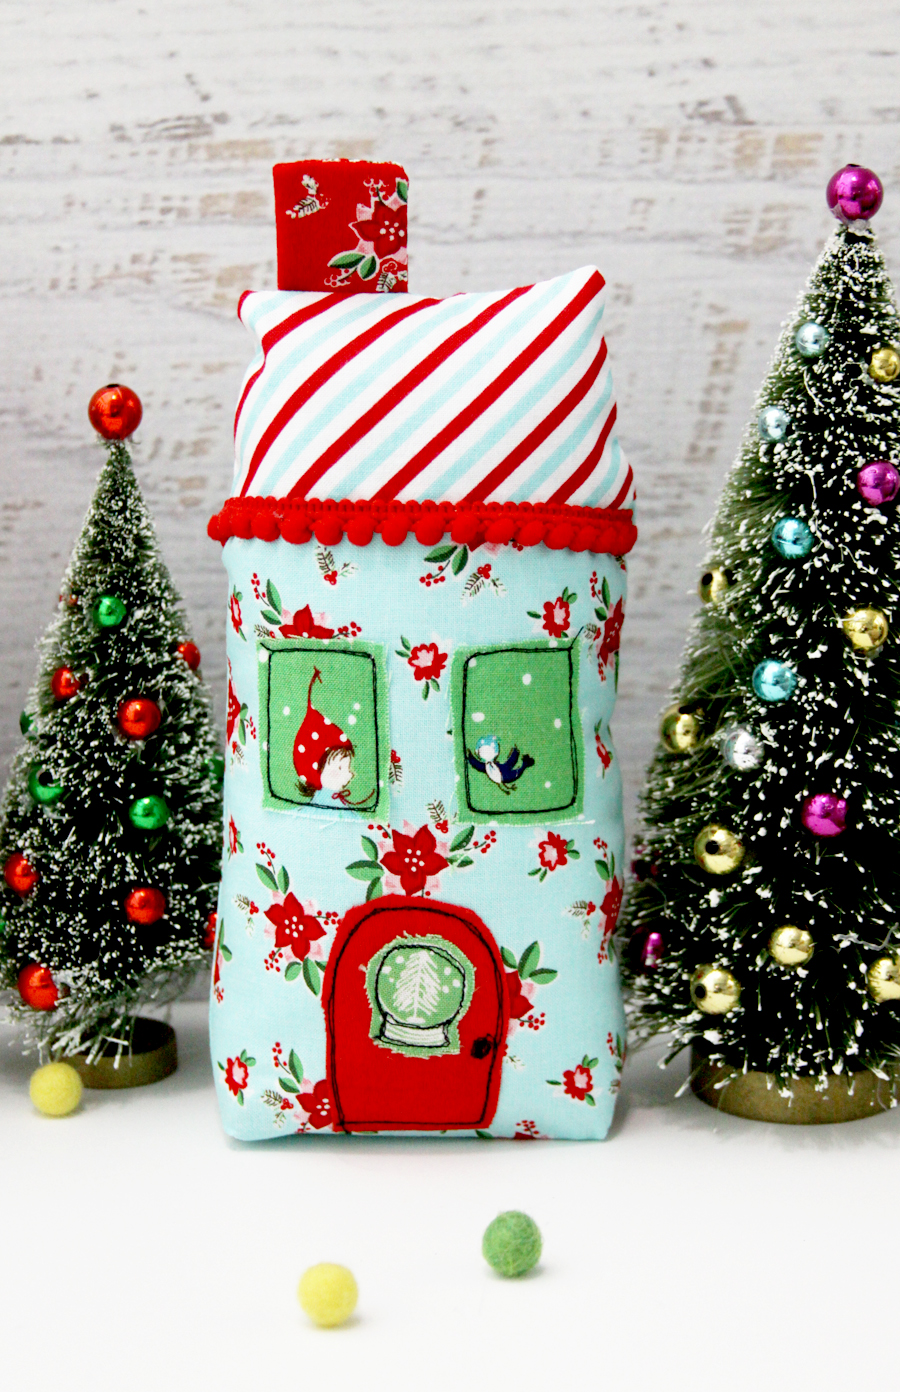
I just love all these little whimsical details.
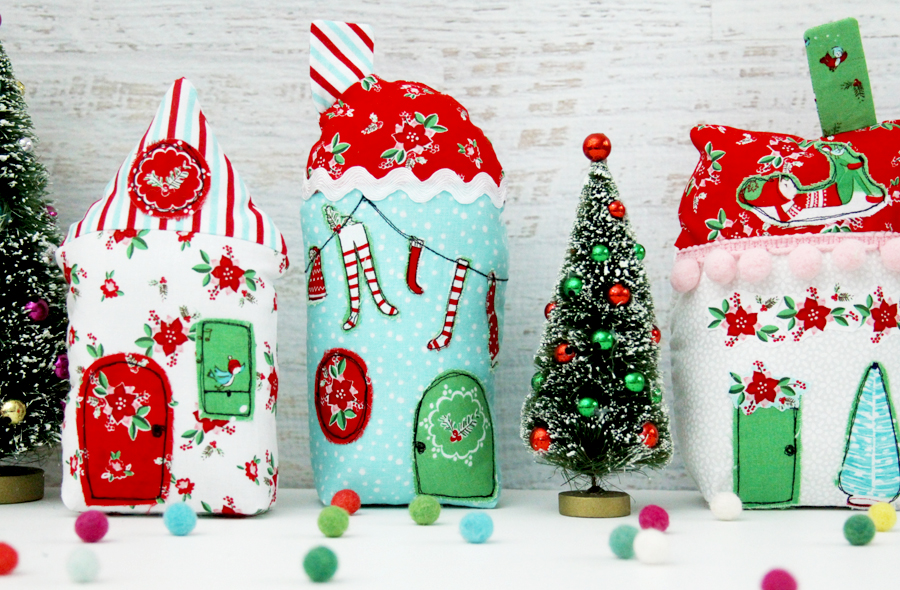
Here’s what you’ll need to make your own: (contains affiliate links)
- Pixie Noel Fabrics – 1/2 – 1 yard of each – depending on how much you want to use for the background and roofs of the houses:
- Riley Blake White and White Daisy
- Heat’n Bond Fusible Webbing
- Heavyweight Fusible Interfacing
- Fiberfil
- Small piece of cardboard for base of each house
- Aurifil Black 50wt Thread
- Fabric Houses, Doors and Windows Patterns
The patterns have a variety of house and roof shapes – feel free to mix and match those up so your houses all look a bit different. Choose doors and windows that have shapes that work with the images you are fussy cutting from the fabrics. It’s fun to plan it all out!
I’ll walk you through one of the houses but they’re all constructed with the same steps. For all the houses, measure up 1″ from the bottom and then start your details like doors and windows.
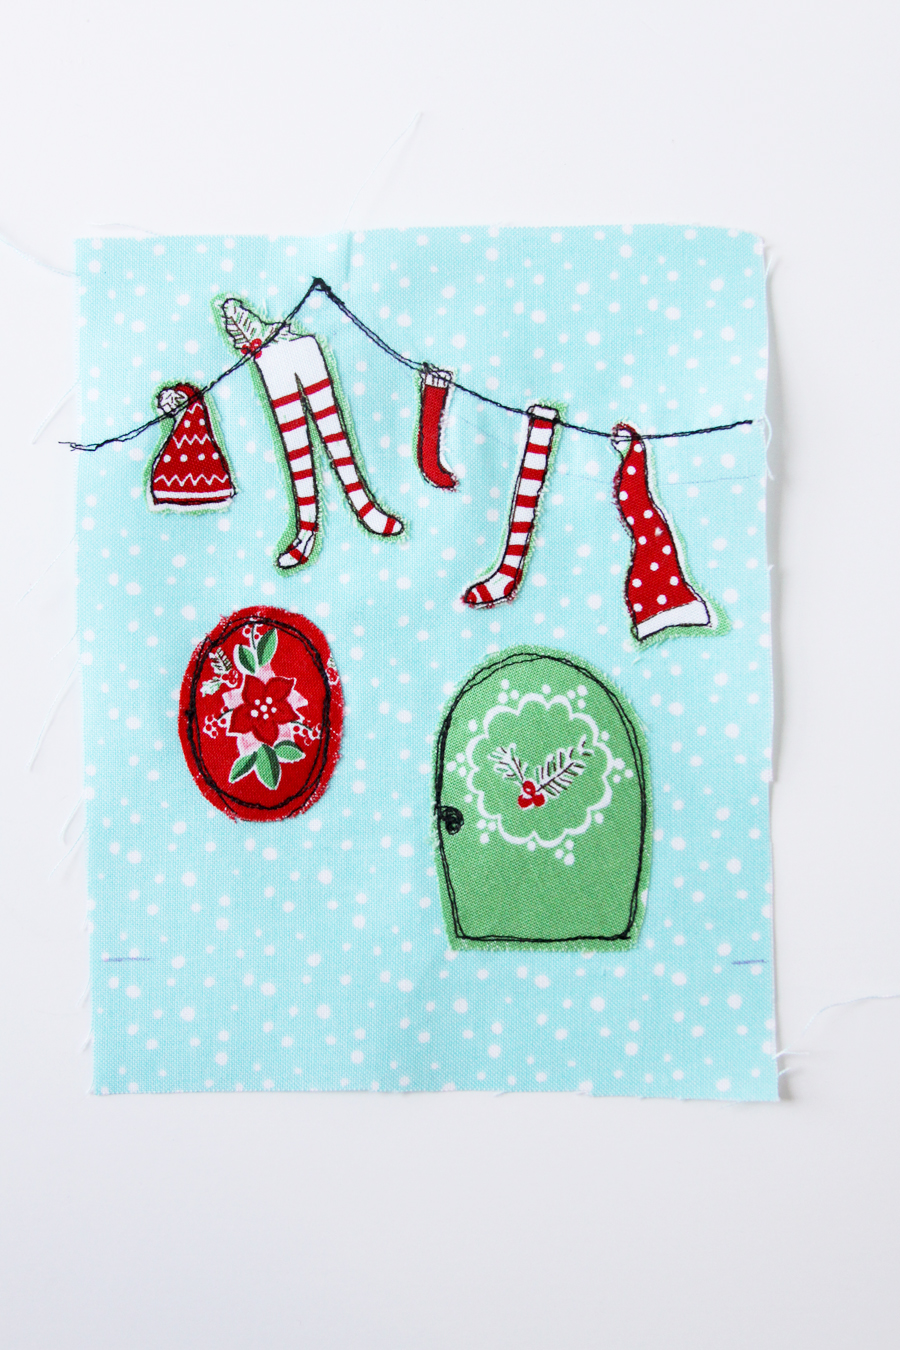
For the little clothes line I drew a line with a disappearing marking pen for the line guide. Cut out socks and hats from the fabric and iron these to the fusible webbing. Trim around the shapes and remove the paper backing. Iron the socks, hats, and door and window to the front of the house.
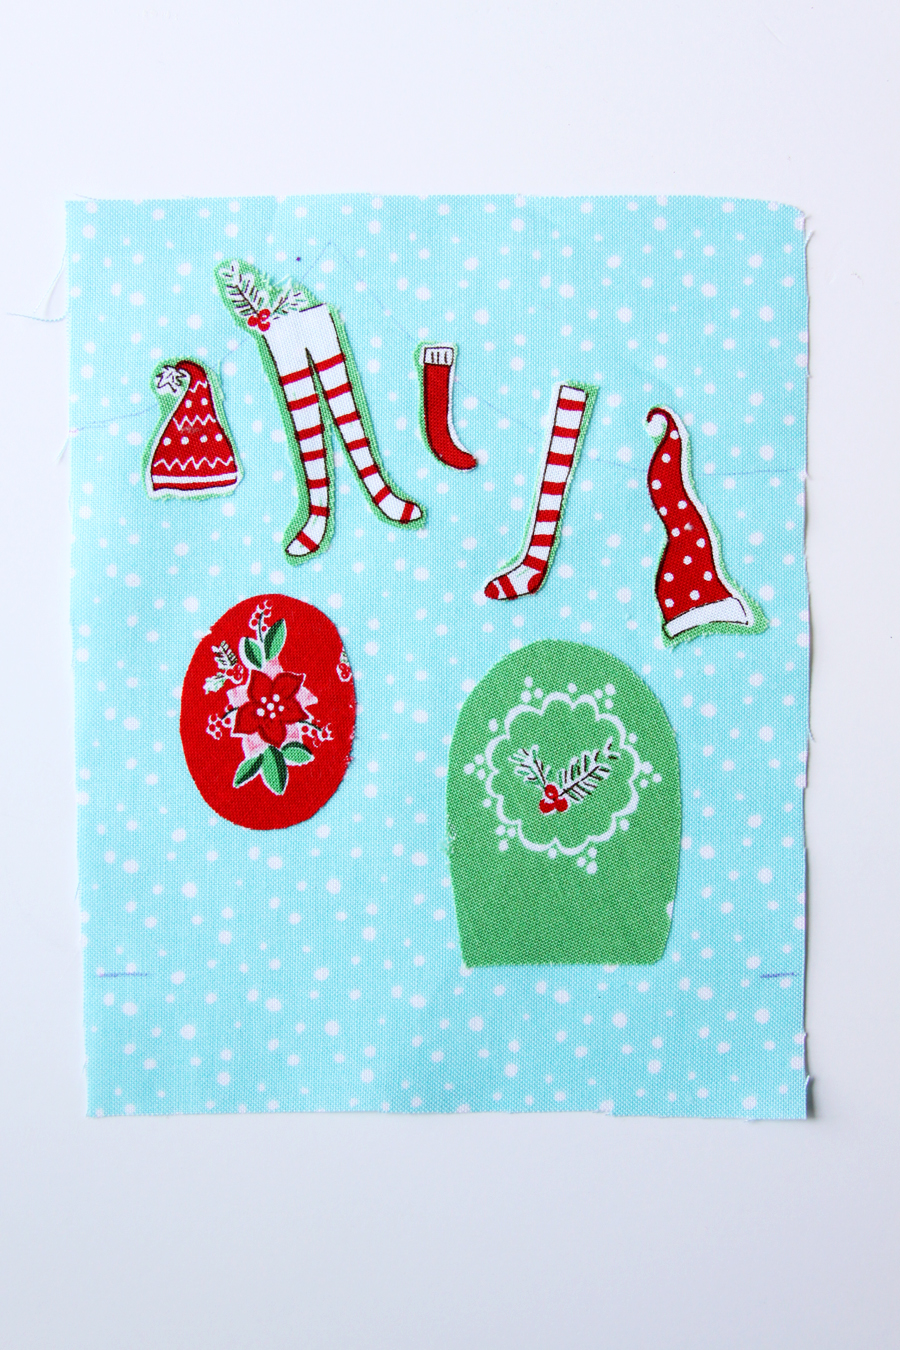
Stitch around everything with the black Aurifil thread two or three times. I like to use a free motion foot and just do a sketched stitch look.
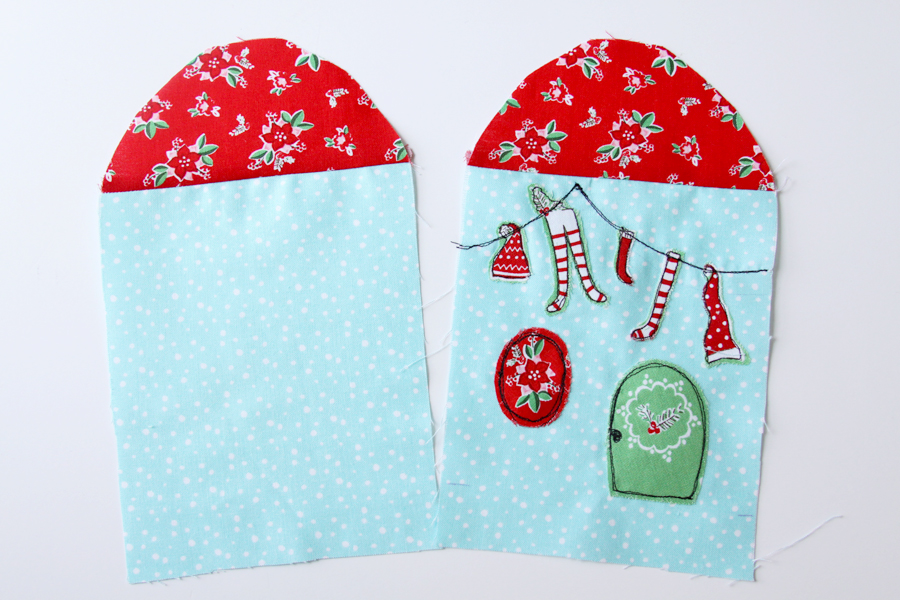
Sew the roof pieces to the front and back of the house pieces. If you want, add in trim to the top of the house before or after your roof is sewn on.
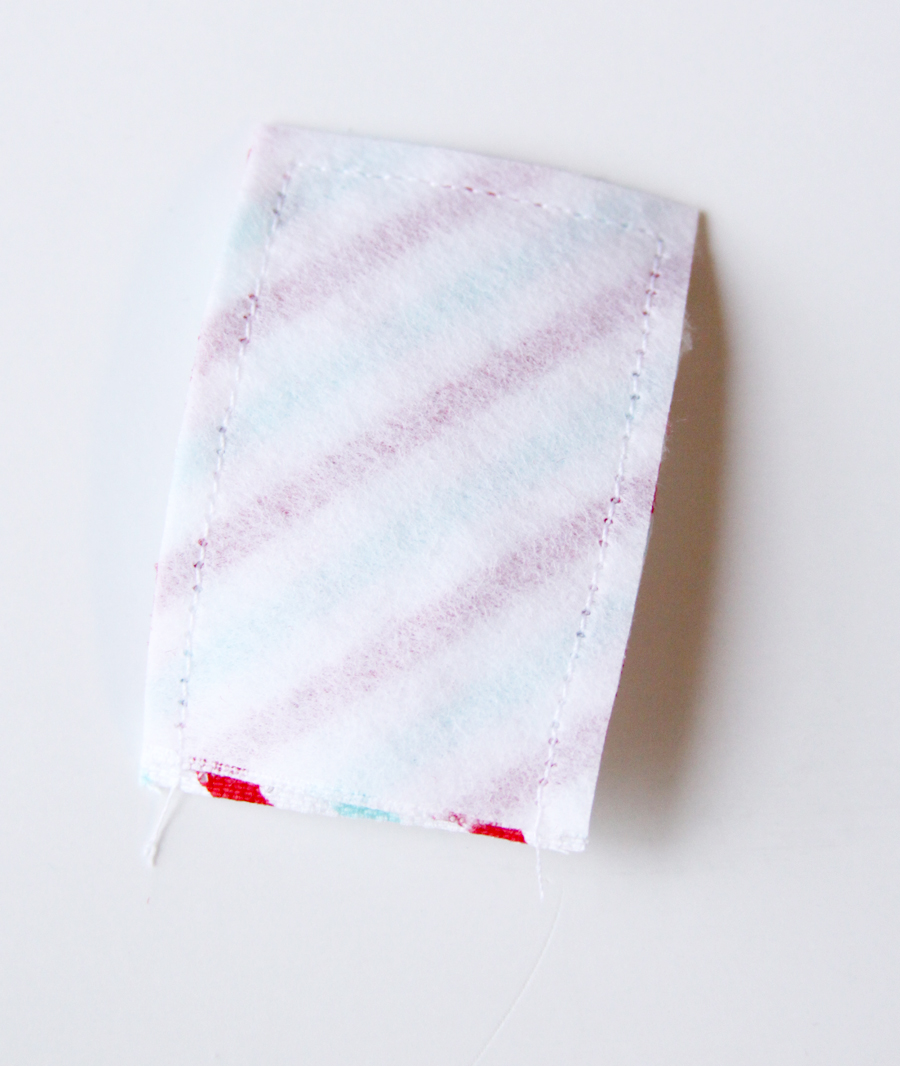
If you are adding a chimney to your roof, cut a piece of heavyweight interfacing and fuse this to one side of the chimney pieces. Sew the pieces together on three sides, leaving the bottom edge open. Turn right side out and press.
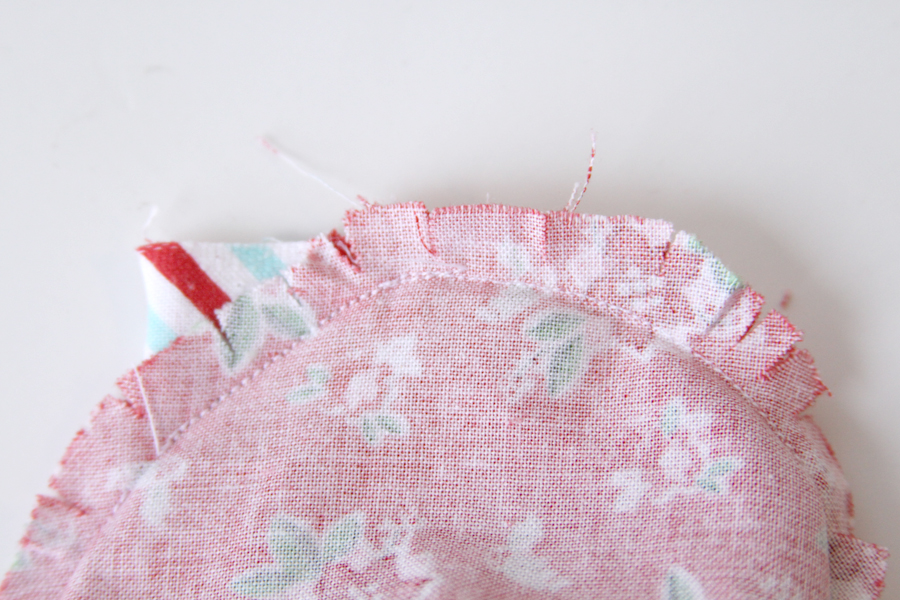
If you’re adding a chimney to a curved or triangle roof, your chimney will need to be perpendicular to the roof edge. So the roof will actually be pointing sideways inside the front and back of the roof pieces as you sew them together. This will allow it to stand up straight when turned right side out. If you’re adding a chimney to a straight roof, just sew it in pointing downwards.
Place the front and back of the house right sides together and sew around the pieces with a 1/4″ seam allowance. Leave an opening in the side of the house for turning right side out. Clip all the curves and pointed edges.
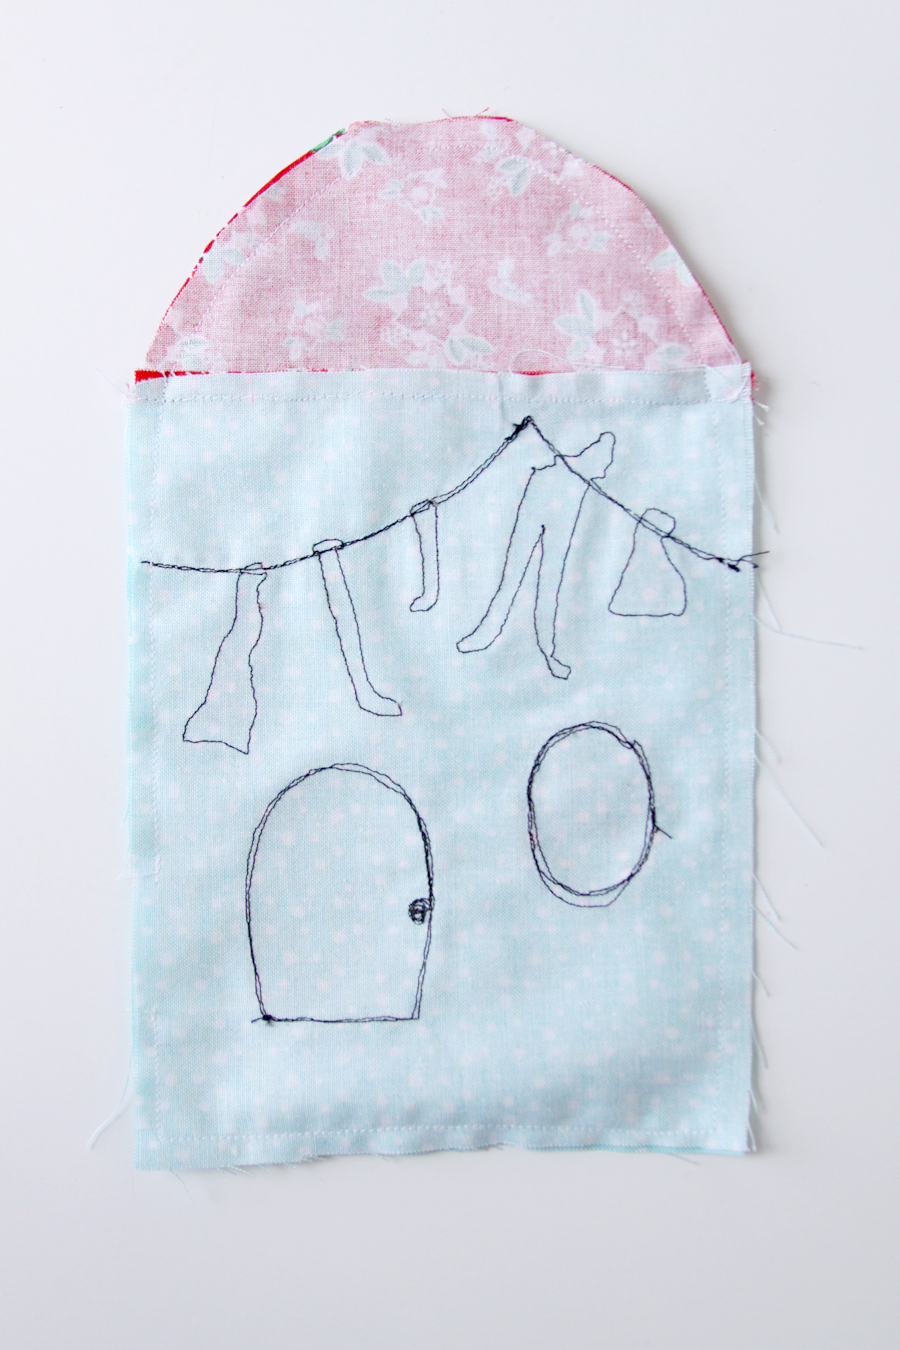
Bring the bottom edge of the house up to match the side edge at the corner to form a point in the bottom corner. Sew a seam across this point 1″ from the pointed end. This will make a box pleat in the bottom of the house and allow the house to stand up straight. Repeat for the other corner of the house.
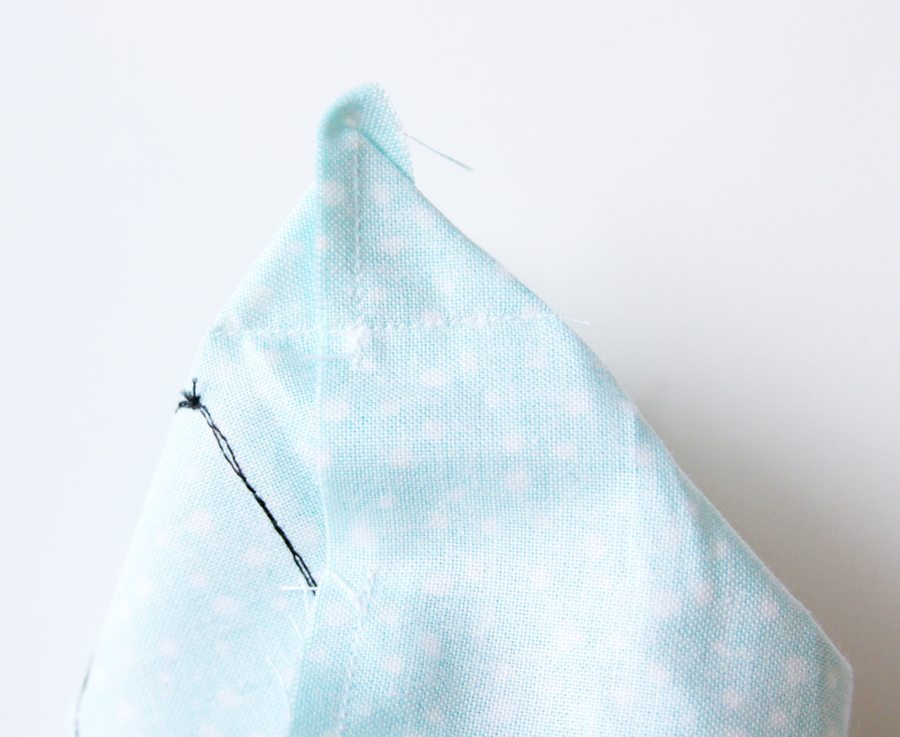
Trim the corner edge off just outside of the seam. Turn the house right side out and press.
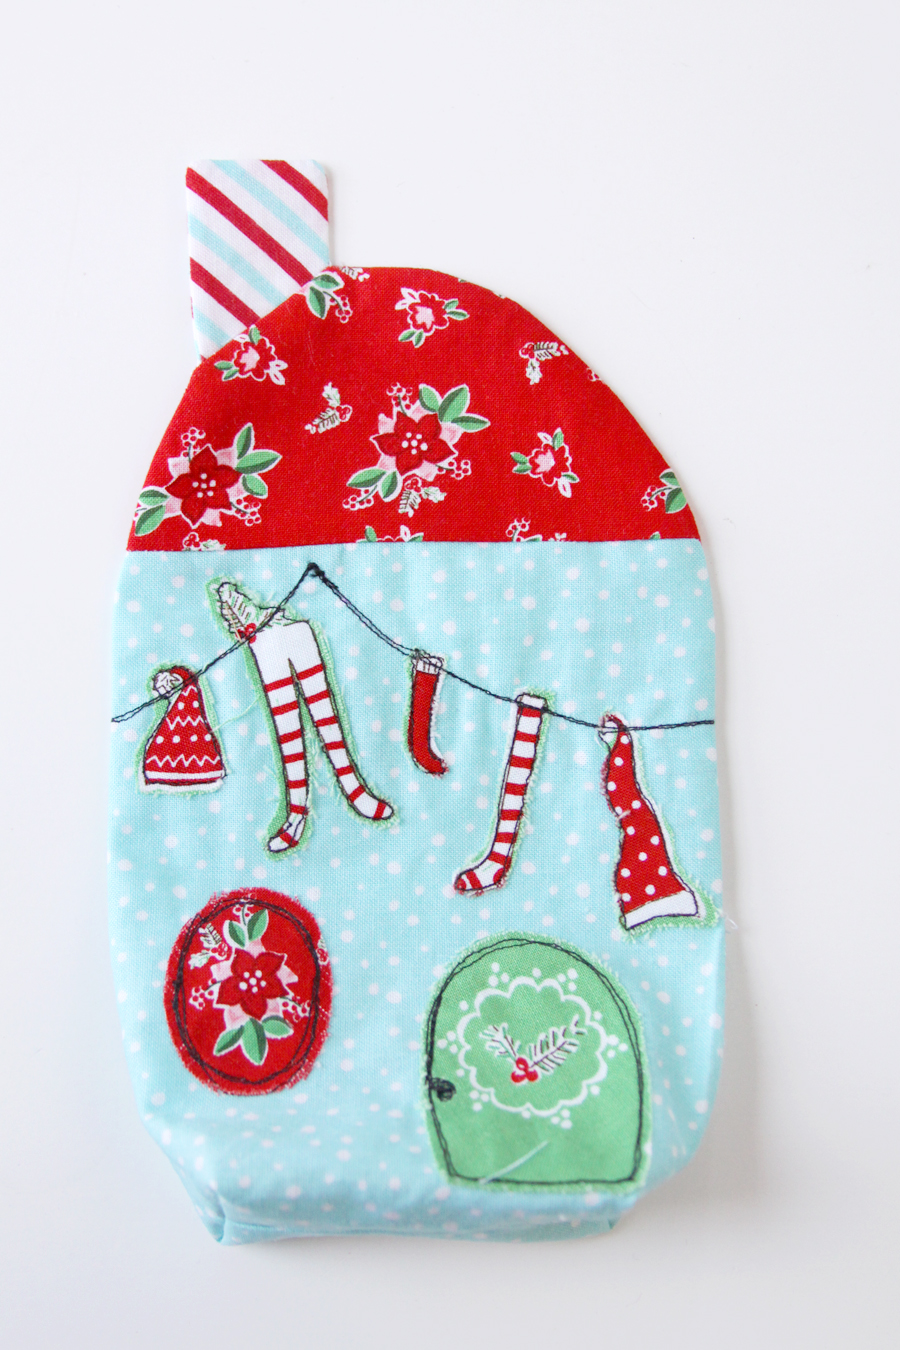
Cut a piece of cardboard the size of the box pleat section on the base of the house. Most of mine were 1 1/2″ x 3″ but you’ll want to double-check yours. Slide the cardboard into the base of the house, then stuff the house with fiberfill. Hand sew the opening closed.
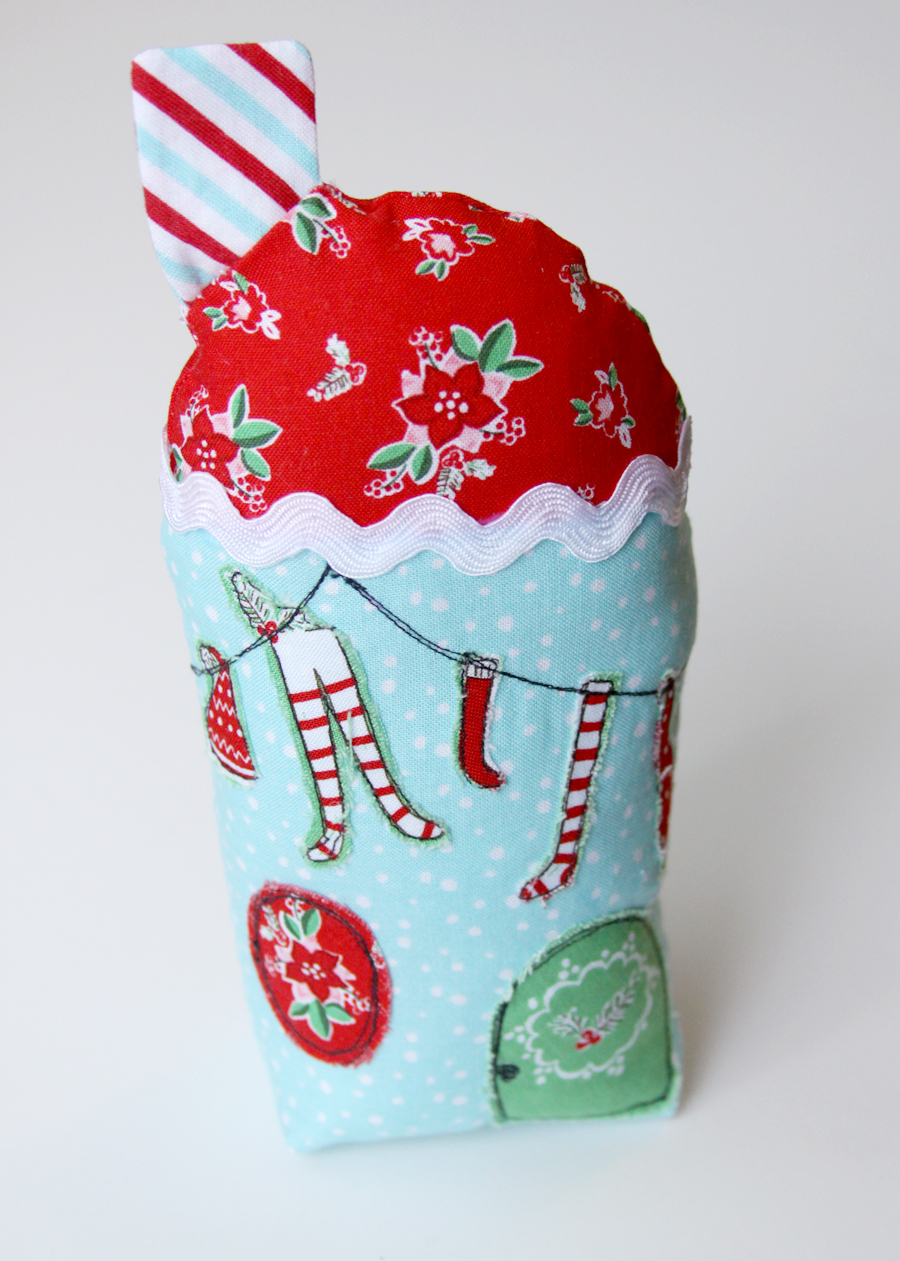
Repeat for all the other houses you’d like to make! Wouldn’t these be so cute lined up along a mantel or shelf?!
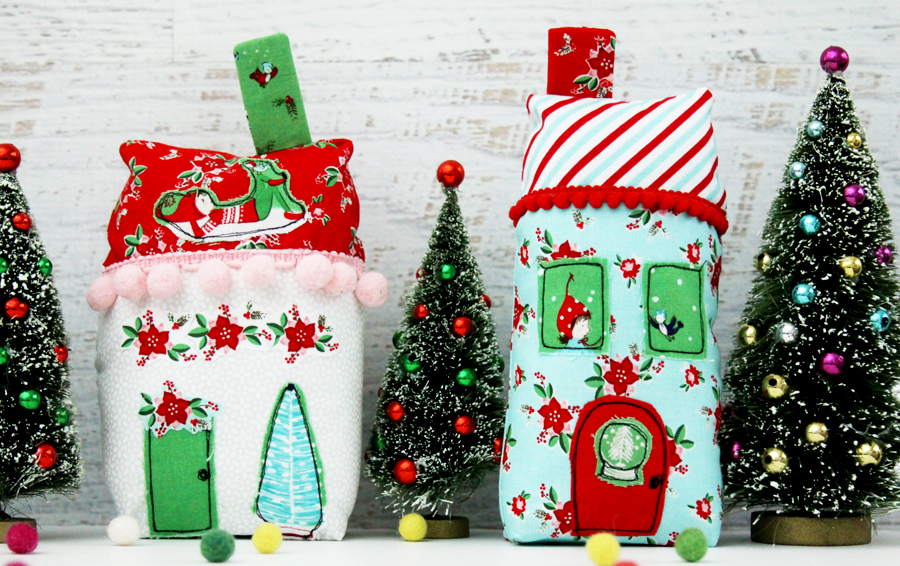

This is so cute for Christmas but it would be fun to use the patterns as a little Valentine’s or Easter village wouldn’t it? I think I might need to make one of those up in cute Spring fabrics in a couple months!
You might also like
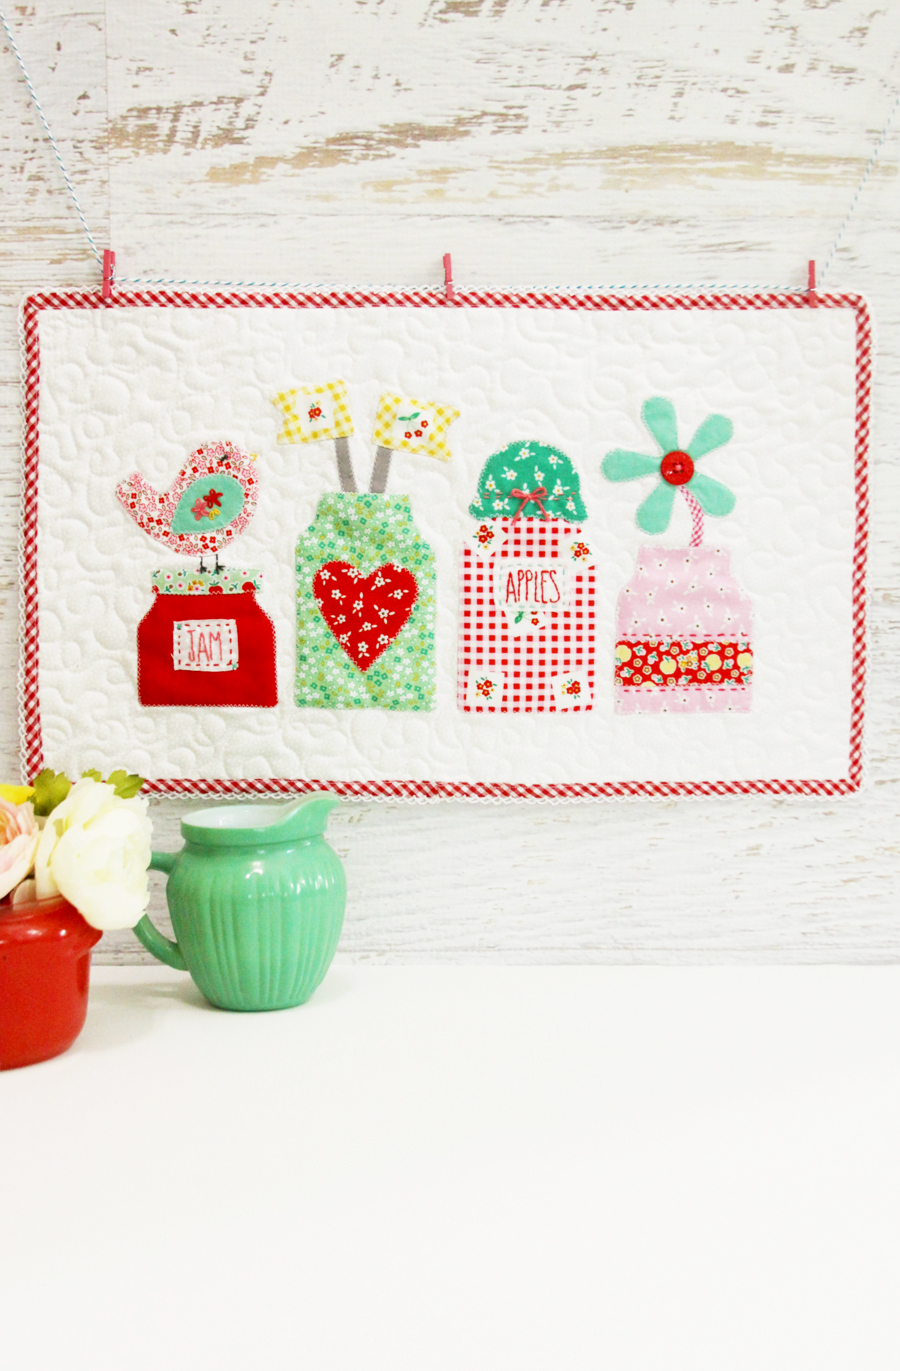
Mason Jars Applique Mini Quilt
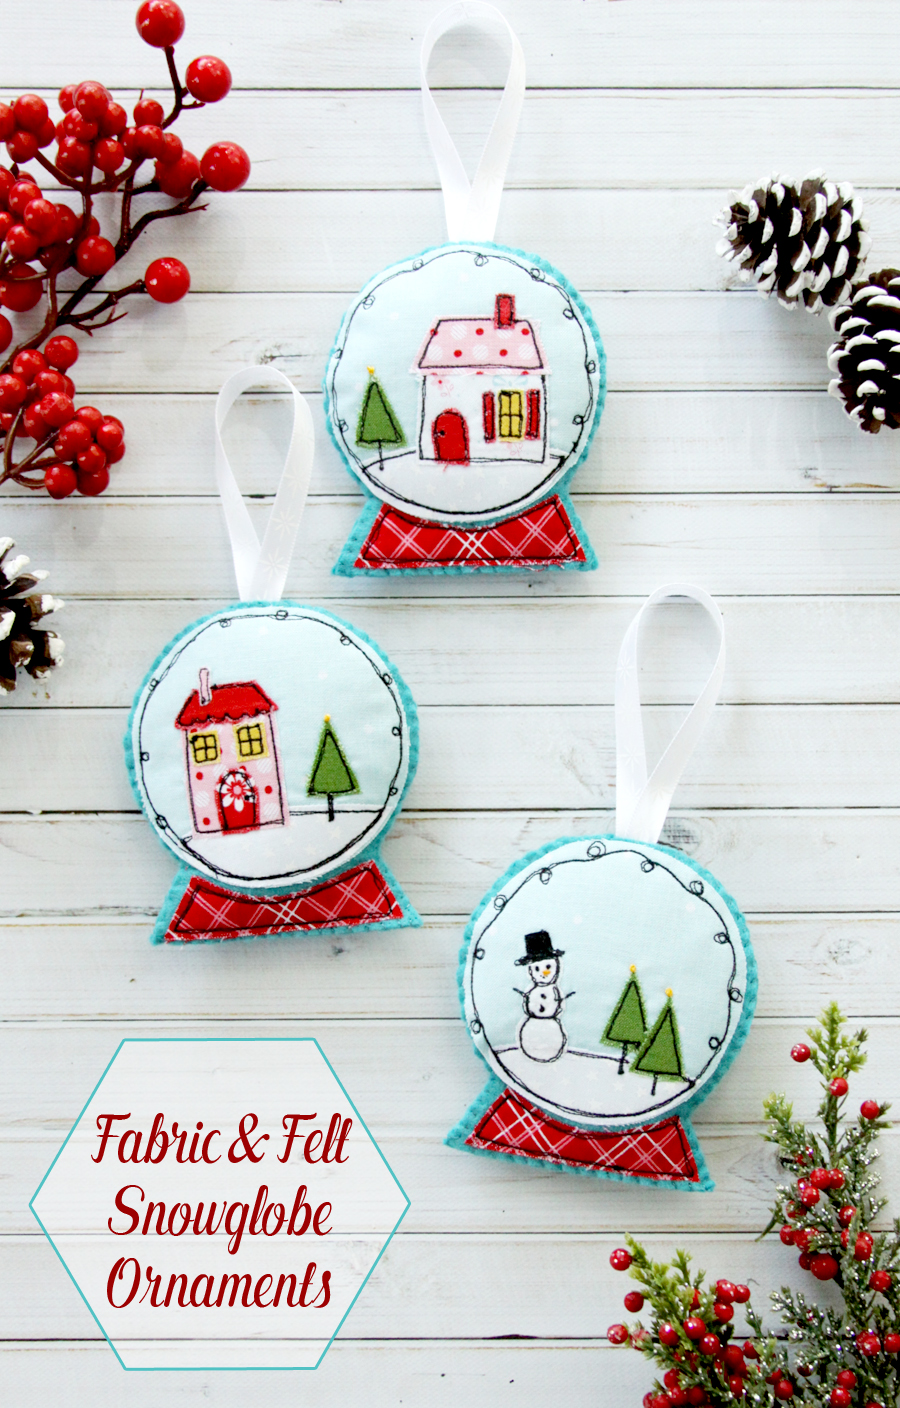
Fabric And Felt Snowglobe Ornaments


Clever lady, these are beautiful. Thank you for sharing.
These little houses are so, so cute!! They immediately reminded me of the Who-ville Village and it brought a smile to my face. Your instructions make it look SO easy. Thanks for sharing! Merry Christmas :-)
Do you have the instructions in one package that can be printed out?
Hi Beverly,
Sorry I don’t! Just the house and window patterns are in printables.
Is there a pattern or sizes provided for the house sides and roof pieces? I didn’t see any link. These adorable houses would be the perfect holiday decor in my home that has 4 curious cats. They couldn’t break fabric village pieces when investigating! And I like the idea of making the village from Valentine or Easter fabrics too. I love fussy cutting and am going to make a Village as soon as I find out about house and roof sizes!
Hi! Yes, the link for the patterns is just below the materials list. If you click the link it should open in a new window. Thanks!
Thanks Bev for pointing out the link. For some crazy reason I thought that was the heading for the tutorial. Well, it’s Christmas week and I guess that’s my excuse! These little village houses are just the cutest!
Thank you so much for such an adorable project!! I have only just discovered your blog & am SO HAPPY that I have!! I have a difficulty with tremors in my hands so although I adore embroidery, my hands now fight with me when I attempt it, however …. I can still use my sewing machine, and a Very little bit of needlework … so your projects are just fabulous for my abilities! I adore each of your projects so I can see myself being very happily busy …. Not only will I be able to use your patterns, but I’ll also be able to adapt them and send regular cute gifts to my grandchildren for their play & rooms .. as well as be able to plan lovely personal gifts for my friends. I’ve been concentrating on organizing my sewing//craft room since 2017 Christmas, and have almost finished, so then I’m all organized & ready to start!! I can’t wait to start on some of your projects as I LOVE the combination of sewing machine & the hand needlework … I always feel that even a little handwork makes items seem so much more personal .. & your gorgeous projects have just as much as I’m able to do with my hand difficulties, so thank you SO much! :)