Do you get in crafting grooves? I do.
I have been all about Embroidery lately. I can sit down to stitch and have something cute and fun in an hour or two. Seems perfect for summer and all the craziness that goes on.
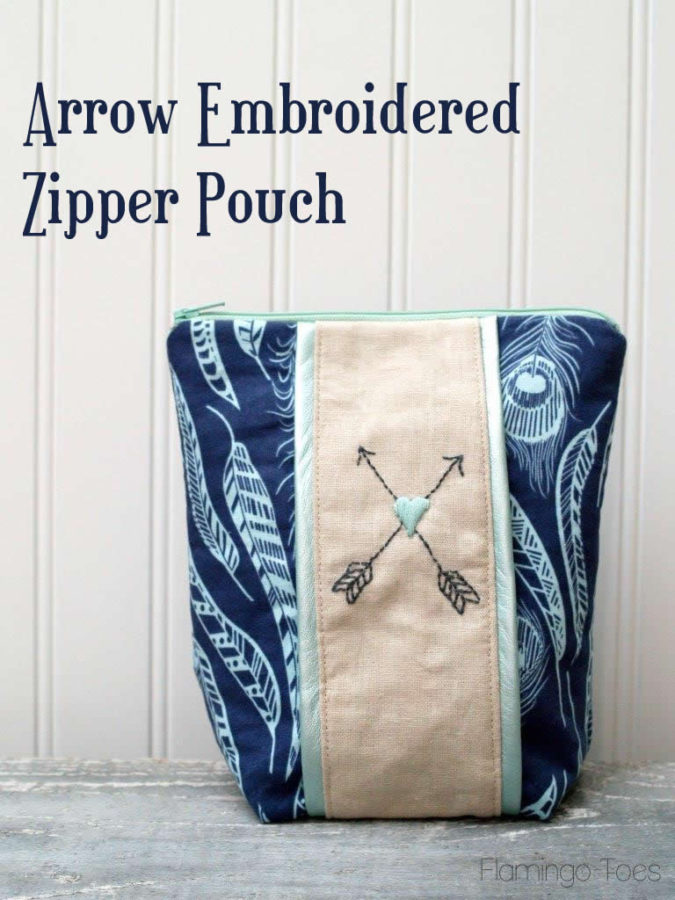
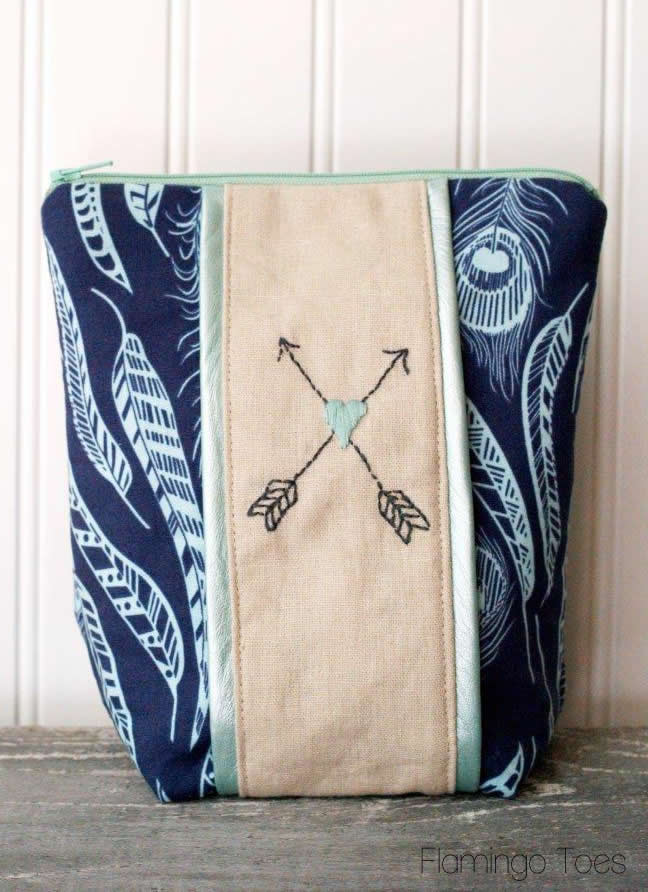
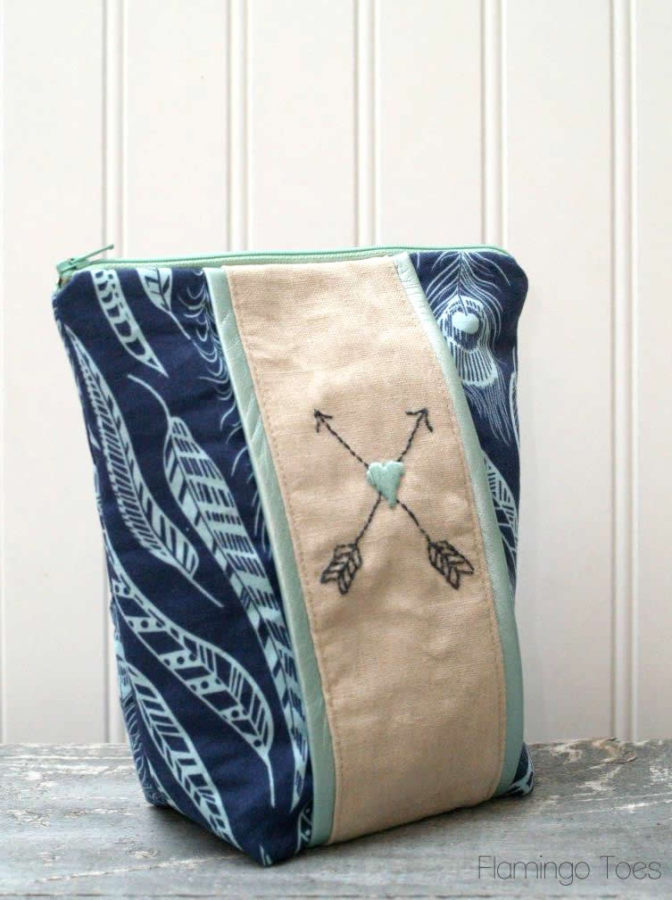
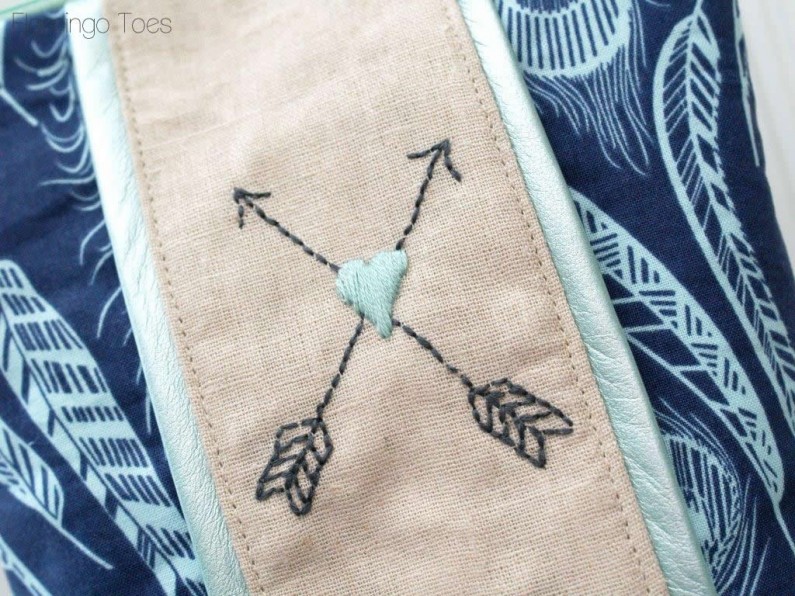
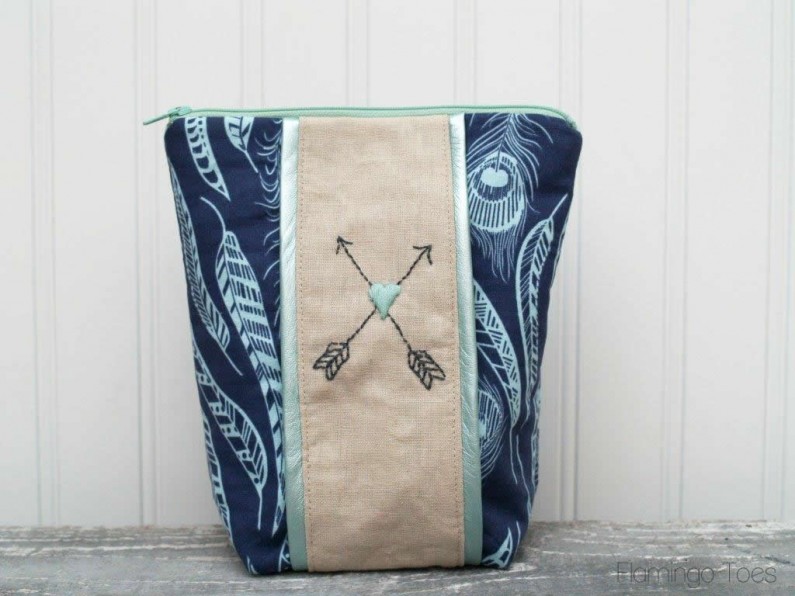
Today I’m sharing this sweet little Arrow & Heart Embroidered Zipper Pouch! It’s nice and tall so you can stash lots of things inside, and the embroidery is a super simple little pattern but it adds such a cute touch.
The Arrow and Heart use beginner stitches, but if you don’t like to do embroidery, you could easily change out the center panel and just use a cute contrasting fabric!
This project uses a fat quarter for the outside, and one for the inside, along with a small piece of fabric for the center detail. I also used some leather pieces for the detailing on the center panel.
So let’s get started!
You’ll need:
- 1 fat quarter for outside fabric
- 1 fat quarter for lining
- fabric for center panel: 3″ x 10 1/2″
- leather pieces for center panel edging (can substitute fabric or piping here): 2 pieces – 1 1/2″ by 10 1/2″
- fusible fleece: 2 pieces 8″ x 10 1/2″
- embroidery floss for arrow stitching
- Arrow & Heart Embroidery Pattern
- 7″ zipper
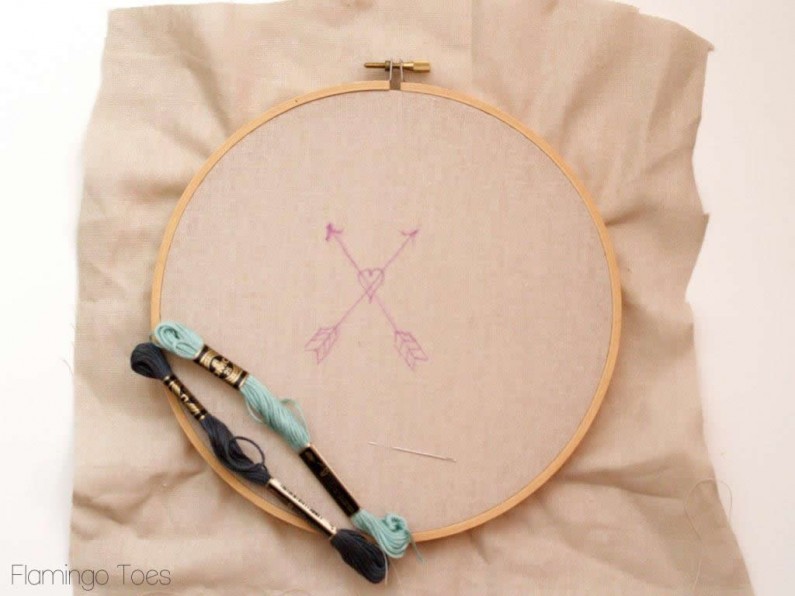
To begin, start with your embroidery. Trace the pattern onto your center panel fabric with a disappearing ink pen.
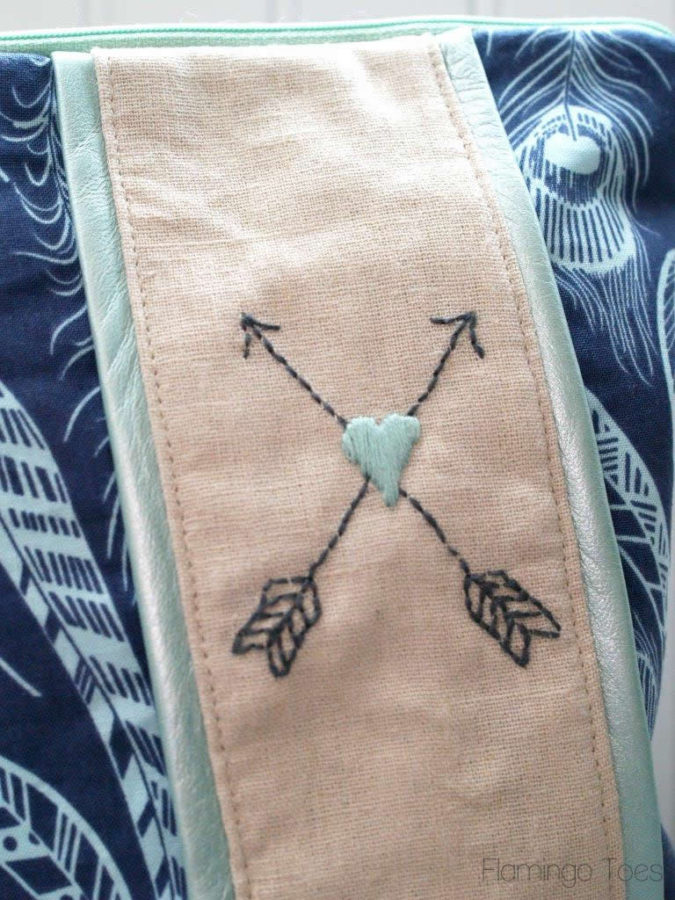
Embroider the arrows with a back stitch and the center heart with a satin stitch. If you need help with the embroidery, I have tutorials for those stitches on my How to Do That: Embroidery Page.
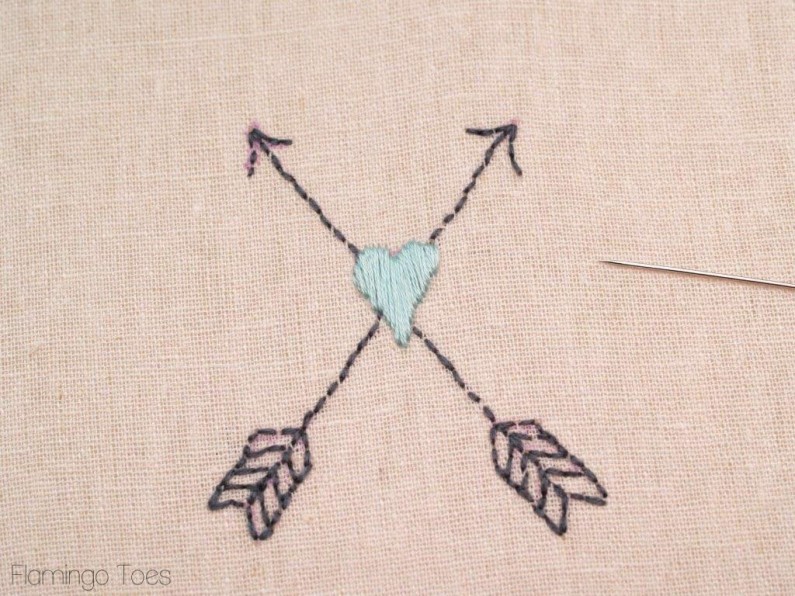
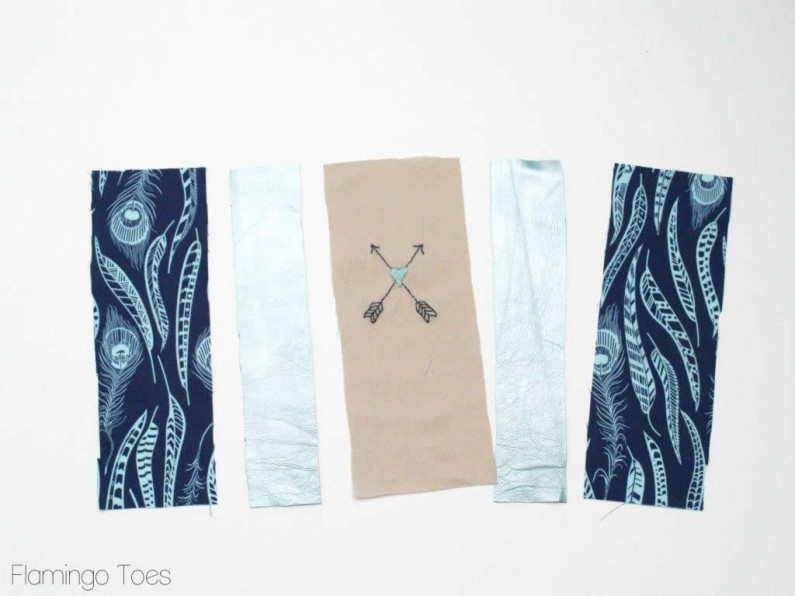
If you haven’t already, cut out the center panel piece, 3″ x 10 1/2″. Cut out the leather pieces if you’re adding those in, and cut out 2 pieces 3″ x 10 1/2″.
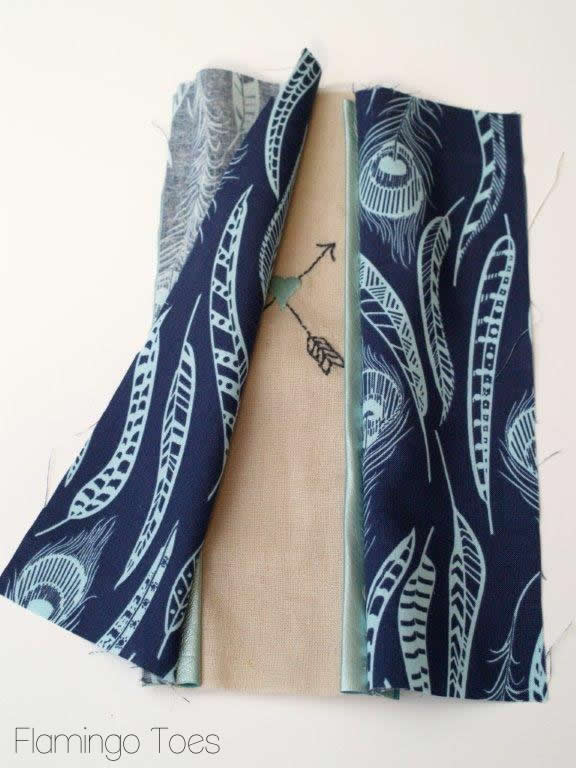
Fold each leather piece in half long ways. Line up the raw edges with each side of the center panel and sew the pieces to the center panel with a 1/4″ seam allowance.
Sew the two main fabric pieces to each side of the center panel, right sides together, with a 1/2″ seam allowance.
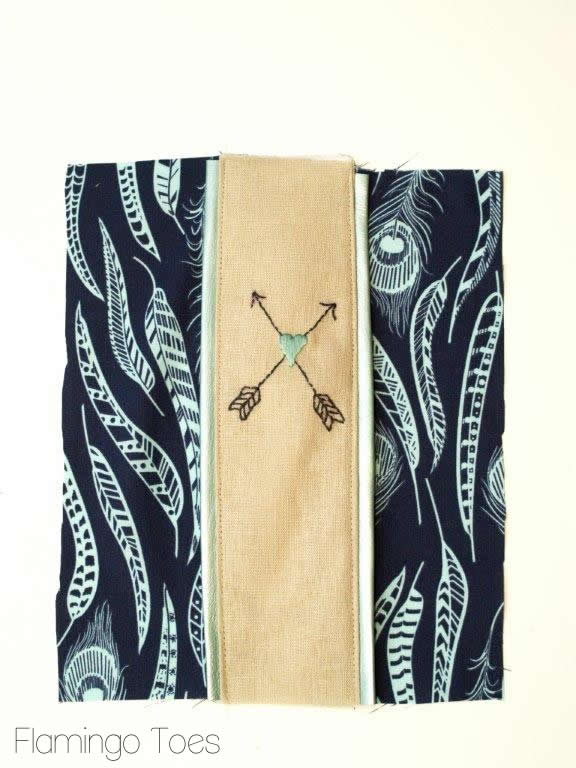
Press the seams towards the center, so the leather pieces face away from the center. (Make sure you don’t iron over the leather. Press from the back side.) Topstitch the center panel just inside the seams.
I just love the color that mint green leather adds!
Cut another panel from your main fabric: 8″ x 10 1/2″. This will be your back piece. Iron fusible fleece to the wrong sides of the front and back panels.
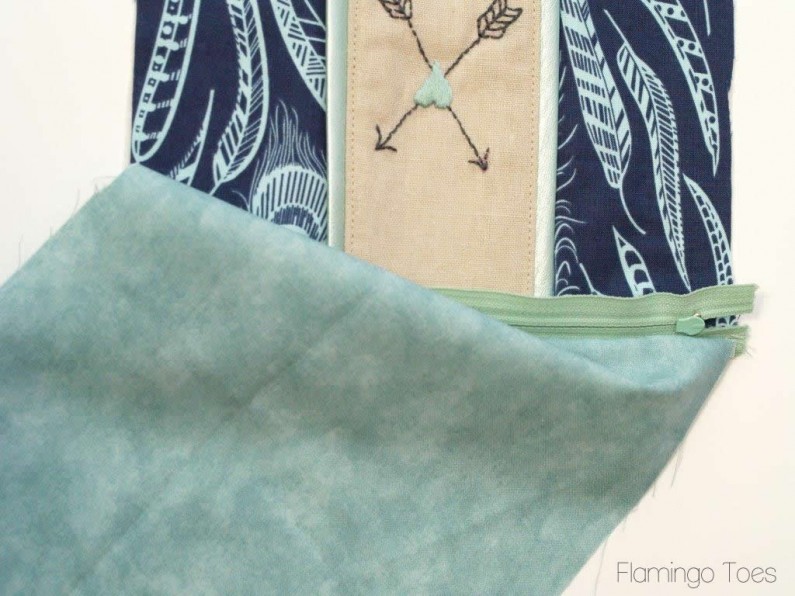
Now we’re going to add in the zipper. Line up the zipper edge with the top edge of the front, top panel. The zipper should face down. Place the lining piece right sides together with the front panel and sew the top edges together with a 1/4″ seam allowance. You’ll want to use a zipper foot too – and you will probably want to move the zipper out of the as you sew.
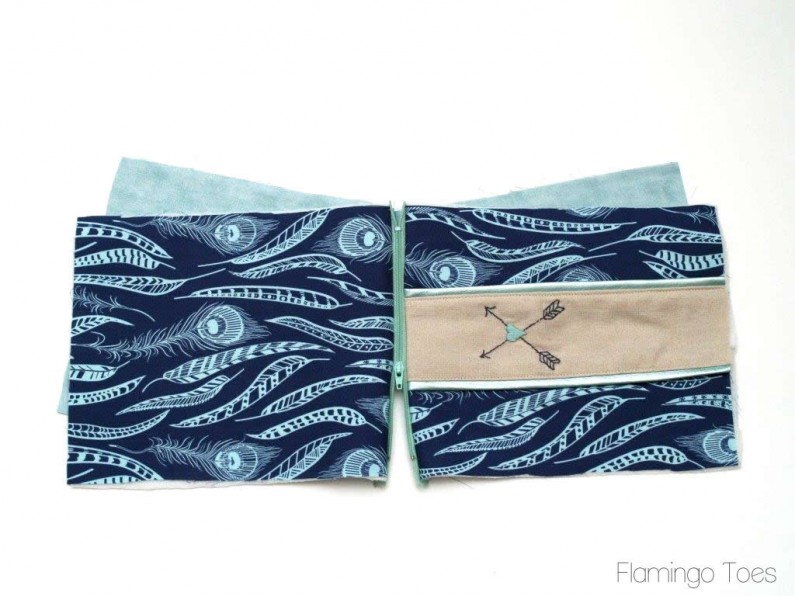
Repeat for the other side with the zipper. Lay out the back panel and lining and line up the top of the panels with the other side of the zipper. Sew.
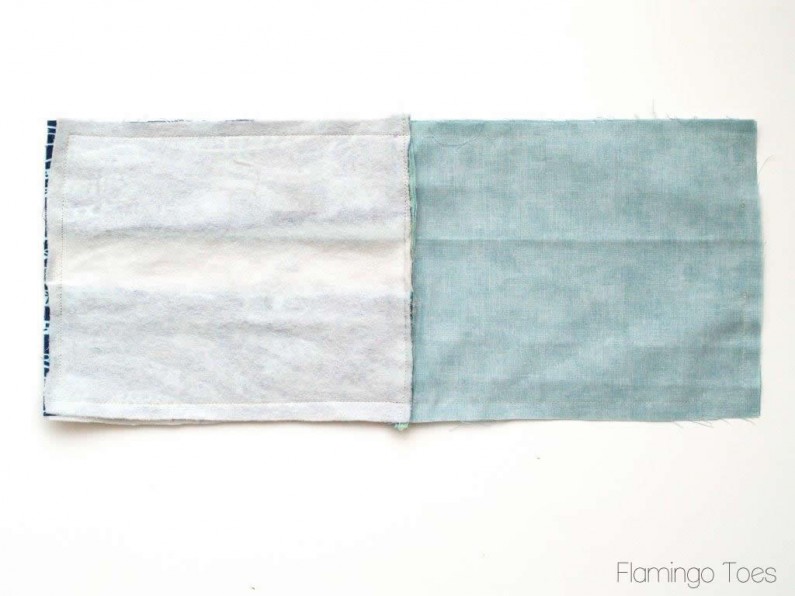
Lay the front and back main panels together and the lining panels together. Sew all the way around the lining and main panels, but leave a 3″ opening at the bottom of the lining for turning.
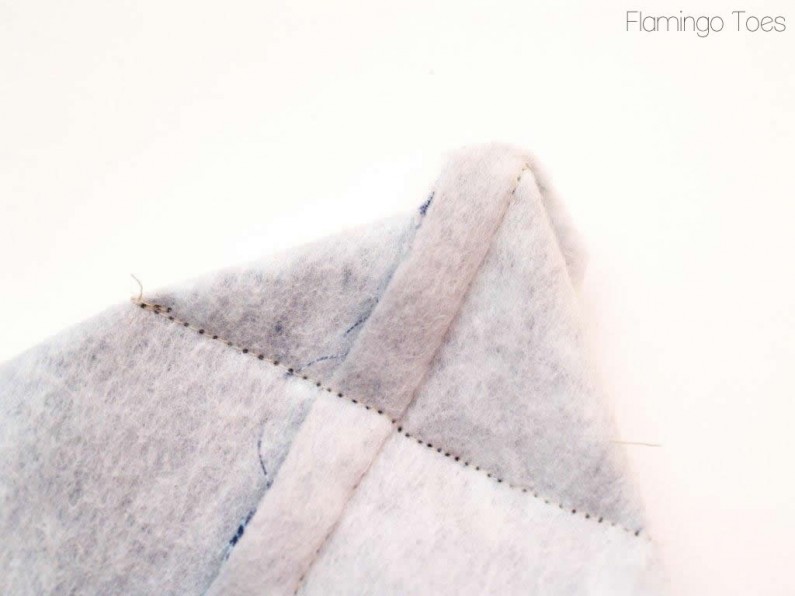
To make the box corners for the base, make a triangle with the corner by making the corner a point with the side seam and bottom seam lining up. Sew across the corner 2″ down from the point. Do this for both corners on the main fabric and both of the lining fabric.
Trim off all the corners. Turn the pouch right side out and sew the opening in the lining closed. Tuck the lining into the pouch and press everything so it doesn’t look like you just wadded it into a ball to turn it right side out.
Yayy! Now you have a super cute new zipper pouch for all your makeup, or even your secret candy stash.
Isn’t it fun? I think it would make a great gift too!
I hope you like it!
Do you get in crafting grooves? I’d love to hear what you love making right now!
Linking up at Sunday Scoop, Today’s Creative Blog, Met Monday, Tutorials & Tips Tuesday, Quilt Story, Shabby Creek Cottage, My Repurposed Life, 504 Main, and the other fabulous parties on the party page – make sure you check them out!




Hey Bev,
This is so adorable!
I love the feather fabric, and the leather edging is beautiful!
I love to embroider, too. :)
Cheers,
Dorothee
SO super cute, Bev! I love the leather details. I love your embroidery work. :)
Super cute!! I love the embroidery work!! Love it!!