
I have such a fun treat for you today! I have teamed up with some of my favorite blogging friends to bring you Five Fabulous Jewelry Tutorials! These projects are great for gifts, yourself, whatever!
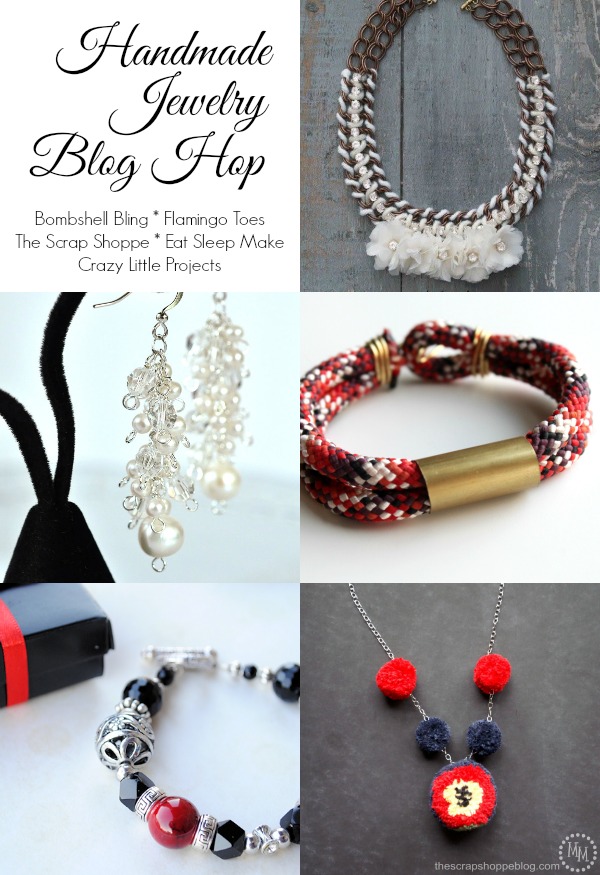
Aren’t they all amazing?? You can check out the other tutorials at these fun blogs:
Bombshell Bling, eat.sleep.MAKE., Crazy Little Projects, and The Scrap Shoppe.
But before you run off, let’s check out the tutorial I’m bringing you!
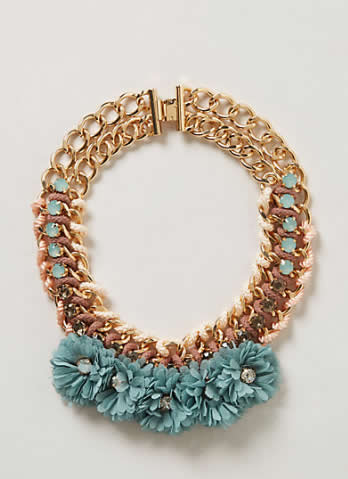
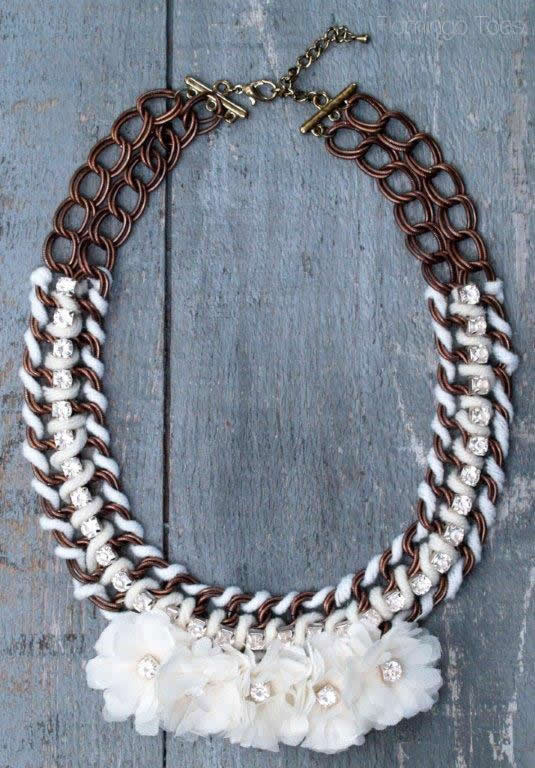
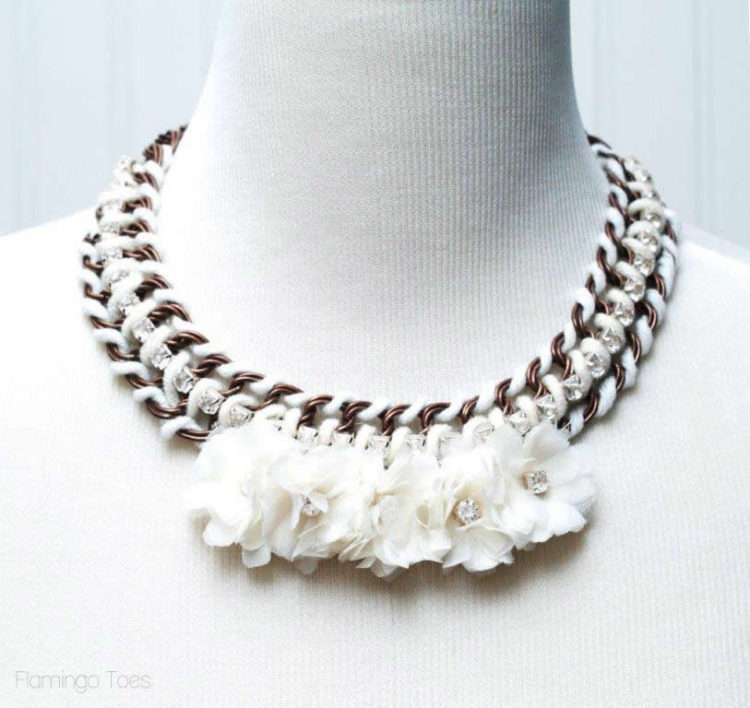
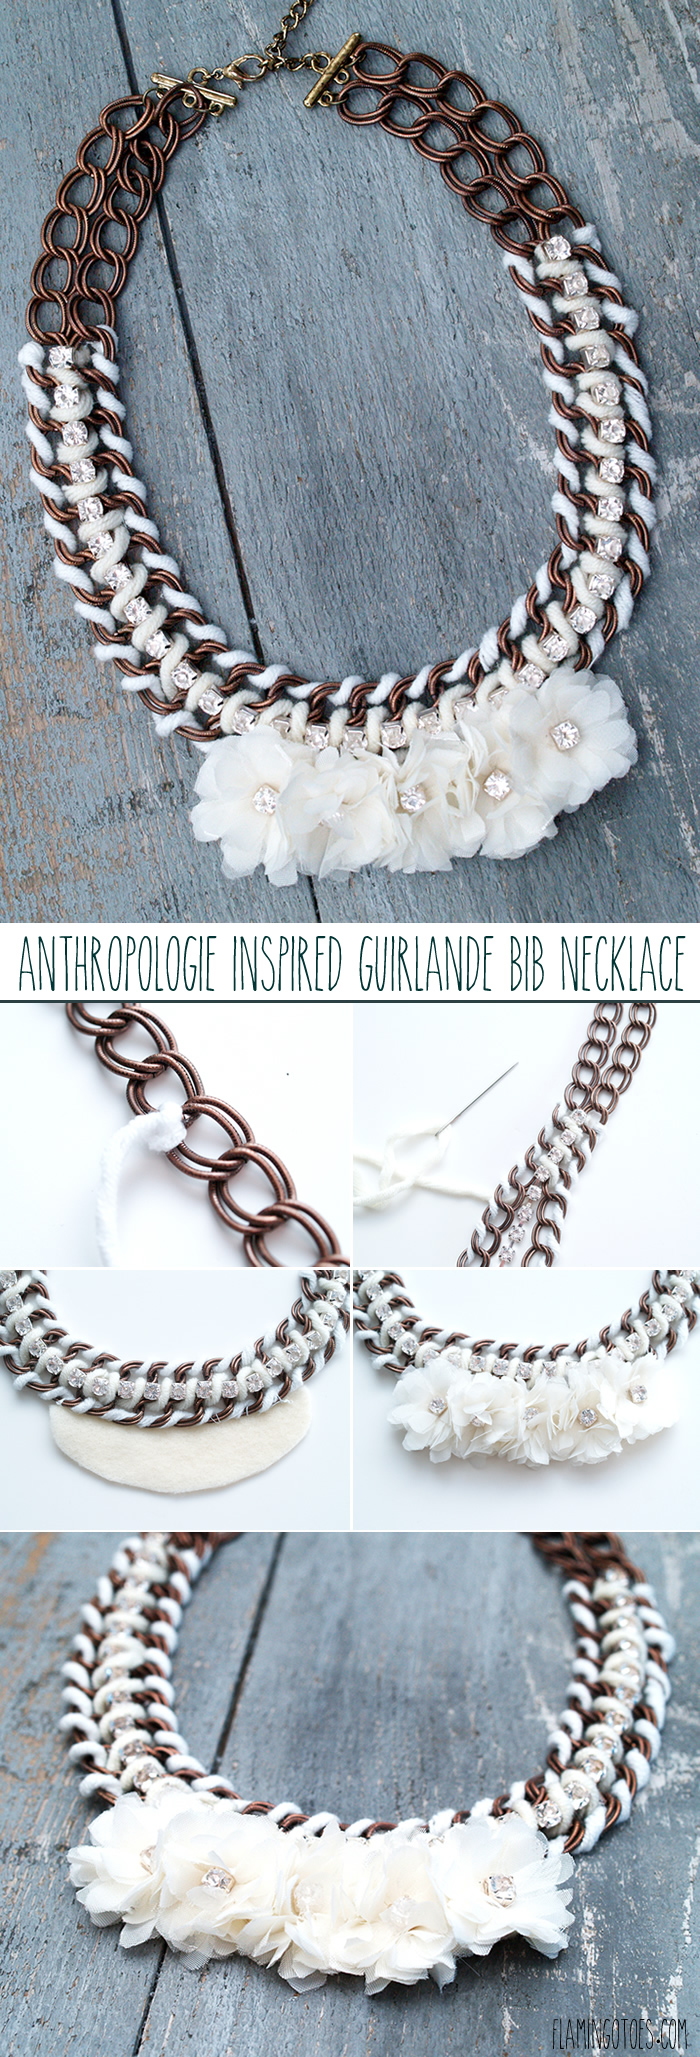
It has been a while since I’ve made an Anthro knockoff and I just couldn’t resist this gorgeous necklace! It’s the Anthropologie Guirlande Bib Necklace – here is my version.
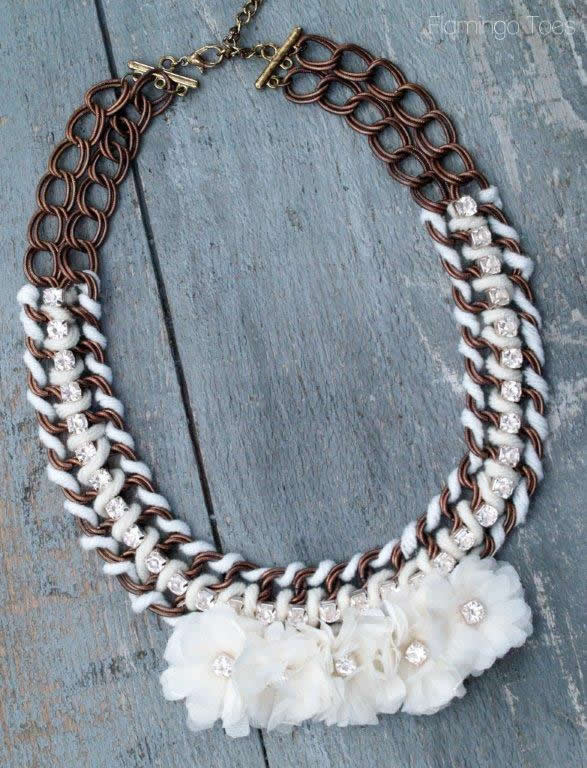
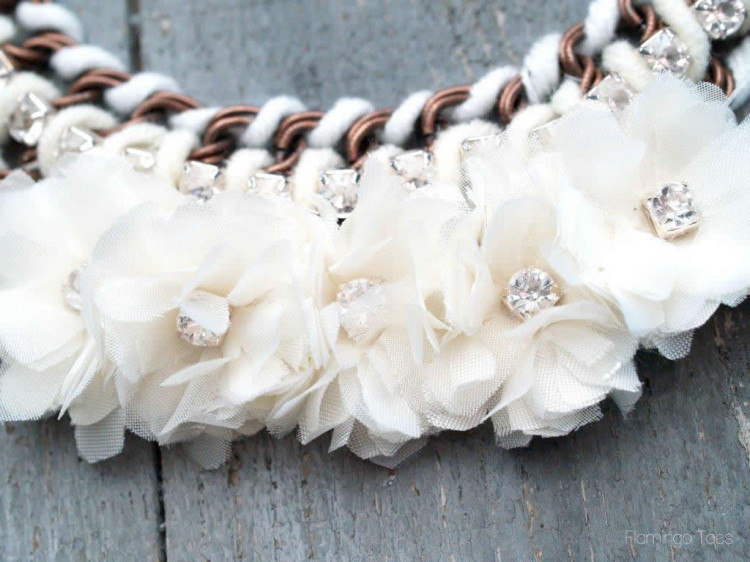
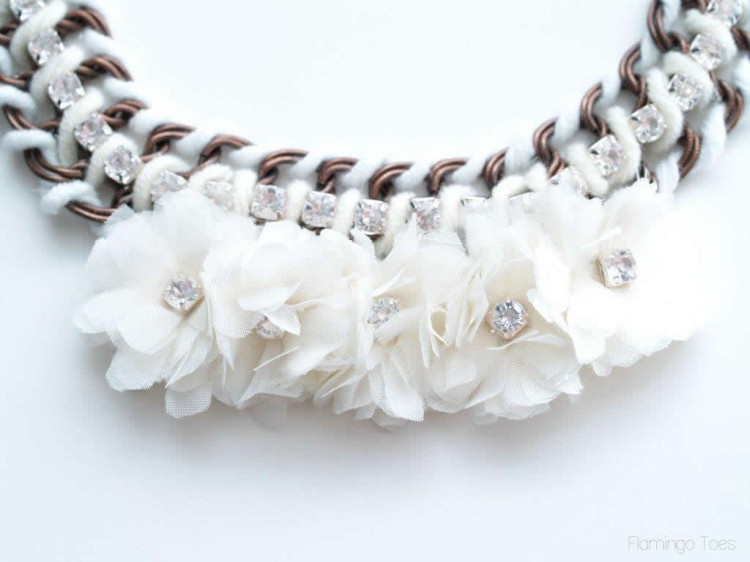
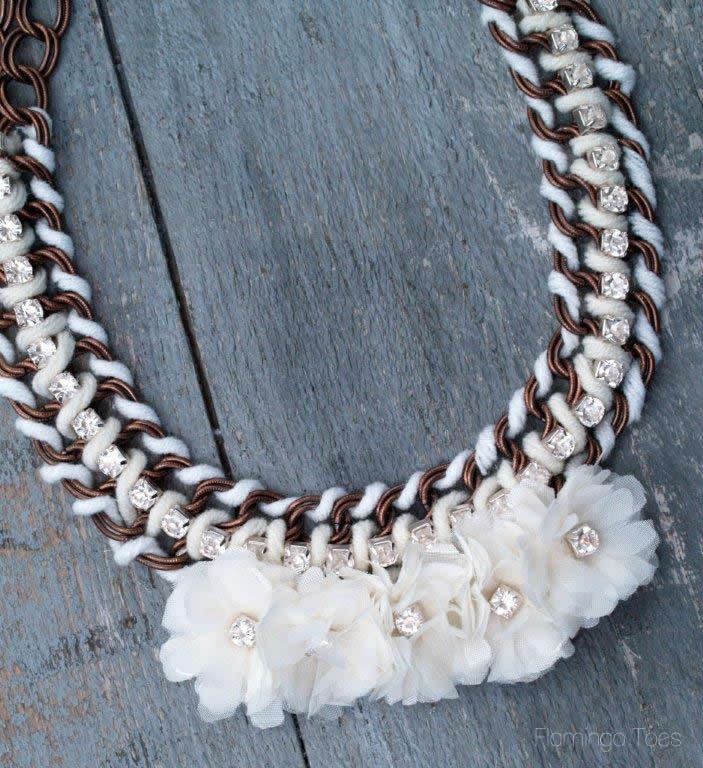
It is a chunky chain necklace, all dressed up with rhinestones and pretty tiny little chiffon flowers.
Here’s the Anthropologie version:
This is a really fun one to make too. You can use all sorts of colors of fabric or yarn, though I kept mine neutral so it would go with lots of outfits.
Here’s your materials list:
- two 18″ lengths of largish chain – (you’ll want chain that lays fairly flat)
- two colors of cording or yarn – about 2 yards of one and 1 yard of the contrast
- large rhinestone strand – about 14″
- two-three ring connector closures (with lobster clasp on one end – or add one yourself)
- 4 small jump rings
- chiffon for flowers
- felt (to match your flowers
- yarn needle (optional)
- e-6000 glue
- needle and thread
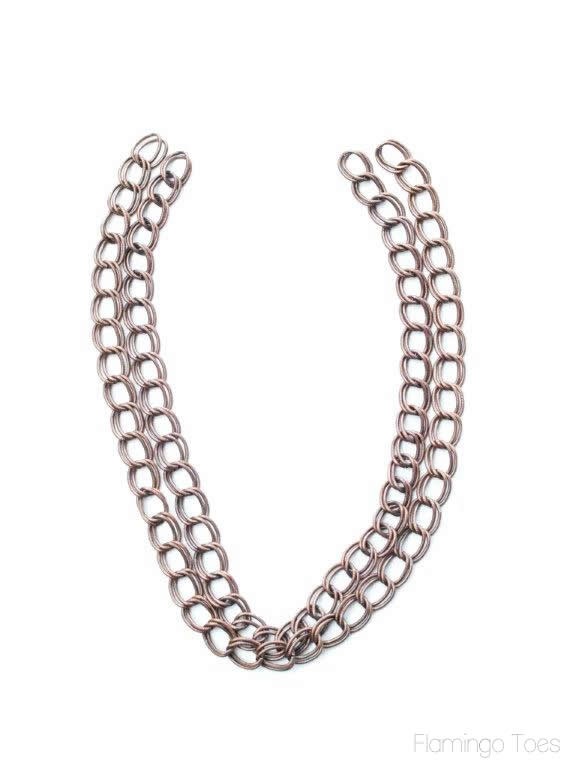
Start by laying your necklace chains into a curved shape like it would be when you wear it. Lay the pieces flat so that one is inside the other. Remove any links you need from the inner chain, so that the end pieces of chain line up with they are curved.
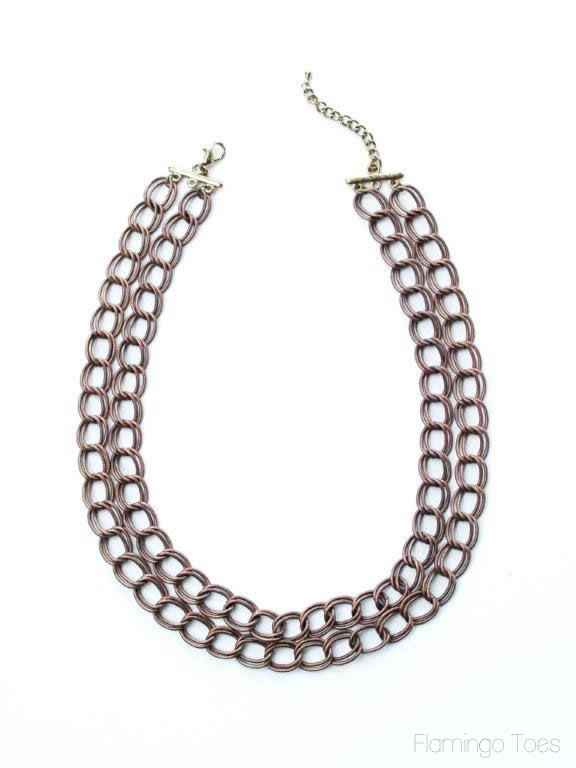
Next, add one end of each of your chain pieces to the two outer rings of the three ring connector. (you can use a two ring connector, but the rings need to be far enough apart so that the chains don’t overlap). Connect the chains to the connector with your small jump rings. Repeat for the other connector piece, making sure that your chain is laying flat and not twisted.
Cut a yard length of your first piece of cording or yarn. I used this soft yarn that had a chenille feel to it. Measure down about 3″ on the inner chain and tie the yarn to a chain link, twisting the knot so that it is on the back of the chain. Trim the end off so that the knot is small and not noticeable. Add a dab of E-6000 to the knot to keep it in place.
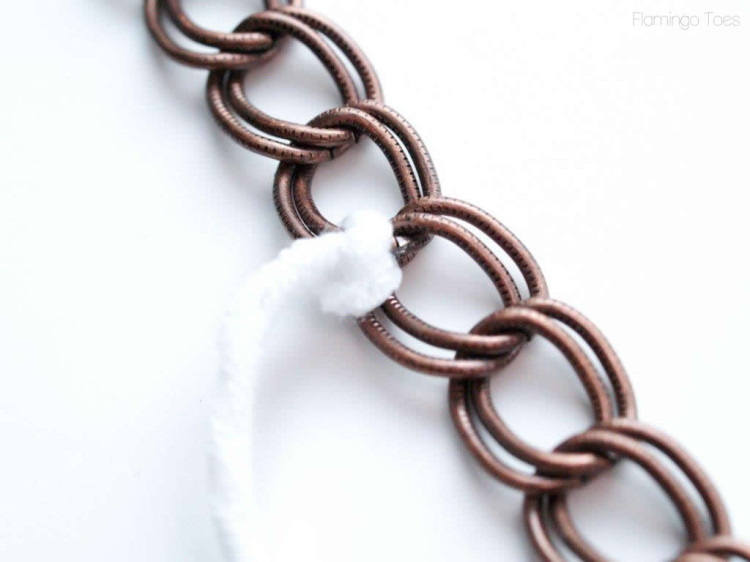
Thread the other end of the cording/yarn through a yarn needle. Begin threading the yarn through the inner links on the chain. Stop when you are 3″ from the other end and tie off and knot the yarn as you did at the beginning.
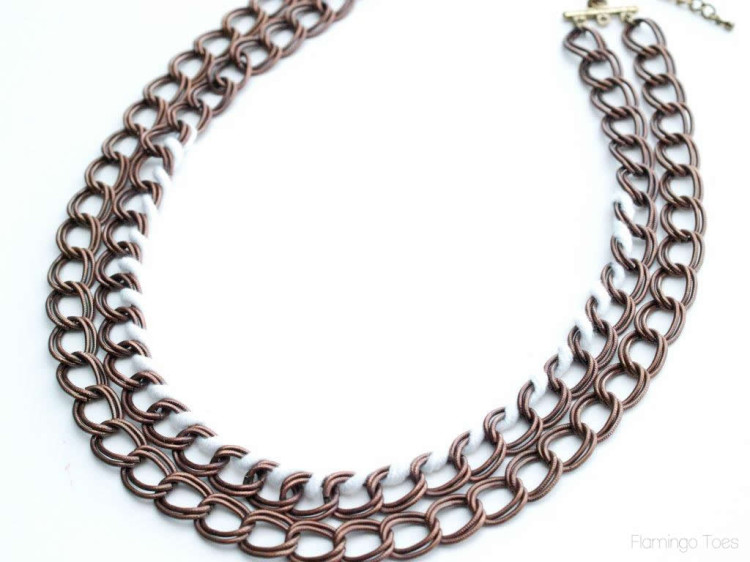
Repeat this with the other chain, threading the cording/yarn through the outer links on the outside chain.
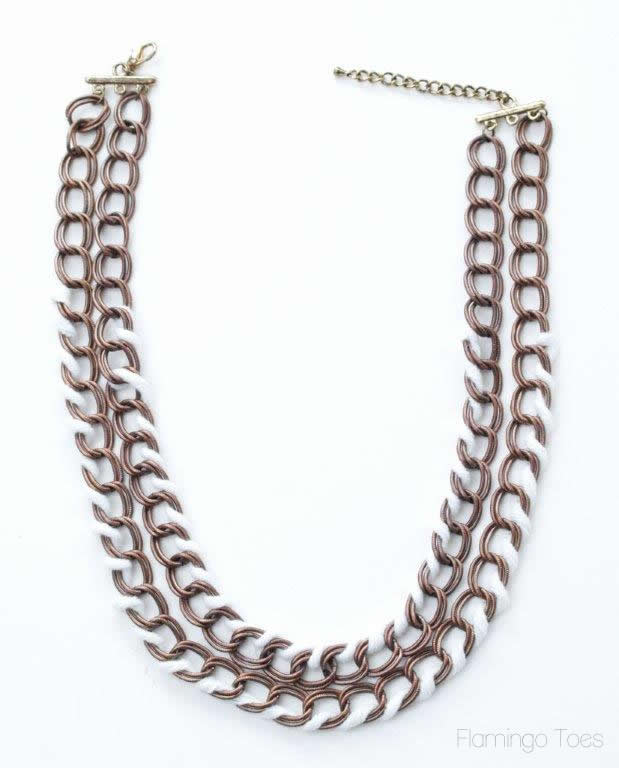
Cut a length of your contrast cording for the center. You’ll also need about 12″ of your large rhinestones, but I recommend cutting it later so you can trim it to the exact length you’ll need.
Knot the cording 3″ down on one side, tying the two chains together in the center. Make sure the knot is in the back of the necklace. Finish it with glue like you did the others.
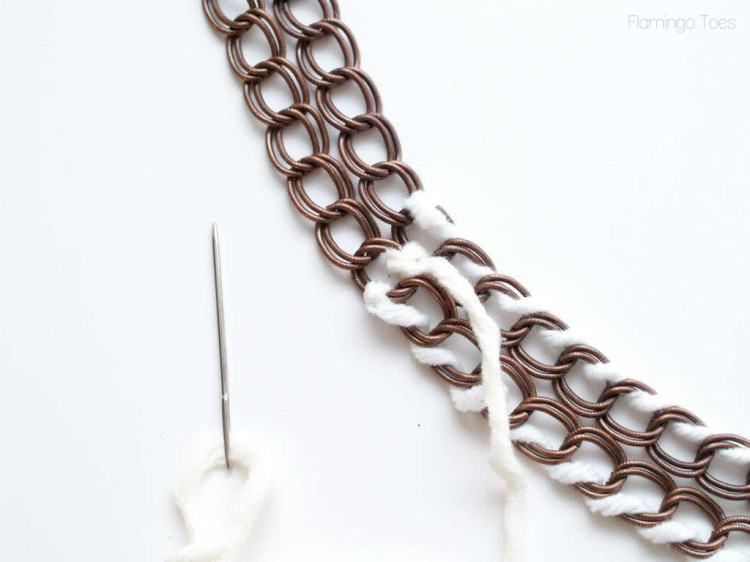
Lay the rhinestone strand along the center of the chain, so the top lines up with the yarn piece in the center. Thread your yarn around the rhinestone strand, sewing the chain pieces together as you wrap the rhinestone strand.
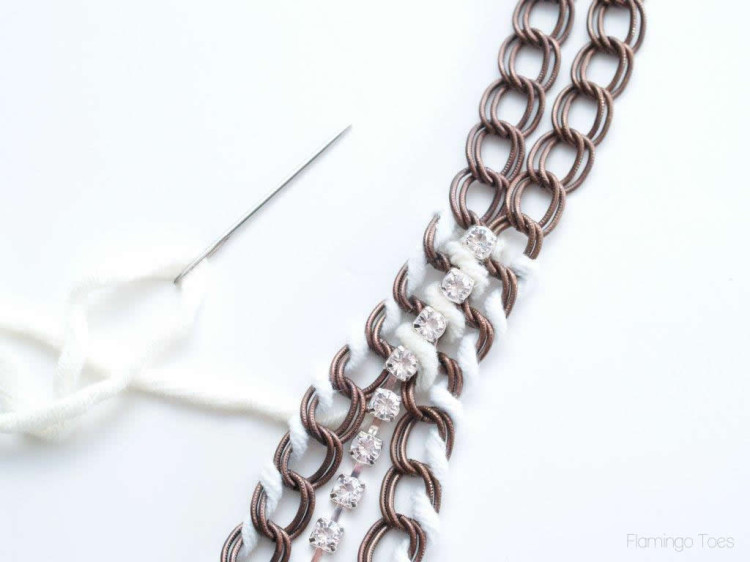
Continue sewing the chains together until you reach 3″ from the other end. Tie of the yarn with the knot to the back. Trim off your rhinestone strand so it ends at the same place. Add a bit of E-6000 under the end rhinestones so the don’t shift around. You can add a little glue to the strand in a few places to keep it from twisting.
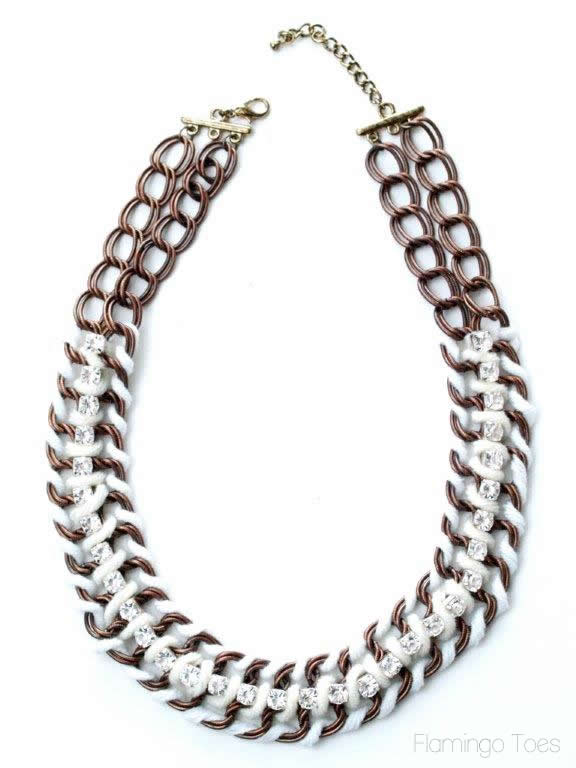
There. Isn’t it pretty already? You could even stop here if you didn’t want to add the flowers.
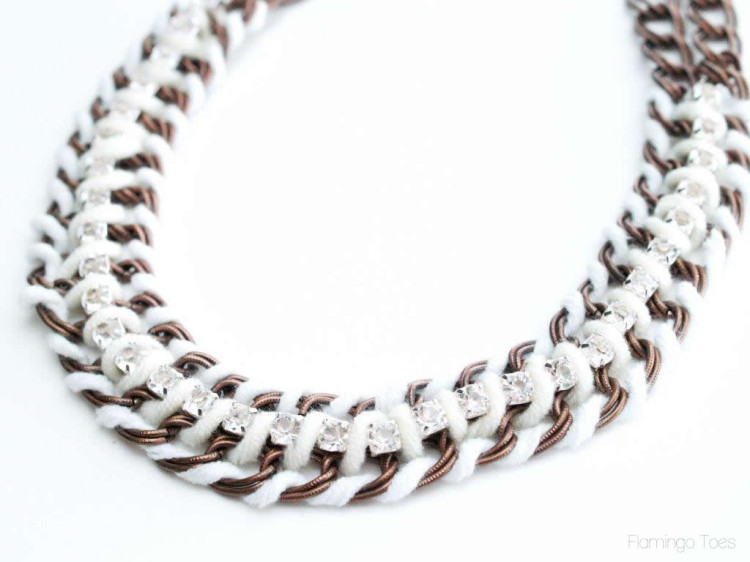
But I totally want to add the flowers.
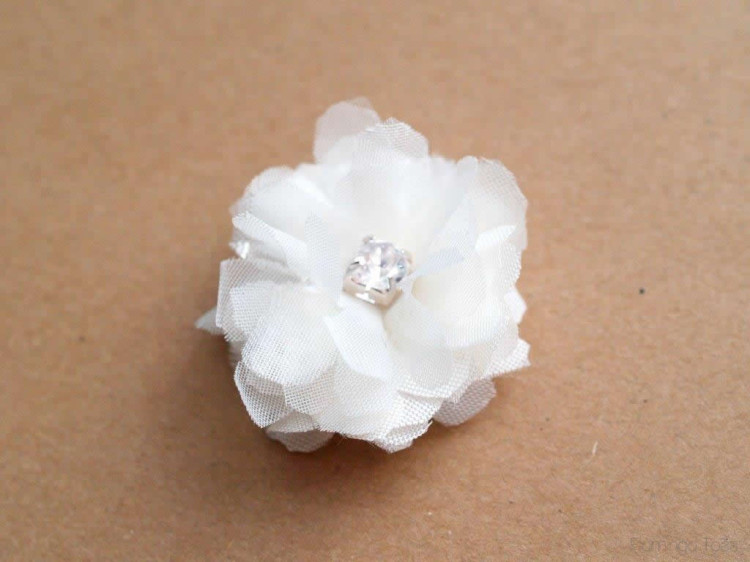
Make five little Chiffon and Rhinestone Flowers – these should be about an 1 1/4 big. You can find the tutorial for these if you need one on the How to Do That: Flowers page.
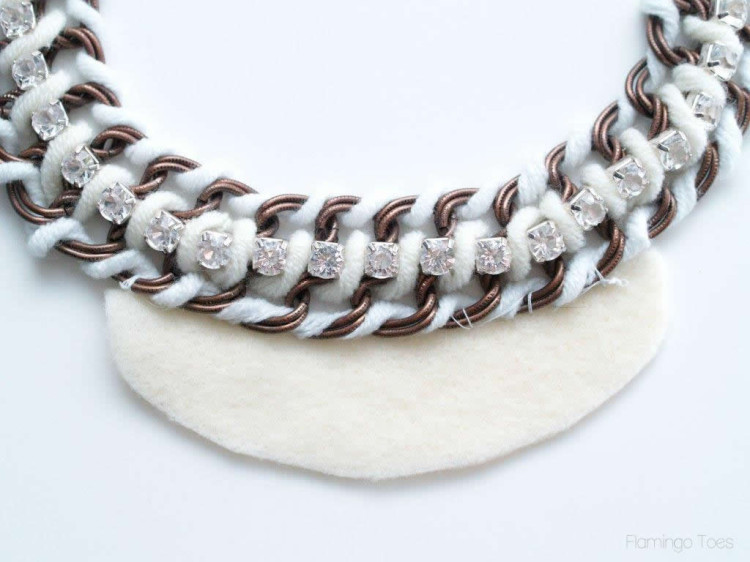
Cut a small curved piece of felt, about 3/4″ wide and 3 1/2″ long. Using your needle and thread, sew the top edge of the felt piece to the bottom center part of the necklace.
Sew (or glue) your chiffon flowers to the felt piece, lining of the center flower with the bottom center of your necklace and working out from there. The flowers should be very snug against each other so they look all fluffy and cute.
If your connectors didn’t have a lobster clasp, you’ll want to put that on now. Your necklace should be all done now!
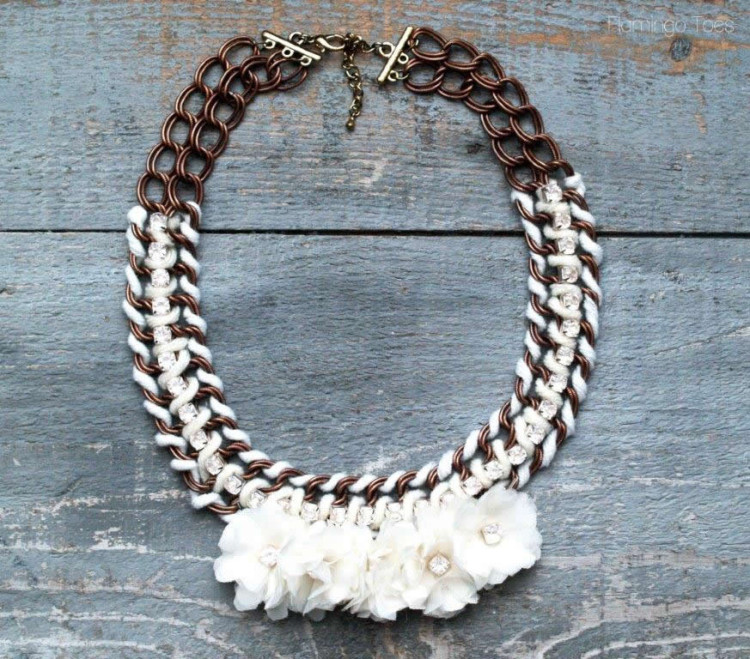
Isn’t it pretty? I love the length, it’s nice and short and you could wear it with so many things!
Don’t forget to visit the other gals and check out their tutorials too!

Bombshell Bling, eat.sleep.MAKE., Crazy Little Projects, and The Scrap Shoppe.


I love the chiffon roses! Such a pretty necklace, Bev!
Great minds think alike :) I saw that necklace on anthropologie and the first thing I thought was I could so DIY this :)
You know I love this!!! It turned out SO great, Bev! Those flowers are soooo pretty. :)
I like your version so much better ! It’s lovely !
YOu are seriously the queen of knock off jewelry!
I love this! Thank you so much for sharing the tutorial:)
Beautiful! Thanks for sharing the tutorial.
I LOVE this necklace & am going to try to make this this week :) Thanks for sharing this!!!
Bev, Another awesome job with the new necklace. Love it. Keep sharing.
Bev… you are so talented! The necklace is gorgeous! I absolutely adore it <3.
Beautiful jewelry……love the necklace. Thanks!