One of my favorite things about doing Anthro Knockoffs is being able to change things up a bit.
Sometimes that’s just because I can’t seem to find exactly what they used – and sometimes it’s because I just want to tweak things a bit.
That was the case with this necklace! I loved the coloring of the original – it’s so bright and cheery! But when I went hunting for beads, I couldn’t find just what they’d used.
But then I found these gray and blue pretties – and I think I like it even better!
Here’s my version!
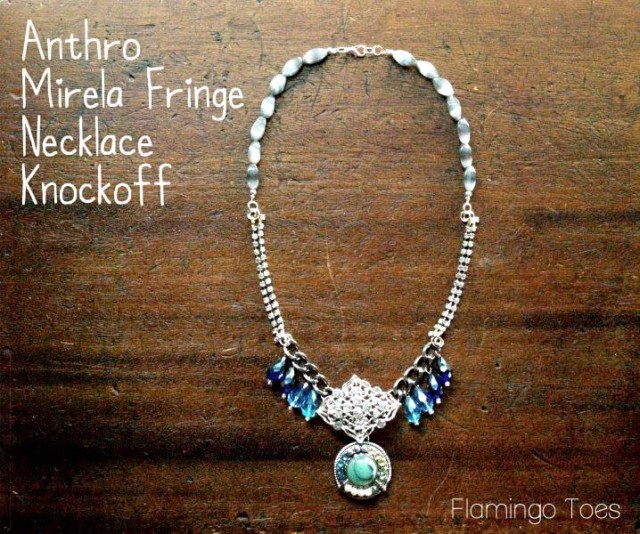
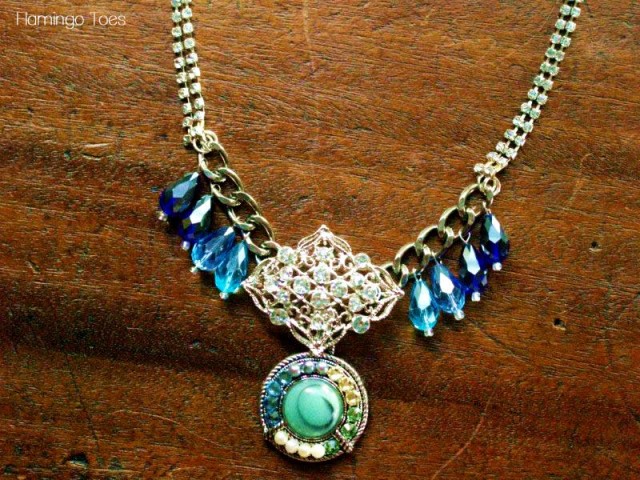
We’ve got a bit of bling going on here . .
And here’s the Anthro version – at a not-so-cute $58 –
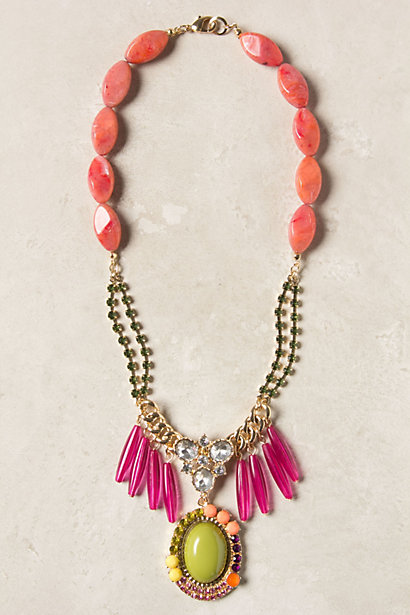
I like them both after all. :) Maybe I need a pink version too!
Here’s your handy dandy tutorial!
You’ll need:
- Beads for top portion of strands – 10″ total length
- Rhinestone Strands – 12″
- Rhinestone strand caps – 8
- Decorative pin
- Heavy chain – 4″
- 8 Tear Drop shaped beads
- Pendant piece with rhinestones and small beads
- Glue (E-6000)
- Jump Rings, crimp beads, head pins, beading wire, lobster closure
- Jewelry Tools
- Basic Jewelry Skills – Check the How To Do That page if you need help!
All the Supplies came from Michael’s except the brooch
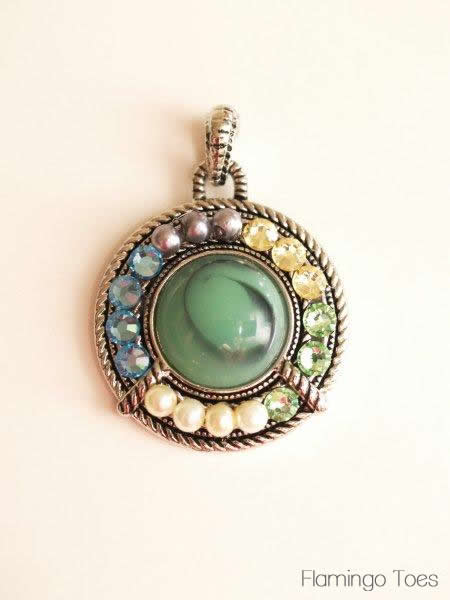
I couldn’t find a pendant I liked that was all cute and blingy like theirs, so I decided to make my own! If you want to do the same, start with a basic pendant that has enough space around the center bead for you to glue some pearls and crystals.
Begin gluing an assortment of crystals and small pearls around the center bead. Adding a bead of glue to a toothpick, then use that to put the glue on the crystals.
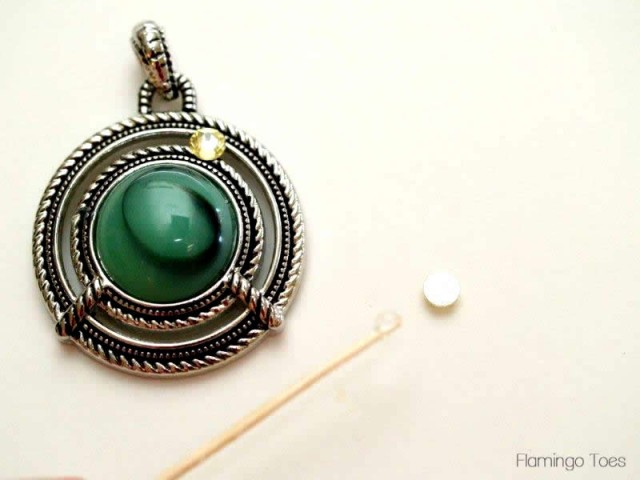
Change up your colors and styles as you go around.
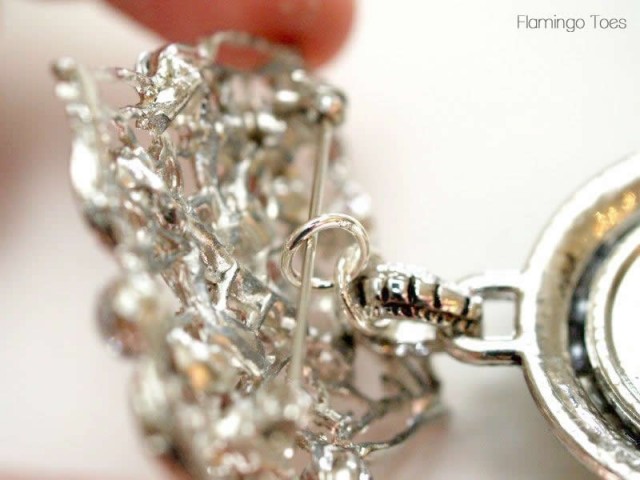
Depending on what your pin is shaped like, decide how to attach your pendant to the back of it. I used a couple of jump rings, added them to the pendant, then added those rings to the bar of the pin.
Glue the pendant for extra security to the back of the pin.
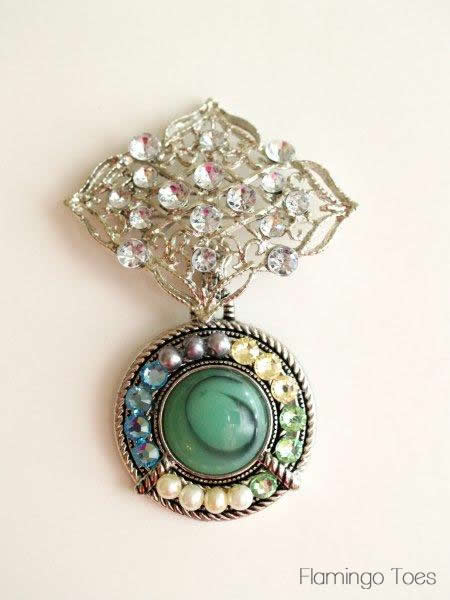
Glue the back of the pin closed as well, that way it doesn’t pop open accidentally and skewer you some day. Adding E-6000 to the little closure will take care of that.

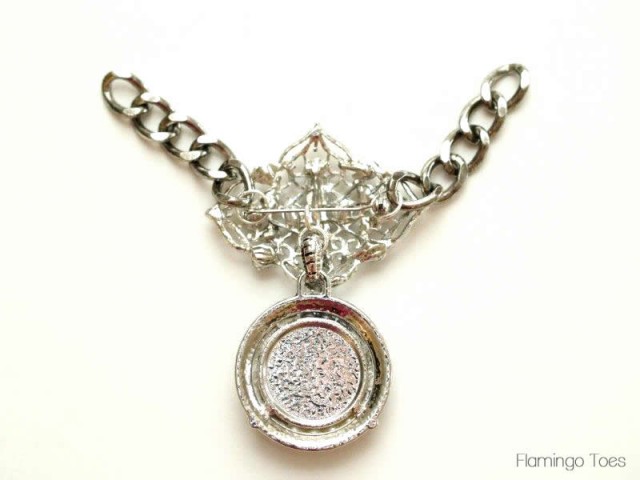
Add jump rings to the sides of your pin bar. Cut your heavy chain into 2 – 2″ pieces. Add a piece of chain to the jump rings.
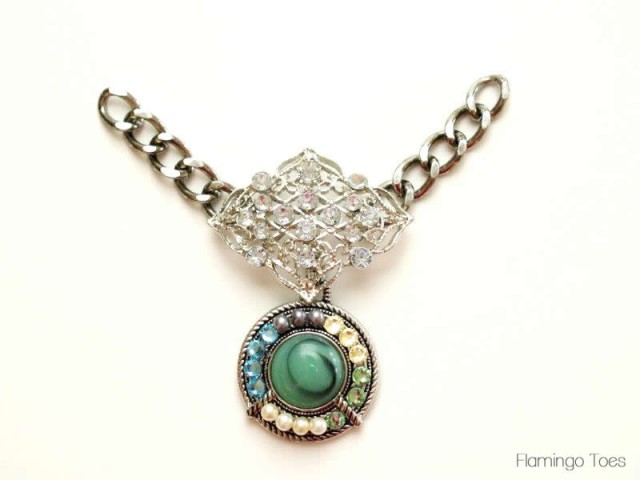
Add one of your tear drop beads to a head pin. (If your head pin is smaller than the hole of your bead, you can add a little seed bead to prevent it from falling off.)
Create a wire loop at the top of the bead.
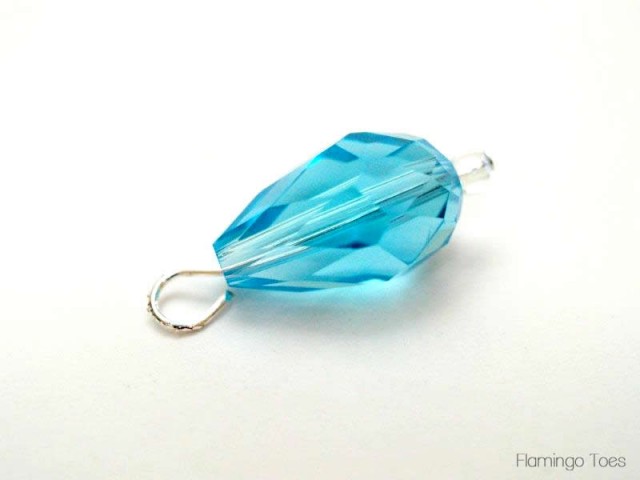
Add this bead to one link of the heavy chain.
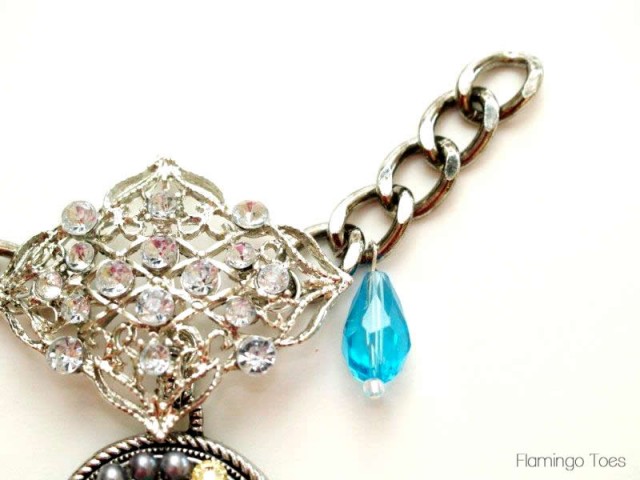
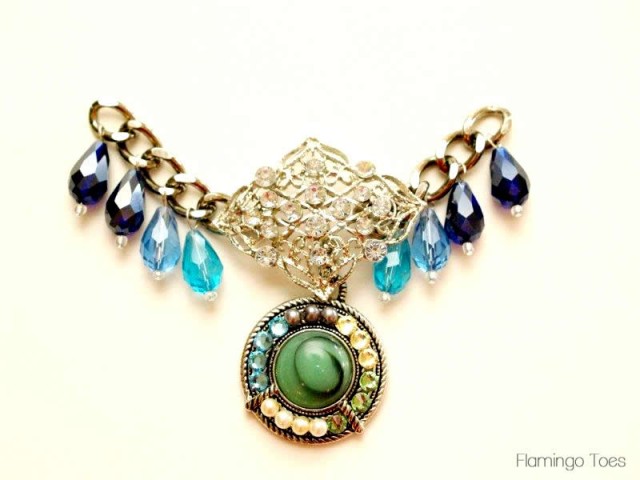
Repeat with the other seven beads, adding them to both sides of the chain, so there are four beads on each side.
Cut your rhinestone chain into 3″ length. We’re going to add rhinestone end caps to each end. This is a little cap with a loop on one end.
You place it below the last rhinestone and crimp the sides around the rhinestone connector.
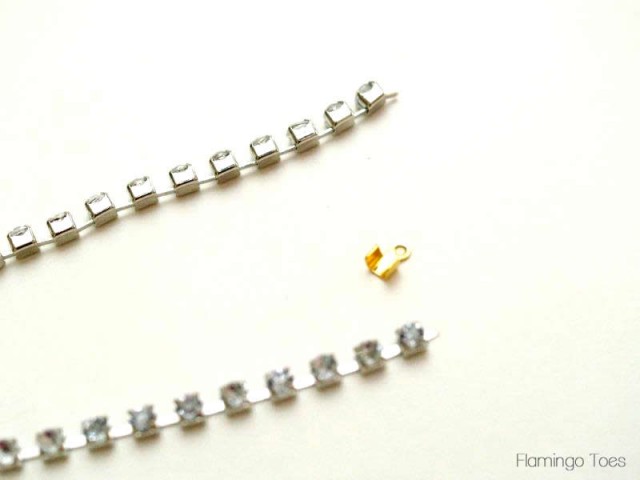
Add end caps to both ends of each rhinestone strand, then add a jump ring through each loop. (You might have to bend out the cap just a bit so the ring goes through.)
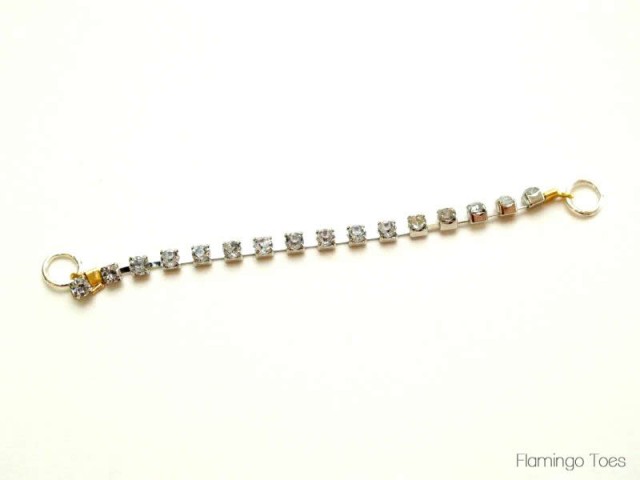
Once all four strands are done, add two of the strands to each side of the heavy chain – in the last link.
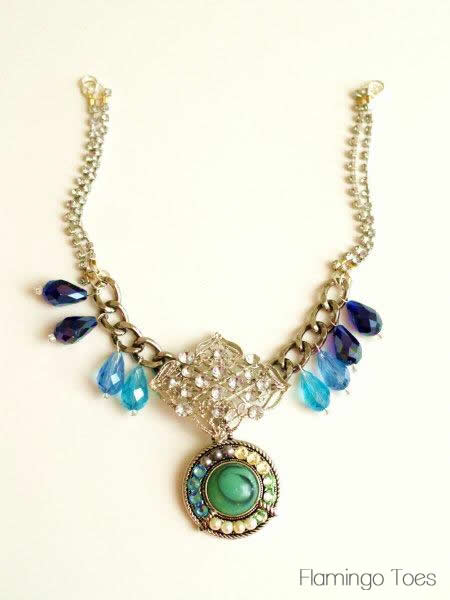
Connect the two top jump rings on each side with another single jump ring.
Cut a length of beading cording – about 8″ long. Connect the strand to a jump ring with a crimp bead.
Add a small bead, then the larger beads. Make sure you cover both strands of the bead cording.
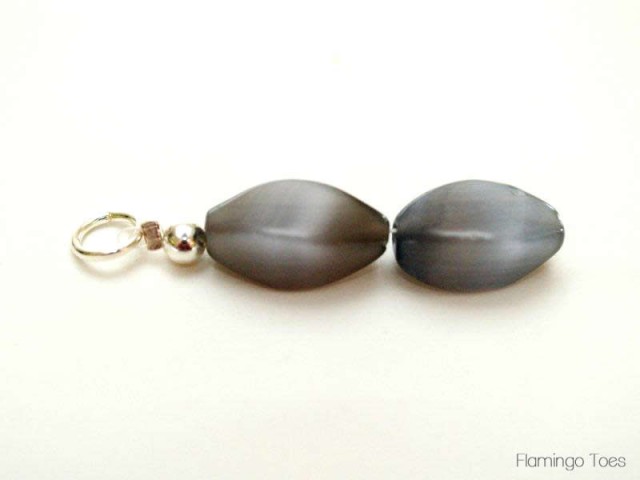
Make this strand about 5″ long. Connect the strand to the top jump ring above the rhinestone strands, using a crimp bead. Feed the tail of the cording back through the beads and trim.
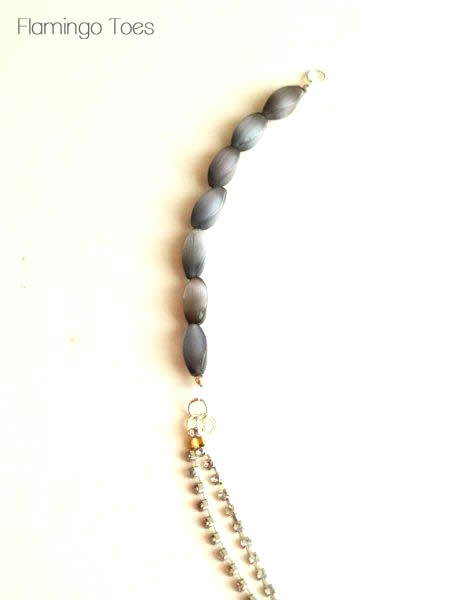
Repeat for the other side of the necklace.
Finish everything off on top with another jump ring, and a lobster clasp.
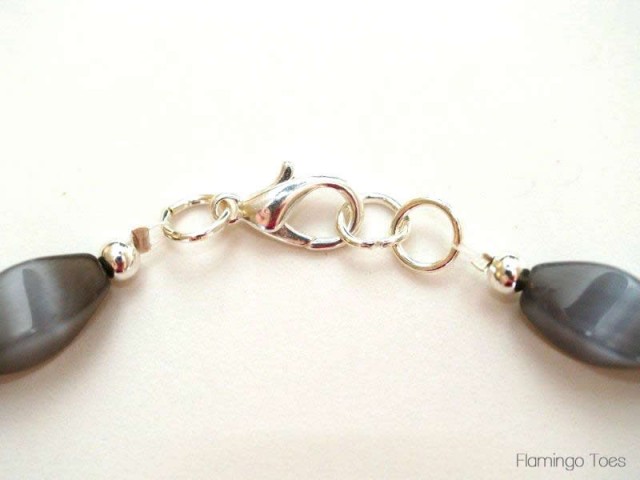
That’s it!
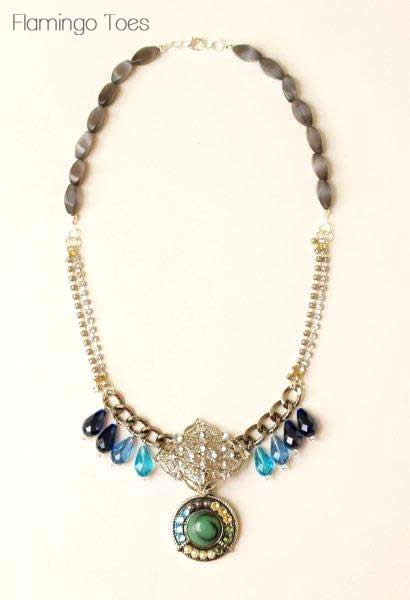
Isn’t it pretty?
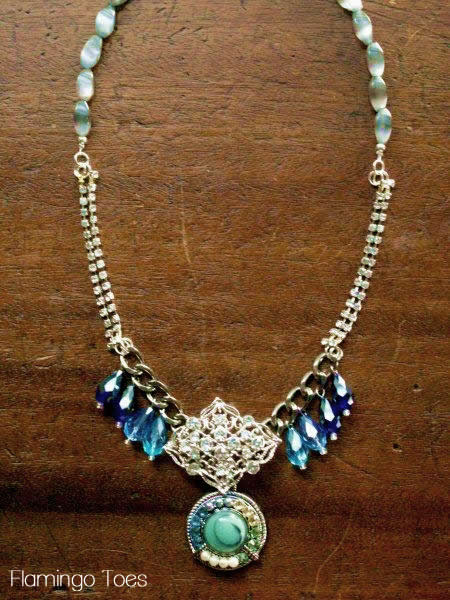

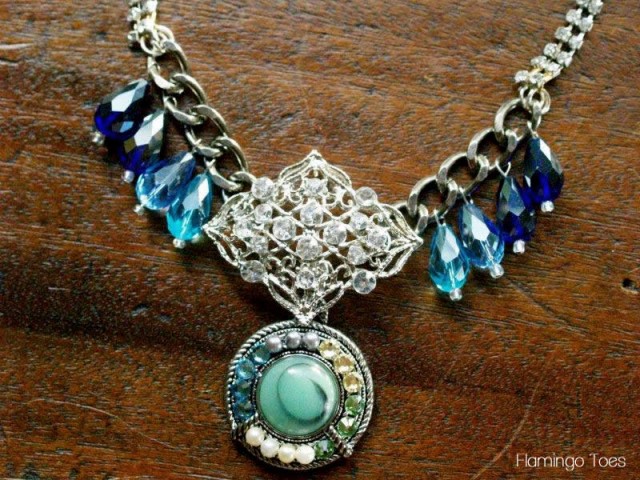
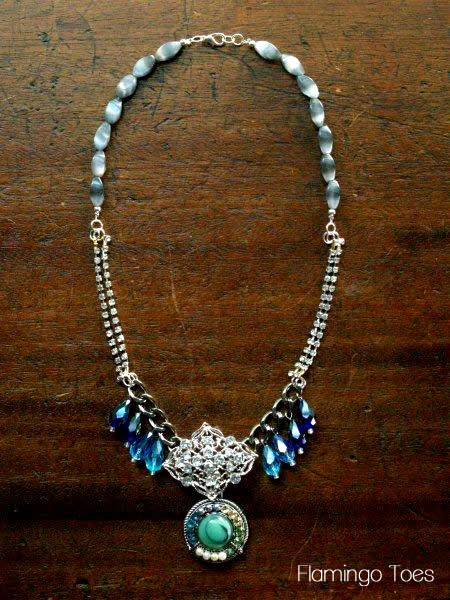
I think I do need that pink one too!! :)
What do you think?
Linking up at Sunday Scoop, Today’s Creative Blog, Met Monday, Skip to my Lou, Tutorials & Tips Tuesday, Shabby Creek Cottage, Quilt Story, My Repurposed Life and the other fabulous parties on the party page – make sure you check them out!


I sure wish you were my neighbor Bev. I’d be MORE than happy to bake some of my goodies in exchange for your beautiful jewelry creations. :)
This is another one that I really love. Those top beads are great but hard to decide if they’re gray or multi-colored which change their color a bit depending on the lighting. I really love them.
I do have to say that I do not like the original. Those colors they’ve used which really could be affected by the light as well just don’t look like they’d be together in one piece of jewlery to me. The top beads almost look like a salmon color while those bottom ones appear to be a really hot pink. Hmmmmm
Ok, so we all know you are a Jewelry Genius!! But I have to tell you that you gave me a great idea with this post! I have a butterfly broach from my mother-in-law who passed away a few years ago and the pin is broken. I hadn’t thought about using it as a necklace accessory! Totally going to do that!
I’ll let you know how it turns out!
By the way, I’m loving this series! (and I clearly have a problem with exclamation points)
I love this one. you have such a good eye! :)
Another gorgeous piece!!!!
I wake up each morning of “Anthro Necklace Knockoff” week like a kid on Christmas morning.
Wow! I’m really loving this! But I think I have said that EVERY DAY this week! All the necklaces have been beautiful. :-)
Oh the blingy-ness! I so love that you made your own pendant. Its gorgeous. And this one looks super fantastic with your outfit! Are you sure you want to give this one away??
ps. I’ve always wondered how to use rhinestone chain. Genius!
HAve all this stuff…doing it right away :)
Love it!!
WOW Bev, What you used is awesome. I love how you found a pendant and added the embellishments. The long beads I just saw on Etsy last night that they may have used. Love it.
Gorgeous Bev! It’s absolutely elegant! And I love the photo of you wearing it. (-:
Wow, I like your version much much more !! I will have to try my hand at some jewelry-making … haven’t done before
Again, I like yours better. Don’t like the pendant on the original at all. You do good work Bev.
Janet
just wondering…did you deliberately do the pin ‘on top’ by using the pin part to attach the chain and the pendant, instead of wiring everything to the pin like you do on tomorrow’s post? just wondering if that would make it lie too flat?
I like yours much more than the original. I looked at the pics first and thought the original was the knock off and thought it wasn’t very pretty-I didn’t like the colors or even the beads used. I thought it was just a cheap mock up. Then I read your post and was wowed! You are great! I love your necklace!
Gore-gous!
So beautiful! I actually like the blue version much better. Looks classy, whereas the Anthro version looks a bit kitschy.
I’m drooling . . . love all of these knock-offs, but this blue one is fantastic!
absolutely love the patterns you have shown here. just a beginner here but love the hollywood designs!! many sites i have visited show many basic “elder styles” and love them too but need to make things that are current vogue style for my daughter & friends so thank you big time for the ideas!! xmas is comming soon so daughter & me will be busy!! thanks soooo much & plan to visit often!!!!
I like yours better :)))) Great job, shared on my blog! Greetings from sunny Croatia. xoxo, Tea
Well, its happened again. I see the item at first and think, there’s no way this is going to be workable, it looks too complicated! But Lo and Behold, you make it easy to do! Hats off to ya, gal, you are really good, and thank you for sharing! This is a beautiful piece, very regal looking and kind of Victorian too.
MaElena