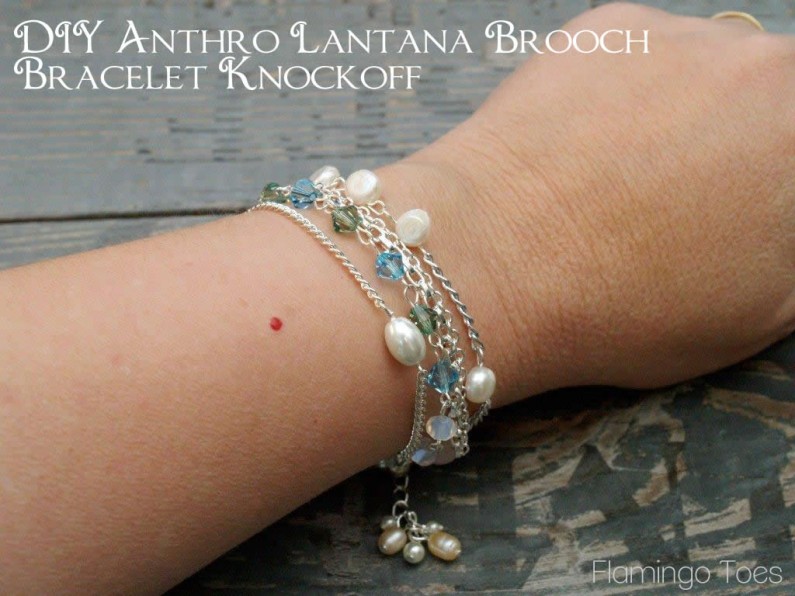
I have such a fun little stashbuster bracelet for you today!
This little knockoff bracelet is perfect for using up your small pieces of chain (you do save those right??) and odds and ends of beads!
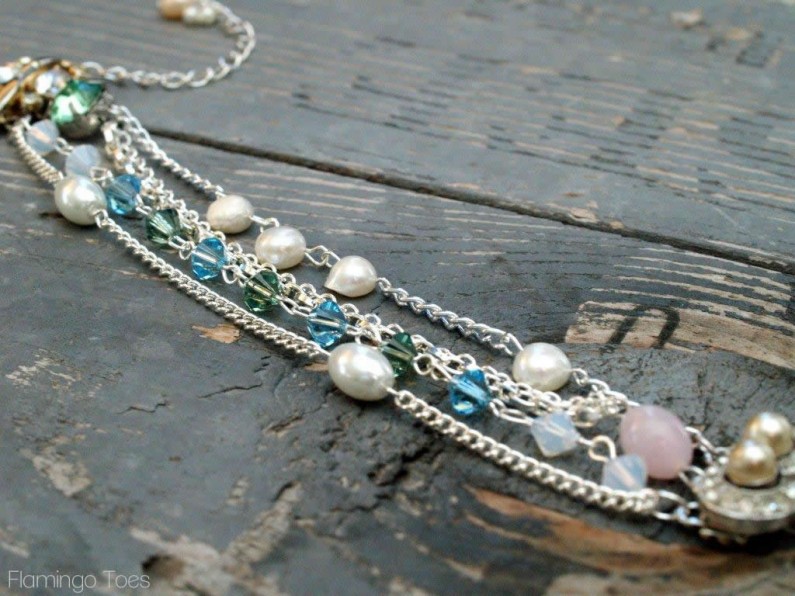
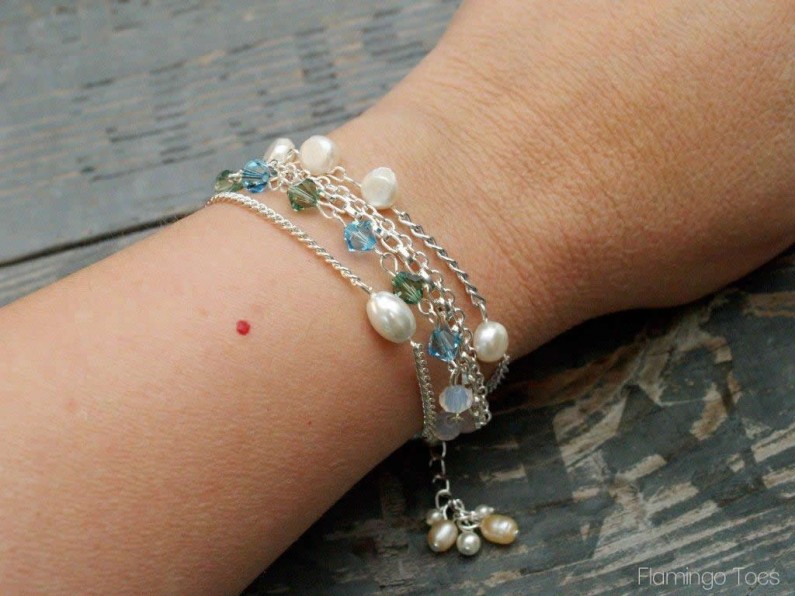
You can easily change it up for different seasons or color-schemes too! I wanted to keep mine nice and light for spring.
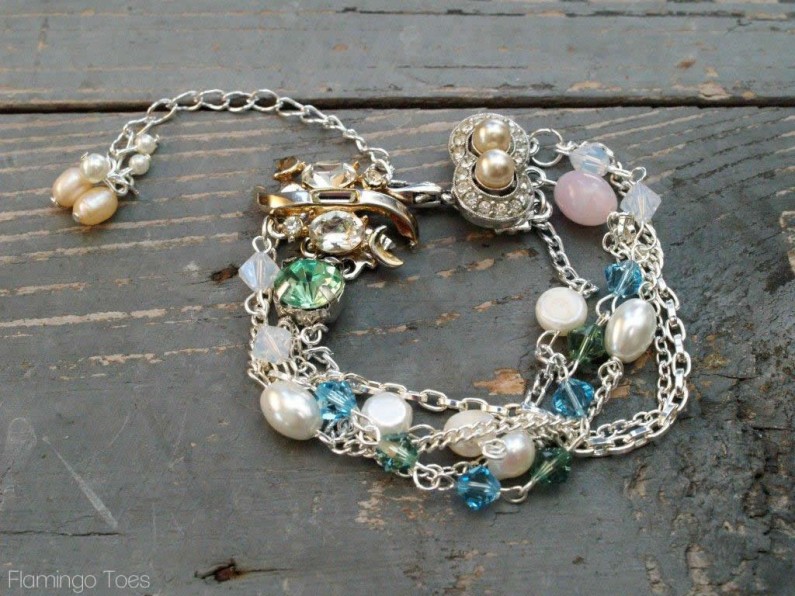
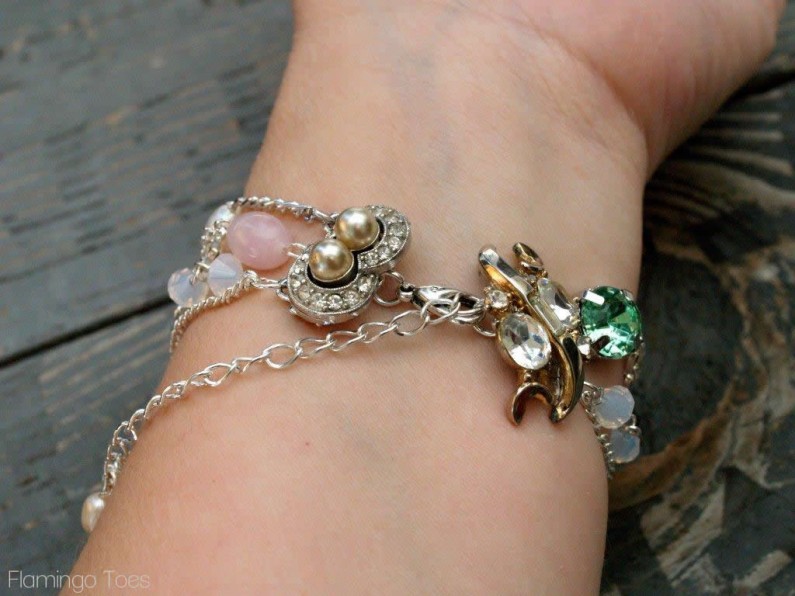
It’s also perfect for old vintage pieces or small brooches. At each end I have a couple of pieces from my grandmother, one is a segment from a broken bracelet and the other end has a clip-on earring that I cut the back off of.
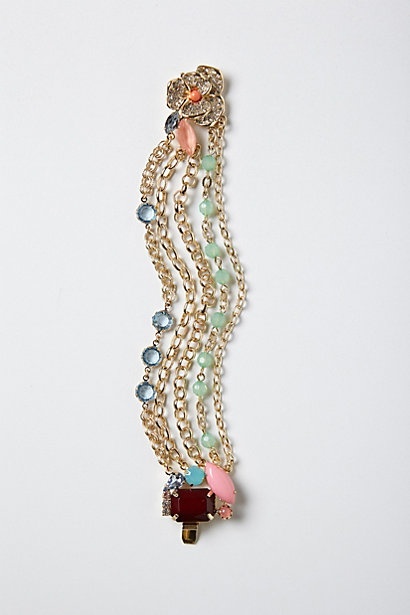
The bracelet is inspired by the Anthro Lantana Brooch Bracelet – here’s their version.
Super pretty right?
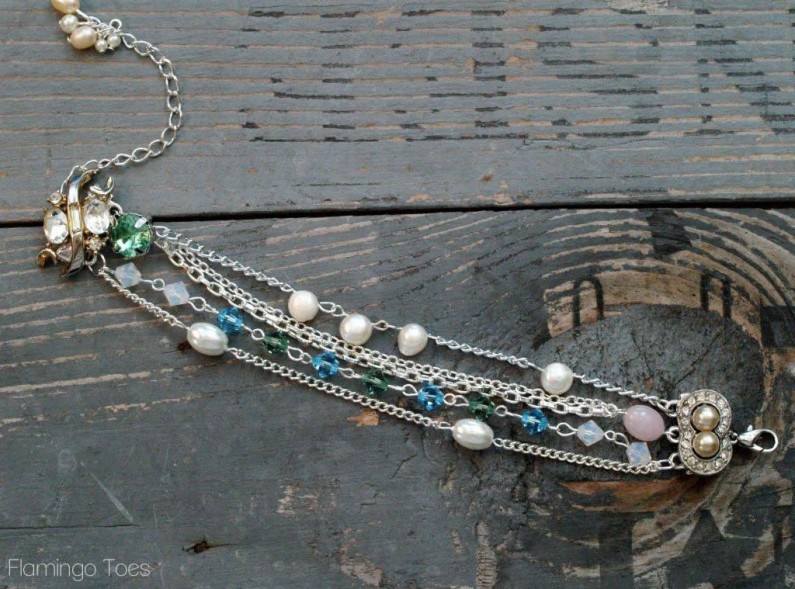
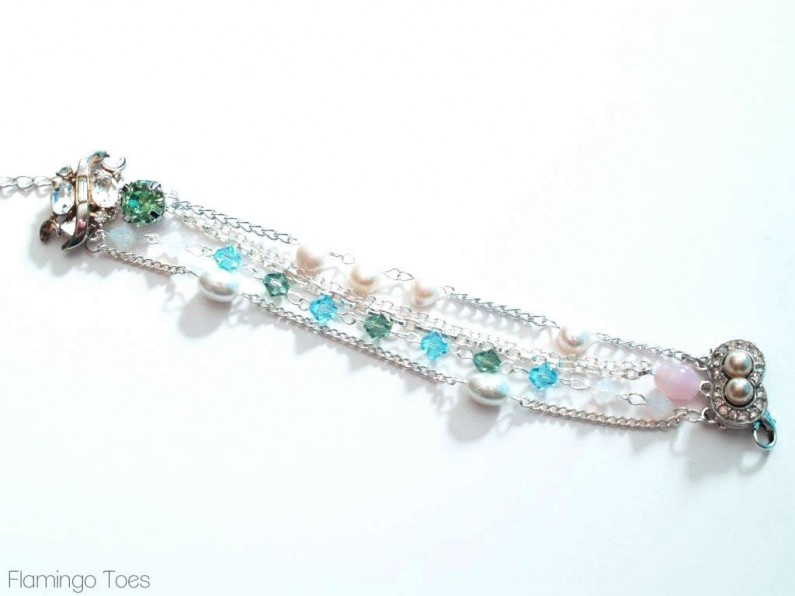
I just love that multi strand look with all the different beads mixed in!
So here’s what you’ll need for one like mine – but seriously this is so easy to change up for what you have on hand!
- 2 small decorative pieces (like my clip-on earring/bracelet segment) you can use a fancy button, small brooch or whatever you want!
- 2 multi ring closures
- assortment of chains in different lengths and types
- bead assortment
- jump rings
- jewelry tools
- E-6000 glue
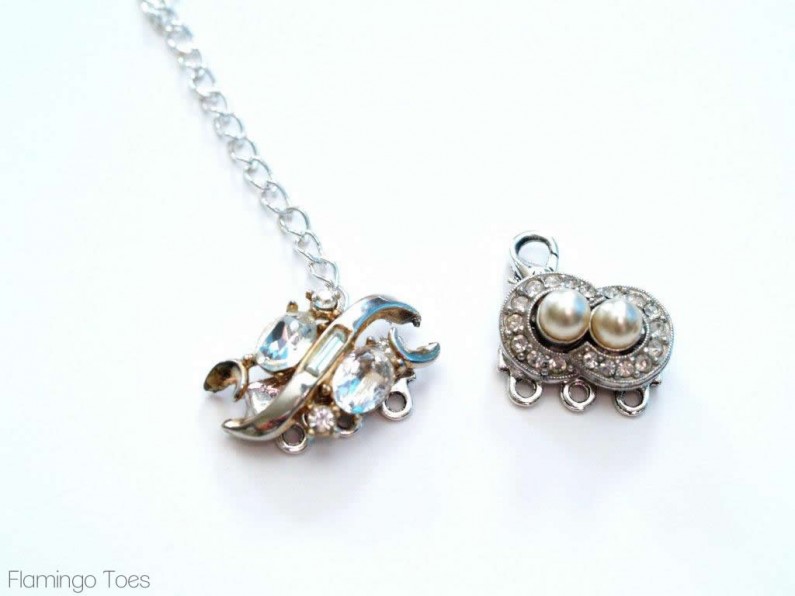
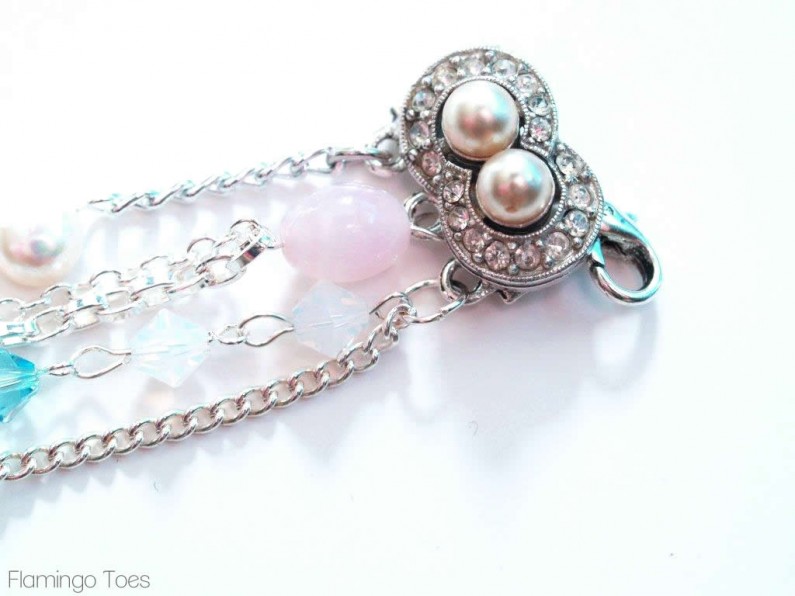
Start by gluing your multi ring closures to the back of each of your little decorative pieces.
Glue them on with E-6000 or something equally strong and make sure they’re dry before assembling your bracelet
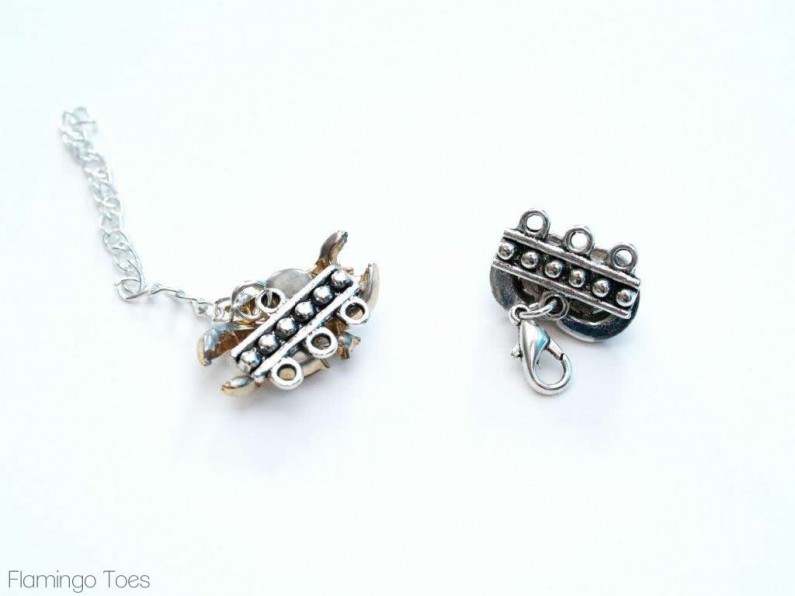
You want the rings to show just below the pieces so that you can still attach all your beads and chain easily.
Clip the two pieces together and measure them. Then measure your wrist, and subtract the amount of the decorative pieces. Add about 1/2″ for some looseness. This measurement will be the length you want your chains to be between the end pieces.
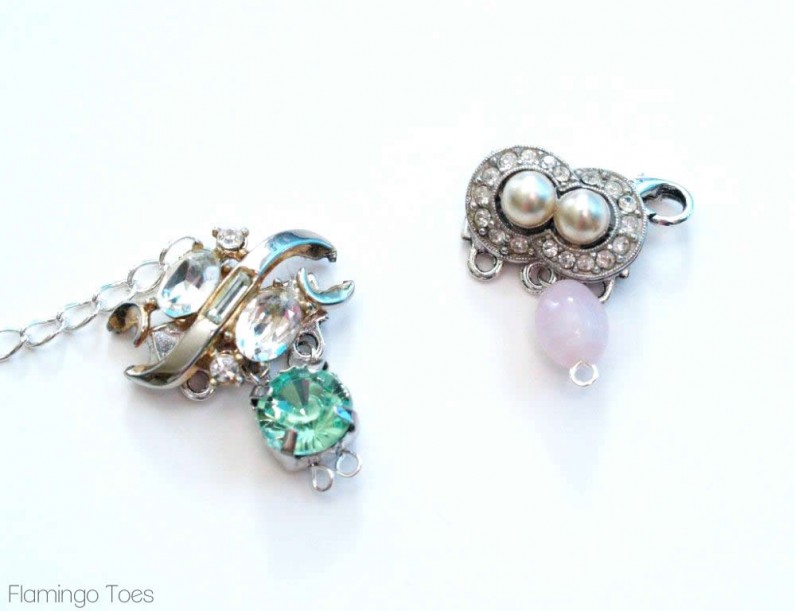
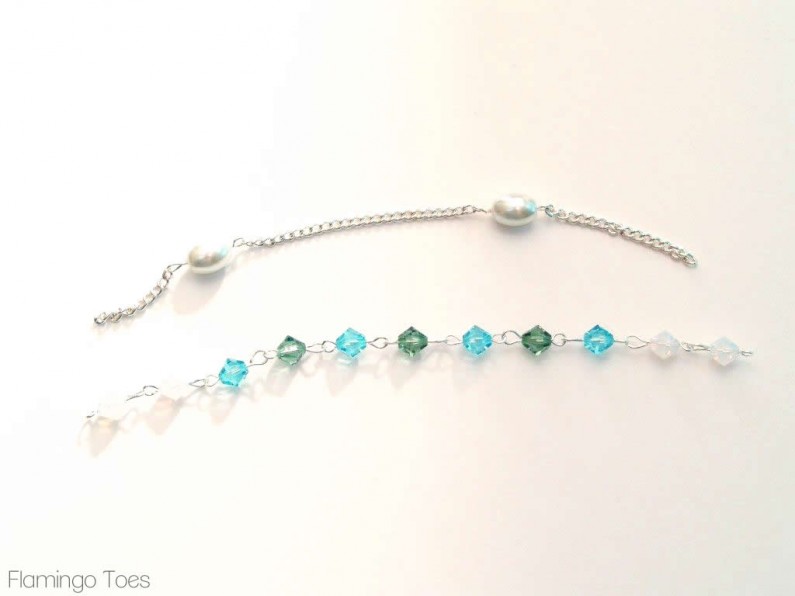
Add in any decorative beads you’d like on the ends. I have a square bead on one side and a little oval on the other. Attach these to the multi ring loops with eye pins. If you need help with eye pins, check out the how-to-do that page for Jewelry!
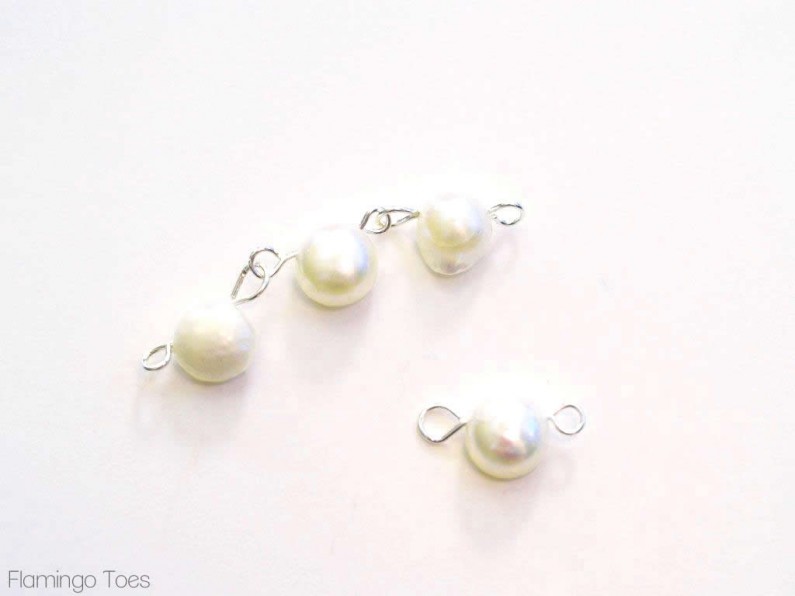
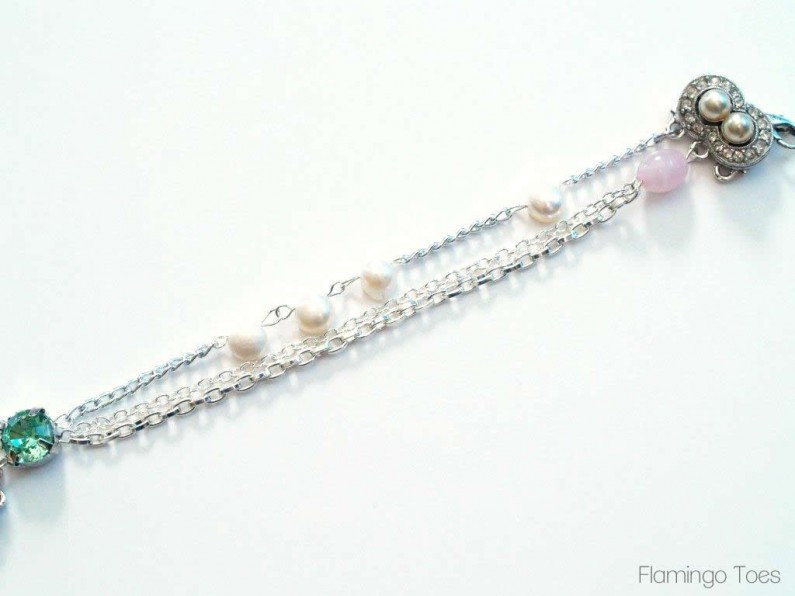
Start with the top strand. I have three four little pearls in this strand, three together and one all on it’s lonesome. So start by getting your pearls ready. Attach three of them with eye pin loops. Add an eye pin to the other pearl as well.
Cut lengths of chain to go between the pearls, so the chain/pearl combo is the right measurement for your bracelet.
Attach the chains to the eye pins of your large beads, or with a small jump ring.
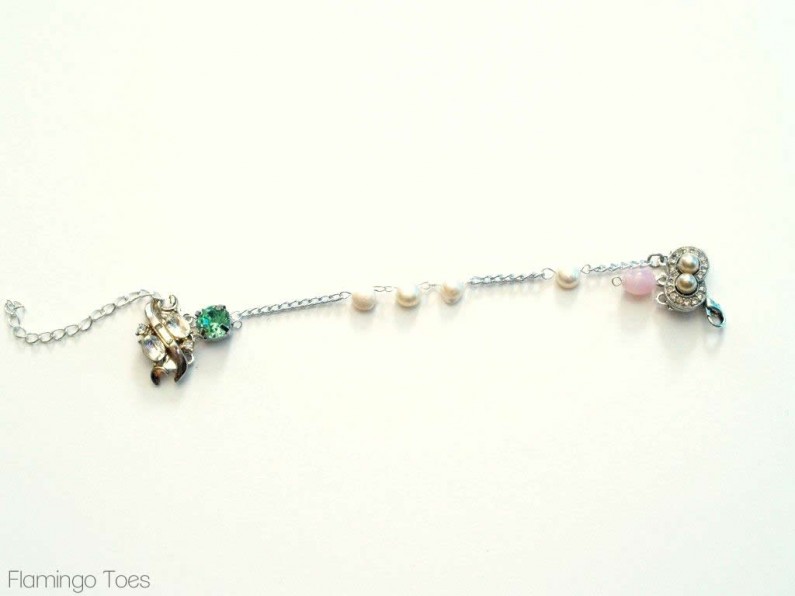
Cut two lengths of different chains for the next row – add these to the eye pins on each end.
Create another chain by adding small beads to eye pins and connecting them all. Do your last chain like the first one, with pearls breaking up the chain.
Add these last two chains with jump rings to the last two multi strand closure rings.
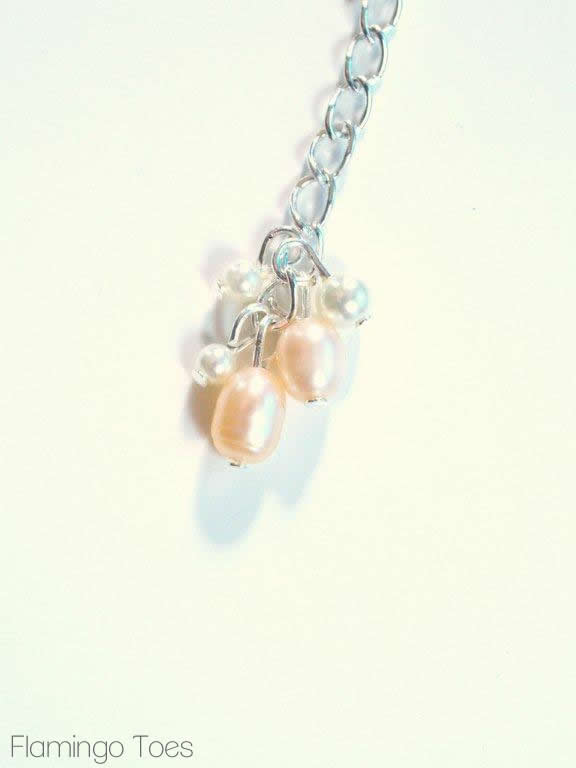
Add a small length of chain to one of the ends as a little bonus chain on the closure. Add some beads to head pins, then add these beads to the small chain.
And that’s it! Super easy right? And so simple to change up for what you have! You could do a combination of silver and gold chains, different beads, whatever you have.
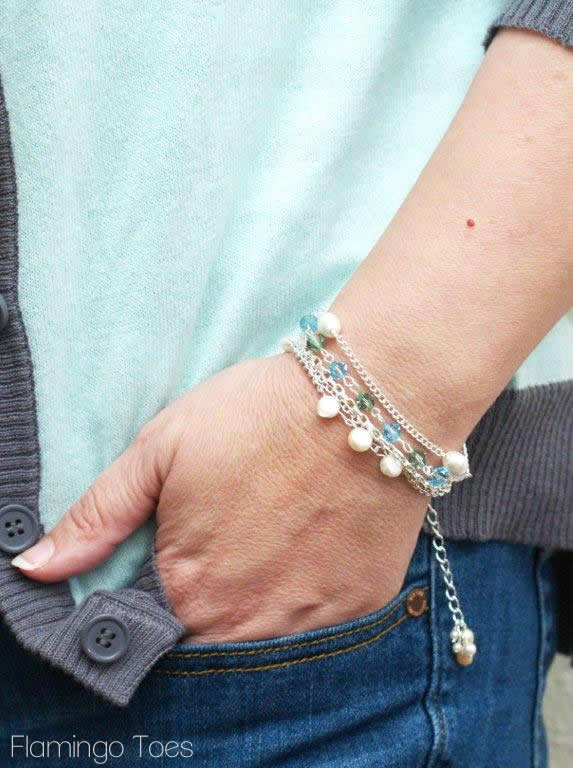
It’s so light and the mix of colors will go with so many different outfits!
I love that even the inside of the bracelet looks pretty. So if the bracelet slips around, it will look nice on all sides!
It would make a great gift too!
Linking up at Sunday Scoop, Today’s Creative Blog, Met Monday, Tutorials & Tips Tuesday, Shabby Creek Cottage, My Repurposed Life, 504 Main, and the other fabulous parties on the party page – make sure you check them out!


This is SO beautiful! Great work, I think I could do this one, great tutorial!
Beautiful, Bev! I love the colors that you chose for yours. I haven’t done much in the way of jewelry making, but I just bought some silver chain and made charm bracelets for my daughter’s friends and they were so much fun to make! I can see how it can get addicting. :)
Looks dainty and lovely
this is a gorgeous bracelet! I can’t believe how well you DIY’d this so well! I pinned this and will be trying it!
i LOVE LOVE this!!! the clasp is super cute — i would almost want to wear it showing off that side as equally as the front!
Love the bracelet!!! It is so pretty!! Thanks for the tutorial!! I can’t wait to make one :)
So pretty! I love all the multiple strand bracelets and I hardly wear any that aren’t!
I *love* how eclectic this is, Bev!! Perfect stashbuster project. And I love that you made the 3-ring thingamajigs to pretty!! I would never have thought of that. :)
Thanks for linking to Take-A-Look Tuesday over at Sugar Bee Crafts – you were featured yesterday!
–Mandy, http://www.SugarBeeCrafts.com
That’s so pretty! I love the eclectic mix of chains and beads.
I love this idea, especially the clasp! This is def one I will try!
Thank you for such a great tutorial. I have a few of my great grandmother’s costume jewelry I have wanted to make into a bracelet and you have given me a great pattern to follow. Very well done!