Hi everyone!
I’m excited to be able to share with you the Mystery Necklace from June’s Follower Giveaway and the Facebook Fan Giveaway!
The Necklace that Amy chose was the Anthro Geological Necklace!
She wanted something light and summery and I think she made a great choice.
Here is how the finished Knockoff necklace turned out –
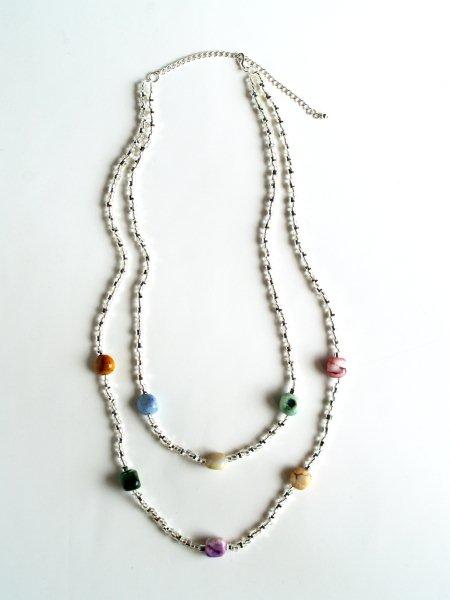
And here is the Anthro Inspiration Necklace – checking in at $48.
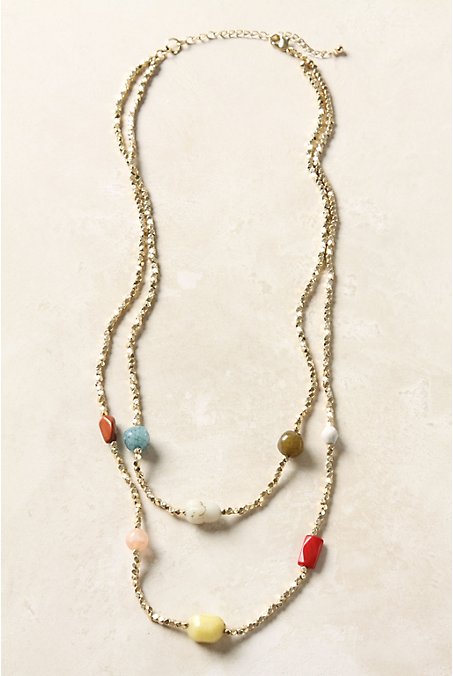
Pretty close huh?
Amy was fine with changing the main color to silver and other than that, I stayed pretty true to the original.
Ready to make your own? This one is quick and easy.
You’ll need:
• Approx 45″ worth of small beads. (I found a silver bead/clear seed bead set at Michael’s and used 5 packages)
• 8 colored stone beads (again – Michael’s)
• Bead Cording
• Crimp beads – 4
• Jump Rings – 4
• Small length of plain silver chain – about 4″
• Silver bead and headpin
• Lobster Closure
Tools: Flat Nosed Pliers, Round Nosed Pliers, Wire cutters
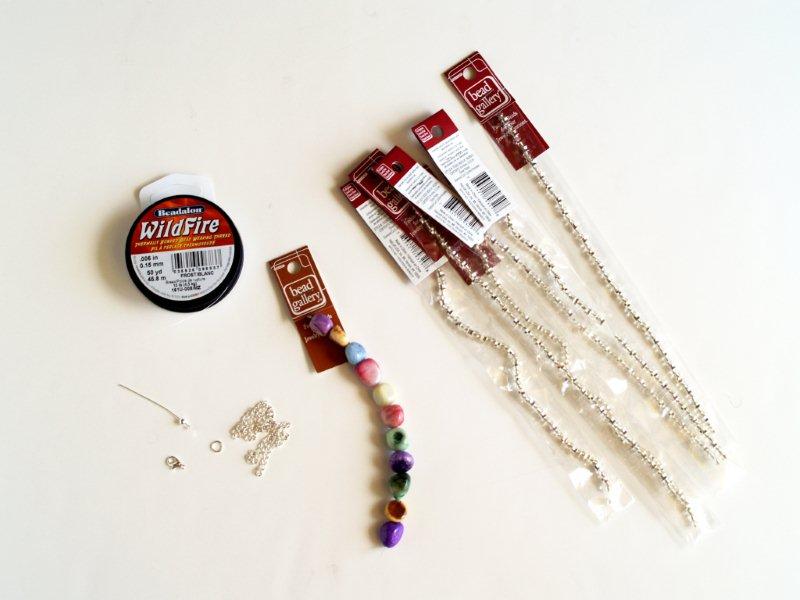
We’re going to start with the smaller strand first. Cut a 25″ piece of your bead cording.
(You can use clear cording or white. I tried this brand for the first time and I liked how it worked. Just make sure the cording you use is small enough to go through the beads you chose)
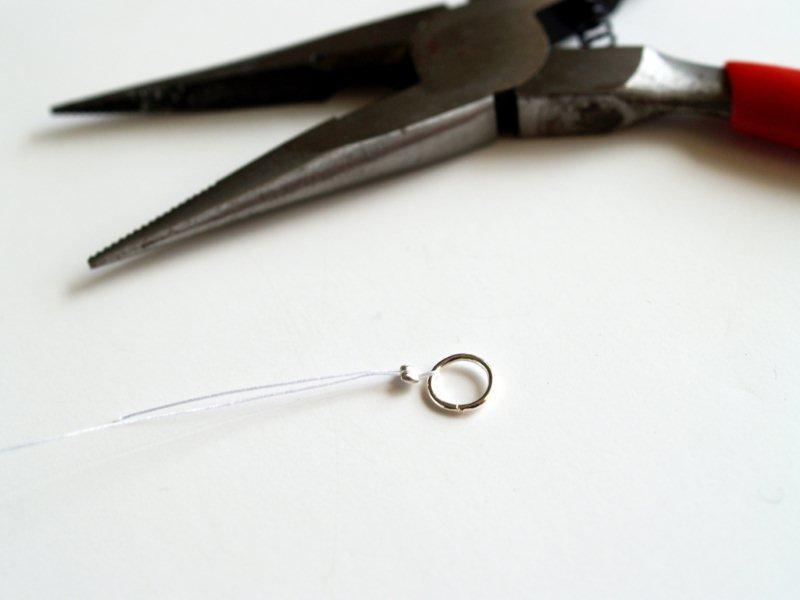
Add a crimp bead to the cording, loop the cording around a jump ring, then put the cording back through the crimp bead. With your flat nosed pliers crimp the bead closed around the cording.
Tug on the cording just a bit to make sure the crimp bead is holding tight.
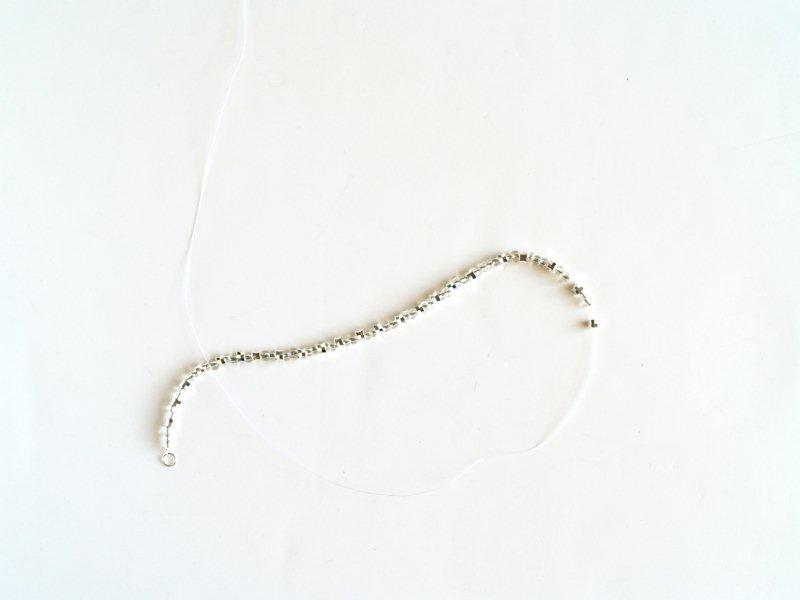
Begin adding your small beads to the cording. As I mentioned in the materials – I chose this strand from Michael’s that was a combination of little silver beads and clear seed beads.
Add beads until you have about 9″ on the cording.
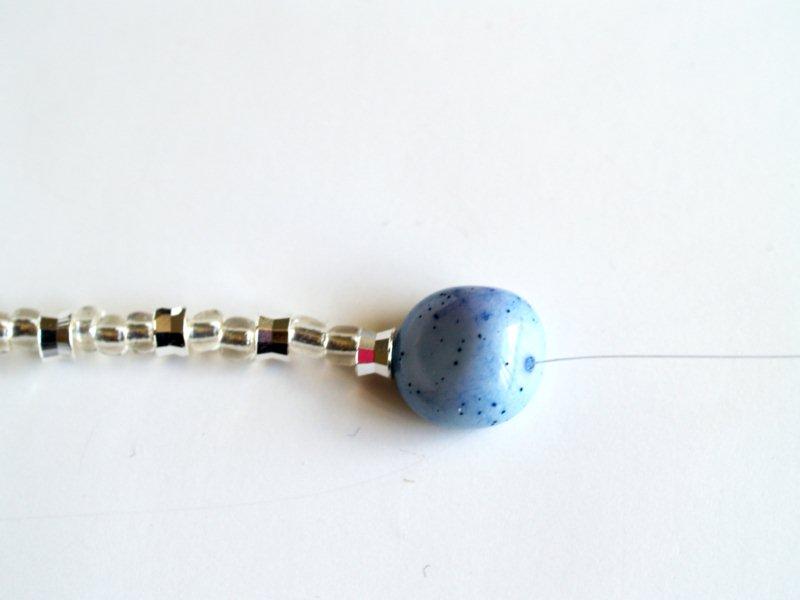
Add on your first colored bead.
Add more small beads measuring 2″. Add on another colored bead. This is the center bead of your smaller strand.
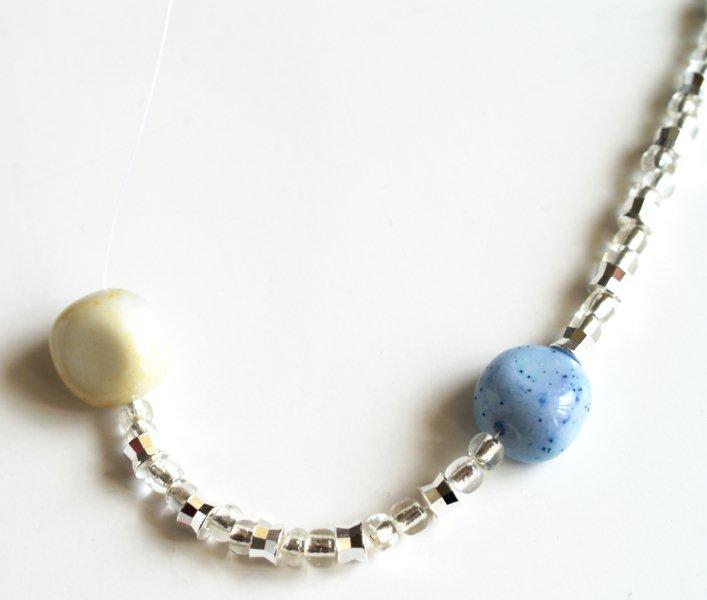
Repeat the pattern working opposite what you have, adding 2″ of small beads, then a large colored bead, then 9″ of small beads.
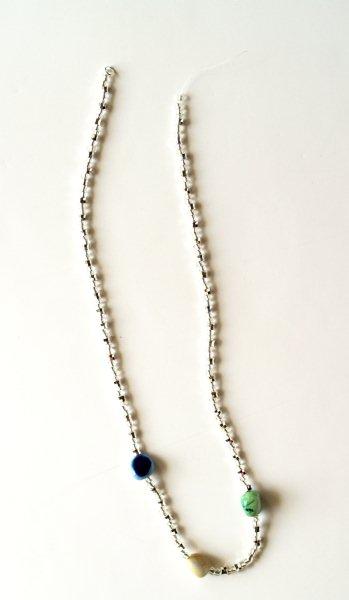
Finish the other end of the cording by adding a crimp bead and jump ring to the end, just like you started with. Feed the tail of the cording back through the small beads.
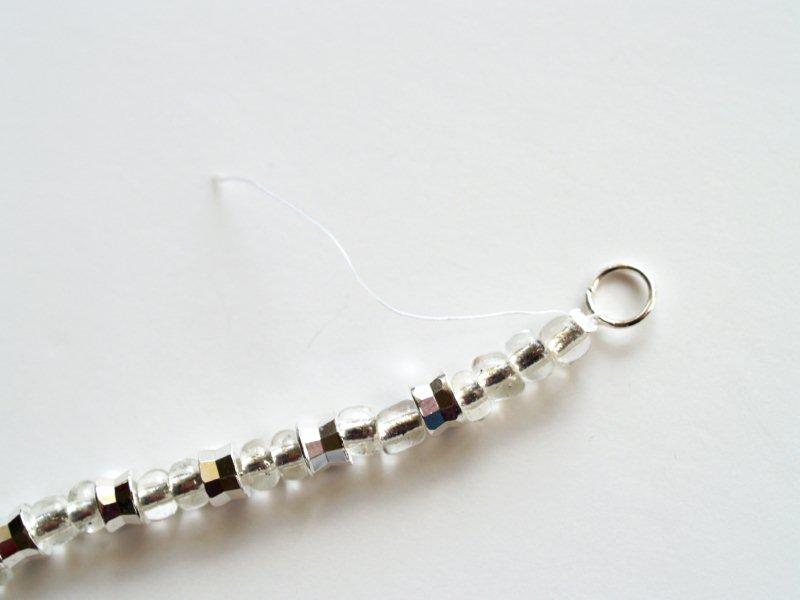
Cut another strand of bead cording – 34″ long. (These aren’t the finished lengths of the necklace, but you need extra to work with)
Going back to the jump ring you started with, added the cording to the ring with a crimp bead.
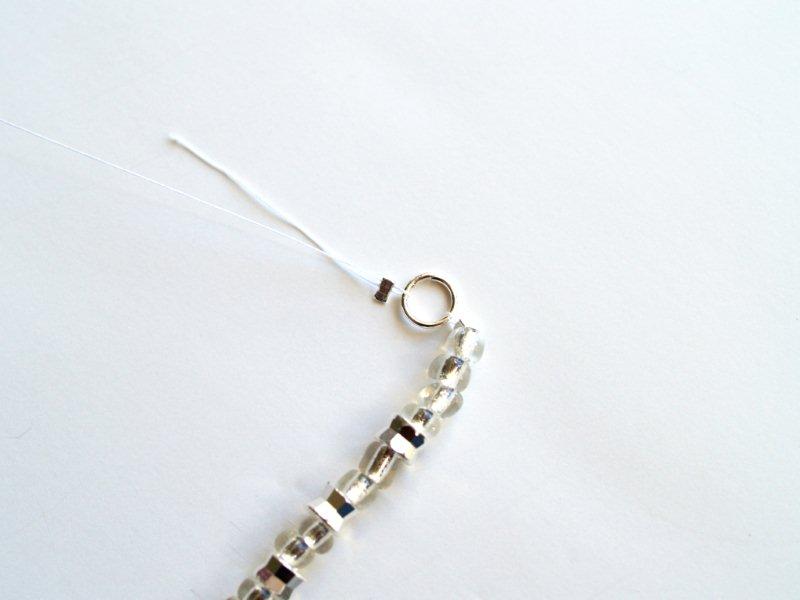
Add small beads to the cording – this time you want about 8 1/2″ of small beads.
Add your first colored bead.
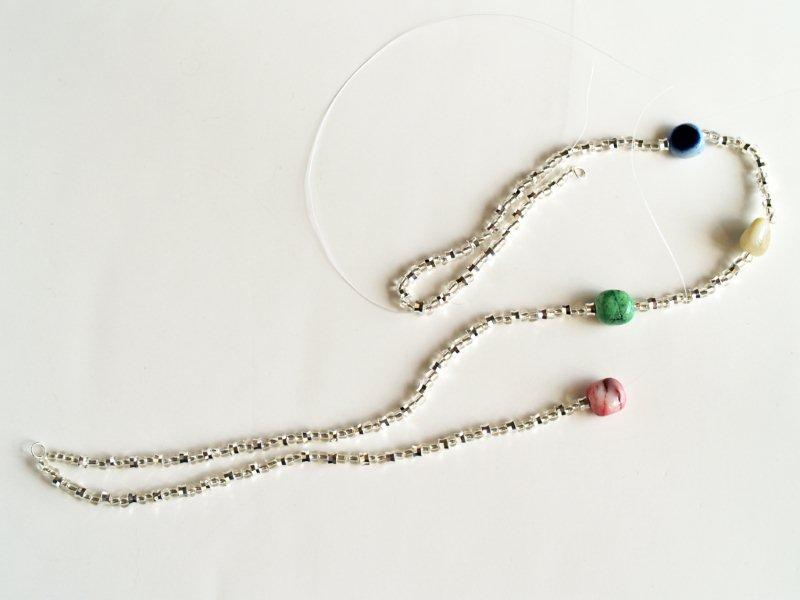
Add 2″ of small beads, then another colored bead. Repeat this step again so that you have 2 – 2″ sections with colored beads.
This last colored bead is your center bead of the long strand.
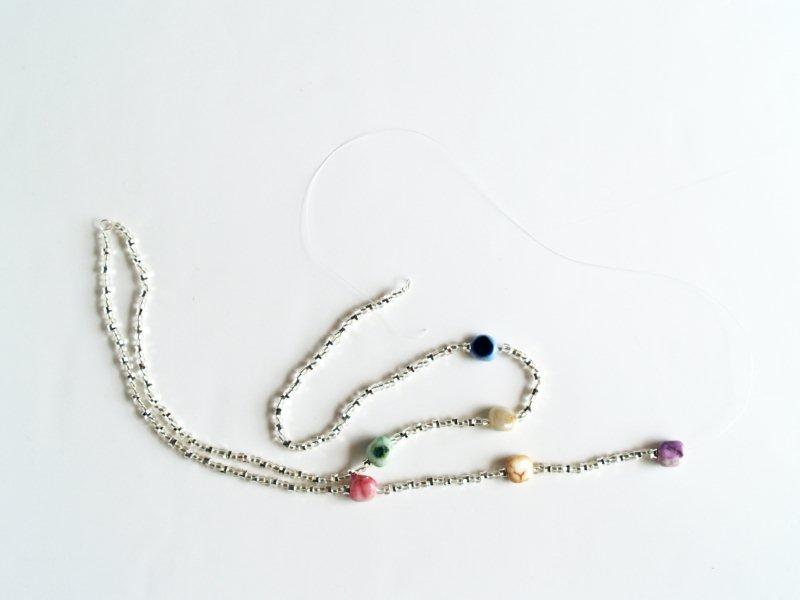
Work back up the cording, reversing your steps. If you are OCD a little, make sure that your small beads reverse their pattern as you make the other side of the necklace.
You will probably be the only one who notices unless you have people that are way to close to your chest. And then you have other problems besides the order of your beads.
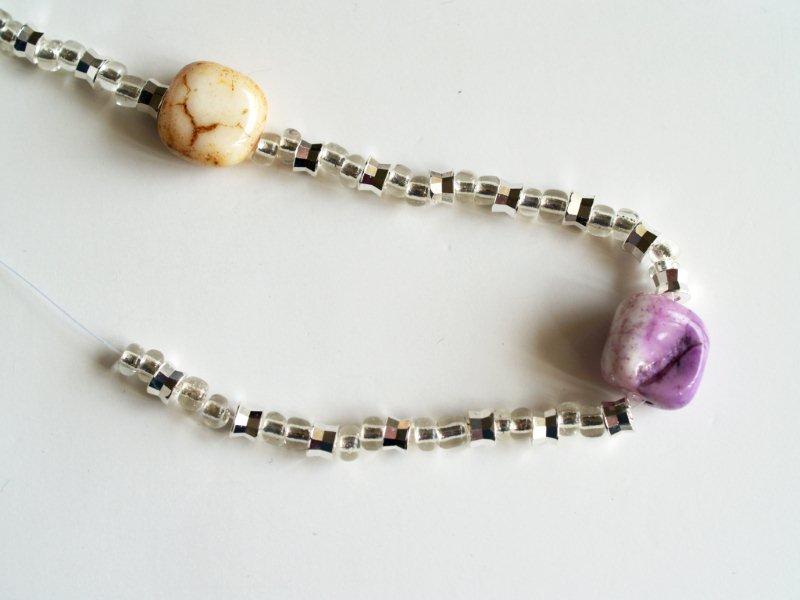
Repeat all steps finishing this strand on the same jump ring that you finished the short strand with.
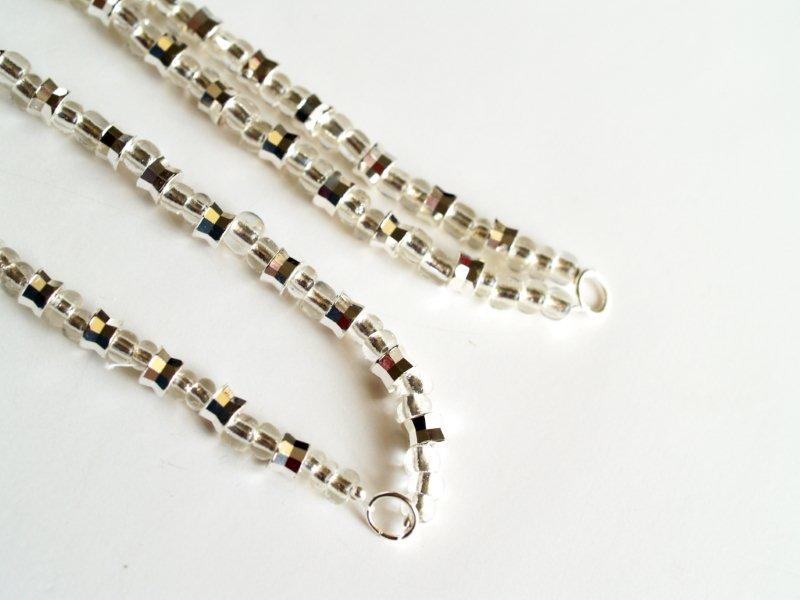
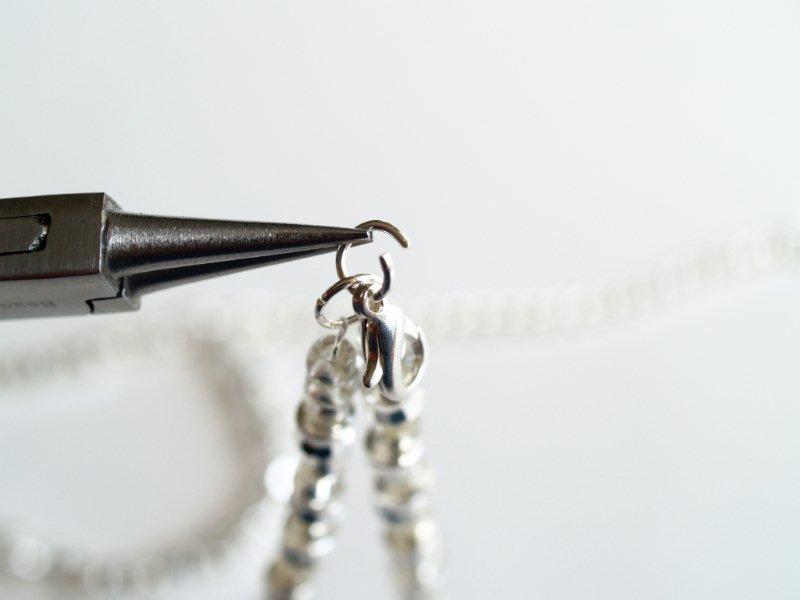
To finish off your necklace, add a large jump ring to the left small jump ring. Add the small length of regular chain to this large jump ring as well.
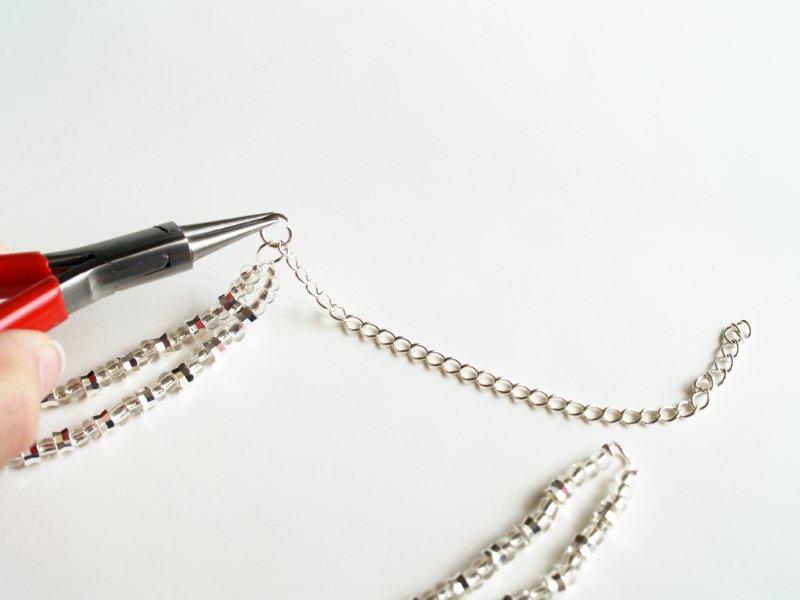
This will let you adjust the length of your necklace.
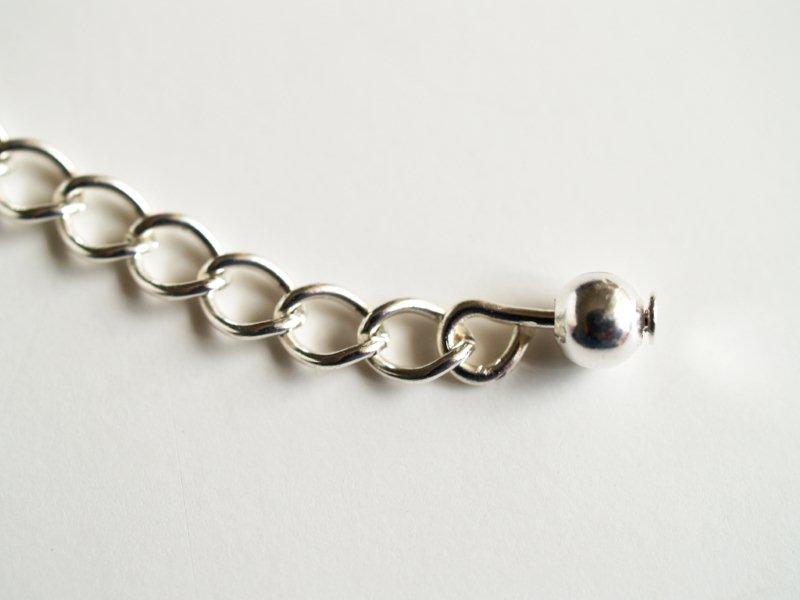
Add the small silver ball to a head pin and create a loop. (If you need detailed instructions on that, check out this post.)
Add the loop to the last link in the silver chain.
With the other side of your necklace, add a smaller jump ring to the ring the right side of the strands are attached to.
Add a lobster closure to that smaller jump ring.
Now you’re all finished and you have a super cute necklace that will go with almost anything!

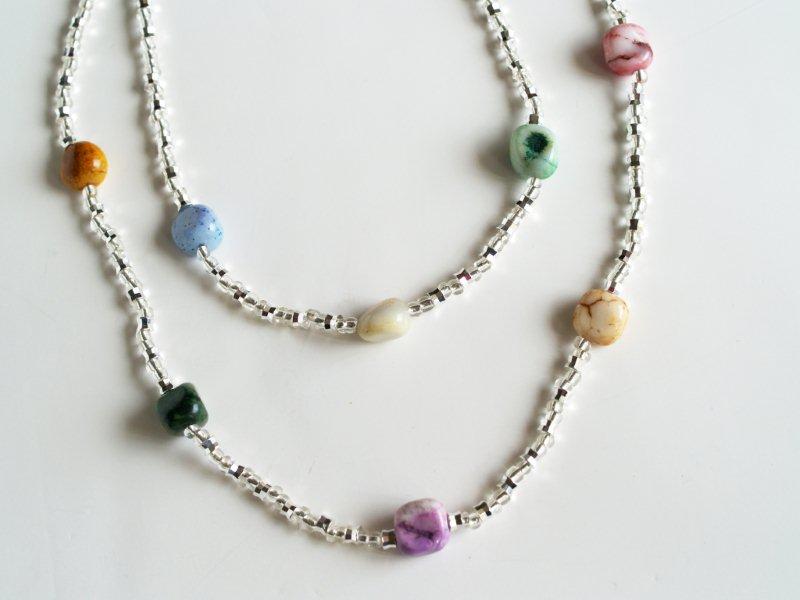
I like how the colored stones look a little like Jelly Beans. So fun and summery.
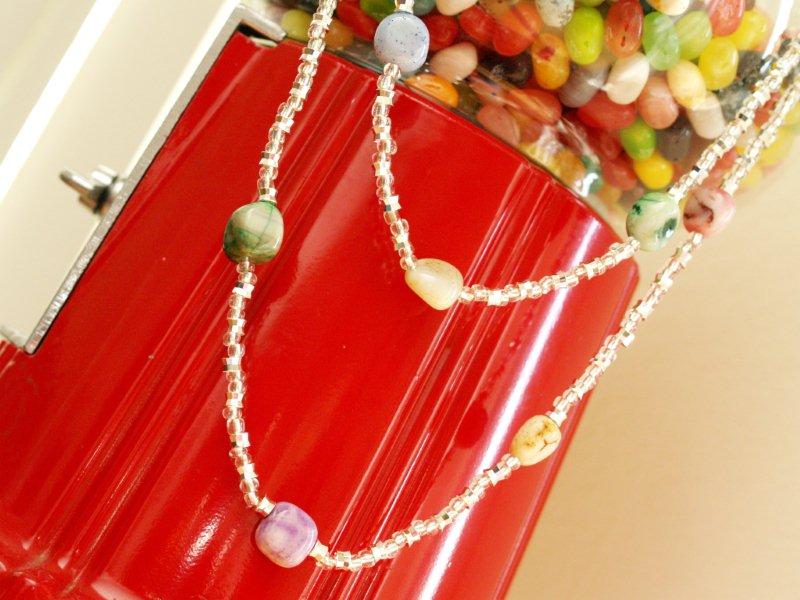
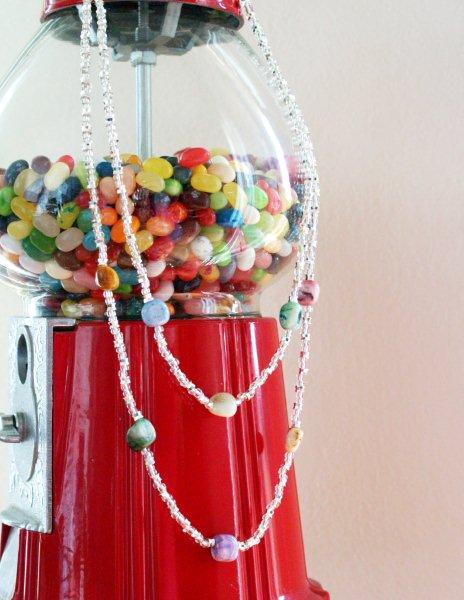
What do you think? I hope you like it!!
I’m linking to Sunday Scoop, Today’s Creative Blog, Met Monday, Skip to my Lou, Tutorials & Tips Tuesday,
and the other fabulous parties on the sidebar – make sure you check them out!


Thanks for another awesome tutorial..very smart :)
Really cute. The pic before the jelly beans ones makes me think of those diagrams in science class, of planets orbiting the sun! Thanks for the tutorial!
Cool! Thanks fro sharing!
I like this one. Very easy, but looks great. Thanks again for a great tutorial :)
Sweet necklace! Great photo styling!!!
Oh, that is adorable! I love those silver beads with the fun colored stones. Another fab knock off, Bev!
I love it! can’t wait to get mine :)
Wow! What a great tutorial. Why, I think even I could make one of those with the help you have given. It’s really lovely.
Gorgeous! I love how you displayed it. I would love it if you would link up to my Tuesday Confessional link party going on now: http://www.craftyconfessions.com/2011/07/tuesday-confessional-link-up-2.html. I hope to see you soon!
~Macy from Confessions of a SAHM
I LOVE it!! I’ll be wearing it everywhere this summer! :) Thanks again for the give away and sharing your incredible talents with us!
xoxo,
Amy
Hi Bev-
This necklace looks better than the actual anthro necklace. You have provided such a great tute too. Makes it so do-able. You have a knack for display – the gumball machine is the perfect backdrop.
Thanks for leaving me the nice comment about my dresser makeover. I look am looking forward to following you.
My best- Diane
Oh Bev ~ THIS is probably my favorite so far. Awesome. Great tutorial too. Thank you.
Oooh, love it! Going to have to give this one a try!
As usual, I like yours better!!
Another awesome tutorial and creation Bev! And once again, I like yours better. Thanks for linking up to this week’s BFF Open House!
This is a great tutorial. Very thorough, awesome pics. You make it look so easy – I am definitely going to try this.
Wow looks like the real deal! Great job!
Stopping by from the Sunday Showcase Party.
Would you please link this up to My Favorite Things Friday Party! I would love it if you did =D
Thanks
~Iffy~
http://www.stayathomenation.blogspot.com
This is a great, affordable solution and anyone would be happy to have it around her neck.
As always…I like your version better than the original! And the photos of the necklace on the gumball machine are fabulous!
Thank you for linking up to “A Little Birdie Told Me…” Bev!
Jenn
Love this. .so elegant. TY so much for the instructions!
Beautiful… Do you think this would work on a soft wire? Or would it hang too stiff?
I like your version better.
Gracias por compartir conocimientos, sobre todo para los habitantes de paises en crisis como Venezuela, collar lindo con pocos recursos.
Hi! This is fabulous? I am new here but getting into jewellery making – I am a little confused how you attached the fasteners – can you help with another post to help a newbie? Thank you and excited to continue to learn from you! :)