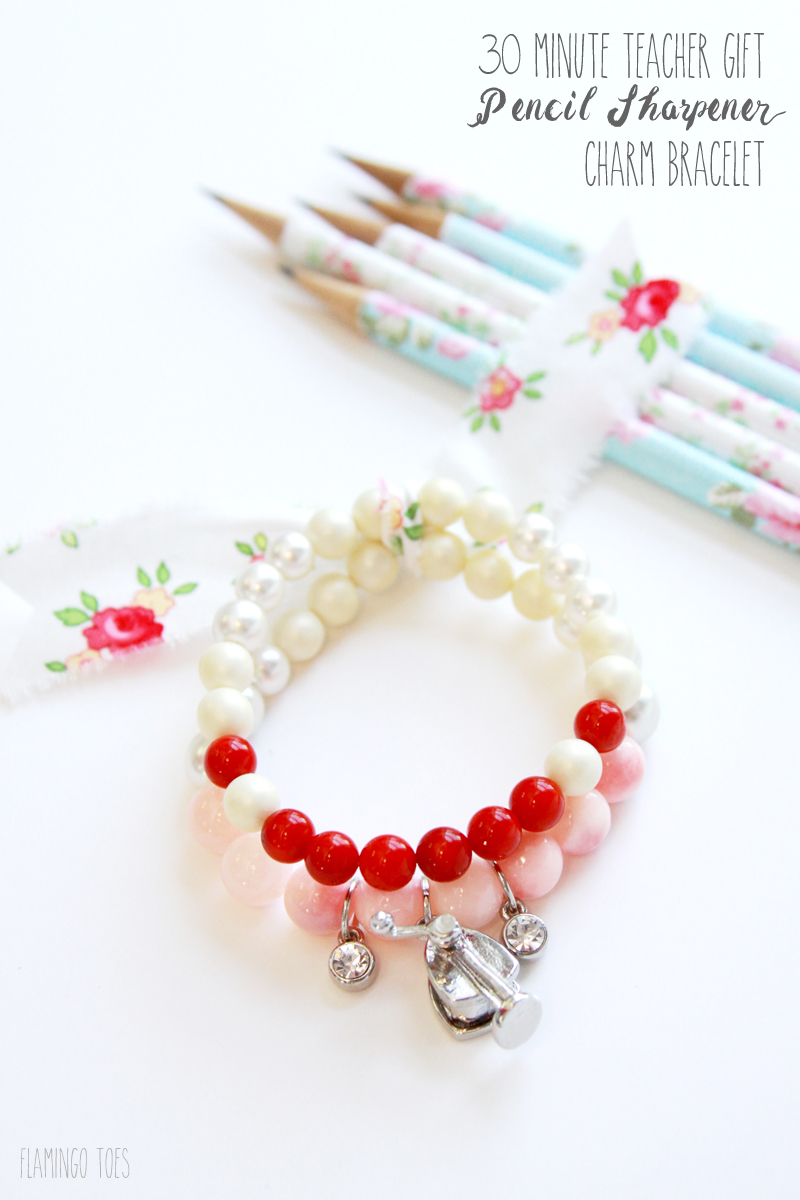
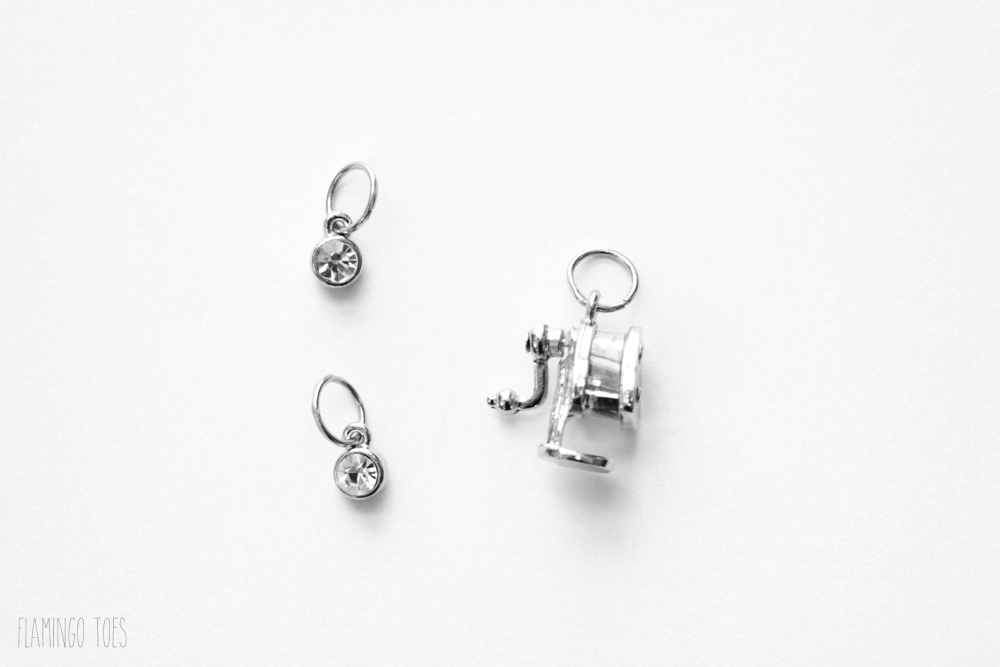
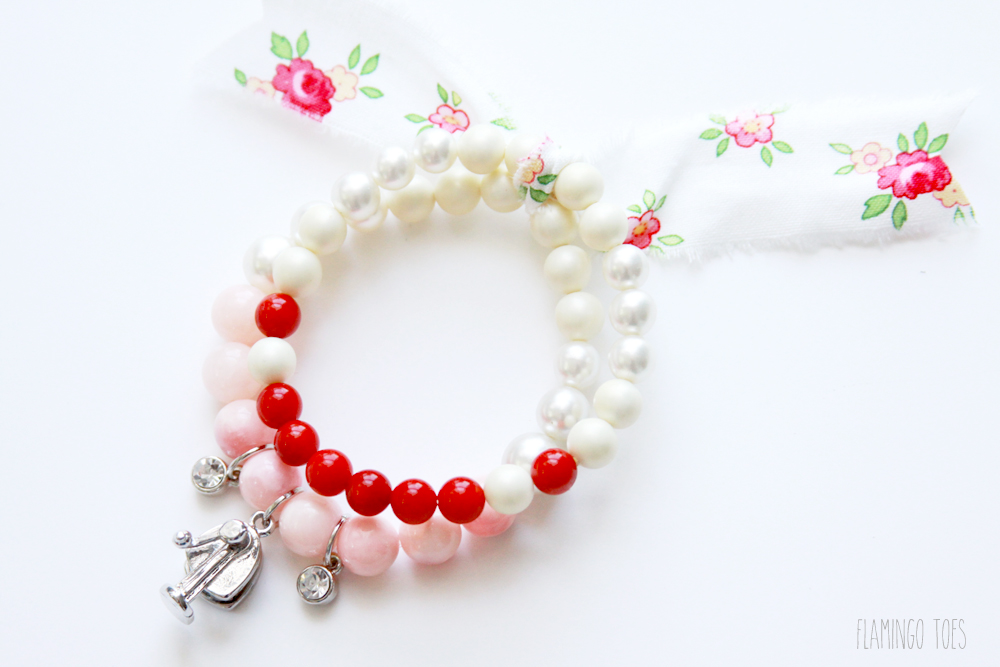
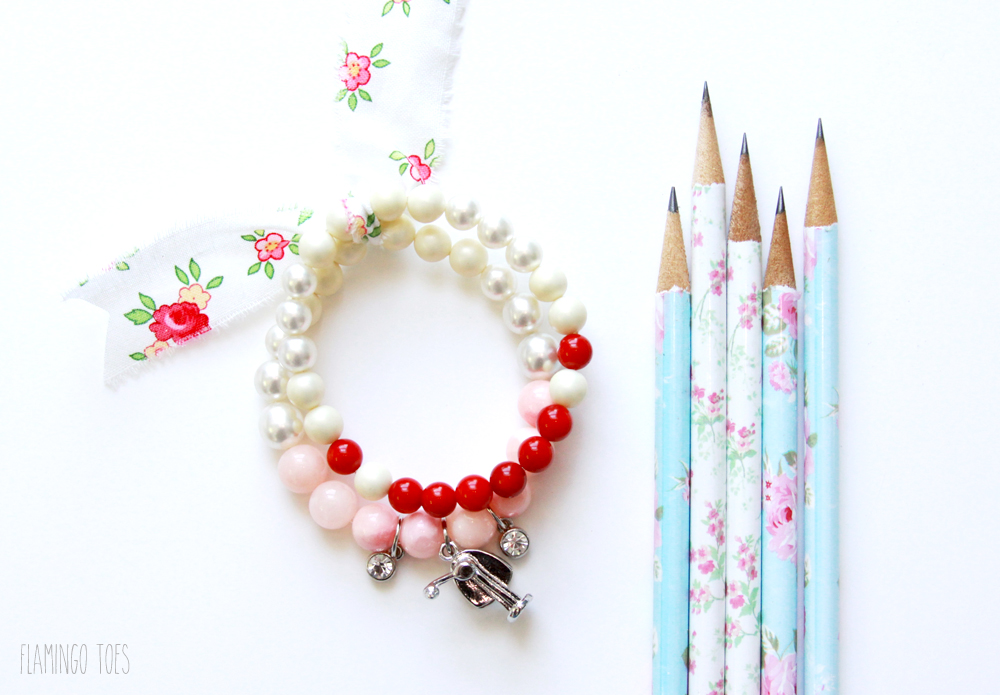
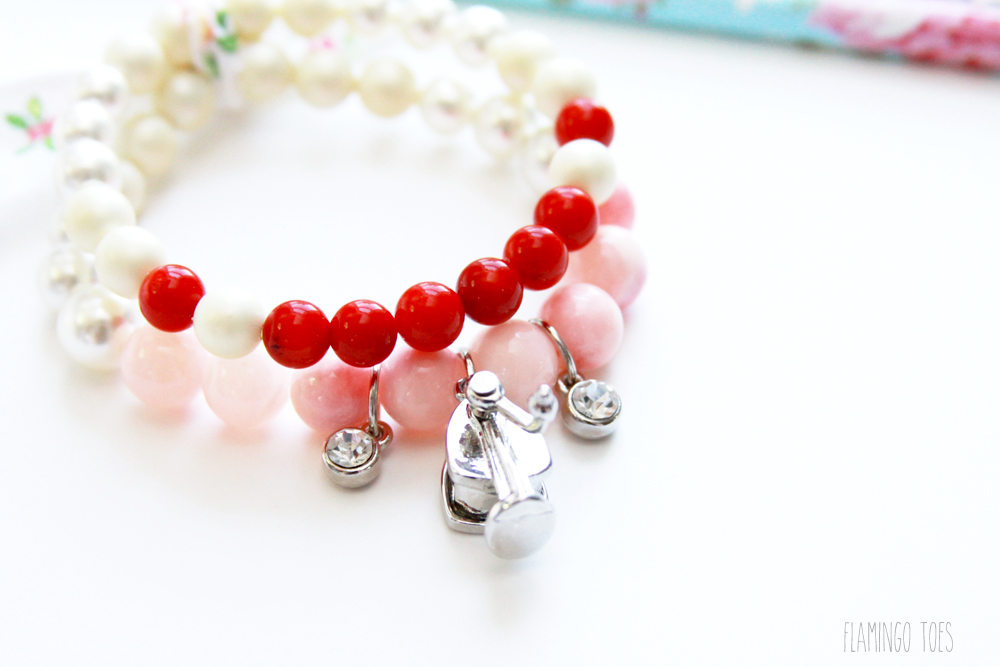
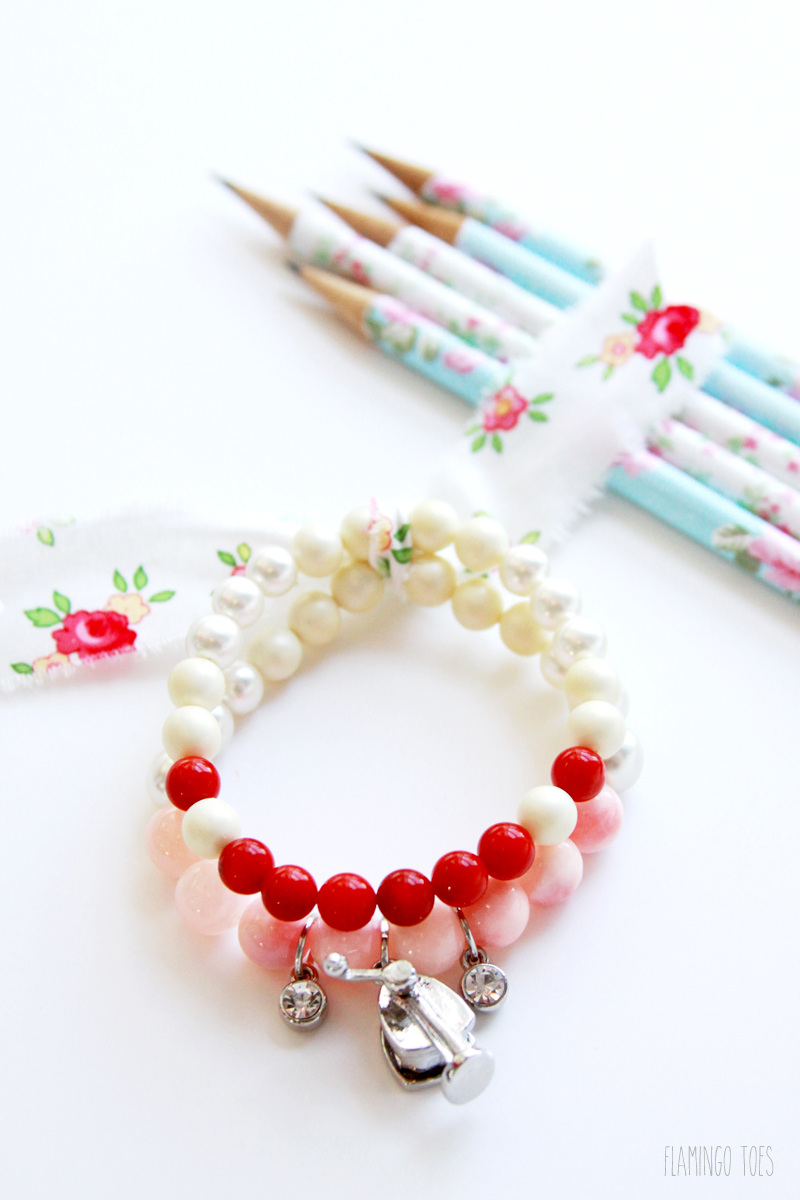
It’s almost time for those year-end teacher gifts! Today I’m sharing this pretty Pencil Sharpener Charm Bracelet – it’s a cute gift with a hint of fun! I love the little retro pencil sharpener charm – it’s perfect as a teacher gift without being too over the top you know?
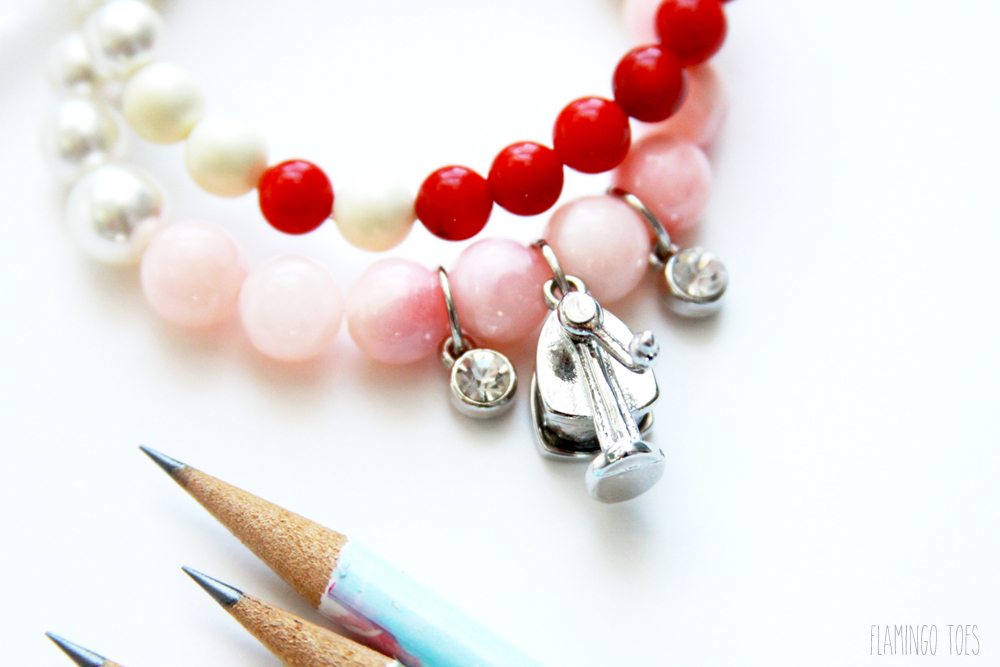
It’s a super easy bracelet to make too – these stretch bracelets take just a few minutes to make up and you can easily switch up colors, beads and charms! I fell in love with this little sharpener charm as soon as I saw it though. The handle even turns!
You could pair it with a pretty set of pencils, or even better a gift card to their favorite book store or coffee shop!
How to Make a Pencil Sharpener Charm Bracelet
Ready to get started? Here’s your Materials List:
- 15″ of beads – mix or match your colors or sizes
- 3 Jump rings – these should be just a little smaller than your largest beads
- 3 charms – you can mix up these too!
- Stretch Cording
- Fabric Scrap
- Jewelry Glue (optional)
- Scissors
Usually charms come with a little ring at the top. Add each of these rings to a large jump ring.
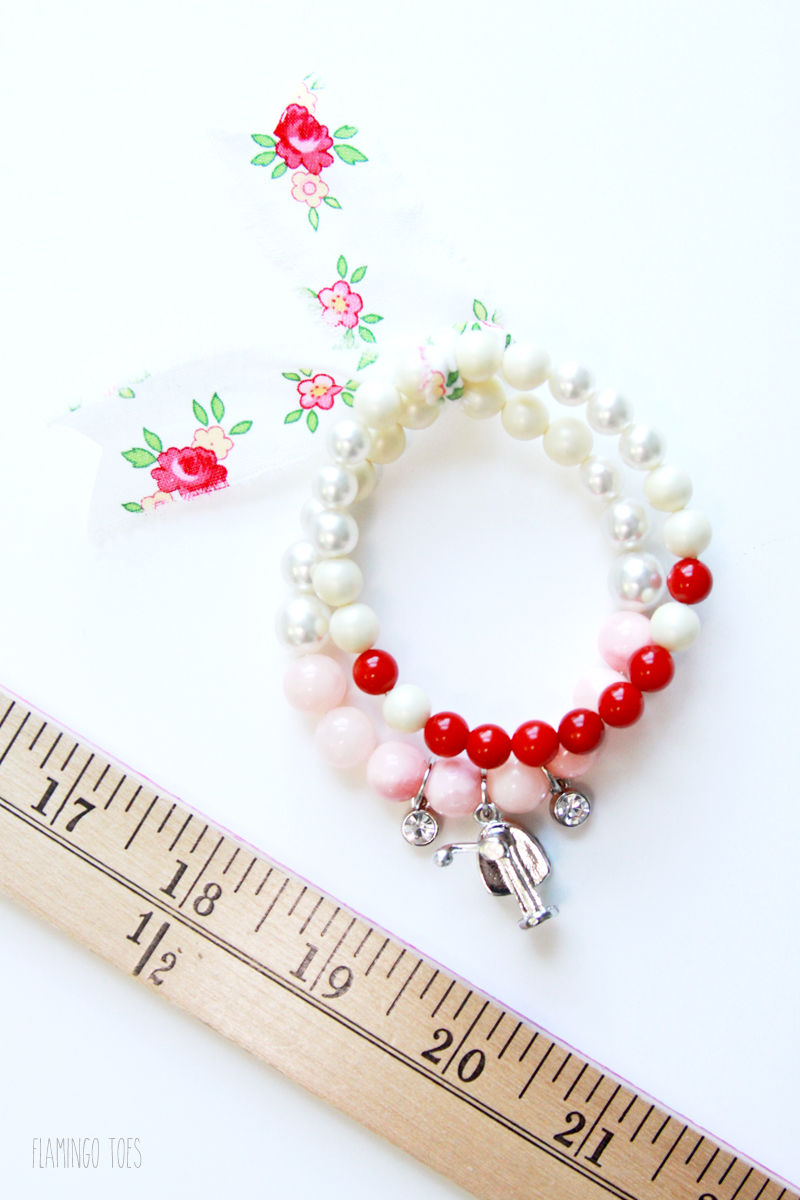
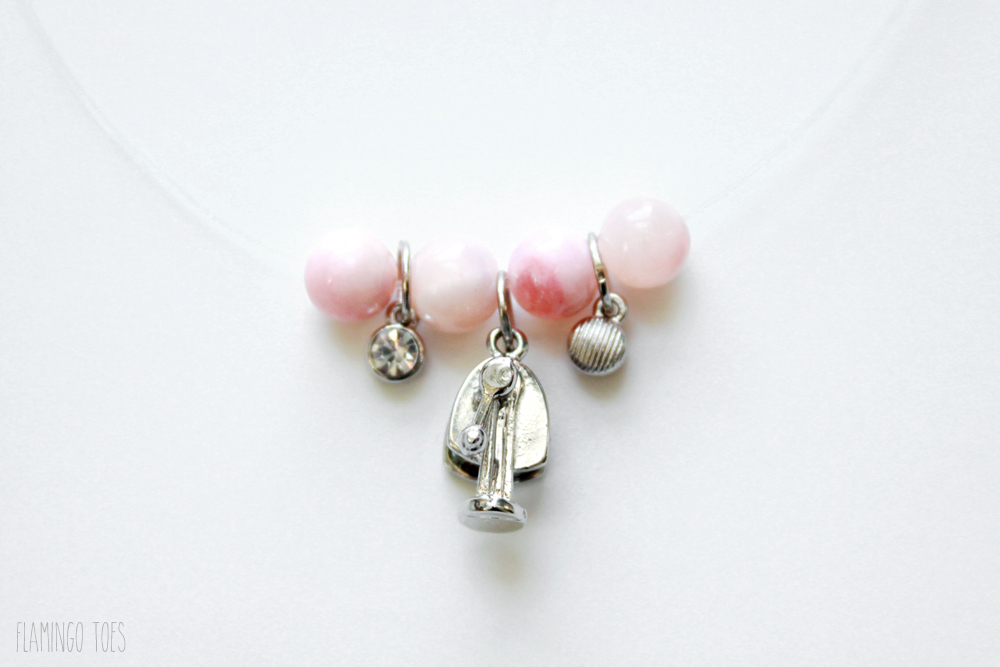
Lay out your beads and decide what order you’d like them in for each bracelet. Try to keep your larger beads in the center of your bracelet and the smaller beads out towards the sides.
Cut a 10″ length of stretch cording. Feed your largest bead onto the cording and the jump ring for your largest charm. Add another large bead to the cording. Add a smaller charm on each side of the beads, and a bead on each side of those smaller charms.
Continue adding beads to the bracelet until it is just over 7″ long. (Adjust if you need to make your bracelet larger or smaller).
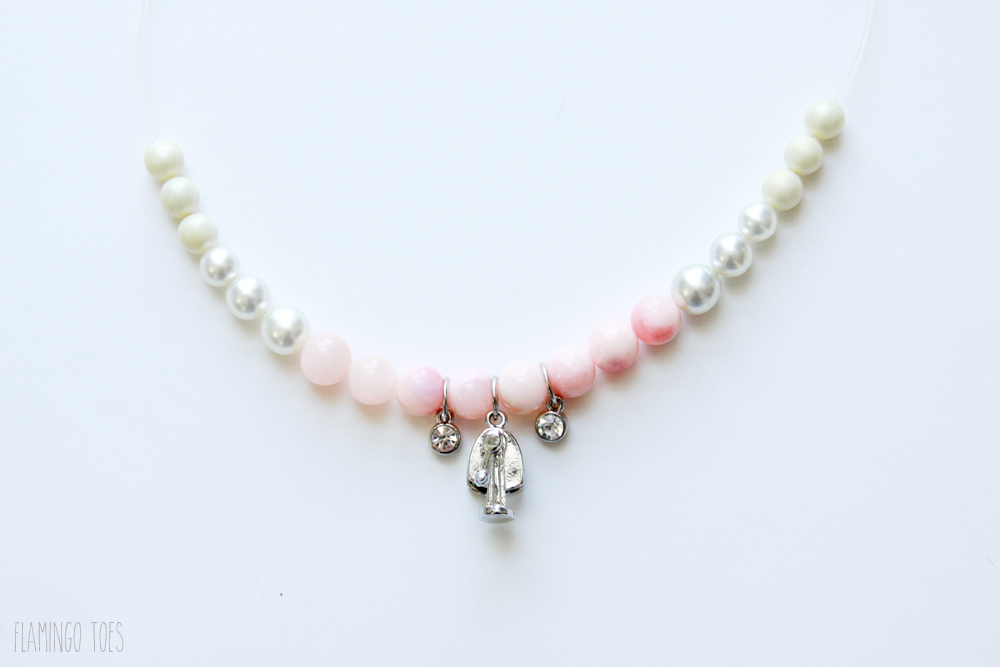
Bring the ends of the cording together and tie a surgeon’s knot in it. Pull the cording up so that the beads all touch, but the cording isn’t stretched. A surgeon’s knot is the same as a regular knot, but on the second part of the knot you wrap one side of the cording around the other side twice, instead of just once, before pulling the ends tight.
You can add a little dot of jewelry glue to secure the knot if you want.
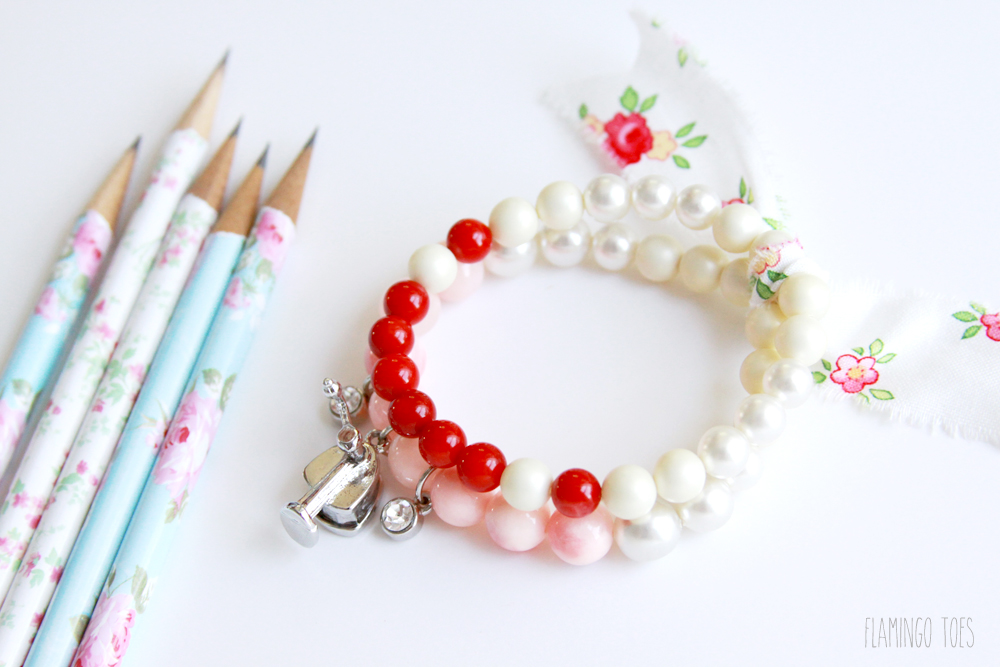
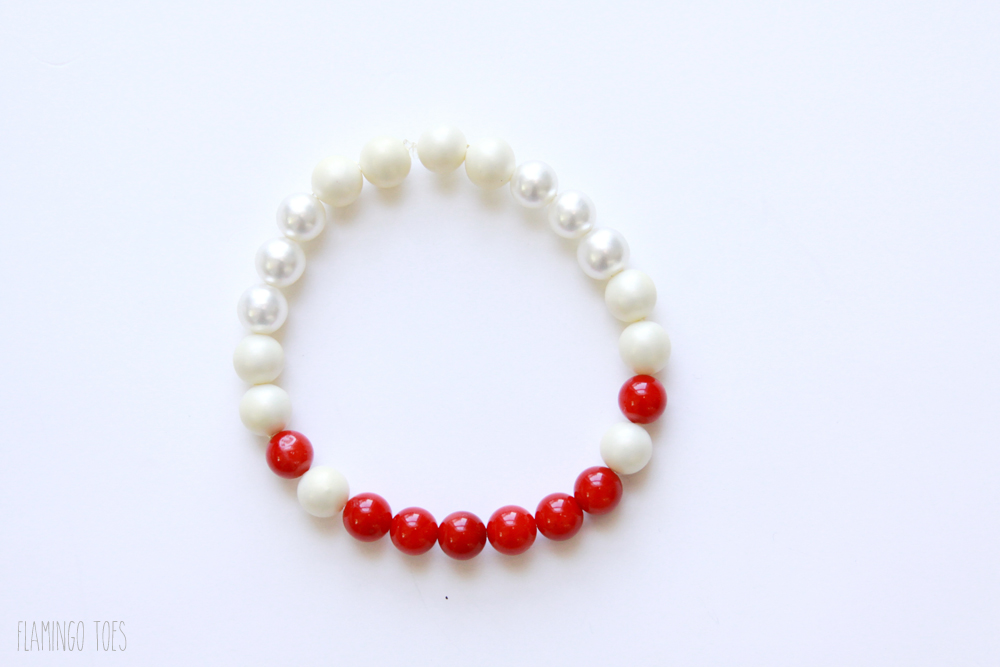
Repeat for a second bracelet, using similar color beads.
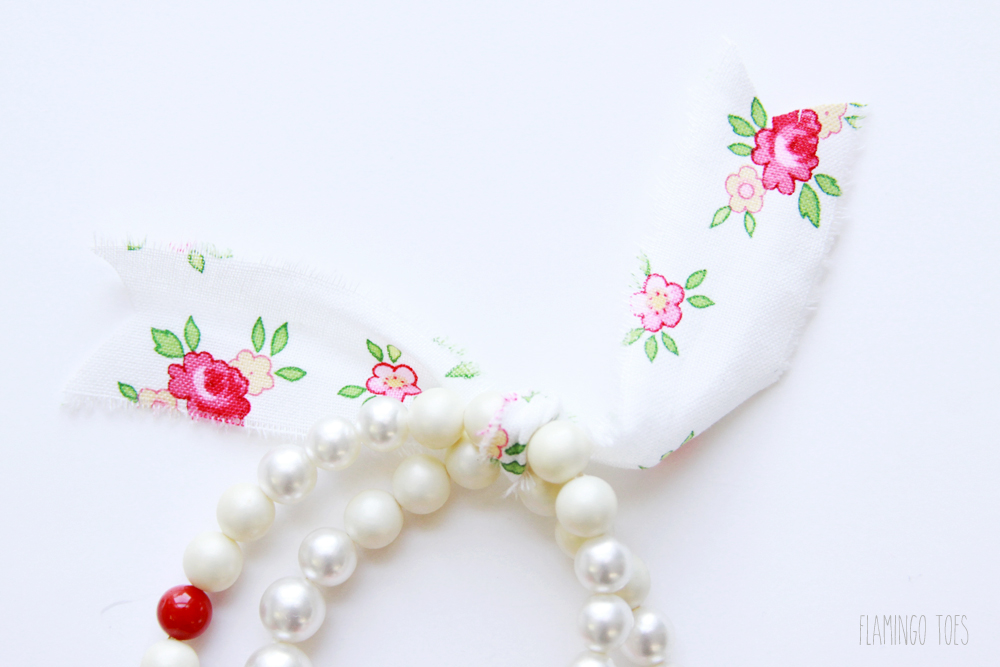
Line up the knots in the bracelets and tie a small scrap of fabric around the back of the bracelet. Knot the fabric and cut the ends in a cute triangle.
Now you have a cute bracelet set that makes a perfect gift!
I’d love to see a photo if you make one up!


So, where did you find that adorable charm?
Hi Barbara,
I believe it was a Michaels! I looked on their site and it wasn’t available online but I’m almost positive I found it there! Sorry I’m not completely sure!
Thanks for letting me know. I live in the boonies- no craft stores, bookstores,hell, not even a coffee shop! Next time I get to a town with stores I’ll be certain to check.Thanks!
No problem Barbara! I certainly understand about the boonies! :) You might try ebay too – another reader found some cute ruler and calculator charms there so you might be able to find something that will work for you. :)
Brilliant gift. I found some little ruler charms and some little protractors and calculators too on ebay. I am making one for myself (I teach maths) x
Ohhhh that’s awesome Lucy!! I’d love to see a photo when you finish! :)
Thanks Bev & Lucy.
Adorable! Jewelry is ALWAYS a fun gift. :) I love that little charm!
This makes me want to start making jewelry – especially that cute little pencil sharpener charm! so cute, and I love stretchy bracelets!
This is really cute. My daughter is in middle school she could make one for her piano teacher. Thanks for sharing at the #InspirationSpotlight party. Pinned & shared.
thank you for the cute idea and tutorial. I have been a fan of your jewelry posts for a long time and also own your book! Here is a photo of mine: http://i16.photobucket.com/albums/b36/sarastattman/jewelry/0DSC_0573.jpg
That is so darling Sara!! I love them! Those charms are just perfect. Thanks for including a photo!