I have another fun last-minute gift idea for you!
I was browsing Pinterest last week and came across a great bracelet that led me to a shop I’d never heard of, Sundance.
They have some fabulous jewelry! I fell in love with a little gem and knew that it would make a great homemade gift.
It’s quick, easy, and you can customize it with any color you want!
Sundance calls it the Two Part Harmony Bracelet – it’s a great blend of beads and leather.
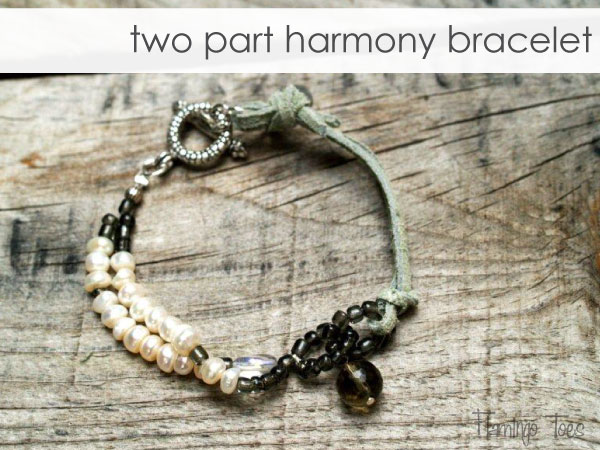
Here’s my version:
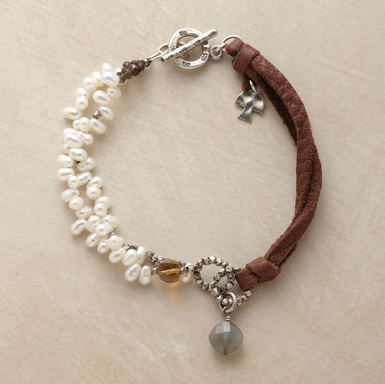
And here’s the Sundance version:
Here’s what you’ll need to make your own:
Assortment of pearls and beads
(mine are seed beads and small pearls, as well as a large bead for the center and a silver charm for the back)
Leather – about 14″
cording
crimp beads
1 head pin
jump rings
toggle closure
Cut a 12″ strand of cording. Thread 1 1/4″ of seed beads onto the cording. Thread a crimp bead on one end.
Thread the other end of the cording through the jump ring, going the other direction. Pull until the beads have formed a circle.
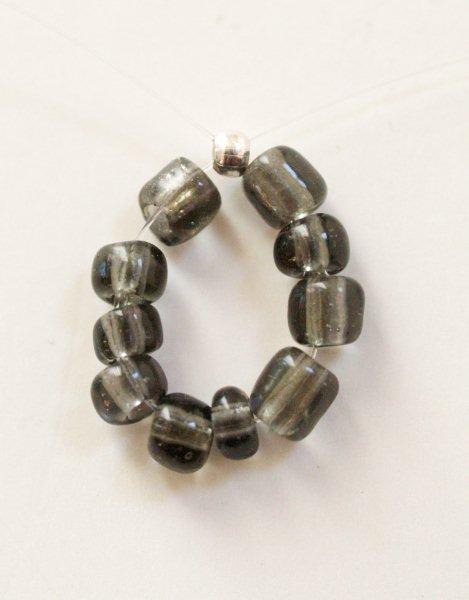
Flatten the crimp bead with flat nosed pliers.
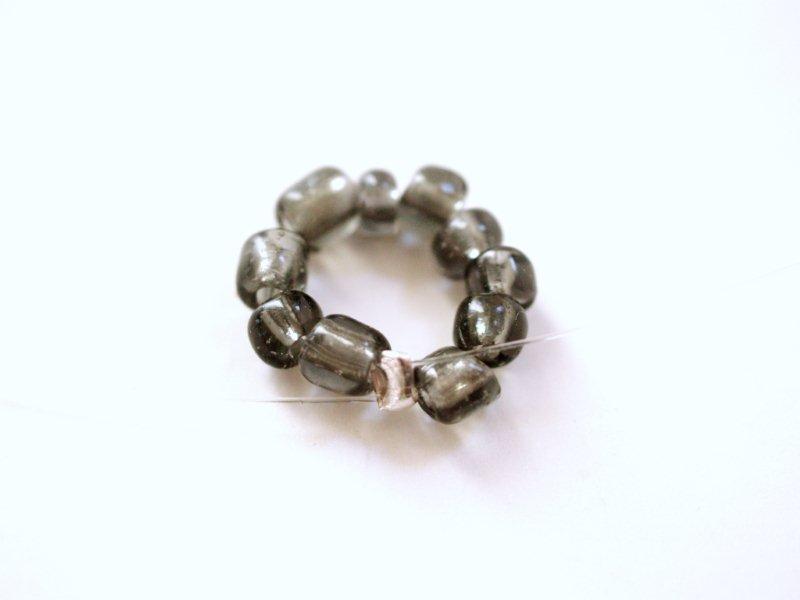
Begin threading beads and pearls onto the two strands.
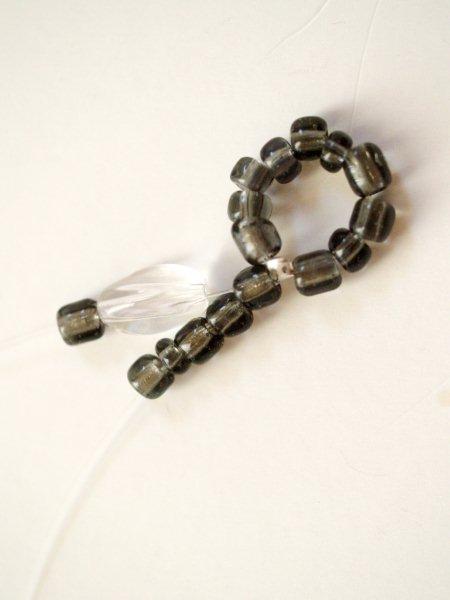
Add beads until the strands each measure almost 3″. Add one more seed bead to one strand of cording. Feed the other strand of cording through this bead as well, so they both bass through.
Add a crimp bead after this and loop both strands around a jump ring. Loop both strands back through the cording and crimp the bead flat with your pliers.
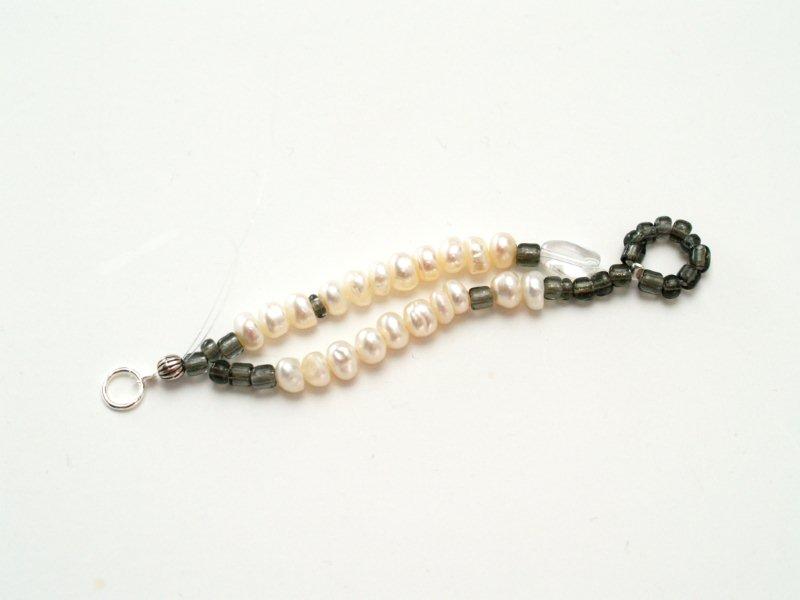
Feed the cording strands back through several of the beads, then trim the ends.
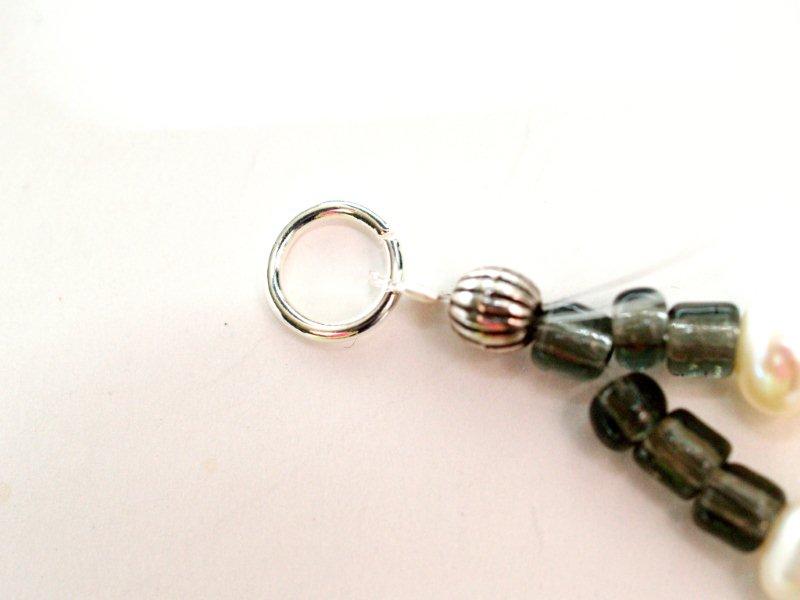
Cut another piece of cording, about 3″ long.
Thread 1 1/4″ of seed beads onto the center. Add a crimp bead to one side. Thread the other side through the loop you made on the original strand.
Make a loop through the crimp bead with these beads like you did before.
Flatten the crimp bead and weave the ends of the cording back through a few beads. Trim the ends.
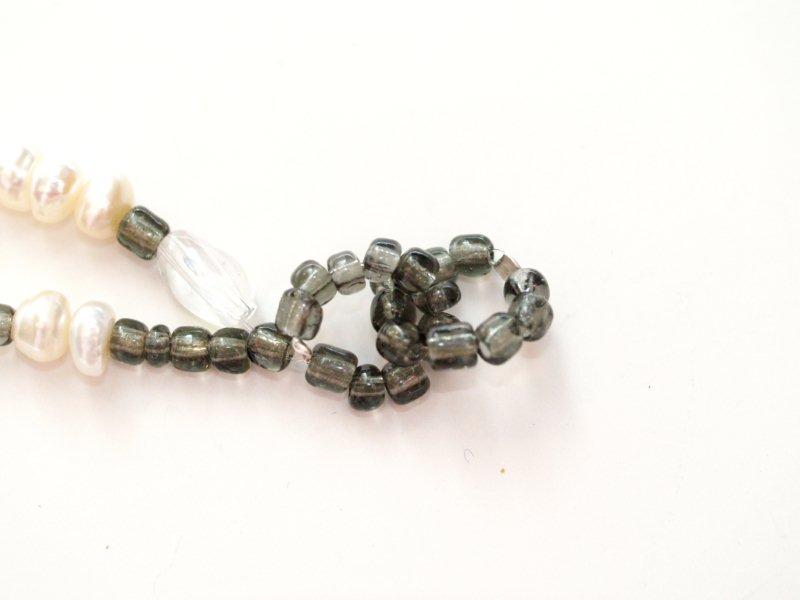
Cut a 14″ piece of leather cording. This is more than we need, but it’s easier to make the knots if you have a little extra length to work with.
Loop the leather through the bead circle you just made. Tie a knot in the cording just below the loop.
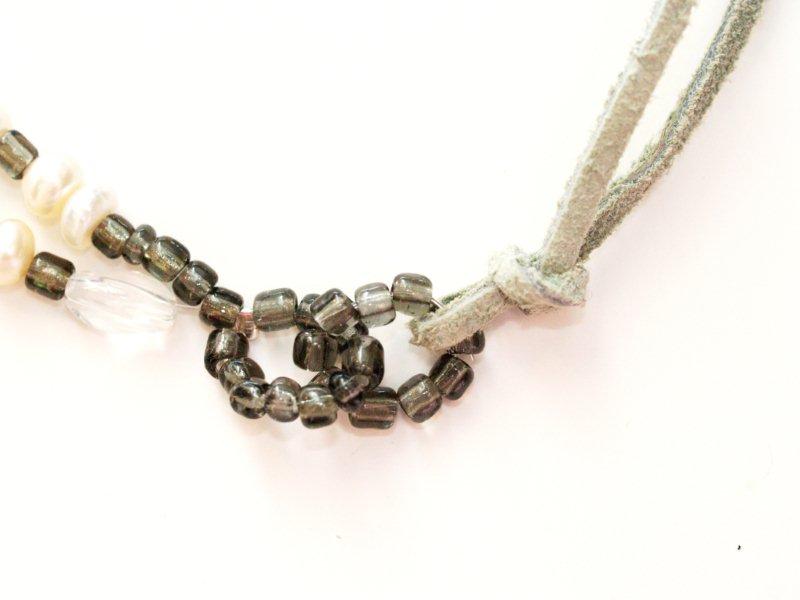
Loop both the cut ends of the leather through a jump ring. Knot the leather on the other side of the jump ring. The length of leather should be about 3″.
(Check the length or your bracelet at this point and lengthen or shorten the leather if you need to)
Trim the ends of the leather.
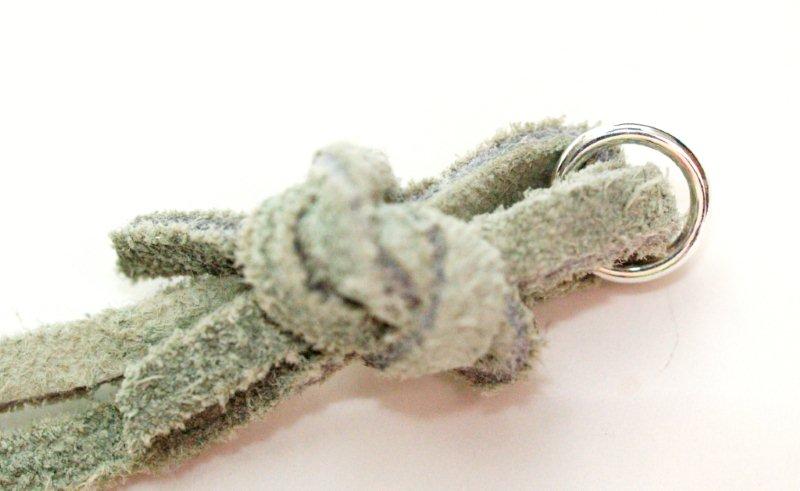
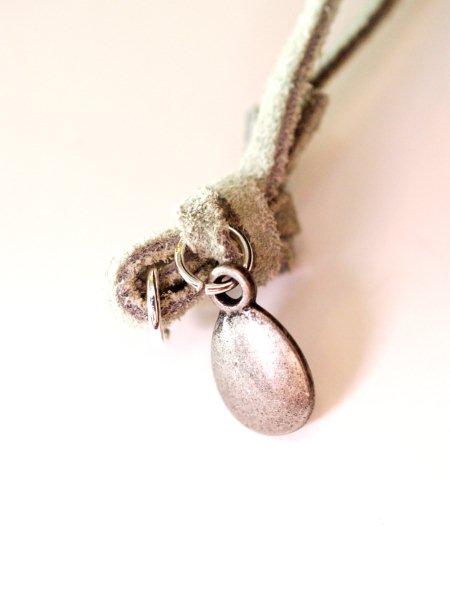
Add a bead or little charm to a jump ring. Add the jump ring to one of the loops in the leather knot.
Add the toggle pieces to each end of the bracelet.
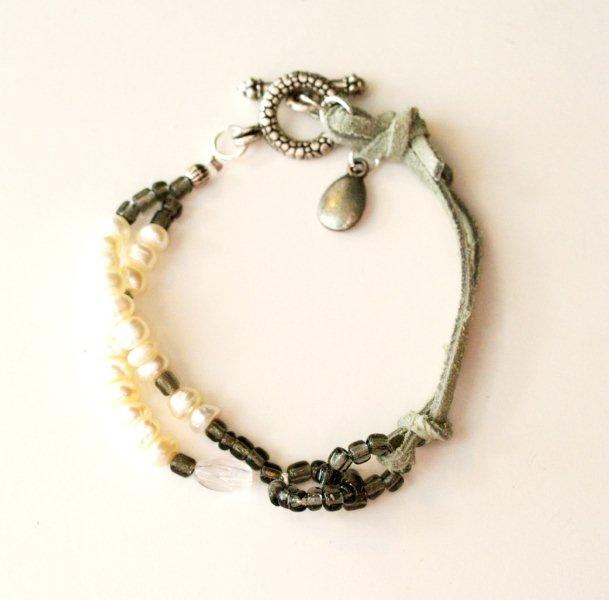
Add a larger bead to a head pin. Make a loop above the head pin. Add this loop to one of the seed bead circles in the center of the bracelet.
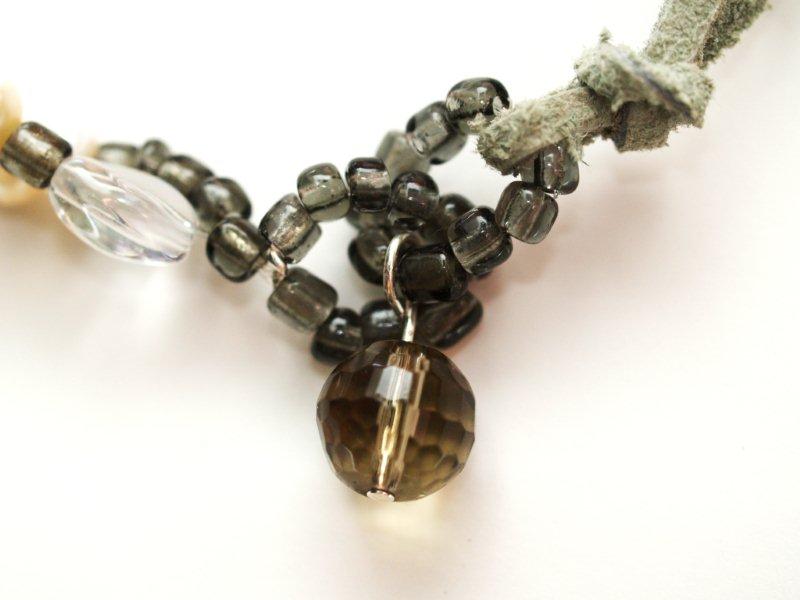
That finishes your bracelet!!
Fun right? And – you saved money – the designer version of this is $95!!
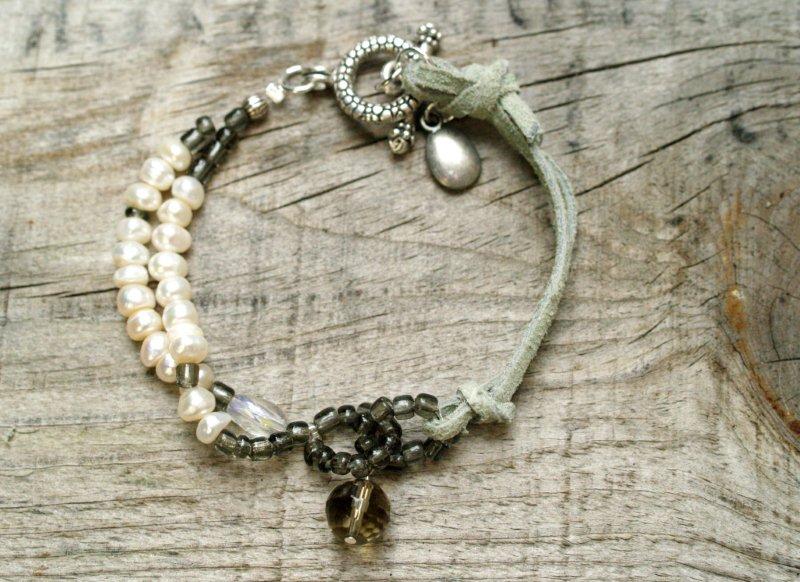
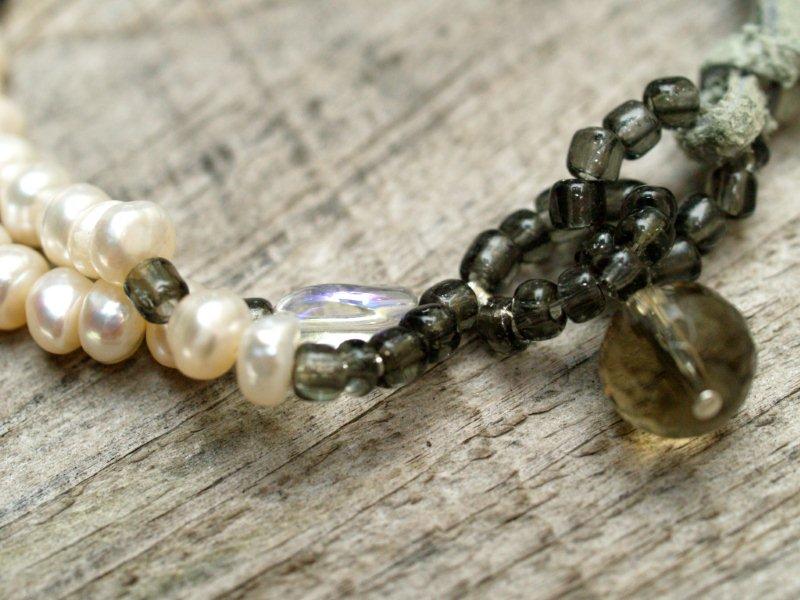
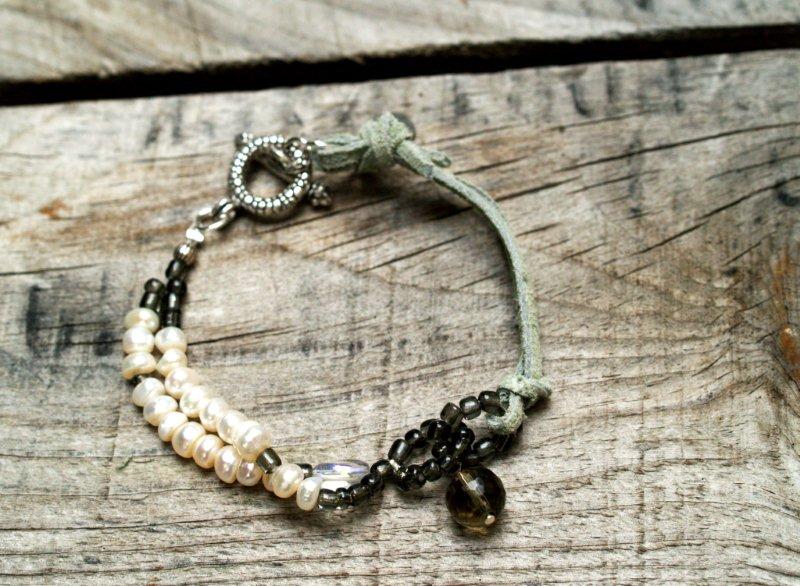
I hope you like it! :)
(This was originally published as a guest post over at The Scrap Shoppe)
I’m linking to Sunday Scoop, Today’s Creative Blog, Met Monday, Skip to my Lou, Tutorials & Tips Tuesday, Funky Junk Interiors, and some of the other fabulous parties on the sidebar – make sure you check them out!


I love this bracelet, Bev! Such a fun mix of media. Thank you again for sharing this during my party! You rock! :)
Bev, yet another beauty! You make me think I could try this — even with my luck ;)
OOO I want one! This is so pretty!!! Great Job :)
I’m a new follower and I look forward to seeing more from you.
-Jen
beautiful job bev! I love it!
That is so gorgeous!
Really love this.. Amazing job : ))
I’ve had some leather cording I’ve been wondering what to do with. This is perfect! Great tutorial!
Yours is prettier! Love that leather cording!
Love both versions, very now. Isn’t it great to be able to put our creativity to work and make awesome stuff?
bev, this is so sweet & i LOVE the photos on that lovely wood!!!! so so cute!
Gorgeous Bev! You continue to amaze me!
Such a beautiful bracelet, Bev!
Thank you so much for being a part of the holiday spirit at Rook No. 17 last Tuesday. Can’t wait to see what you have to share today!
Warmest wishes,
Jenn
Somebody pinch me…this website is stellar! I’ve always wanted to learn how to make these my own jewelry…and here it is! Question…what type of cording do I need for this bracelet? Are there different kinds of cording?
Love your version, great stuff!
Great website here! Thanks for posting such pretty and instructional pieces. I get the Sundance catalog at home and the first thing I do is rip out all of the jewelry pages. I have gotten a lot of inspiration from them myself. Thanks for making the instructions easy to follow.
Great pieces. First time visitor, but will be back for sure!
Wow! I get that Sundance catalog also. I love their jewelry, but cannot justify spending those prices. Your instructions are very good. Thank you for sharing and being so detailed. I think I can do this. My oldest daughter loves jewelry that incorporates leather cording; I may just surprise her with this for her birthday.
Great bracelet – yours is even better than the original!
What kind of cording do you use to string the pearls? It’s hard to see in the photos. Love the bracelet!
Any bead cording or string will do great! I used a clear cording that was thin enough to string through my little pearls. You just don’t want to use a stretchy one or one that’s too thick for your beads. I got it at Michaels!
Anyone who could craft this one is plain amazing. And now we know how to do it, another learning added to my DIY skills. This is lovely for souvenirs and gifts. And it looks priceless!
Just made my version! I love it. Thanks for all the DIY ideas!
Thank you for this cute bracelet. I made one inspired by your tutorial.
thanks so much for sharing.Great tutorial & easy to understand.
Beautiful!!
Thank you for the tutorial. It was very easy to follow and i made a gorgeous bracelet!
Thank you so much, Bev!
What do you mean by cording ? Like wire? Thanks can’t wait too make one
Everything was going great until the end. How do you make that last knot so small?
Thank u! I just made one using keshi petal pearls & peacock beads, love it! I don’t like crimping, so used wire instead of cord & an extra seed bead instead of the crimp. This is such a versatile and easy pattern, pretty sure i’l b making lots more!
No kidding, i’ve made 5 bracelets and modified the pattern to make matching necklaces, and WOW do i get compliments! If you haven’t tried this pattern yet, what are you waiting for?????
Thank you for the tutorial. I made a gorgeous bracelet! I have my own handmade gemstone jewelry shop. I have created many handmade jewelry pieces.
Love this. Just made one with peacock pearls, purple suede, smoky quartz and silver findings. Gorgeous!
Love this bracelet! I just found you on Pinterest – thanks for posting the instructions! I have all these items anyway….(no surprise) I’m going to make one….and maybe another!