
I don’t think you can have too many totes – do you? I mean, you need to have different totes for different occasions – and for different outfits right?
I think so too.
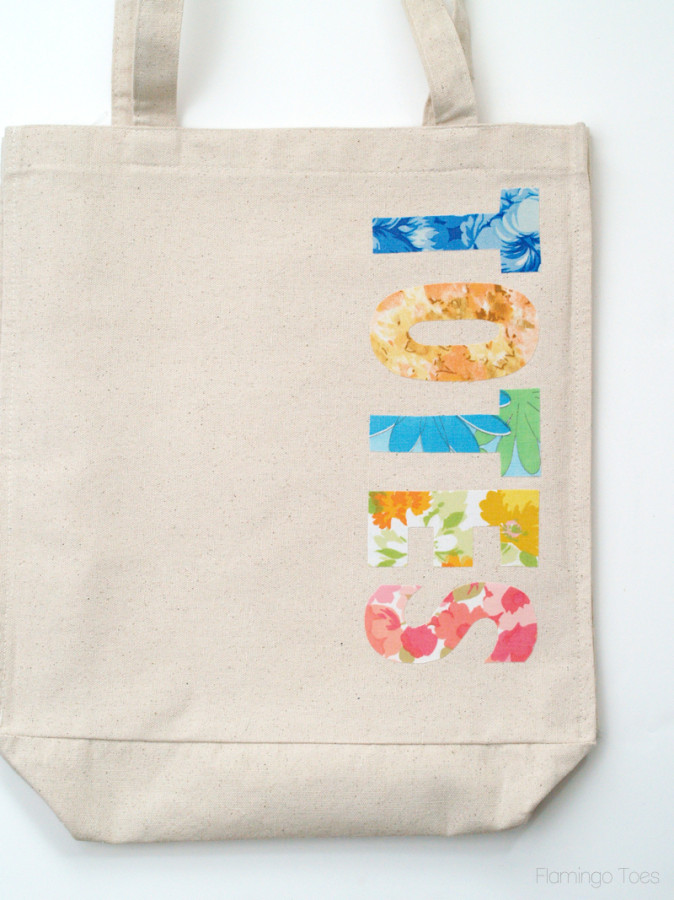
A month or so ago I came across this list of the 50 Best Bags of Fall 2014. Some of these bags are pretty awesome, I see more knockoffs in our future. Some are . . not so awesome. But one bag was this fun brown tote that said “Totes”. I mean, a tote, with “totes” on it? Mind. Blown.
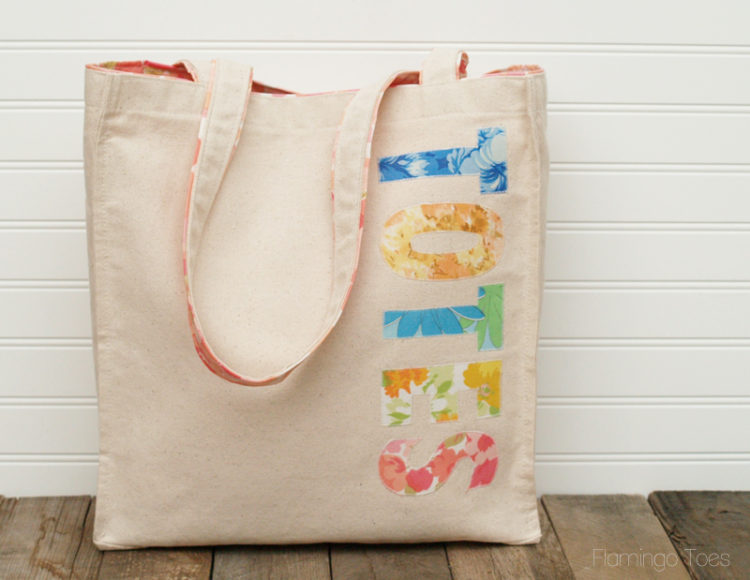
Of course I had to make a bag of my own, but with my own style twist on it. While I love plain brown leather, I wanted something a little more colorful. With a little vintage flair of course.

My version is super easy to do too! I started with a ready-made canvas tote and dressed it up with colorful fabrics. I also added a lining to the inside and the straps, just for a little more color.
Ready to get started? Here’s your materials list:
This is based on my tote which is 17 1/2″ x 17 1/2″ and 30″ x 1″ straps
- Canvas Tote Bag (purchased, or you can make your own)
- fabrics for letters
- fusible webbing
- fabric for lining of straps and tote (amount will depend on your tote size)
- Pattern for letters (may need adjusting, depending on tote size)
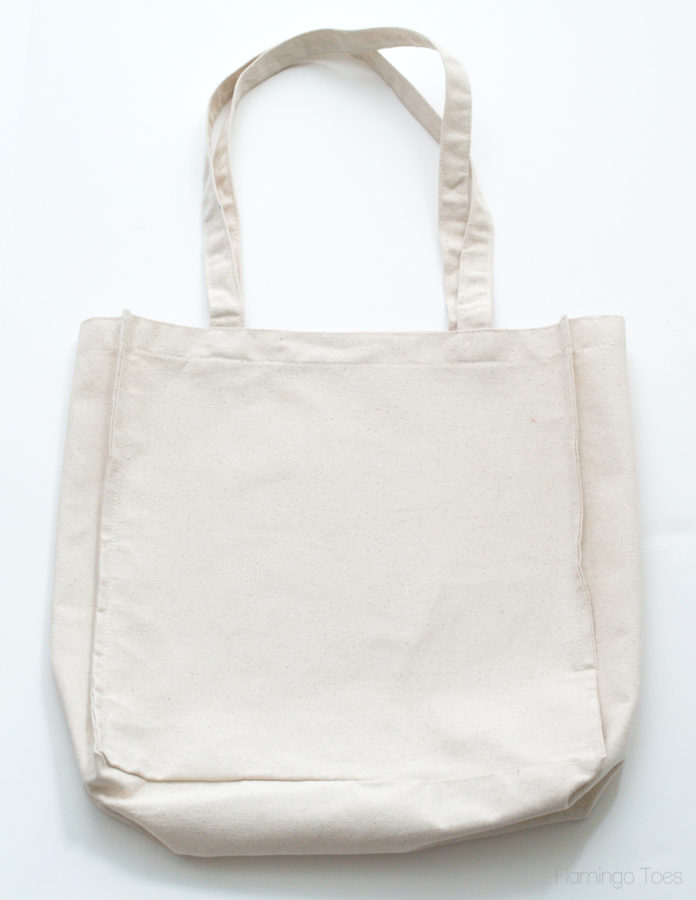
Start with a basic canvas tote. You can make your own if you want.
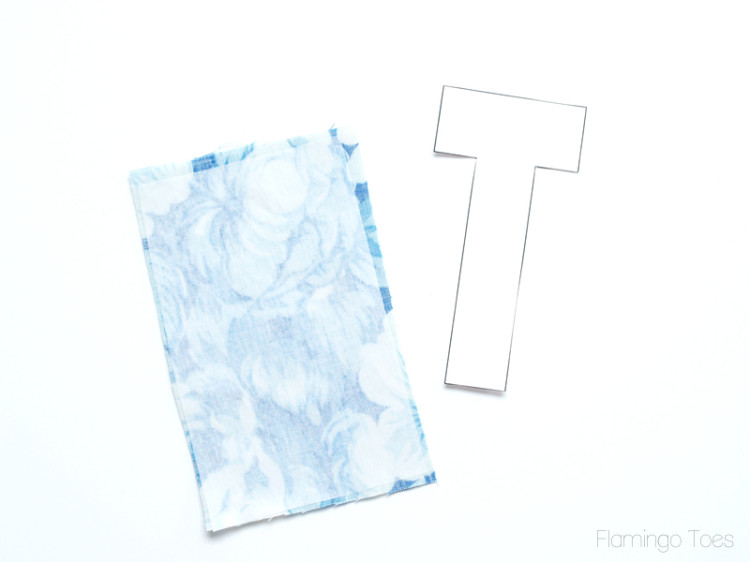
Print out your pattern and cut out your letters.

For each letter, cut out a piece of fabric a little bigger than the letter and iron a piece of fusible webbing to the back side.
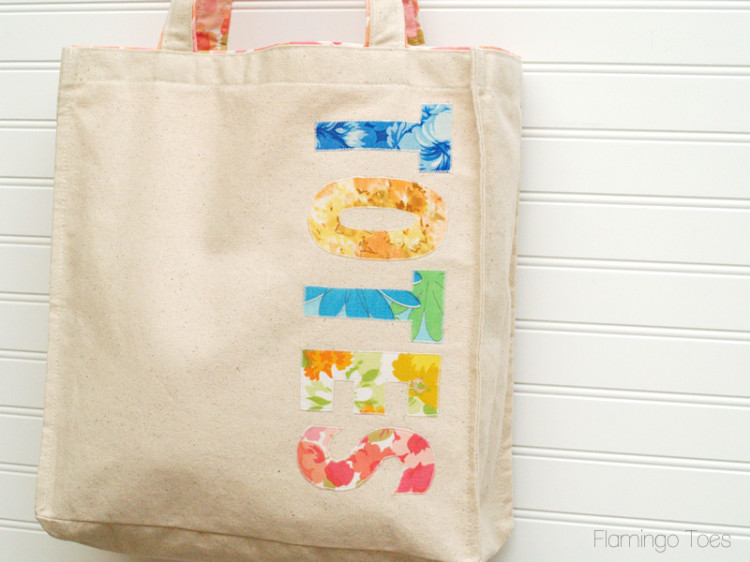
Cut out all your letters, and don’t forget to cut out the extra “T”. Otherwise your tote will say Toes. Which might be more eye-catching, but not quite what you’re going for.

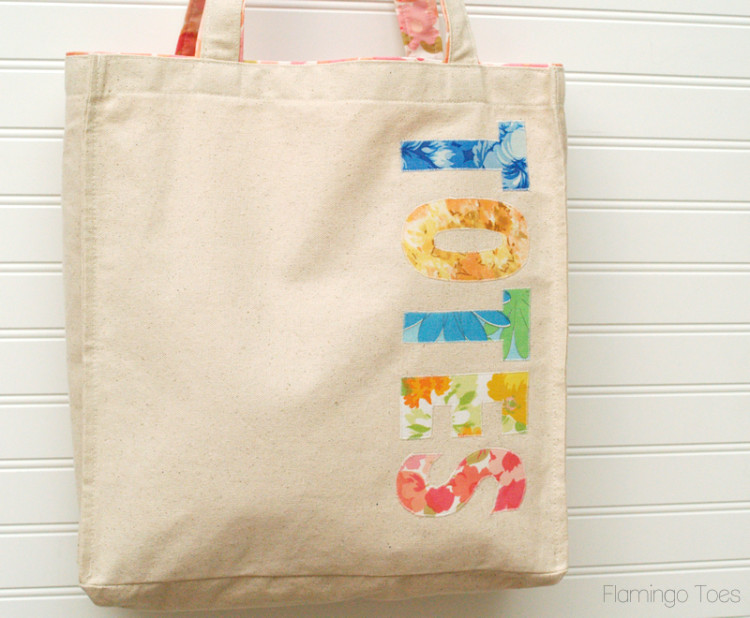
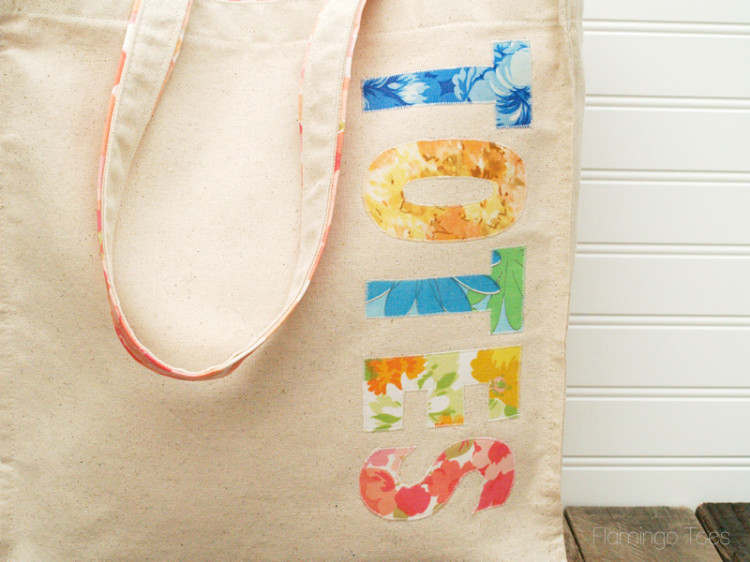
Tear off the paper backing and iron your letters vertically down the right side of the tote bag.
Use a small zig zag stitch to sew the letters on the bag.
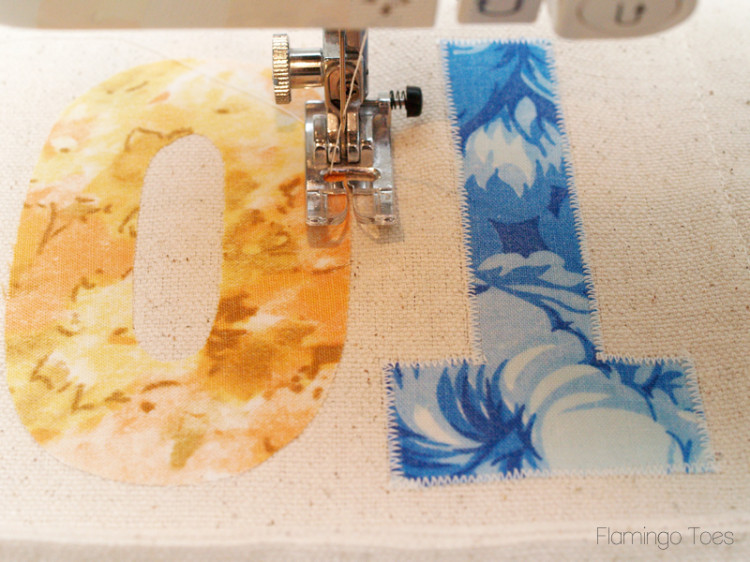
Keep going until all your letters are sewn down. You don’t have to sew them down, but the letters will stay down much better, especially if you wash it.
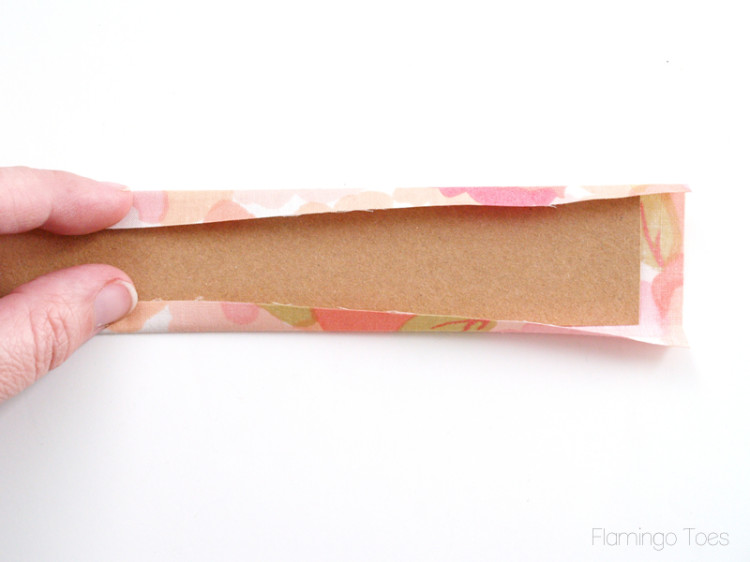
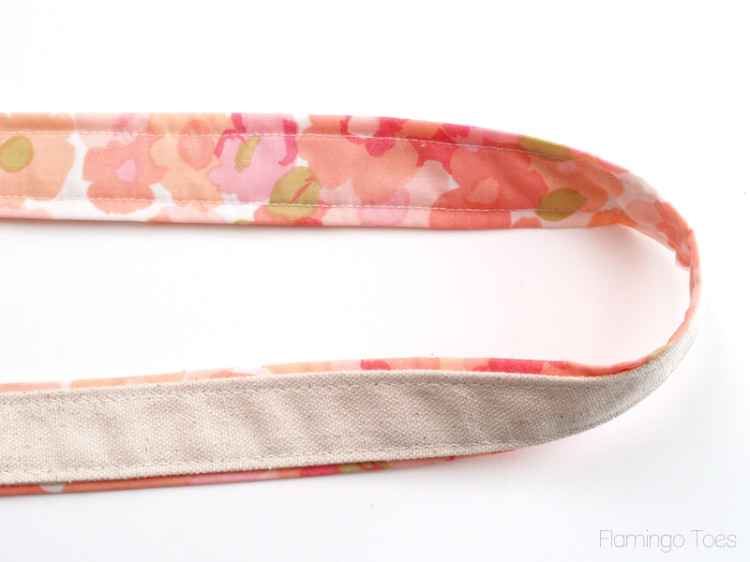
This is all optional too – if you want, you can just stop with the cute lettering. If you want to keep going, we’re going to work on the strap lining next. My straps are 1″ wide so I cut out strips of fabric 2″ wide, and 2″ longer than the length of the straps. I wanted the fabric to peek around the edges just a bit so I cut out a piece of cardstock 1 1/4″ wide as a guide. I pressed the fabric strip in on each side along the edges of the cardstock all the way down the strap.
Lay the fabric under the back side of the strap and sew down both sides of the strap. Repeat for both straps.
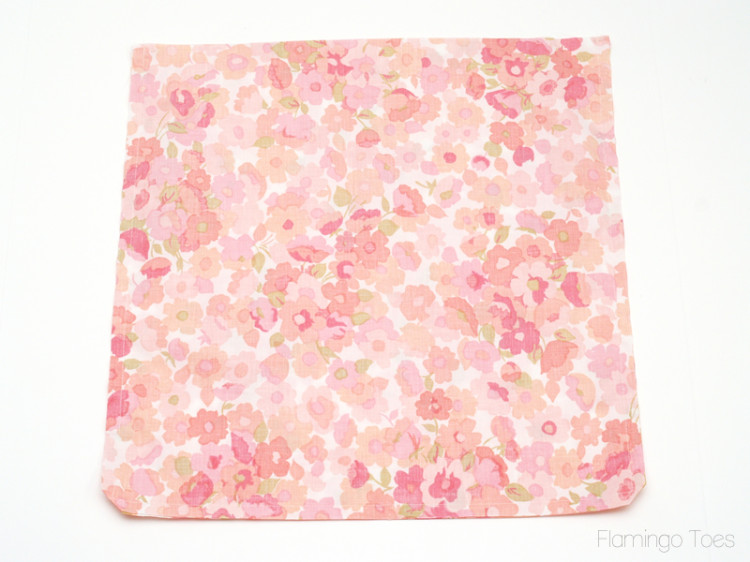
Cut out two pieces of fabric for your lining that are 1″ wider than your bag and 2″ taller than your bag. Sew up the sides and bottom of the lining fabrics and clip the bottom corners.
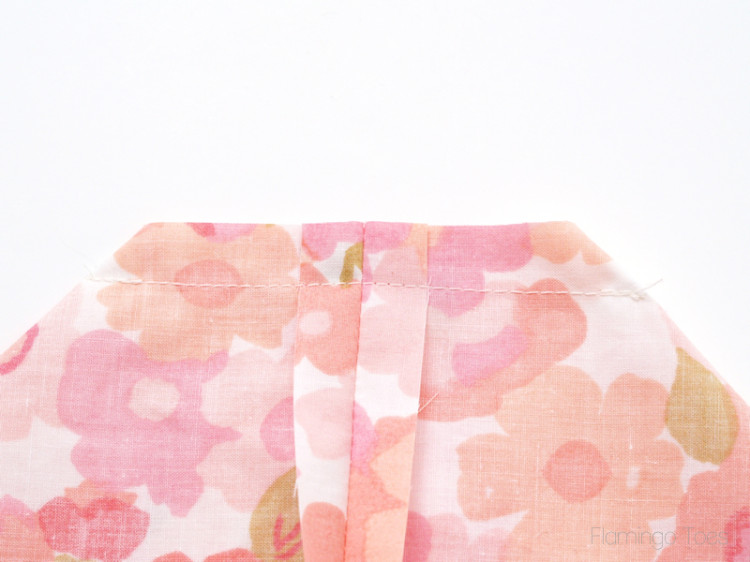
Fold the corners of the lining so that the seams are touching and the corner is the point of a triangle. Measure down 2″ from the point and sew across the corner, perpendicular to the seams. Trim the corners off.
Press the seams open. Tuck the lining into the tote bag so the wrong sides of the bag and lining are together. Fold the top of the lining under and press in place, so that it is above the top of the tote bag 1/4″. Sew the lining to the top of the bag all the way around, just inside the top edge. I did a second seam about 1″ down since my bag had topstitching there as well.

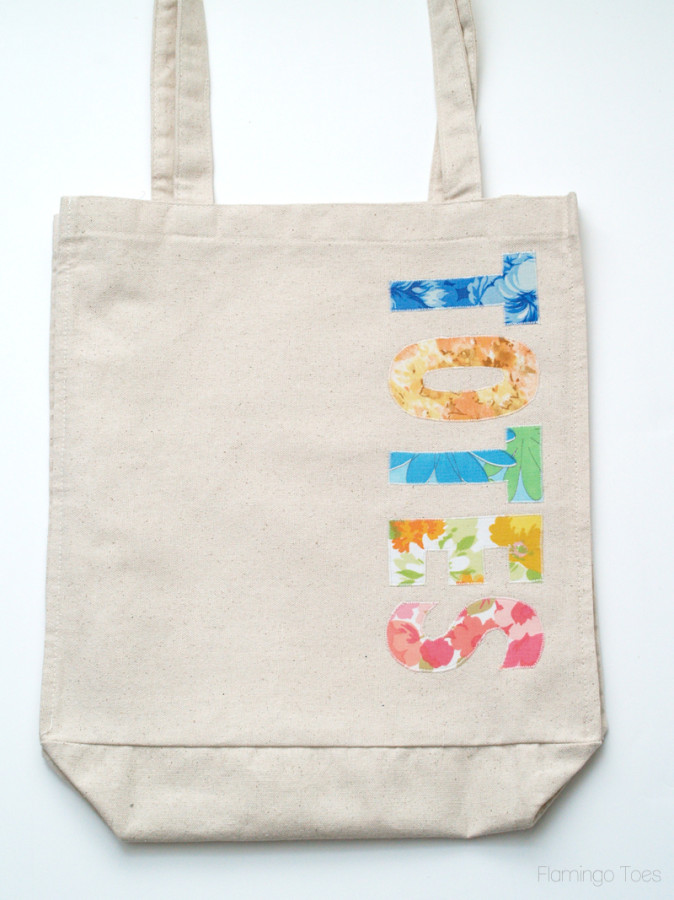
That’s it! You now have a dressed up canvas bag that is Totes Adorable!!
Sorry, I couldn’t help it.


It’s pretty cute though right? I love it!
I hope you give it a try!


CUTE!!! I’ve got a Craft Gossip post scheduled for later this morning that links to your tutorial:
http://sewing.craftgossip.com/tutorial-totes-appliqued-tote-bag/2014/04/14/
–Anne
Thank you Anne!! I really appreciate the feature!!
Love this! Great job as usual!
Thanks Bethany! I’m so glad you like it!
Oh, Bev, you are KILLING me with these totes! I’m a total tote addict and now I have several new ones I *need*. This is positively adorable! I love your spin on the bag. Very Bev!!
And look at you incorporating paper into your crafting. ;)
Thanks Michele!! I’m kind of addicted to them too – especially when I’m just updated a store-bought one!
This is such a great idea to dress up a tote bag – and one can never have too many of those!
Thanks Sue, I think so too! :)
Nice idea to add a lining to a ready made tote, it’s cute
Thank you Jeifner! I love seeing the color inside! :)
I totally love this idea!! I usually don’t pin projects that involve sewing (because I am HORIBLE at it,) but I have to make an exception for this one…”TOTES” awesome ;)
Love what you did to transform the bag. Looks great!
Was adding my cosmetic bag to your link party and saw this bag. Super cute!!