Woohooo! It’s time for a new purse!
Well – it’s always time for a new purse isn’t it? Yes. yes it is.
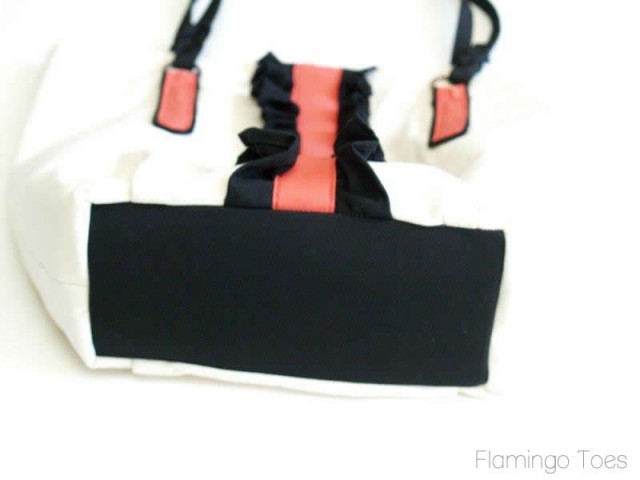
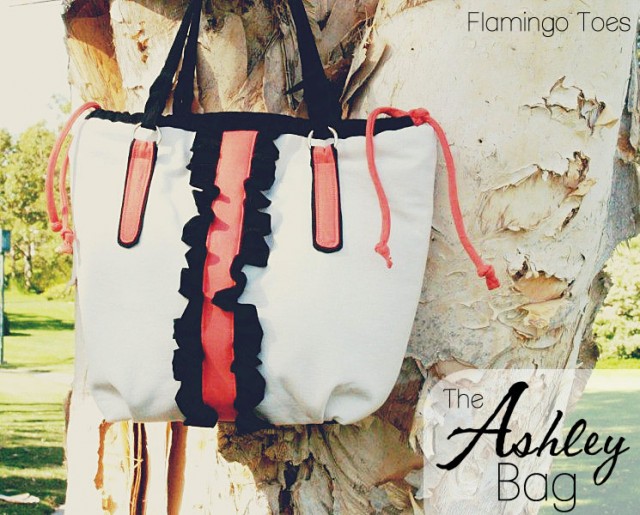
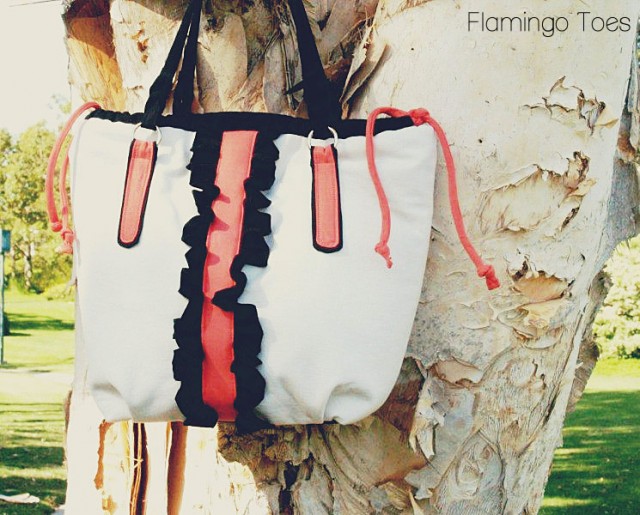
This new bag is so perfect for Spring and Summer! It’s got some great elements – ruffles (shocking)- and a semi-drawstring top – and I made it up in some fun Spring-y colors too! It’s a neutral black and white – but it’s dressed up with some fun pops of tangerine!
Of course you can make yours any color you want – but I just love this bright cheery color – and it goes with so many things! So here it is -my new Purse tutorial – I called it the Ashley Bag!
I tried out some store-bought handles for the first time. These came from Joann’s and I really liked the nylon type fabric and the cute braiding down near the rings. If you don’t have a Joann’s – you could easily make your own straps!
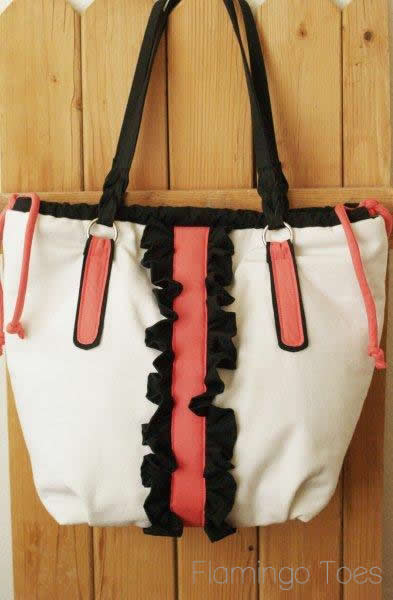
Ready to dive right in? This tutorial is longish but be brave! This one is so fun to do!
I’m trying something new – I have all the fabric pieces,sizes, and supplies you need on one handy download. That way everything is in one place. Click here to open the PDF.
You’ll need about 1 yard of the main fabric (the white), 1 1/2 yards of the lining fabric (the black) and a fat quarter of the accent color (tangerine).
Sweet!! Here we go!
Start by gathering your supplies and cutting everything out.
Iron the Pellon fusible fleece to your outside bag pieces.
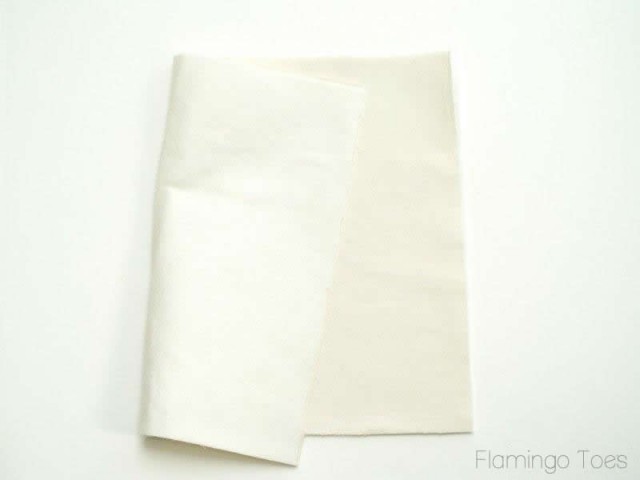
Hem both long sides of your ruffle piece. Sew a gathering stitch down the center and pull up the threads until the ruffle measures 18″.
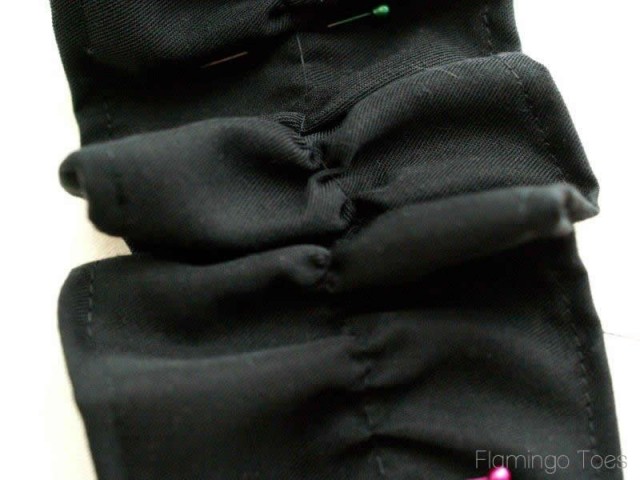
Pin the ruffle down the center of the bag front piece. Sew the ruffle on down the center, right over the basting stitch. Sew two more rows down – 1/4″ on either side of the center stitching. (This will help the ruffle lay a little more flat in the center.
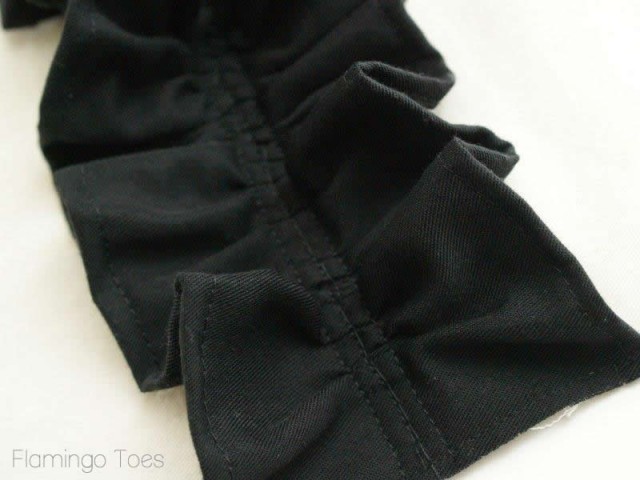
Iron the 1 1/4″ x 18″ piece of Pellon Ultra Firm Stabilizer down the center of the 2″ x 18″ accent piece. Press the sides in to fold around the stabilizer. Place this piece, right side out, down the center of the ruffle and sew down each side right along the folded edge.
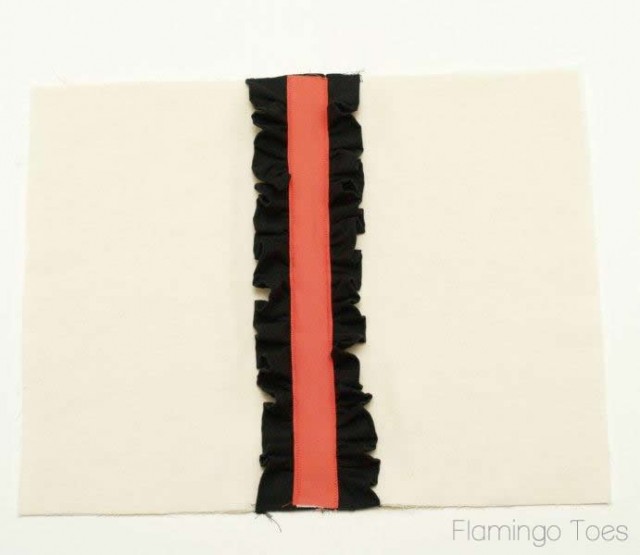
Let’s go ahead and do the cording next, shall we? If you need to piece together your bias strips for the cording, do that first.
Fold the pieces in half, right sides together, so the long raw edges are together. Sew the strip together 1/4″ from the edge, so you are making a tube.
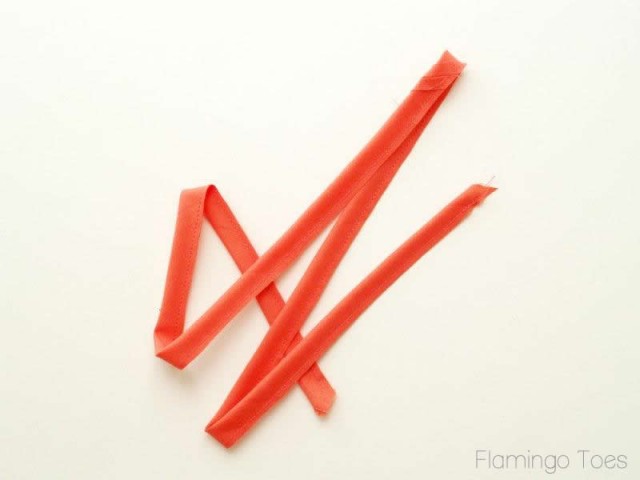
Now I don’t have a nifty turning tool – if you have one use that to turn the tube right side out. I go all MacGyver with some ribbon and a safety pin. Add one end of the ribbon (make sure it’s longer than the length of the tube) to the pin and feed it through the tube.
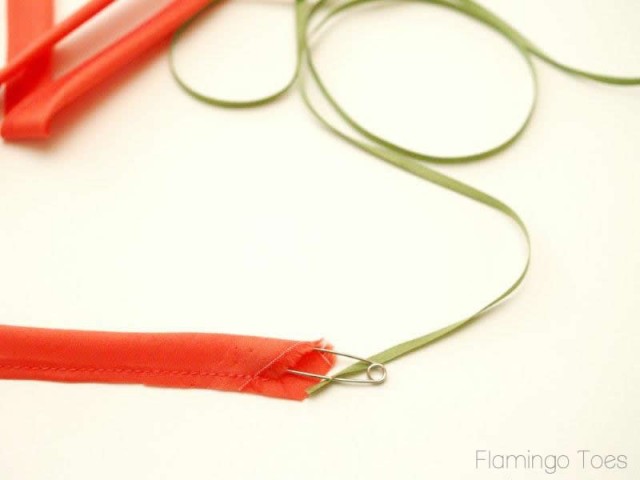
Once the pin is through, open up the safety pin and pin the end of the tube.
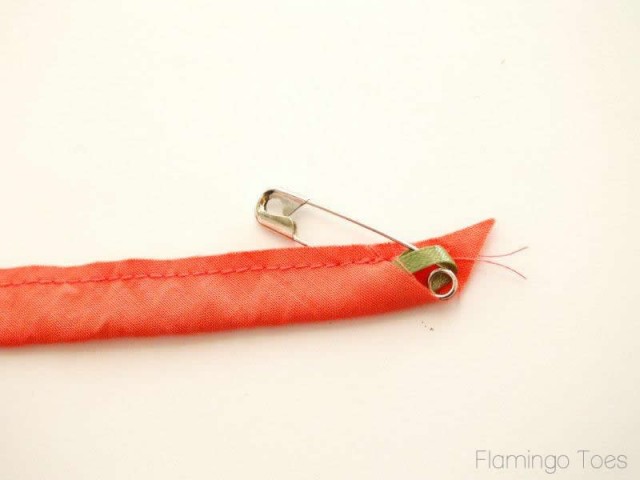
Pull the ribbon at the other end gently and it will turn the tube right side out!
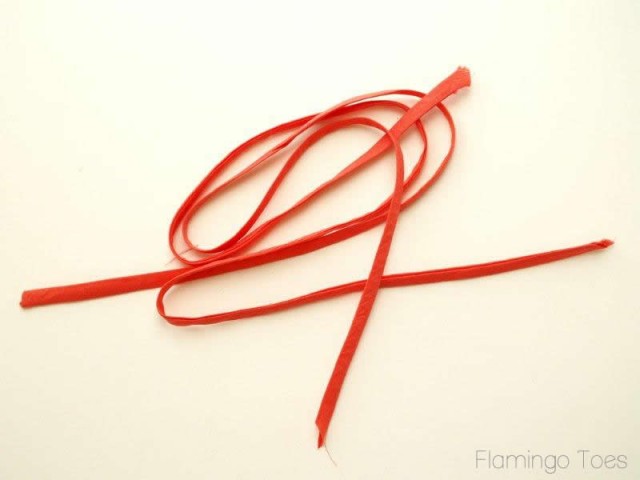
Now cut your cording into 2 – 37″ pieces. Add one piece to your safety pin and feed it through your cording. Fold the ends over and hem them, so the hem catches the top of the cording inside.
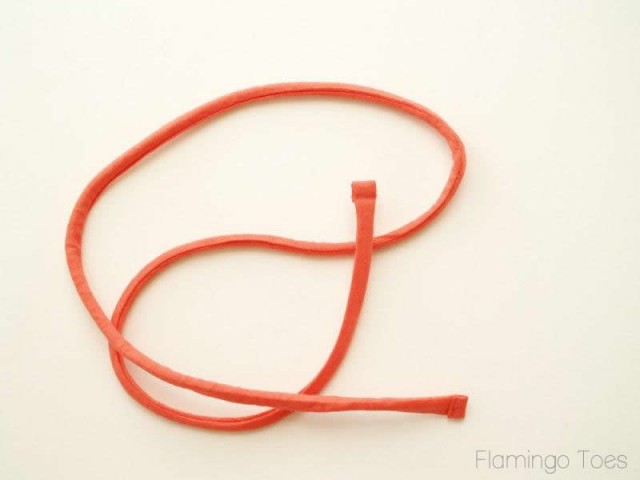
Set those aside for now.
Pair up all your strap holder pieces and sew them together with a 1/4″ seam allowance – you’ll have 4 Base Strap holders and 4 Accent Strap holders once you’re done. Turn right side out and press.
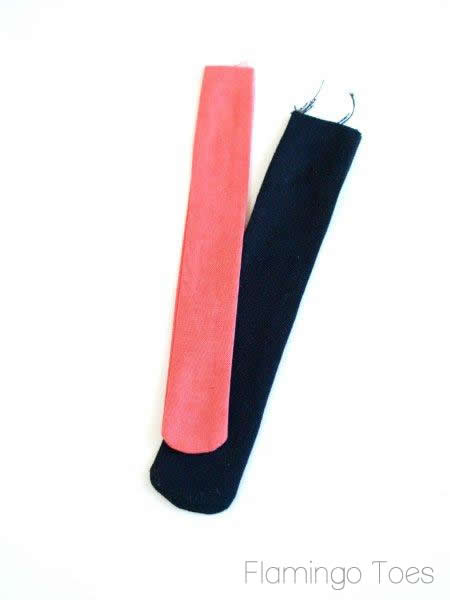
Tuck the raw ends of each piece in, then layer them into four sets – with the smaller accent piece on top of a base. You should be able to see a little of the base all the way around the sides and bottom.
Sew the pieces together just inside the sewn edge of the accent piece.
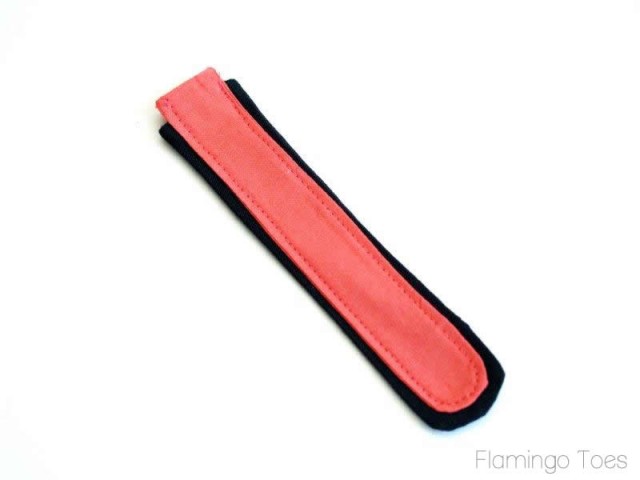
Fold the top edges of two of the strap holders around the rings one of your handle pieces. The piece should measure 4 1/2″ from the fold around the ring to the bottom. Place these on the bag front piece, they should be 4 1/2″ from each side, and the fold should be 1 1/2″ down from the top of the bag.
Sew the strap holder onto the front of the bag, 1 1/2″ below the fold around the ring, across the holder horizontally. This should catch the back of the folded piece as well. Sew the rest of the piece onto the bag front over your previous stitching on the accent piece.
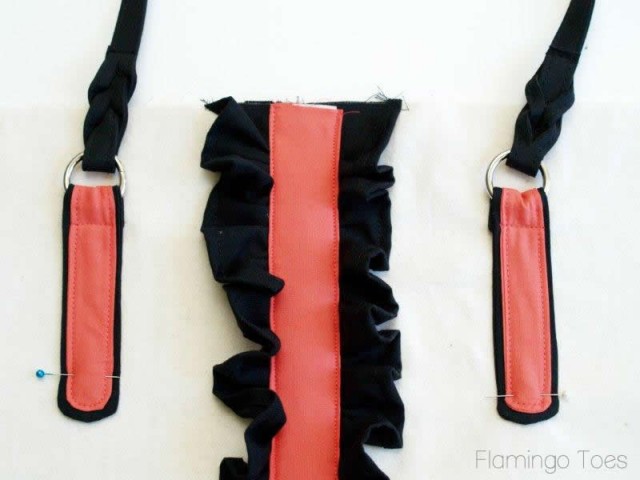
Repeat for the bag back piece, using the same measurements.
Sew the bag front to the bag back, along the two side seams. Use a 1/2″ seam allowance.
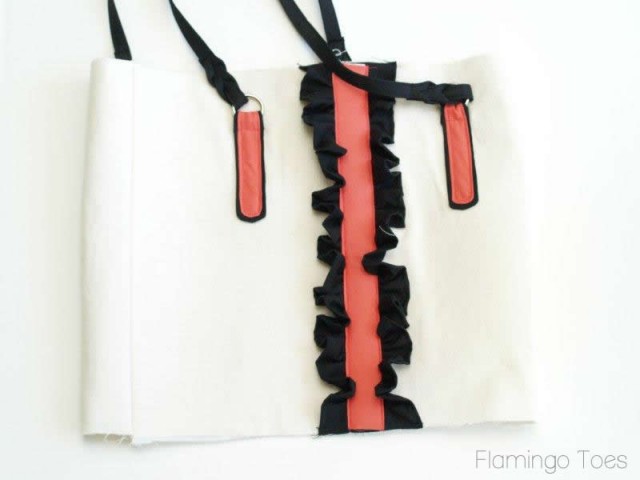
Press the 4″ x 9″ Stabilizer piece to one of the bottom pieces. Lay another bottom piece over it. Right sides should be out.
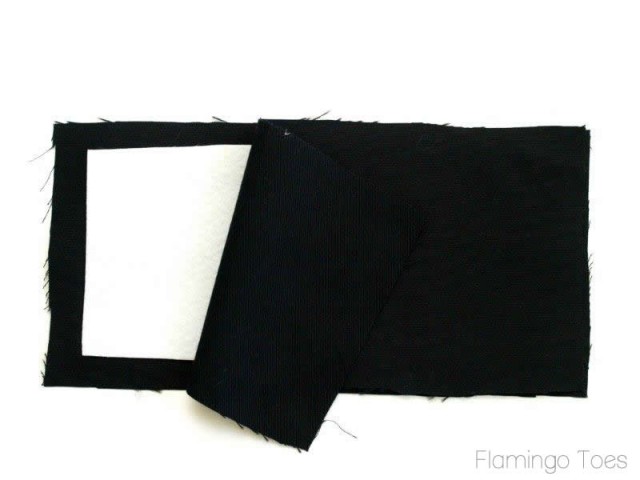
Baste around all the sides of the bottom pieces.
Now we’re going to add pleats to the bottom of the bag. On the front of the bag, measure from each side seam in 2 1/2″ and mark with a pin. Measure over from this pin 1″ and 1 1/4″. Mark both of these with pins. Move the 3rd pin over to the second, to make a pleat, and pin this in place. You should now have two pleats on each side of the front. Repeat with the back side of the bag.
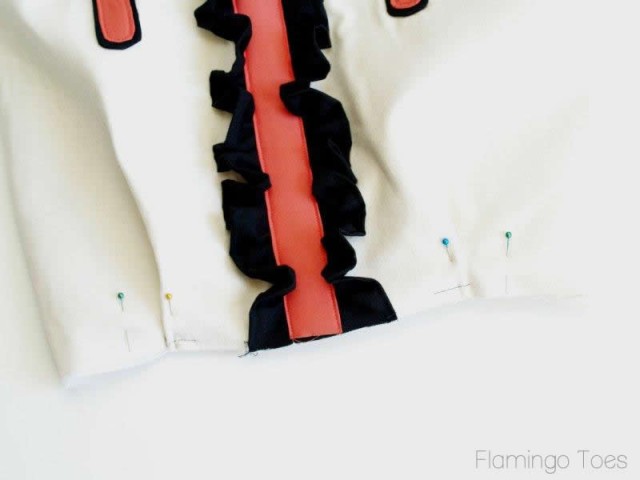
Pin your bag to your bottom piece, right sides together. Make sure to line up the corners with the pins you’ve marked at 2 1/2″ from the seams. (you might need to adjust your pleats just a bit, that’s fine.)
Sew the bottom to the bag and turn right side out and press.
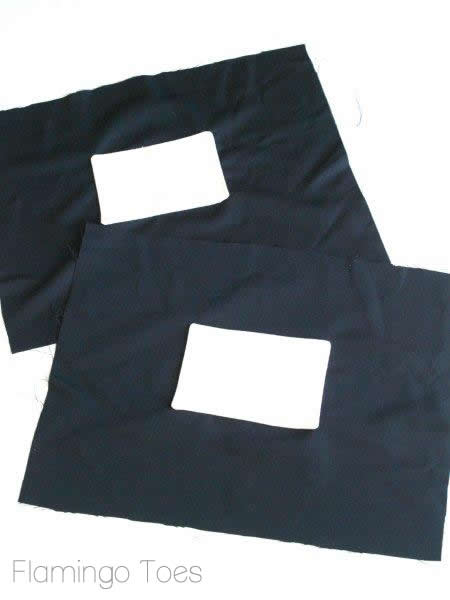
Place 2 of your inside pocket pieces right sides together and sew around all 4 sides, leaving an opening at the bottom for turning. Clip corners and turn right side out and press. Repeat for the other pocket.
Place the pockets on each inside lining piece, in the center and 4 1/2″ from the top. Sew the two sides and bottom of the pockets on. For one pocket, if you want, add a seam down the center so you have a divided pocket.
Sew your lining together like you did the outside bag, starting with your side seams, then adding pleats, then sewing it to the bottom piece. Leave an opening in one of your side seams about 4″ long for turning the bag.
Add your magnetic snaps to the lining, in the center of each piece, 1 1/2″ from the top.
(I don’t have a picture for you – because – keeping it real here – I forgot to add mine in until I had sewn the lining to the outside. Duh. So this is a case of do-as-I-say and not d0-as-I-do.)
Before you sew the lining to the outside, we’re going to get the cording casings ready. Iron the Decor Bond pieces to 2 of the cording casing pieces. Place these pieces right sides together with the other two casing pieces and sew the two short ends together. Turn right side out and press.
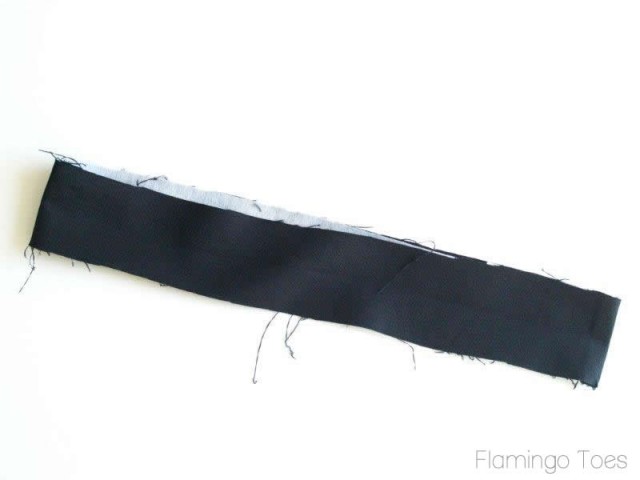
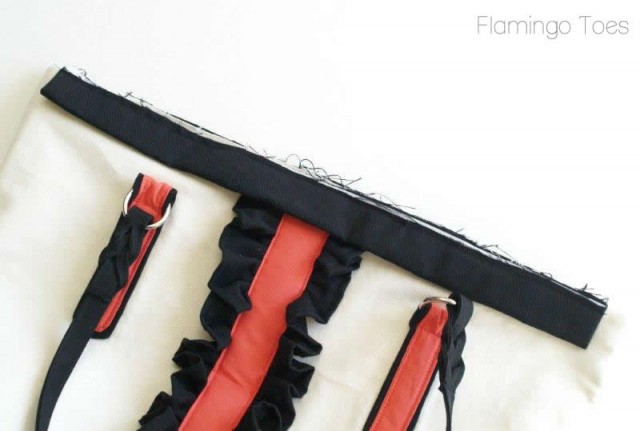
Fold one of the casing pieces in half, so the long raw edges are together. Pin the casing to the top of the front bag piece. Make sure it’s centered. Sew the casing on with a basting stitch, 1/4″ from the top edge. (Lift the casing up and double-check that you caught the back side as well.) Repeat with the other casing for the back of the bag.
Place your lining and bag pieces right sides together and sew around the top with a 1/2″ seam allowance.
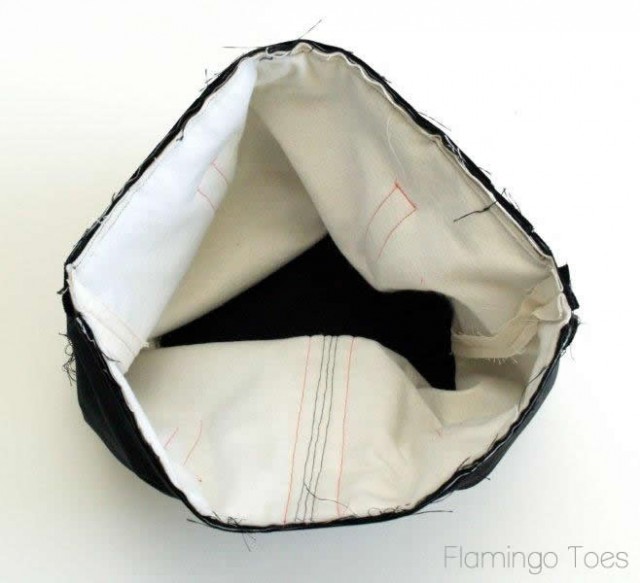
Turn the bag right side out through the opening in the lining. Sew the opening closed and press the lining to the inside.
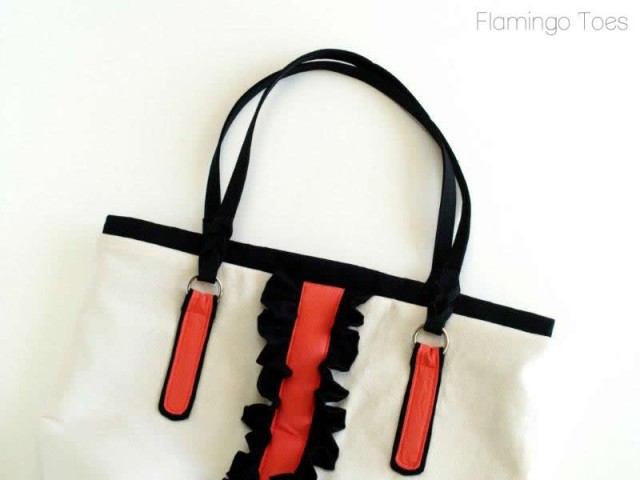
Feed one of your cording pieces through each of the casings (a safety pin works great here too) and knot the cording close to each end.
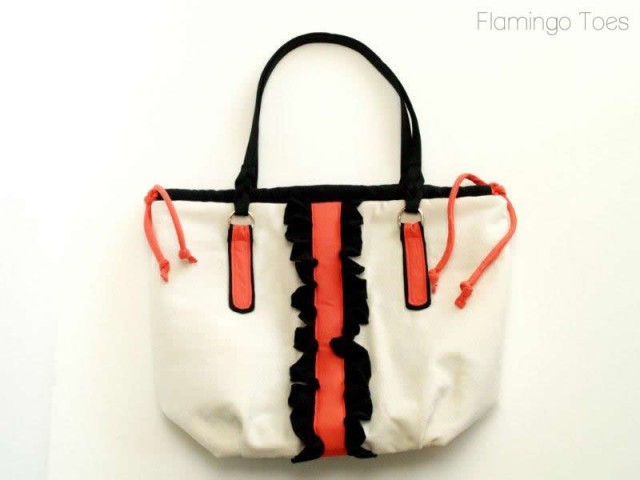
And that’s it!! You’ve got a cute, stylish new bag!
The drawstring doesn’t pull up too tight – it’s more for a little gather and to look cute. If you would rather yours cinch up your bag pretty tight, leave off the decor bond in the cording casings. This will help it gather up!
I think the ruffle in the center is so cute – and the strap holders are so fun with their bright color!

It’s got plenty of room inside – for your keys and wallet and all those grocery store coupons they give you at checkout but you forget to use the next time you’re there.
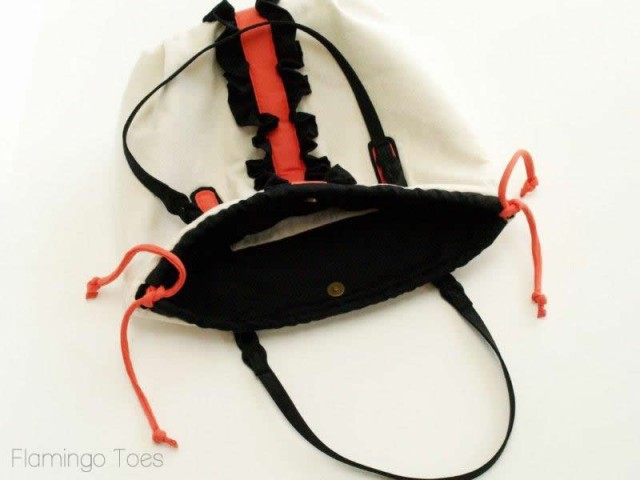
I hope you like it – and that you’ll give it a try!
I’m linking to Sunday Scoop, Today’s Creative Blog, Met Monday, Skip to my Lou, Tutorials & Tips Tuesday, Quilt Story, Funky Junk Interiors, Shabby Creek Cottage, and the other fabulous parties on the party page – make sure you check them out!



Pretty! I think I’m going to have to try one of these, I’ve got some liberty prints that I think would make great accents on a linen bag
Oooooh I love it. I really love the colors you chose!!
This went right to the top of my list for all time favorite flamingo toes purse designs! I love it! I assume you will be surprising me with one at SNAP right? Ha! Can’t wait to see you this week!
Love the purse! I do have one suggestion. I would make the inside bottom of the bag in white or a lighter color. It is SO hard for us visually-challenged folks to see what’s inside the bag when it is a dark color. Keep up the great work!!
Very pretty Bev!
This is so cute!! Love the colors you chose, but would be cute in any color combo. Perfect for summer! Thanks for sharing!
Love it! What a great bag in great colors! On another note– I got a Turn-it-All for Christmas. It changed my life! Love it!! :)
It is beautiful. Any chance you’ll be selling these in your shop for us folks who can’t sew? ( -:
Bev this is intriquing. I must check my supplies out, may need something.Thanks hun!
Really Cute! I’ll definitely be making some beach bags!
Love, Love, Love this bag.
Cute, unique bag! I’m definitely pinning this for later:) Thanks for the tut!!!!
Thanks so much for the tutorial! I’ve been loving ruffles, and it’s so cool to see them on a bag.:)
This is darling. I hope I’ll be able to say hi to you in person soon. I’ll be swinging by the queen bee market at snap this friday night.
marissa
http://raegunwear.blogspot.com
Holy cow – that is THE cutest thing I have ever seen! I love it – even though I am afraid of my sewing machine.
It was so great to meet you and spend time with you today – so I wanted to come over and check out your blog! I hope you are having a great time at the conference!
Xazmin
Gorgeous colors and details, Bev! Love it!
Did you have a good time at SNAP?
Jenn
LOOOOOOVE it! And I HAD to feature it this week, with a name of the Ashley Bag (but you totally miss-spelled Ashlee ;) NEXT bag…)
Ashley can also be spelled this way too. Well anyway, I love the bag idea, but I will probably be doing mine in a darker type color fabric, as I always get my bags that are in the lighter colors so dirty,so it’s usually the colors that don’t show the stains and dirt so much. I would like to think I’ll do this one in what we call the pop of color idea. A bright type color.
Thanks for this great idea, can’t wait to start it.
Great bag! I’ve just entered your bag into this weeks bag Brag Tuesday linking Party at ChrisW Designs http://blog.chriswdesigns.com/linking-parties/
Am I missing how to make the straps? I apologize if I am just being overtired but I don’t see a measurement or directions for the shoulder straps?