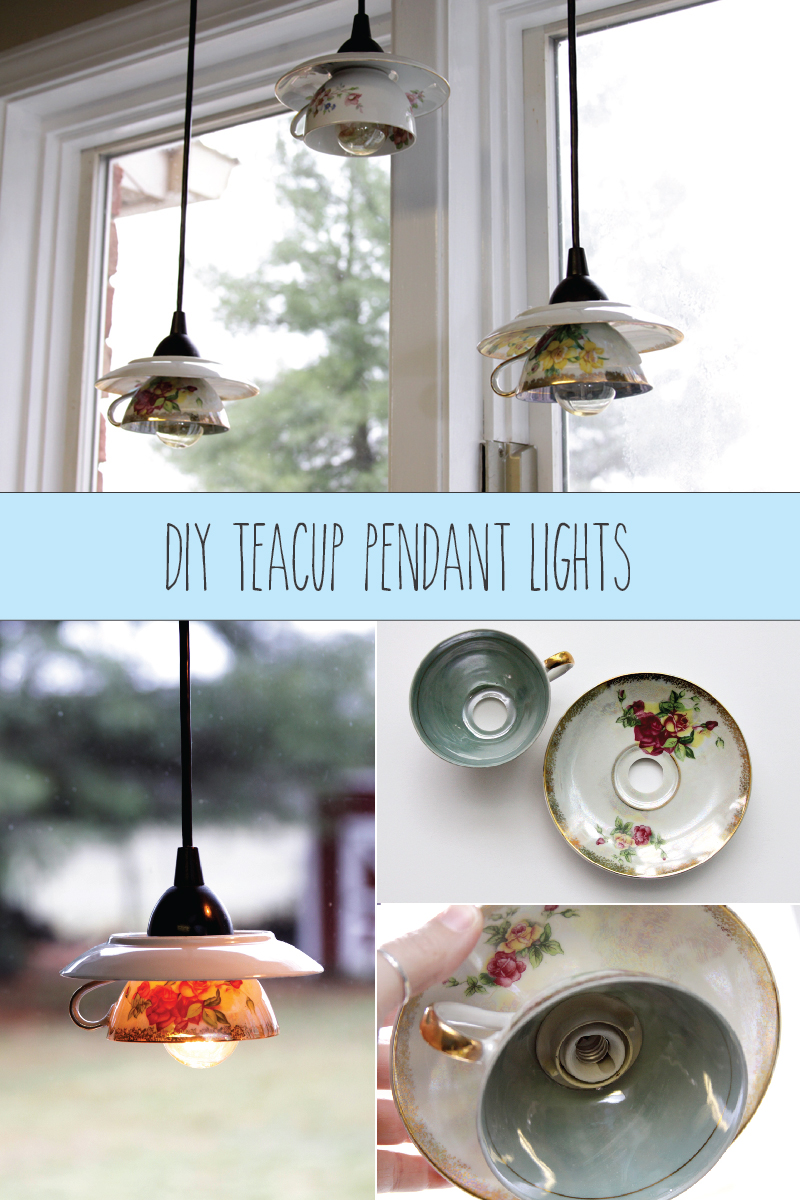
When we moved into our new house last fall, I had several projects on my list that I knew I wanted to do right way. Things that even though we couldn’t make huge changes to the house, like paint every room or redo flooring, would still make the house feel like ours.
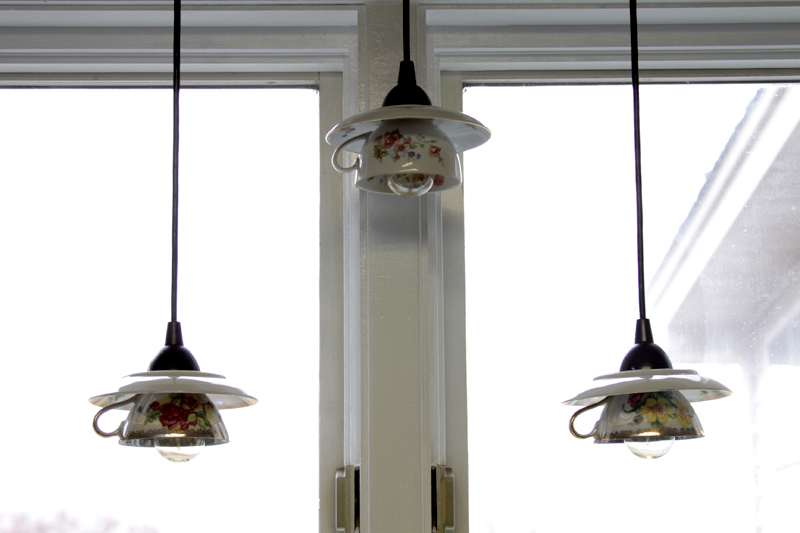
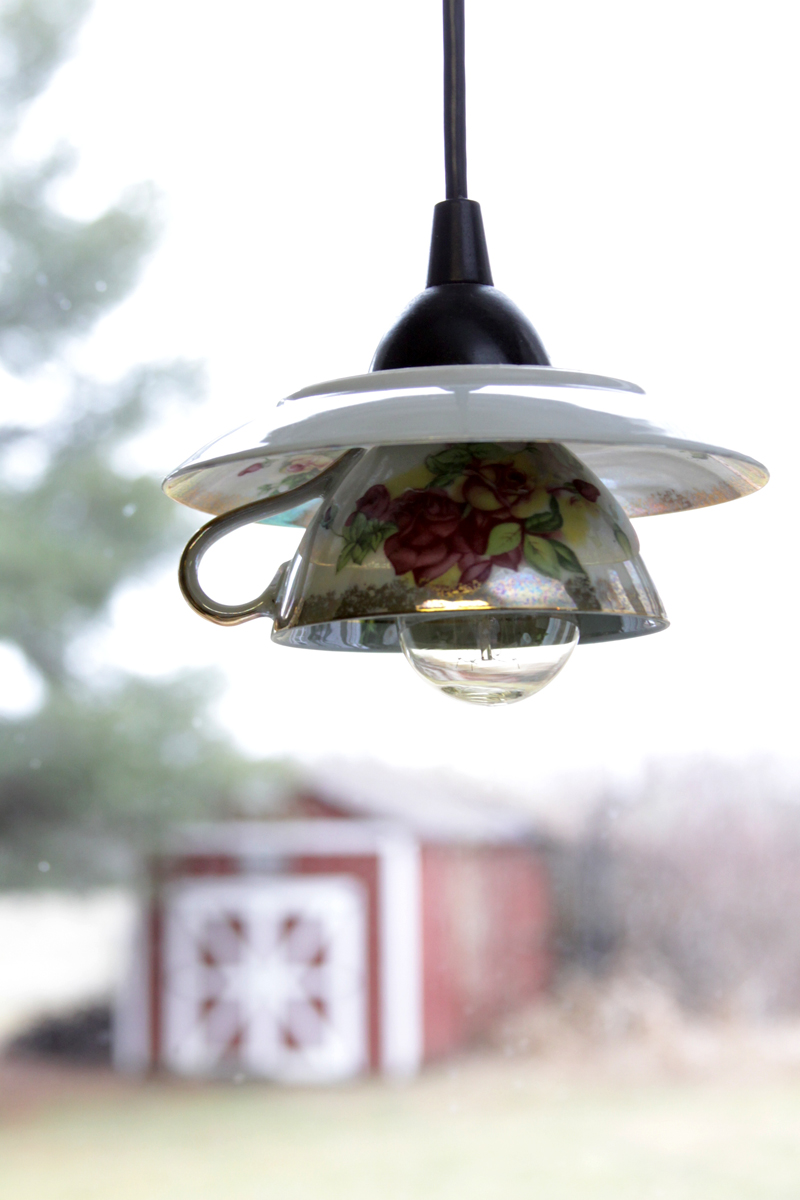
These little teacup pendant light shades were definitely high up on my list! I had seen them here or there and thought it was such a pretty look, and so perfect for the vintage-y kitchen I’ve got planned. I love how they turned out so much! These sit over my kitchen sink, so every time I look out my window I see these sweet little cups.
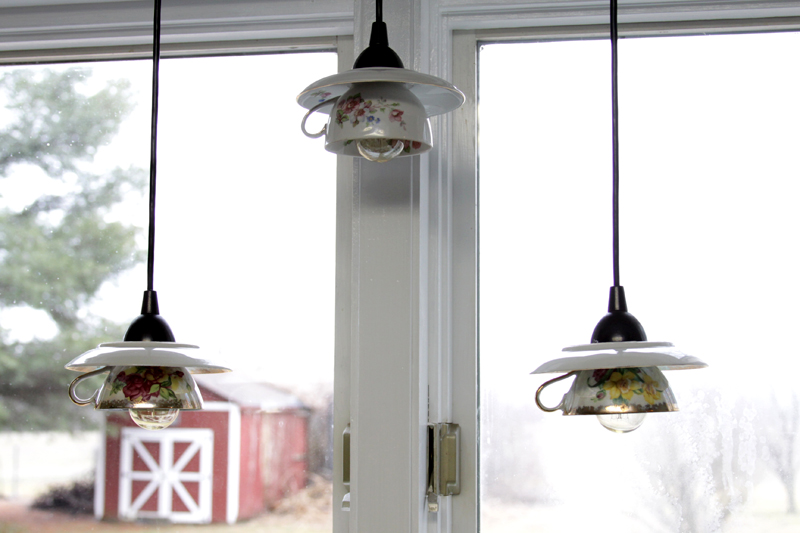
I was really surprised at how easy they were to do too!! I was super nervous about drilling the porcelain – in fact I bought extra cups because I was just sure we were going to end up with shards of teacups everywhere. But the whole process took just a little while – and no broken cups or plates!
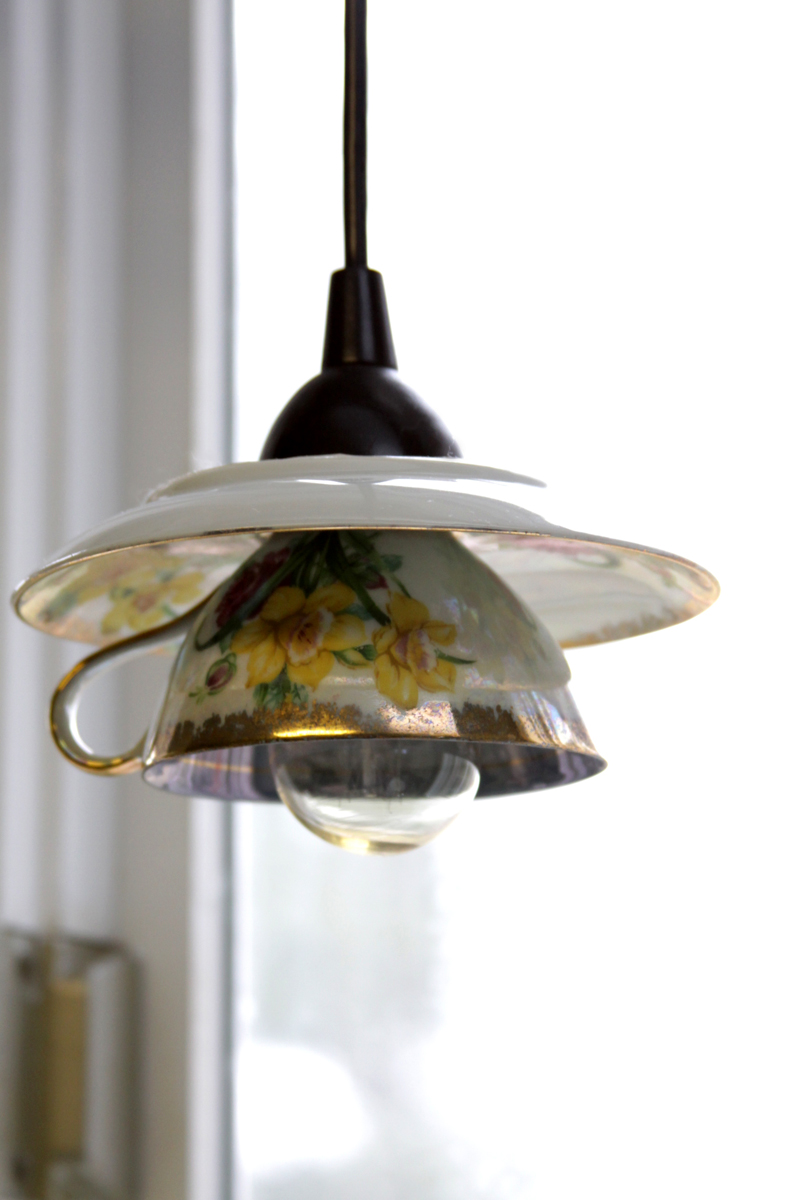
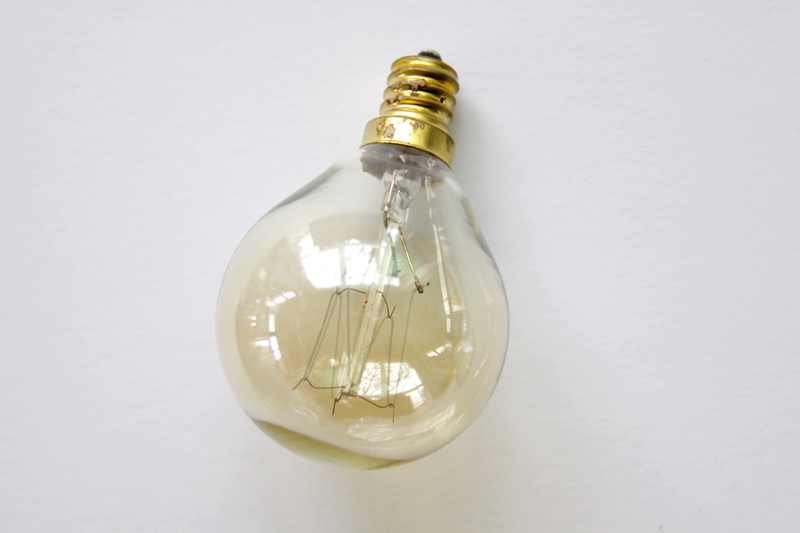
I found little tiny edison bulbs too – because cute teacup shades need cute little light bulbs. :) When the light is on the whole cup glows and you can really see the pattern. It’s so pretty!
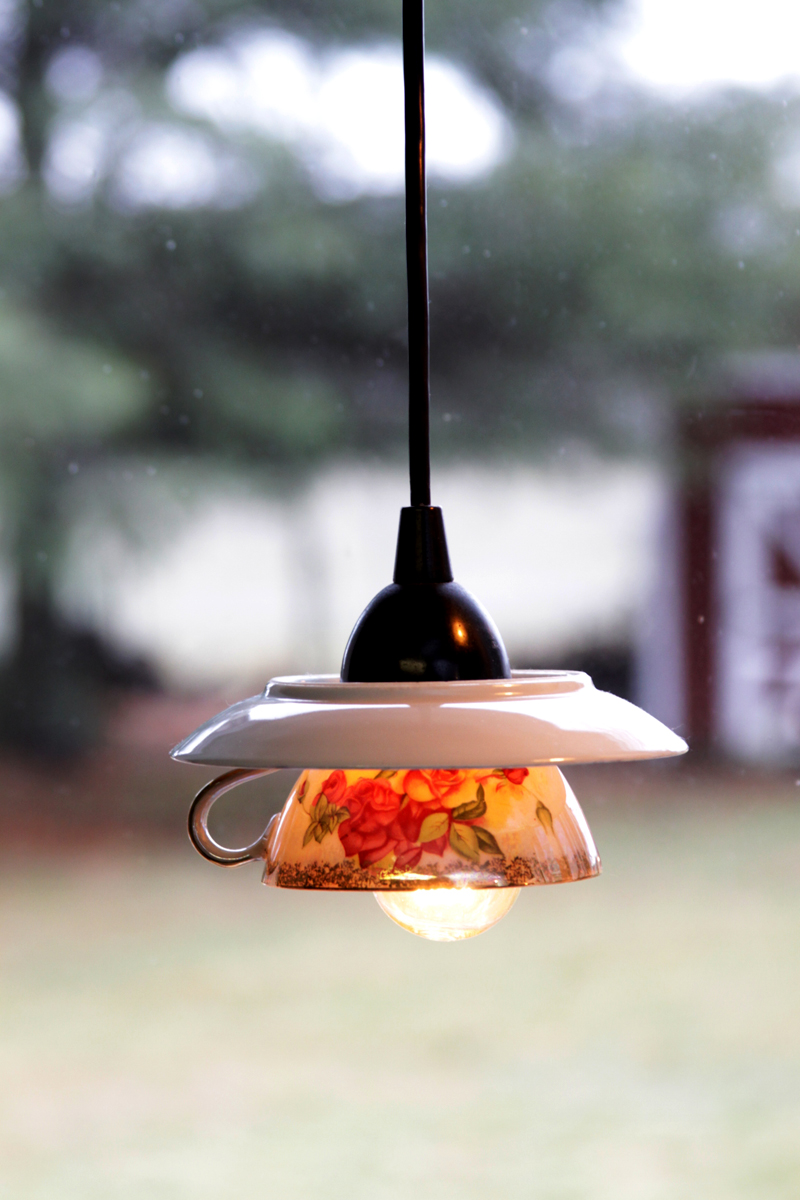
So let’s get to the tutorial! I promise this isn’t scary. Even though it takes power tools and safety googles.
I was super fortunate to already have a pendant light over the sink. I just removed the shades and changed them out for these. But if you don’t have that, you’ll need to get some sort of light kit and install it according to the directions, or have an electrician install it for you.
Once your kit is installed, you’ll need to look at how the shades are fixed to the lights. On mine, the screw threads for the bulbs went through the base of the shade, so I knew that the holes in my cups had to be larger than that.
For cutting the holes, I used a diamond drill bit. I bought mine in a kit of several sizes from Amazon, because I needed them for another project as well. (affliate link)
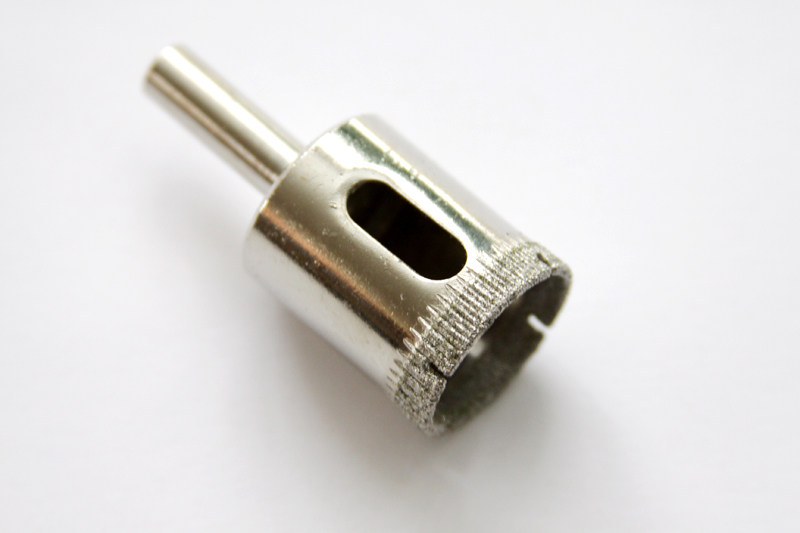
Basically this bit cuts a hole in ceramics, porcelain, glass, tiles, etc. So cool right? You just need to keep it wet when drilling. (Click the link below to see them on Amazon)
I used a drill press for this, it made it super easy to hold everything steady, but you can use a hand drill as well. If you’re using a hand drill, start the bit at a slight angle to get things going, then straighten the drill out as soon as the cup begins to be cut.
For the cup and saucer, we just added a bit of water in the base and that was enough to keep the bit wet.
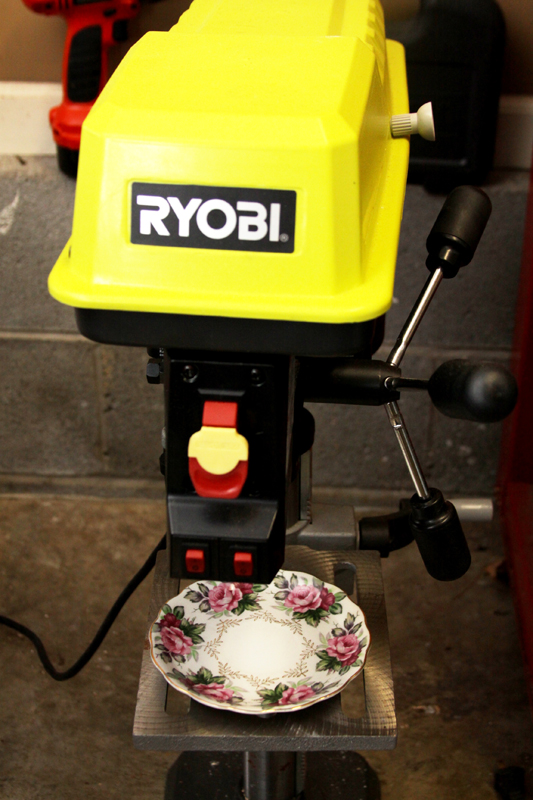
Cut a hole in both your cup and saucer.
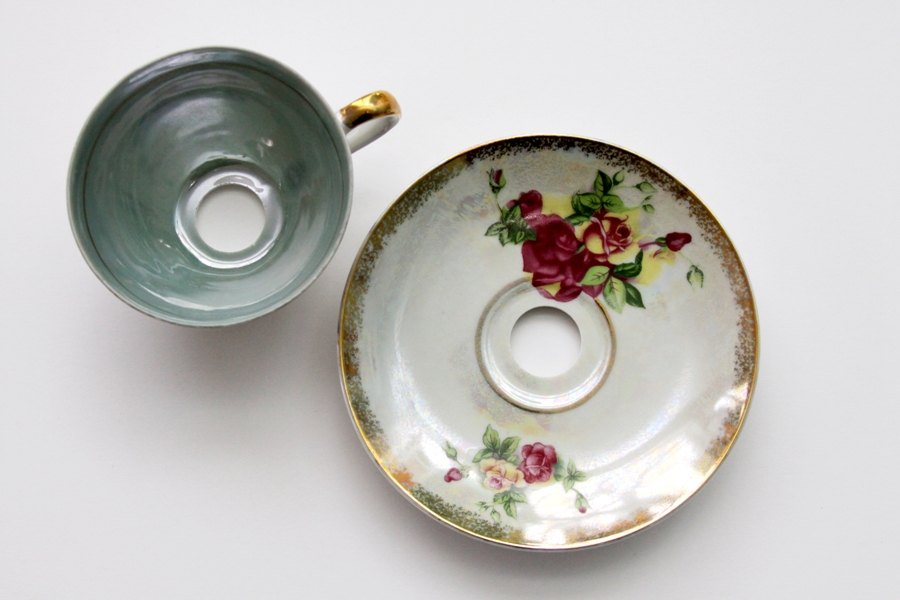
You can see how the little sleeves fit over the centers to hold the light bulbs.
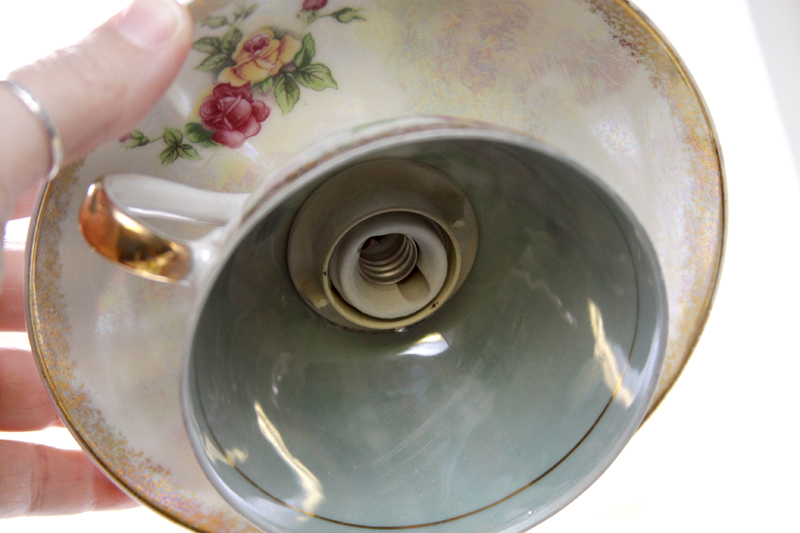
For the light bulbs, I found these mini bulbs. (again, on Amazon, yay) I didn’t want any bulbs that would be too close to the edges of the cups, I was afraid it would make the cups too hot if the bulbs took up too much space. So these were perfect!
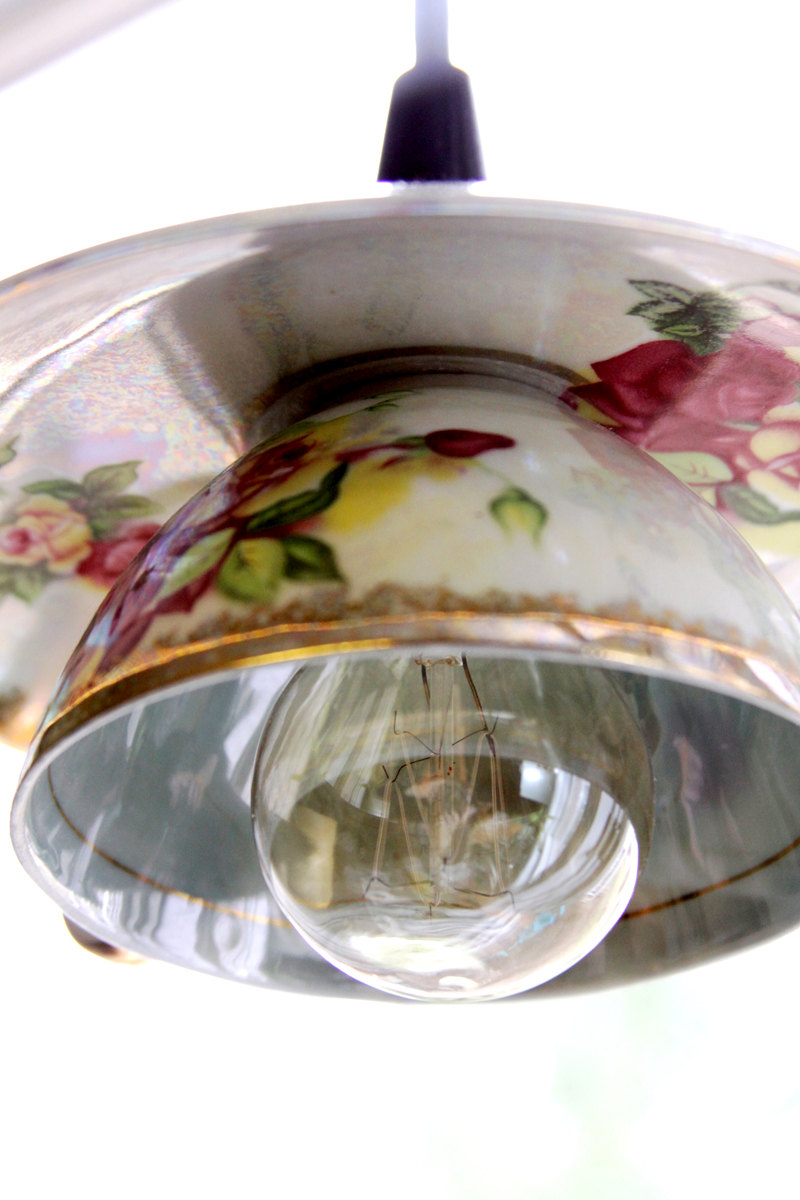
That’s all there is to it! So easy right?? I love how they turned out!
You may also like
Sweet and Simple DIY Sleepy Kitten Planters

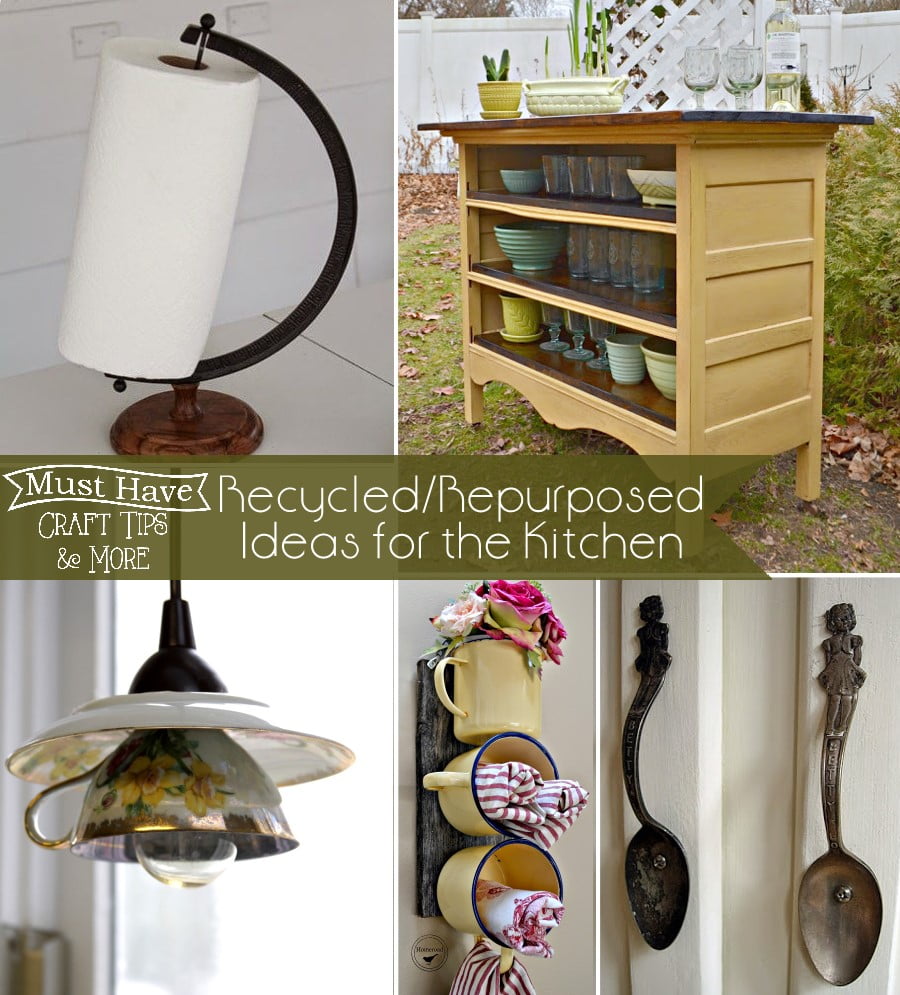
Must Have Craft Tips – Kitchen Repurposing Projects


I love these lamps they look so adorable. I’ve seen them in shop displays before, thanks for showing how to make them. Pinning to my lampshade board for later
I have several teacups from my grandmas and this would be such a wonderful way to use them–I don’t use them for tea drinking. And, if one broke in the process, then I’d just make a trivet using the broken pieces. Win-Win.
Bev, I LOVE them!!
This is AWESOME, Bev!! You did such a great job and the teacups look adorable!
I love these! But I’m still intimidated by the thought of the drilling!
You can always practice on thrift store cups before using your vintage cups
later this year l will be looking at renovating my kitchen and seeing these cup lights has given me an idea for lighting, which l had not even thought of, for various spots in the kitchen…thank you for posting..now to scourer op shops for those right looking cups and saucers…maybe even use some of my mum’s that have been put away never to be used, chuckles..
Love it, always have wanted to do this, but incorporating a teapot in the middle. This of course is much more realistic, thanks for sharing on craft schooling sunday!
My heart smilies! I just purchased a 1900 Victorian home and I can see this hanging over a small table area in the kitchen. Happy…Happy…Happy!
These are adorable! I was thinking of using some old teacups and saucers to make a bird feeder – now I need to consider teacup-lighting as an option for the patio too! Thanks for sharing!
-Clarissa @ http://www.theviewfromhere.is
OMGosh those are adorable!! Love them, thanks so much for sharing! (Visiting from Tuesdays At Our Home Link Party)
~Taylor-Made Homestead~
Texas
Super cute!
These are so beautiful! What a great idea! One question, though. I notice that
you’ve placed the hole off center in the cup. Was there a reason for that?
Really want to try this. Thanks for the inspiration!
Gail
I would love to have these in my dream future bookstore. It would also give my husband an excuse to buy a drill press. ;-)
Oh these are so so cute. I want to make them but I will need to figure out where to put them.
I have a huge cup and saucer collection I have to downsize, but hate to part with any of them. This project will allow me to keep some of the sets I thought I would have to sell. Thank you. Now I just have to get up the nerve to actually make holes in my precious cups and saucers. lol
Amazing! They look so good and sweet! :) Well done!
Bev, these are super adorable! I have a 1940’s house and I know just where I would like them! If only I had a sunroom or screened in porch with painted wicker furniture and boston ferns, lol!
Thanks for sharing with us on Throwback Thursday & we’re looking forward already to what you’ll bring next week! :)
Mollie
I love these so much! Now I’m trying to figure out a place I could do the same with some of my grandmothers old cups!
What did you use to cut the hole in your cup and saucer?
Never mind, I read the post again and found my answer.
Congratulations! This post is going to be featured over at Diana Rambles on Friday and has been pinned in the Featured at Diana Rambles board at Pinterest and Tweeted. Please grab a featured button off my button page or via the post guidelines graphic. Thanks for sharing this awesome idea!
These are adorable!! Really, I would love to try this! Pinning this one. :)
I’ve never been one to get excited about lighting, but you’ve changed that for me with these charming tea cup lights. Thanks for sharing at the #ThisIsHowWeRoll Link Party on Organized 31.
BRILLIANT is the word here!! PLEASEEEE make some for me..i need these cuties in my life asap! Thanks for joining us at #SaucySaturday.. Pinned of course! Hope you are on instagram.. shall be tagging you soon-ish.
These are the cutest lights I have seen in a long time, you have the best projects!!
I would love to have you stop by and share them on my Friday Features this week!!
Have a great weekend!
Karren
#OMHGFF
These are precious! I wonder if I dare drill holes in my Grandmother’s tea cups and saucers? I don’t think she would care and she would love to see them used. I may have a project. Thanks for sharing your good instructions.
Wishes for tasty dishes, Linda
Thank you so much for linking this post up on #HomeMattersParty last week. It was picked as one of our feature posts. You can check it out at http://adventuresfrugalmom.com/home-matters-linky-party-77/. While you are there make sure to grab the I was Featured button for your sidebar so you can brag a little. Thanks for linking up and hope to see you link up again.
I really like these tea cup lights. I even tried to order one at one point however the supplier ran out of stock and didn’t reorder. However I did go ahead and put a hanging light above my sink which I could easily convert to teacups. My question is what happens if you don’t have the drill and bits you used to put the holes in them? Any ideas on how to achieve this. Also where did you get the large cup and saucers from?
Thanks
What a beautiful and unusual light. You’ve taken something pretty practical and made it into an artistic statement piece. Very nice job. I’m pinning because it’s inspiring.
These couldn’t be anymore darling! Love this! Just what my kitchen needs. Thanks!
Beautiful. Such a great way of displaying those lovely tea cups. I’m now inspired to create, thank-you!
They are adorable !! I must try these !
Hi, Love the lights & want to make them for my “Shabby Chic” craft room. I have the teacups & saucers but the mini pendant kits that I bought are for light bulbs with a medium base. Do you know where I can get the kits for bulbs with the “candelabra” base needed for these lights? Thanks so much.
Love, love, love them!
Hi! What kind of light socket did you use? :)
Where do you get the cords?
So adorable, I just love this idea and I’m going to try to do it. What a wonderful way to create something so beautiful thank you so much for the Information
how do i get instructions printed for the tea cup lights? For any of your patters, instructions? Please. Thank you