I’m kind of all about the pineapples – which is pretty perfect because pineapples are everywhere right now! They are so cute and fun and you can really get creative with things to make with them – like this little simple and sweet pineapple zipper pouch tutorial I have for you today!
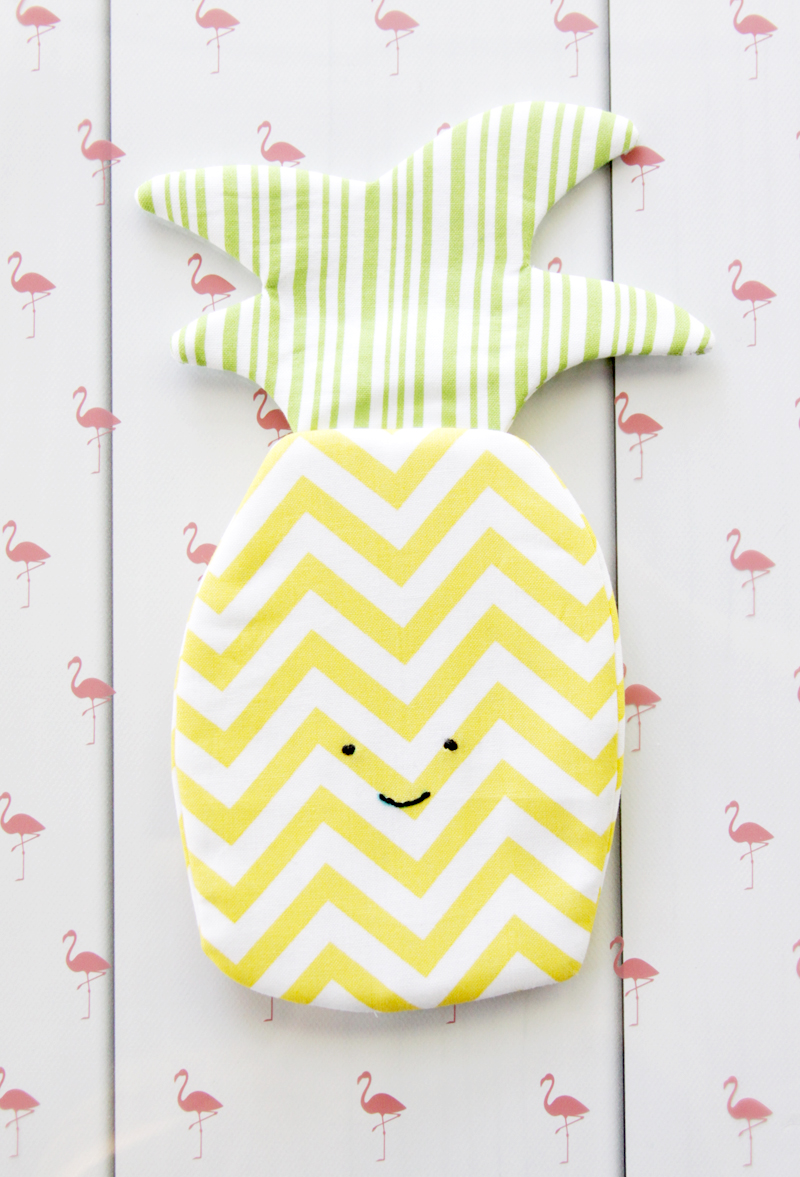
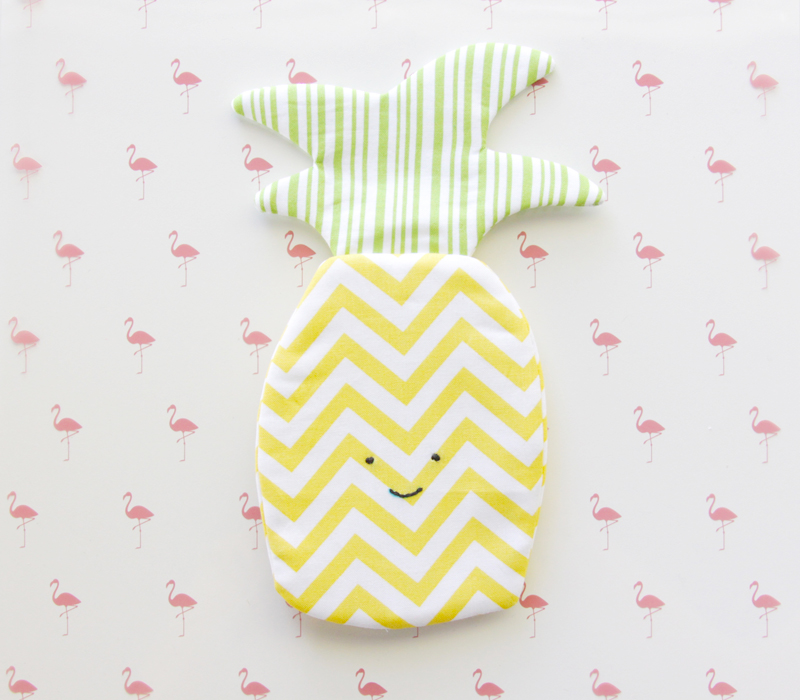
This little zipper pouch is so easy to sew up and so fun! It’s embroidered with a cute little smiley face – because if you can add a smile to a pineapple, why wouldn’t you?
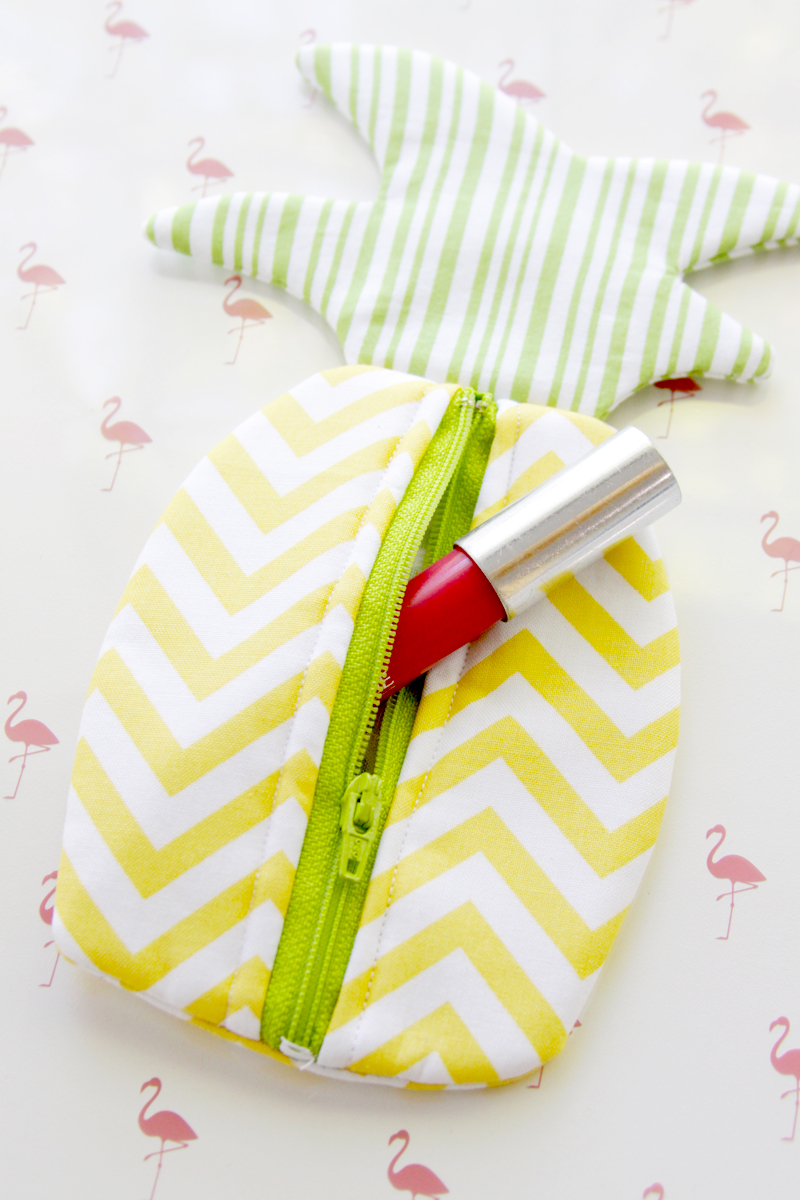
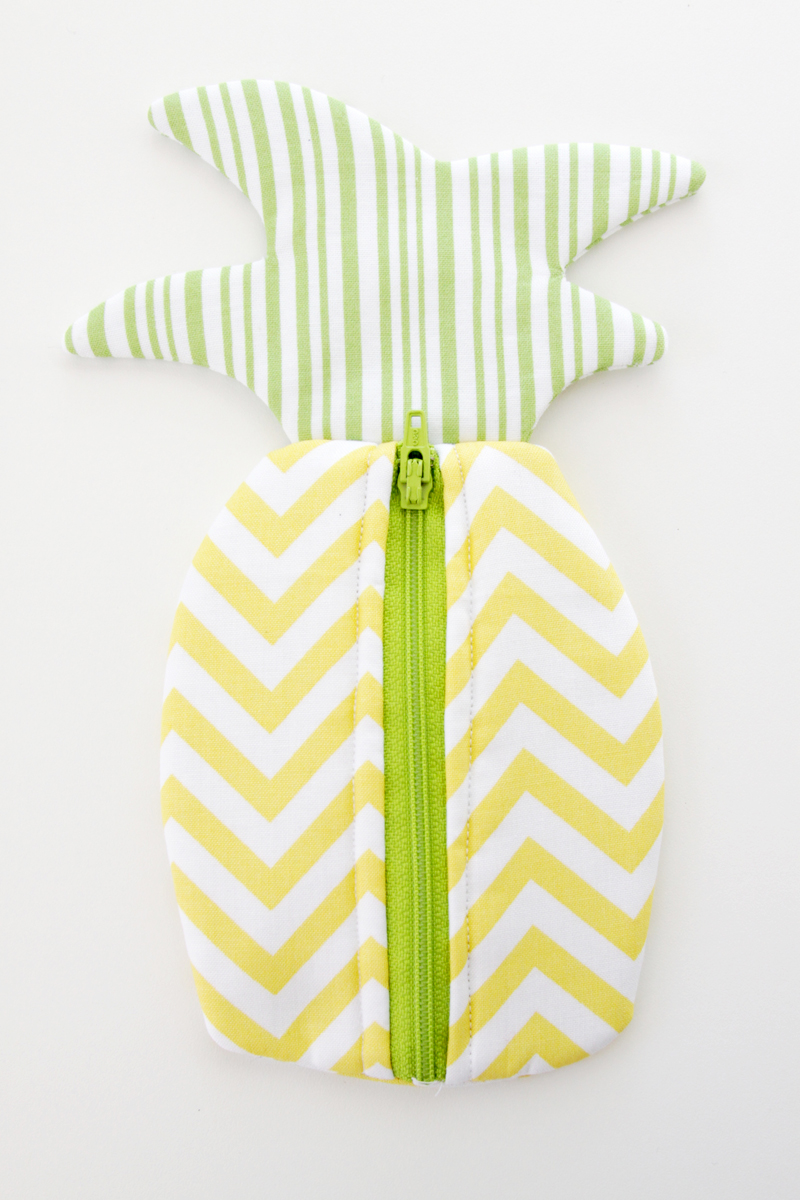
The back side of the pineapple has a little zipper and it’s just the right size for holding a chapstick, pen, or some cash! It’s a little small for a phone, but if you want to use it for that, you could easily enlarge the pattern and make yours just a bit bigger.
It would be such a great gift for a friend or teacher too – you could even add a little gift card inside!
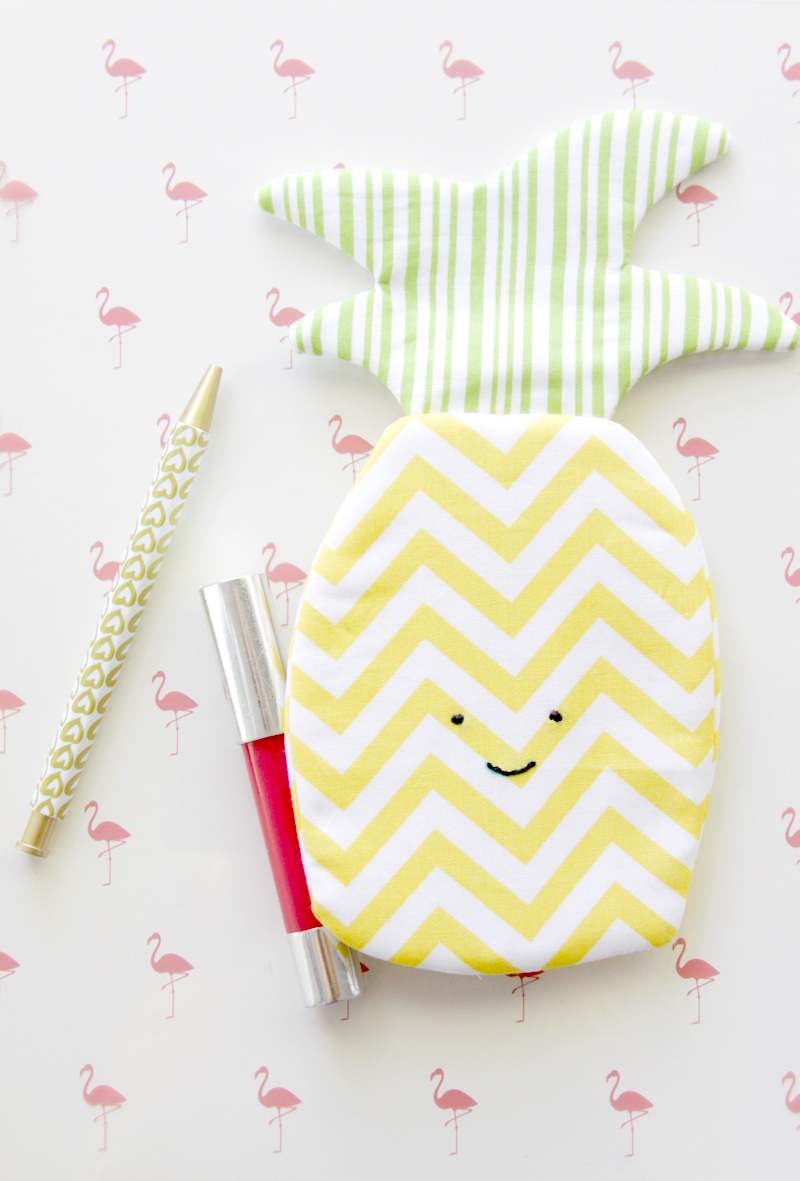
Here’s what you need to make your own:
- fat quarter of yellow print
- 2 fat quarters of green prints
- 7″ zipper
- 1/4″ yard of fusible fleece
- 3″ embroidery hoop
- DMC black pearl cotton embroidery thread
- Pineapple Zipper Pouch Pattern
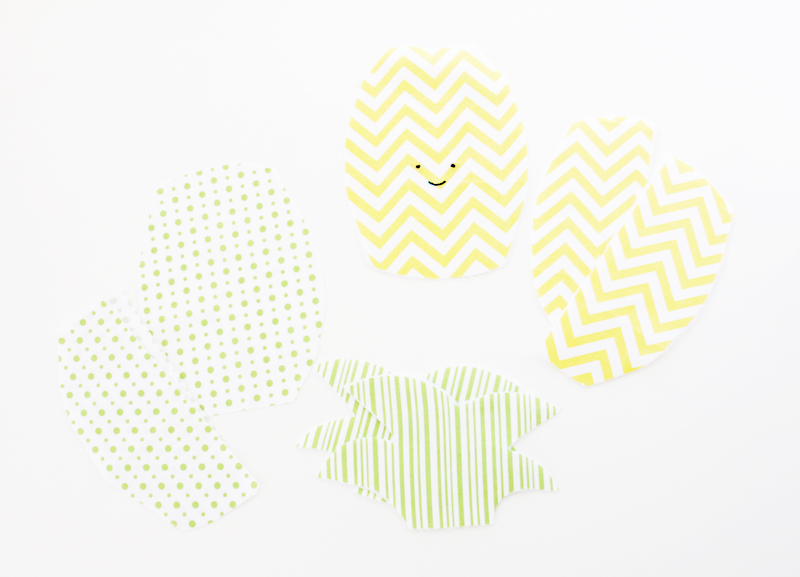
Trace your pineapple shape and little pineapple face. Embroider the face by using a back stitch on the smile and small satin stitches on the eyes.
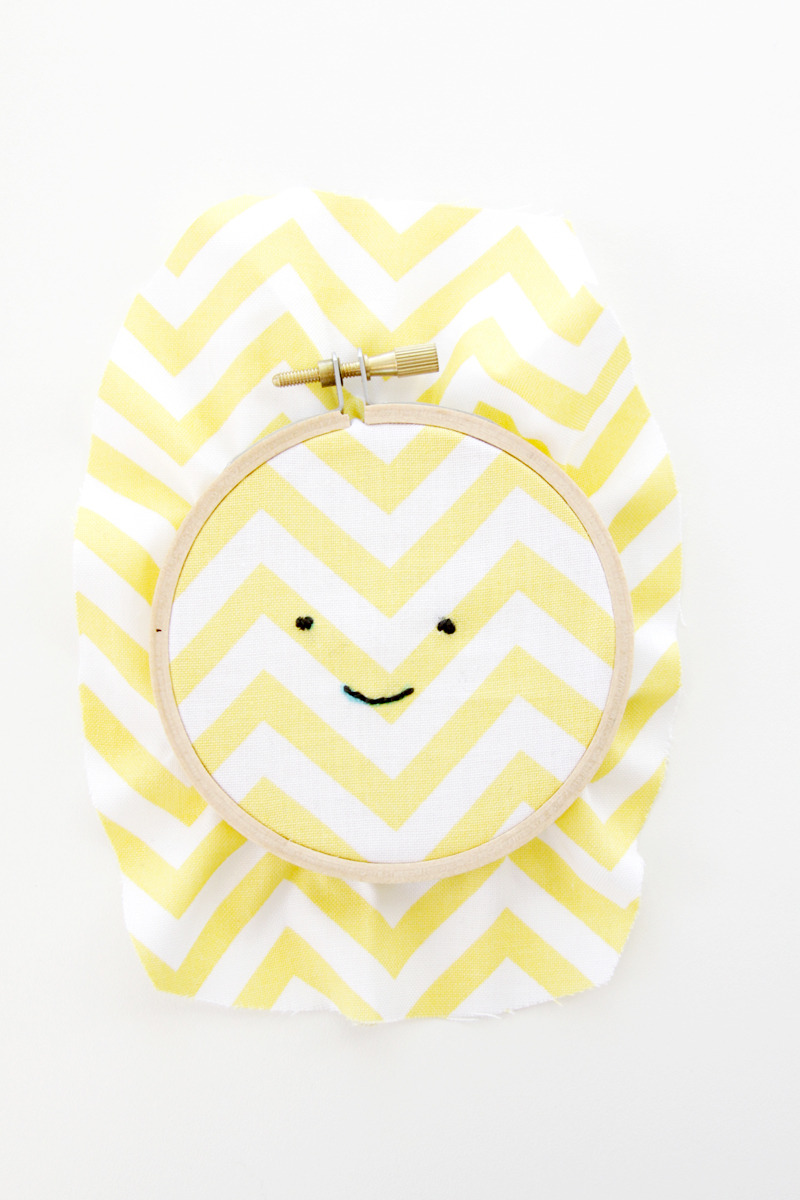
Remove the piece from the hoop and press. Iron the fusible fleece to all the yellow pieces, plus the front and back of the top greenery pieces.
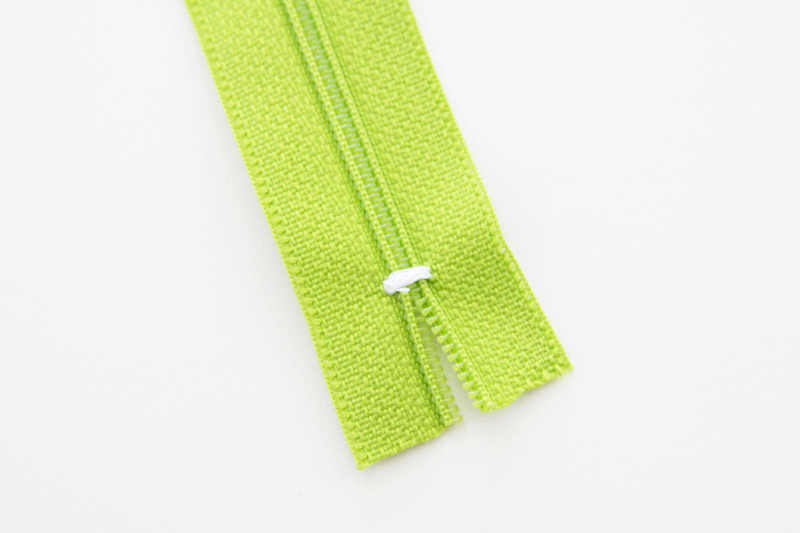
Now we need to shorten our zipper. This is easier than it sounds! Mark where you’d like your zipper to end. Set your sewing machine to a zig zag stitch and shorten the stitch to almost a zero. Then widen the width so the needle hits on either side of the zipper. Sew a small zig zag stitch in place on the zipper. (I recommend doing this in a matching thread, I just used this so it would show up in the photo.)
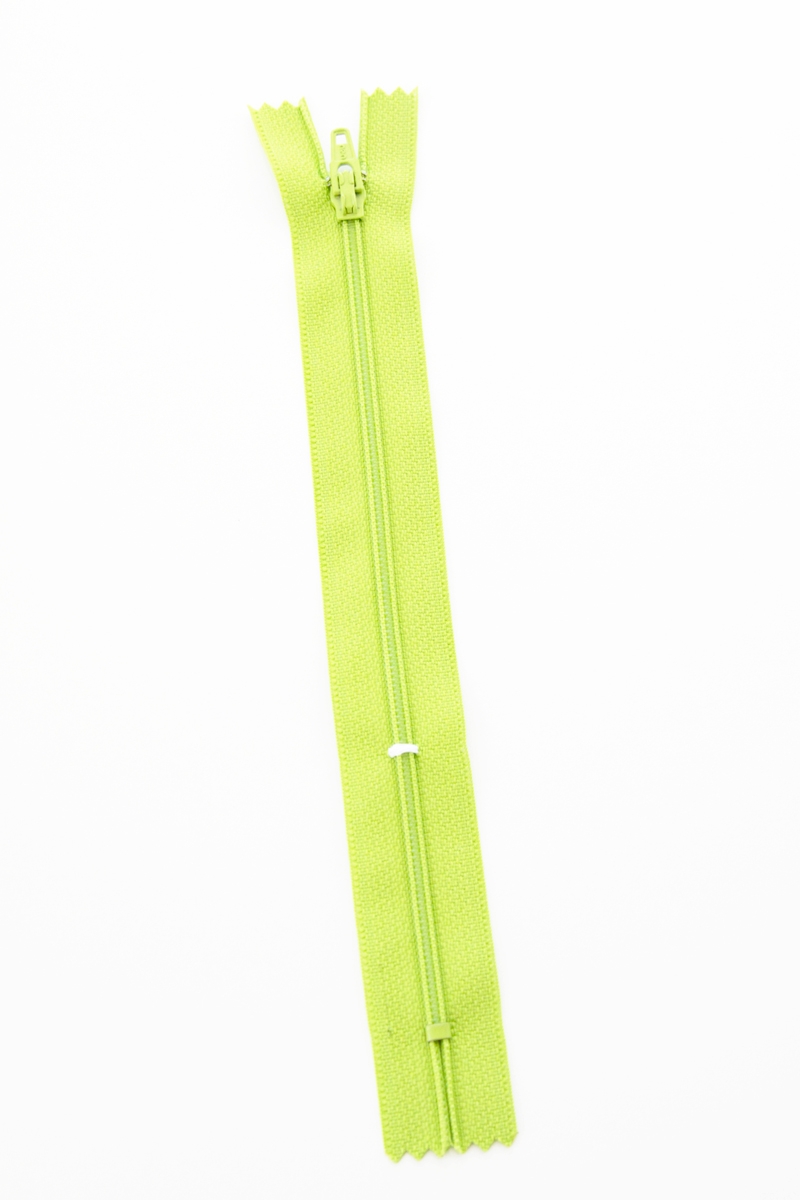
Trim the zipper about 1/2″ below the stitching.
To sew the zipper in place, put one half of the back yellow piece face up. Lay the side of the zipper face down on the straight edge. Place the matching lining piece face down on the zipper, lining up the straight sides. Sew the zipper in place along the straight edge with a 3/8″ seam.
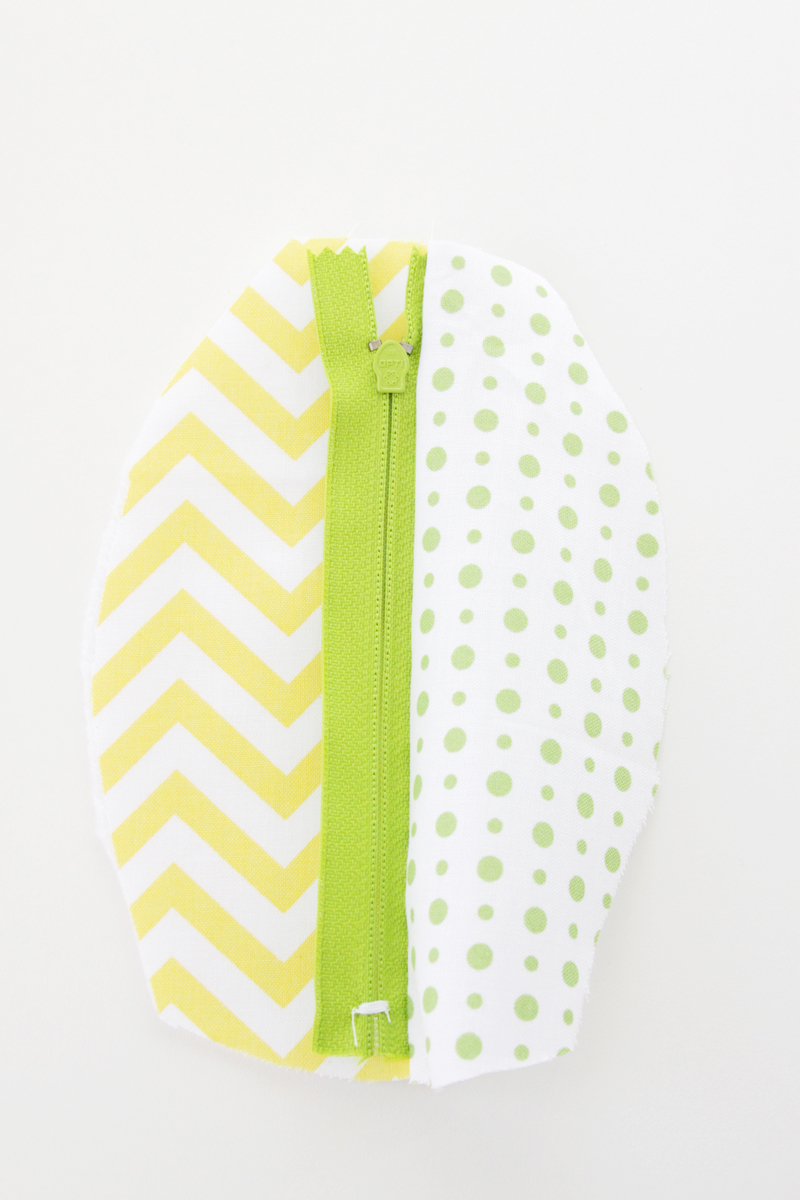
Open up the fabrics and press them away from the zipper. Repeat for the other side of the zipper, making sure the yellow fabrics are on the same side and will show when the right side of the zipper is facing up. Press and then sew along the edges of the fabric just outside the zipper seams.
Place the two pieces of the top right sides together. Sew around all the leaves and leave the bottom open. Clip all your corners and curves. Turn the leaves right side out and press.
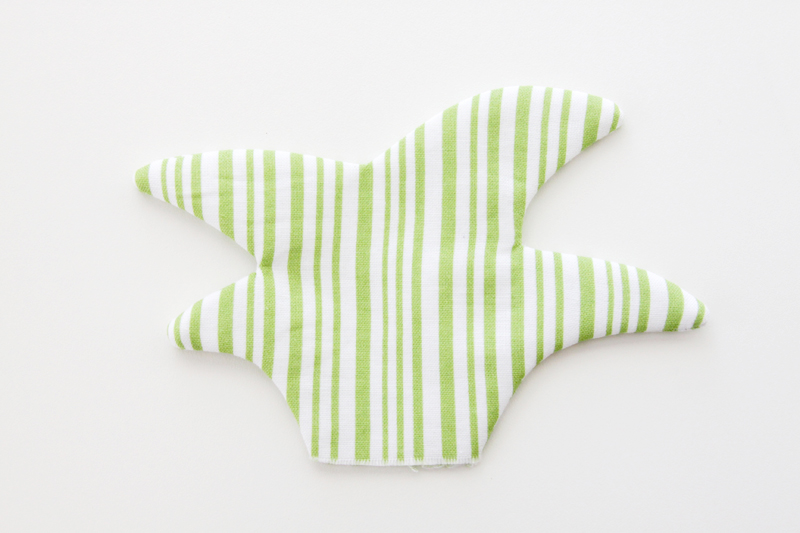
Place the leaves on the top of the front pineapple piece, facing down. Sew the straight end of the leaves to the top of the pineapple with a 1/4″ seam allowance. Pin the long side leaves in towards the center so they don’t get caught when you’re sewing your side seams.
Now we’re going to sew the whole thing together. Start by laying the front lining piece face down. Then place the main front piece face up. Place the back pieces on top of this, with the zipper facing in. (So the lining faces out.) Pin everything together. Open up the zipper a bit now, or you will have trouble turning everything right side out later.
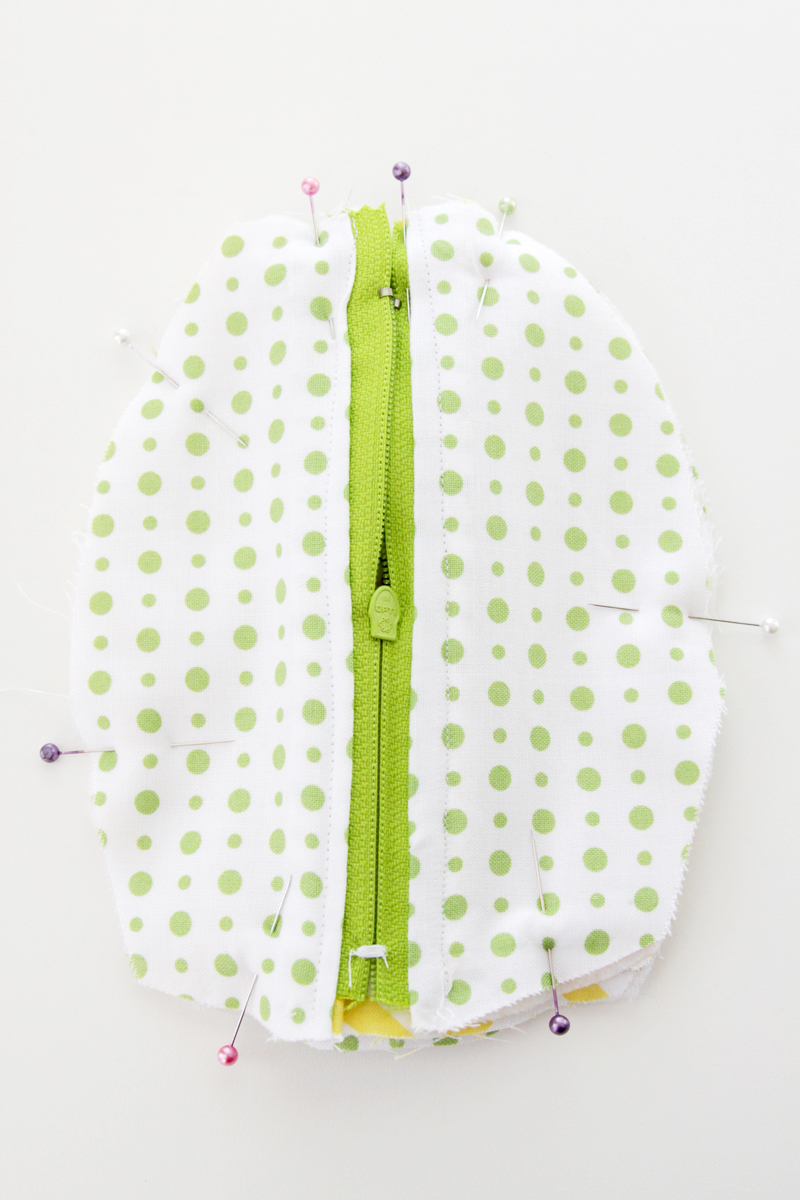
Sew all the way around the pineapple with a 1/2″ seam allowance and trim all the seams.
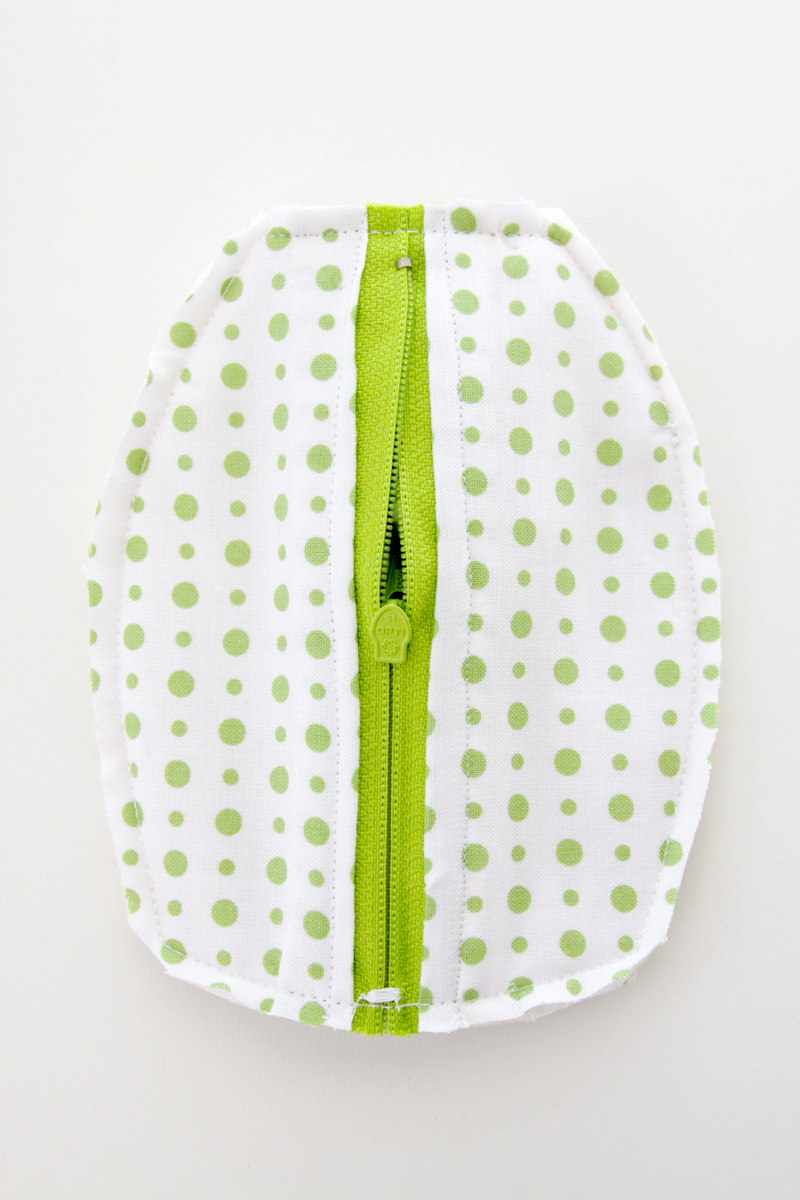
Turn the pineapple right side out and press – and you are all finished!
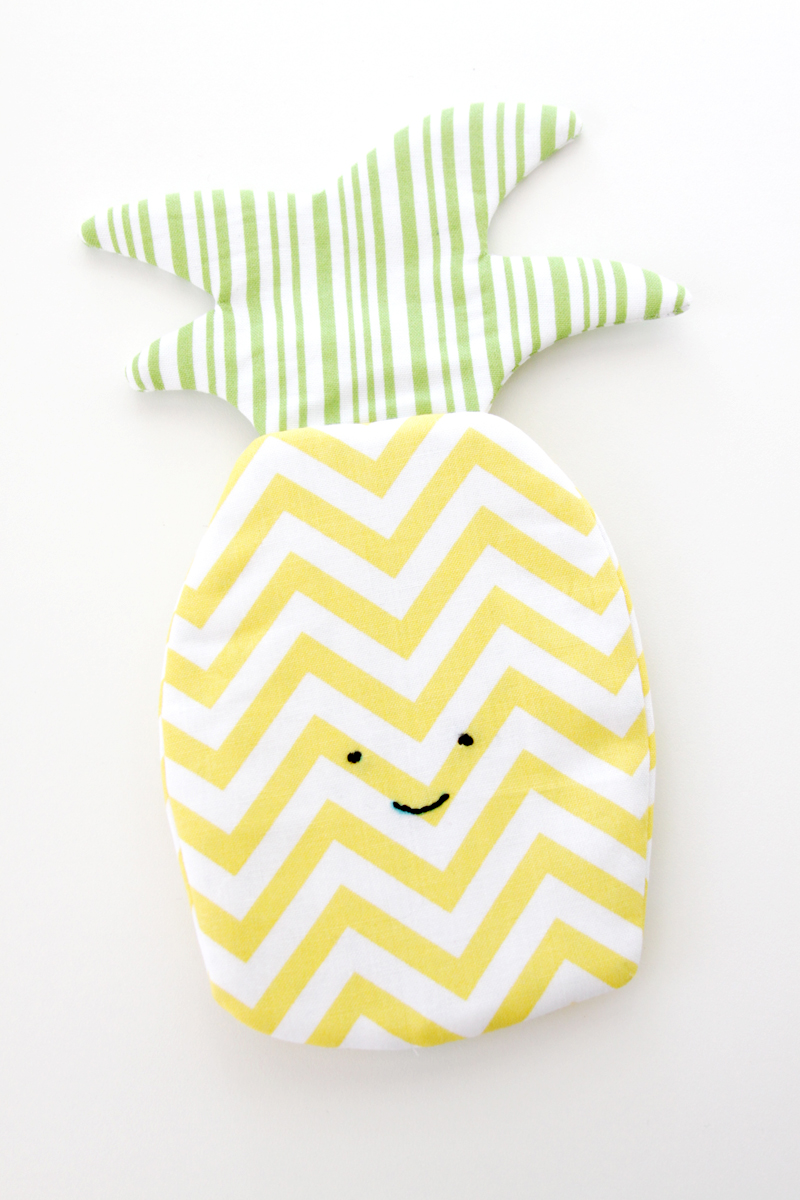
I think even the zipper side looks cute!
I’d love to see a photo if you make one up!
You might also like
DIY Citrus Earbud Zipper Pouch
Sweet Deer Embroidered Zipper Pouch


I do believe this is the most adorable thing I have ever seen!!!
Love Pineapple crafts and this one is adorable, have pinned to my pineapple board.
Oh! How cute!! I’ve got a Craft Gossip post scheduled for later today that features your tutorial: http://sewing.craftgossip.com/?p=89129 –Anne
Thank you so much Anne! You are the best!
Ahh this is so stinking cute. Little kawaii faces get me every time!
Oh my goodness… This is absolutely darling! I am just a beginning sewer, but I’m definitely going to give this a shot. Thank you for sharing.
Cheers,
Lisa {http://www.dreamsandcaffeine.com}
This is such a cute idea, Bev! Thanks for sharing :]
Blessings,
Edye | http://gracefulcoffee.wordpress.com
This is the best thing I have seen all day! I have such a sweet spot for pineapples! Posts like this would be great for the Waste Less Wednesday Blog Hop. http://skipthebag.blogspot.com/2016/08/waste-less-wednesday-blog-hop-1.html
This is soooo cute! I love it. I especially love that your pineapple has a face. Really, really cute. I have two little nieces who are just 2 years old who I think would LOVE this. Well done and thanks for sharing!
Katie
button-jar.com
Very cute! Love this! Thanks for sharing your project at Craft Frenzy Friday on Mom Home Guide!
just adorable Bev! I’m hoping my daughter might be into making a bunch of these for presents this summer…..thanks for sharing on craft schooing Sunday!
So freakin cute!! My daughter just went crazy over this! Thank you so much for sharing
That is super cute! Need to gain some confidence working with zippers- yikes! Visiting from Home Matters party.
This is adorable! Thanks for sharing at the Inspiration Spotlight party. Pinned & sharing.
I know pretty much every comment here says cute but this really is the cutest thing in all of cutevile!